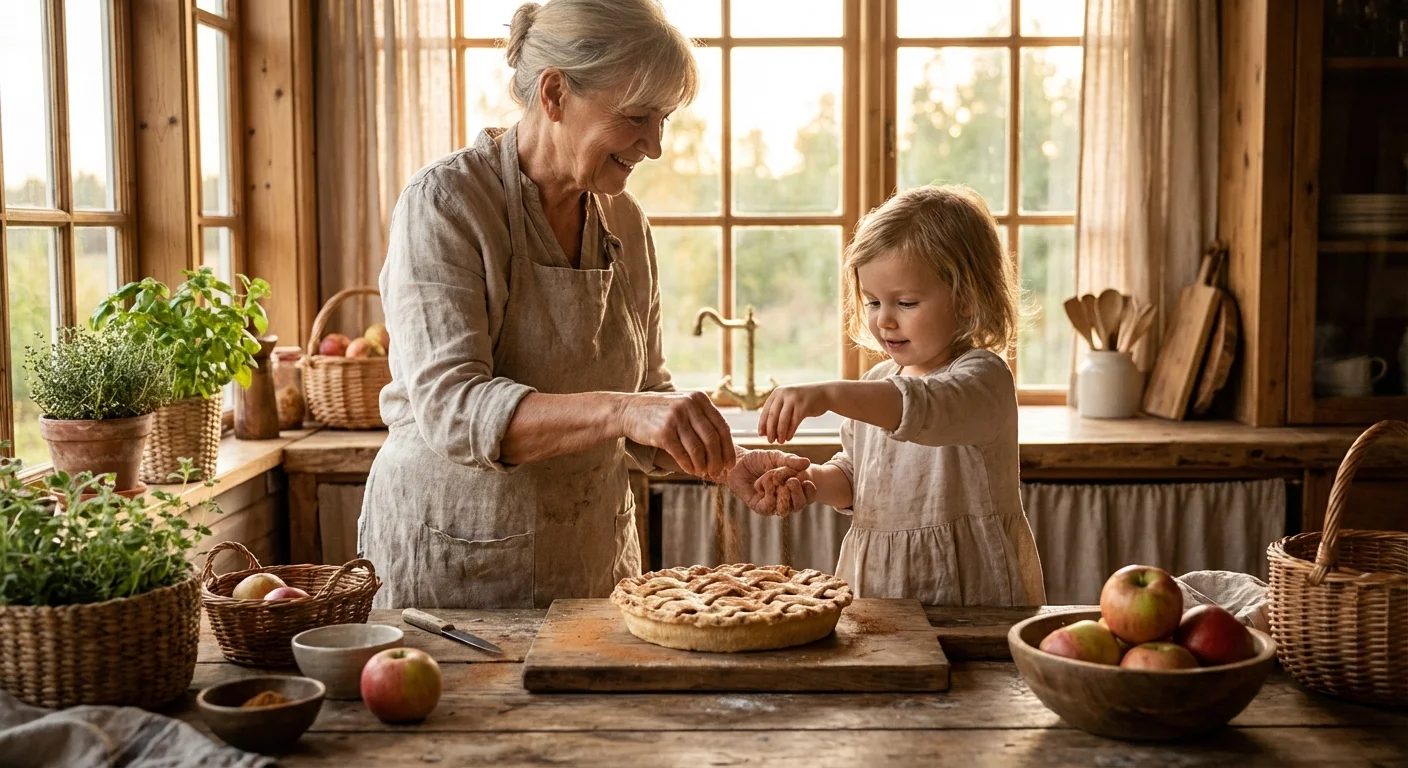
Every family has that one dish—the Sunday roast, the secret-recipe sourdough, or the holiday cookies—that tastes like home. While recipes provide the instructions, photography provides the soul of your family’s digital cookbook. Capturing these dishes effectively ensures that future generations don’t just know the ingredients; they see the love and tradition behind the meal. Transforming a cluttered kitchen counter into a professional-looking photo studio requires more strategy than gear. By mastering a few fundamental food photography tips, you can elevate your digital cookbook photos from simple snapshots to a beautiful heirloom of your culinary heritage.
Mastering Natural Light for Food Photos
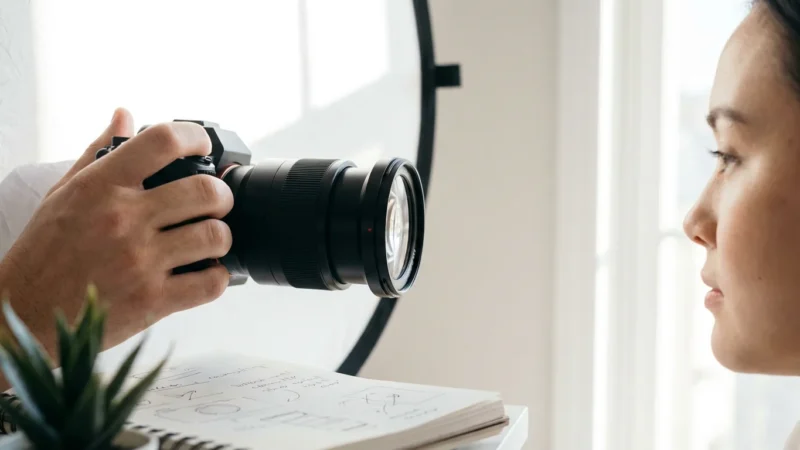
Lighting serves as the foundation of any great photograph. For food photography, natural light almost always outperforms artificial kitchen lights, which often cast an unappealing yellow or green tint. When you prepare to take your digital cookbook photos, look for a large window. You want soft, diffused light rather than the harsh, direct rays of the midday sun. Direct sunlight creates high-contrast shadows and “blown out” highlights that erase the delicate texture of the food.
If the light coming through your window feels too intense, hang a sheer white curtain or tape a piece of white parchment paper over the glass to soften it. Position your table so the light comes from the side or the back of the dish. Side lighting is particularly effective for photographing family recipes because it highlights the textures—the flaky crust of a pie or the crumb of a loaf of bread—by creating gentle shadows. According to technical guides from Cambridge in Colour, understanding how light interacts with texture is the first step toward professional-grade imagery.
You can manage shadows using a simple bounce card. You don’t need professional equipment for this; a piece of white foam board or even a large white envelope works perfectly. Place the board on the side of the dish opposite the window. This reflects light back into the shadows, revealing details in the darker areas of your plate. This technique, known as “filling” the shadows, ensures your viewers can see every ingredient clearly without losing the three-dimensional feel of the dish.
Composition and Styling with Heirlooms
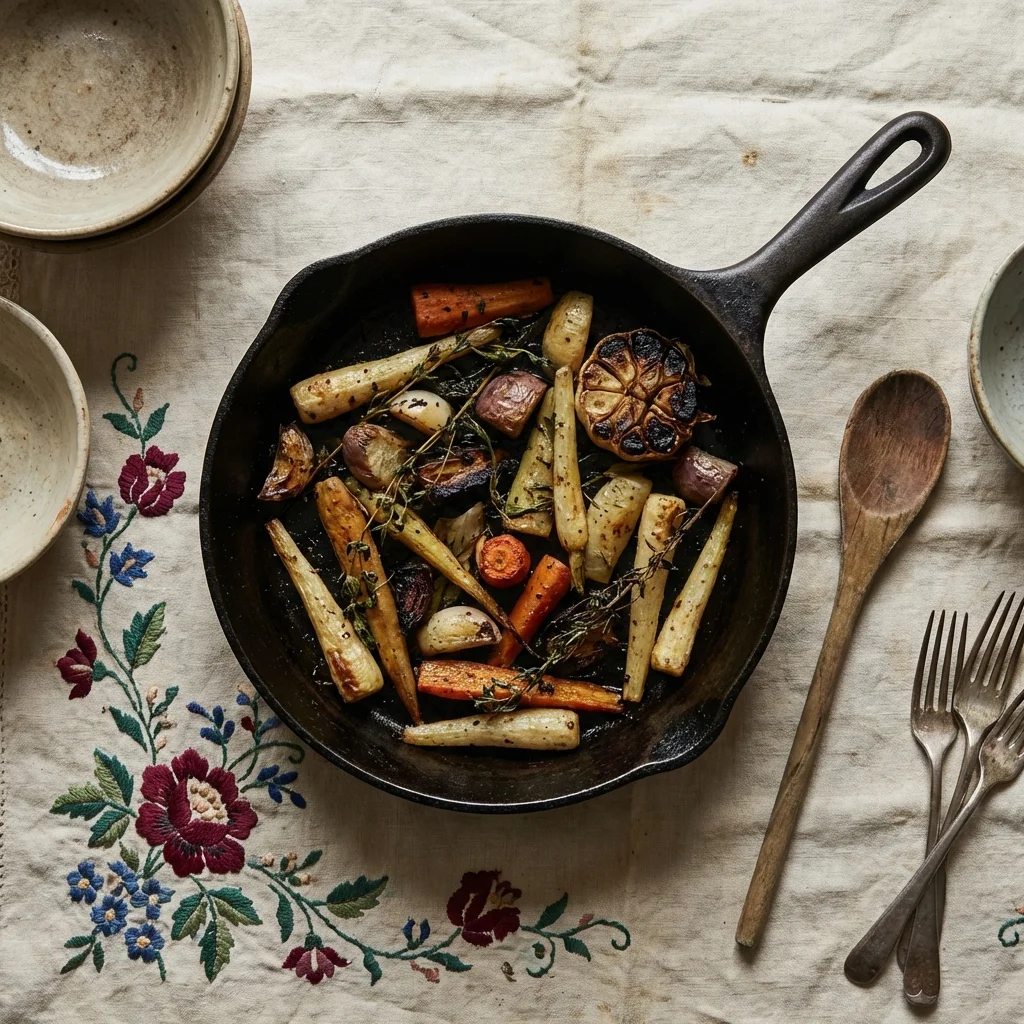
Styling is where you tell the story of your family history. When photographing family recipes, you have a unique opportunity to include physical pieces of your heritage. Does your family have an old cast-iron skillet passed down through three generations? Does a specific hand-embroidered tablecloth appear at every Thanksgiving? Use these items as props. They add layers of meaning that a standard white plate cannot provide.
Keep your composition intentional by following the “Rule of Thirds.” Imagine your frame is divided into a 3×3 grid. Instead of placing the main dish directly in the center, try placing the focal point—perhaps the most beautiful part of the garnish—along one of those grid lines or at the intersections. This creates a more dynamic and visually interesting image that leads the eye across the frame.
Consider the color palette of your dish. If you are photographing a beige food, like mashed potatoes or chicken soup, add a pop of color with fresh herbs, a vibrant napkin, or a colorful heirloom bowl. Texture also plays a massive role in visual appeal. Sprinkle a few coarse grains of salt, scatter some flour near a loaf of bread, or leave a few crumbs on the wooden board. These “perfect imperfections” make the food look approachable and real, inviting your family members to imagine themselves at the table.
“Food photography is about more than just a plate; it is about the environment and the memories that the dish evokes for the viewer.”
Camera Angles and Perspectives
Different dishes look better from different vantage points. When you are building your digital cookbook, varying your angles keeps the book visually engaging and helps highlight the best features of each specific recipe. There are three primary angles you should master:
| Angle | Best Used For | Why It Works |
|---|---|---|
| Overhead (90 Degrees) | Flat foods, “tablescapes,” and ingredients. | Creates a graphic, organized look; perfect for showing the layout of a full meal. |
| The Hero Shot (45 Degrees) | Most plated meals, bowls, and salads. | Mimics how we naturally see food when sitting at a table; provides a sense of depth. |
| Eye Level (0 Degrees) | Tall foods like cakes, stacks of pancakes, or burgers. | Highlights the height, layers, and structural integrity of the dish. |
The overhead shot, or “flat lay,” has become incredibly popular on platforms like Pinterest. It works beautifully for showcasing the various components of a recipe. However, avoid using it for tall items like a layer cake, as you will lose all the detail of the frosting and height. For those “hero” items, get down low. If you are using a smartphone, try turning the phone upside down so the lens is closer to the table surface. This low perspective makes the food look grand and appetizing.
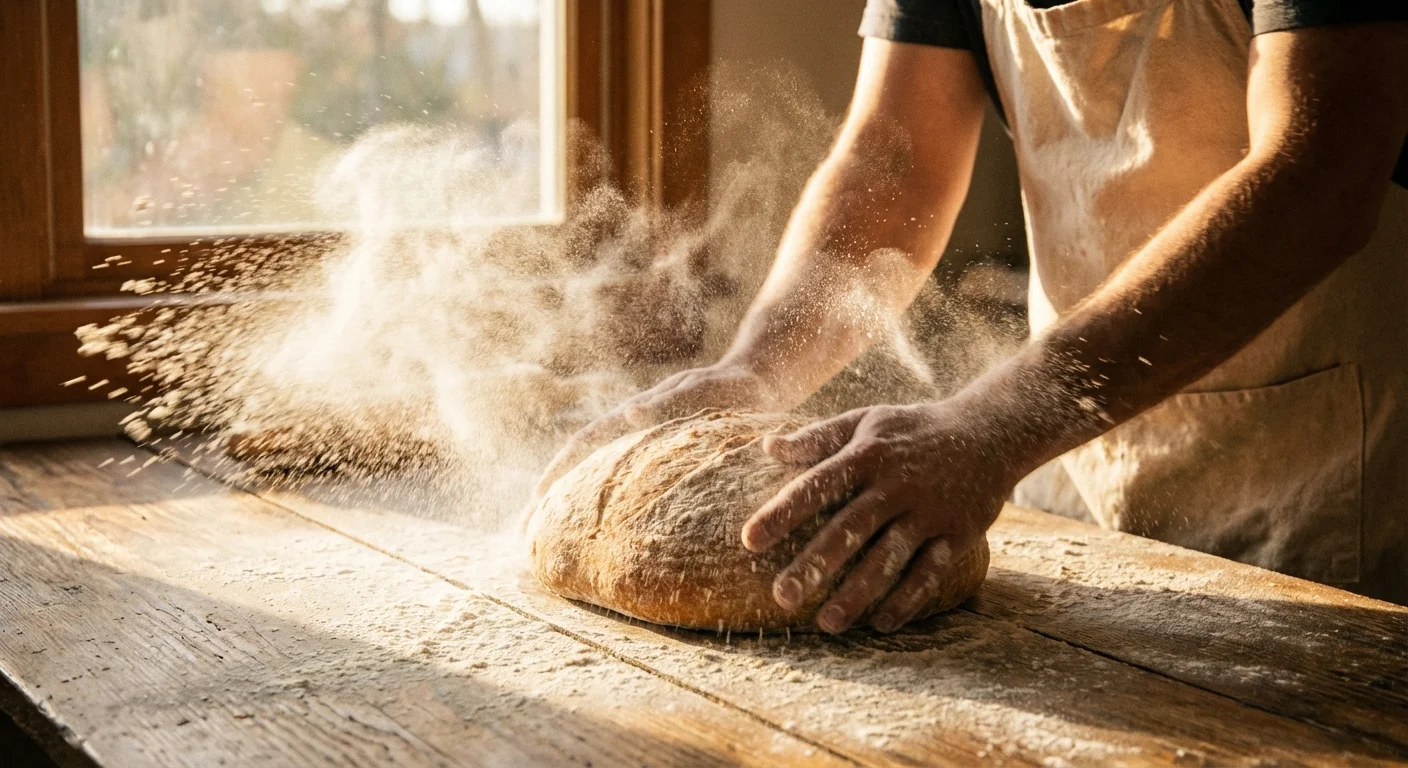
Capturing the Cooking Process and Movement
A digital cookbook shouldn’t just show the finished result; it should guide the reader through the journey. Process shots—images of the “in-between” steps—provide clarity for difficult techniques and add a documentary feel to your project. Use these shots to show the texture of the dough after kneading or the specific color of a roux.
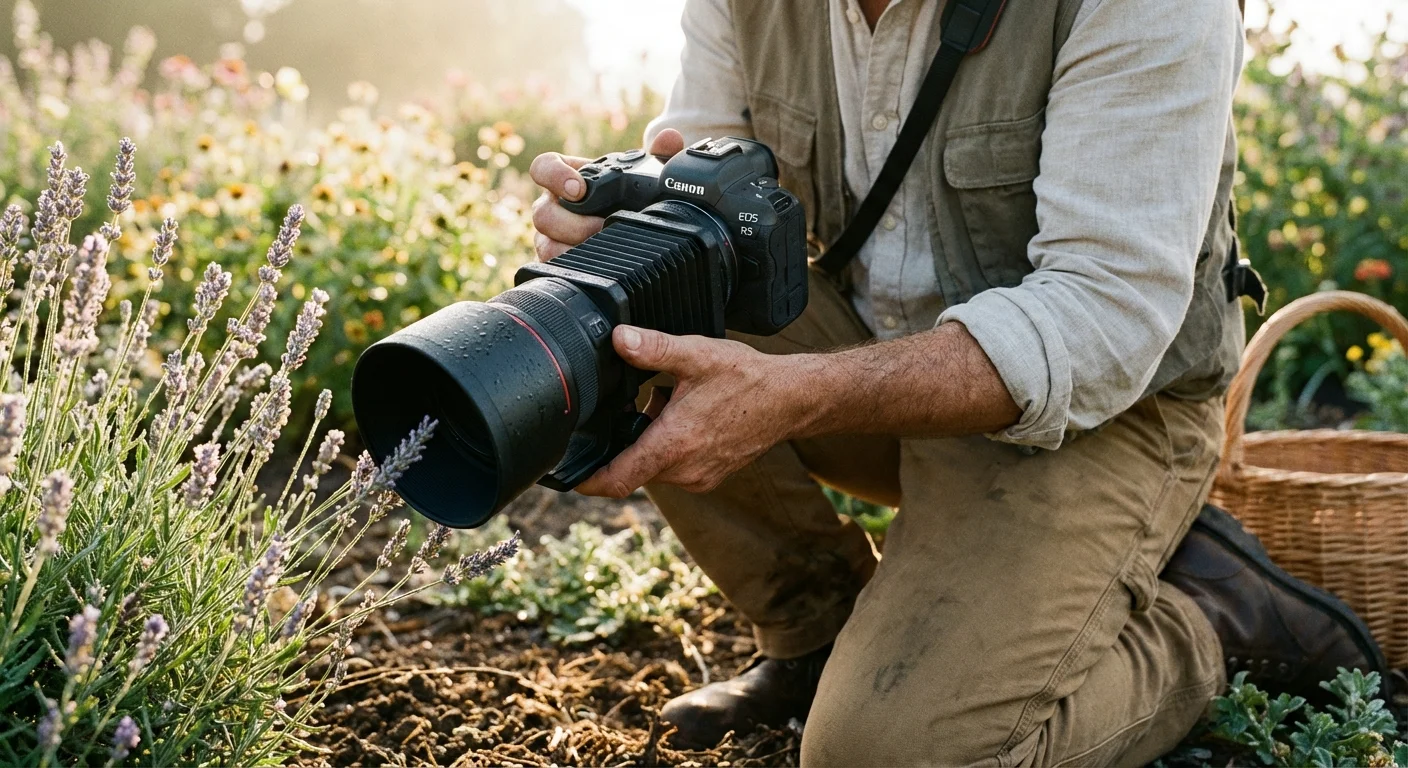
Include “human elements” to make the photos feel alive. A photo of your mother’s flour-dusted hands kneading dough or your grandfather’s hand pouring the wine adds a powerful emotional layer to the cookbook. To capture movement without blur, ensure you have plenty of light. If you are using a DSLR or mirrorless camera, use a faster shutter speed (at least 1/200th of a second) to freeze the motion of pouring sauce or dusting powdered sugar.
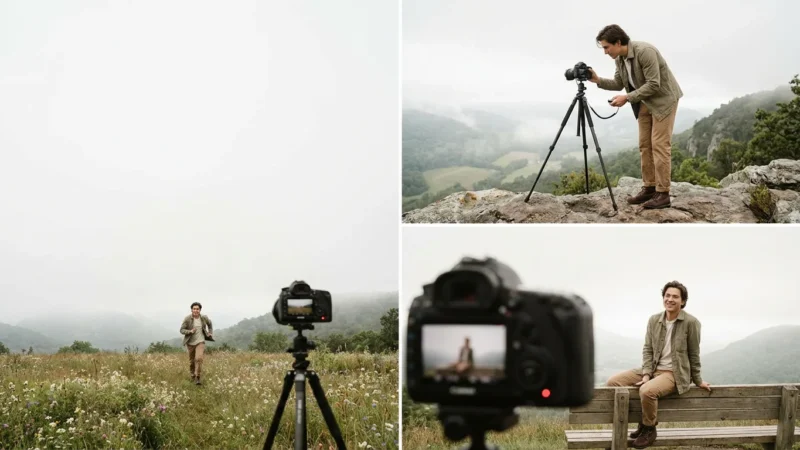
If you are working solo, use a tripod and your camera’s timer or a remote shutter release. This allows you to get into the frame yourself. These action shots transform the cookbook from a simple list of instructions into a living narrative of your family’s life in the kitchen. For more information on the technical side of freezing motion, check the gear reviews and guides at Digital Photography Review.
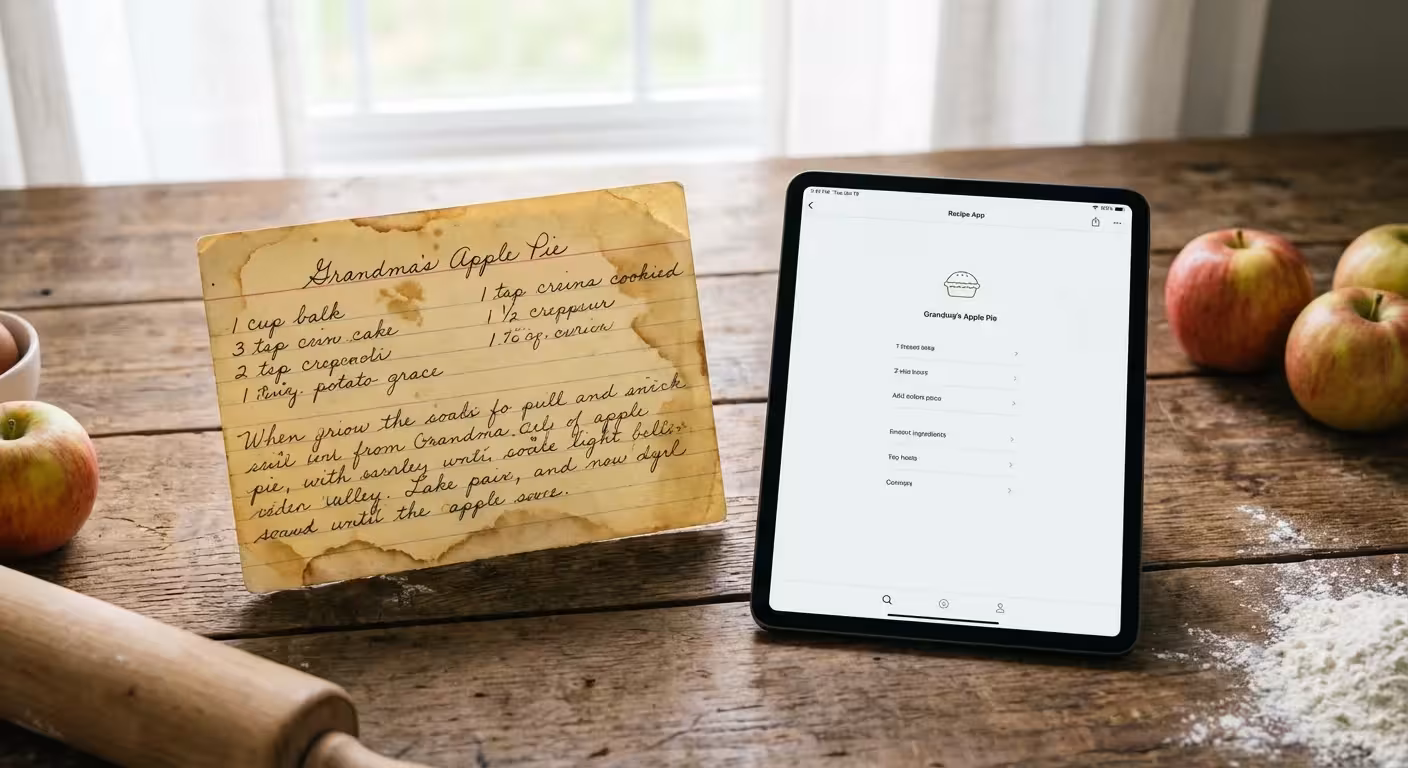
Digitizing Handwritten Recipe Cards and Artifacts
The original handwritten recipe card is a precious artifact. The loops of a grandmother’s cursive or the butter stains on a typed index card are as important as the recipe itself. When you are photographing family recipes, always include a high-quality digitial version of the original source material. Treat these paper items with the same respect as a museum curator would.
To photograph these cards, place them on a flat surface in even, indirect light. Do not use a flash, as it can cause glare on the ink or paper and may contribute to the degradation of the material over time. Ensure your camera is perfectly parallel to the card to avoid “keystoning,” where one side of the card looks larger than the other. If the card is curled, do not use tape, which can leave permanent residue; instead, use small, clean weights at the corners or place it under a piece of clean, non-glare glass.
For long-term preservation of the physical cards after you have photographed them, the National Archives recommends storing paper artifacts in acid-free, lignin-free folders or sleeves. Once digitized, these images can be placed on a page alongside the fresh photo of the finished dish, creating a beautiful “then and now” comparison that honors the recipe’s origin.
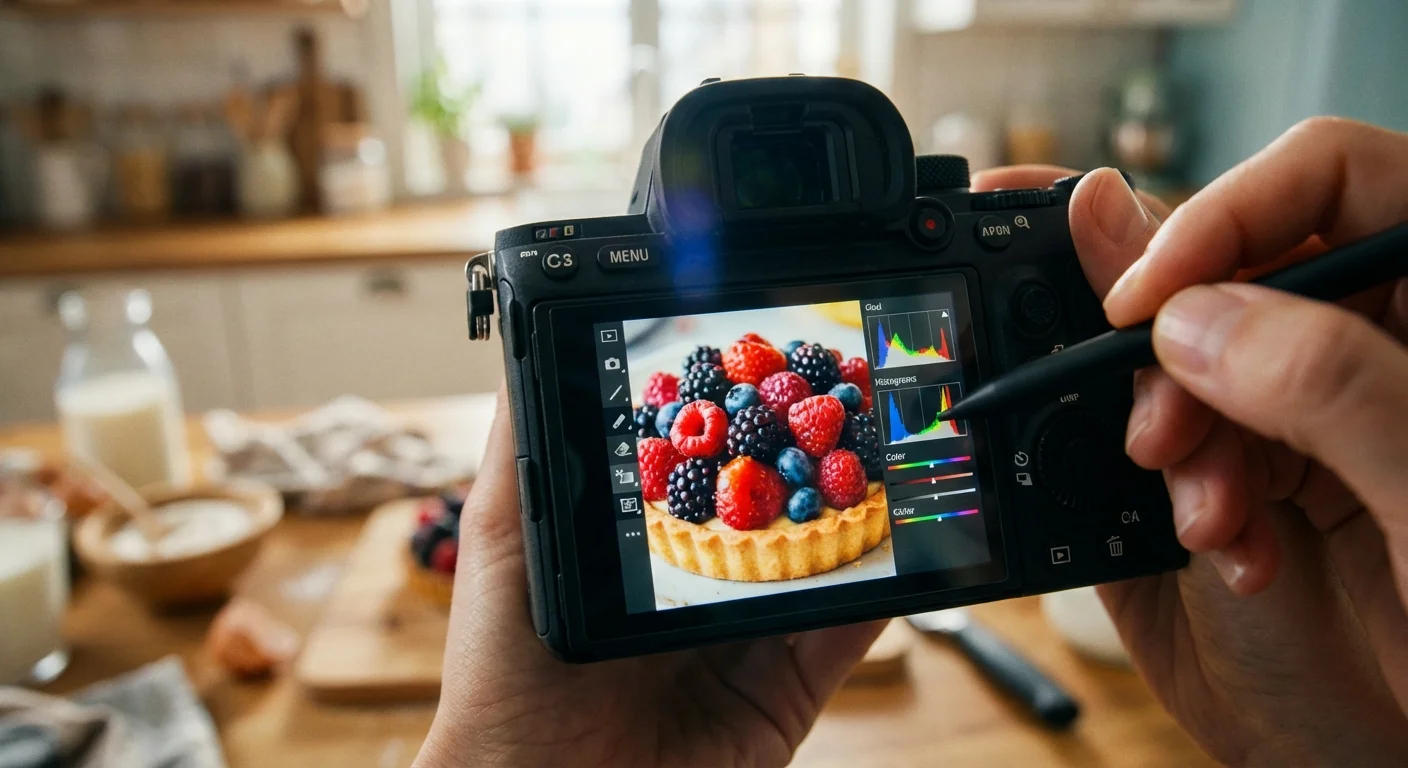
Technical Settings and Editing for Clarity
You don’t need to be a professional editor to make your digital cookbook photos shine. Most smartphones and basic editing software offer tools that can significantly improve your results. Start by checking your “White Balance.” If your photo looks too blue or too orange, adjust the temperature slider until the whites in the image (like a white plate or napkin) look truly white.
Next, look at your “Exposure” and “Contrast.” Food photography often benefits from a slight boost in brightness to make the dish look fresh and appetizing. Increase the “Saturation” or “Vibrance” carefully—you want the colors to look rich, but not neon or artificial. A common mistake is over-editing the food until it looks like plastic. Your goal is to represent the meal as it truly looks in its best possible light.
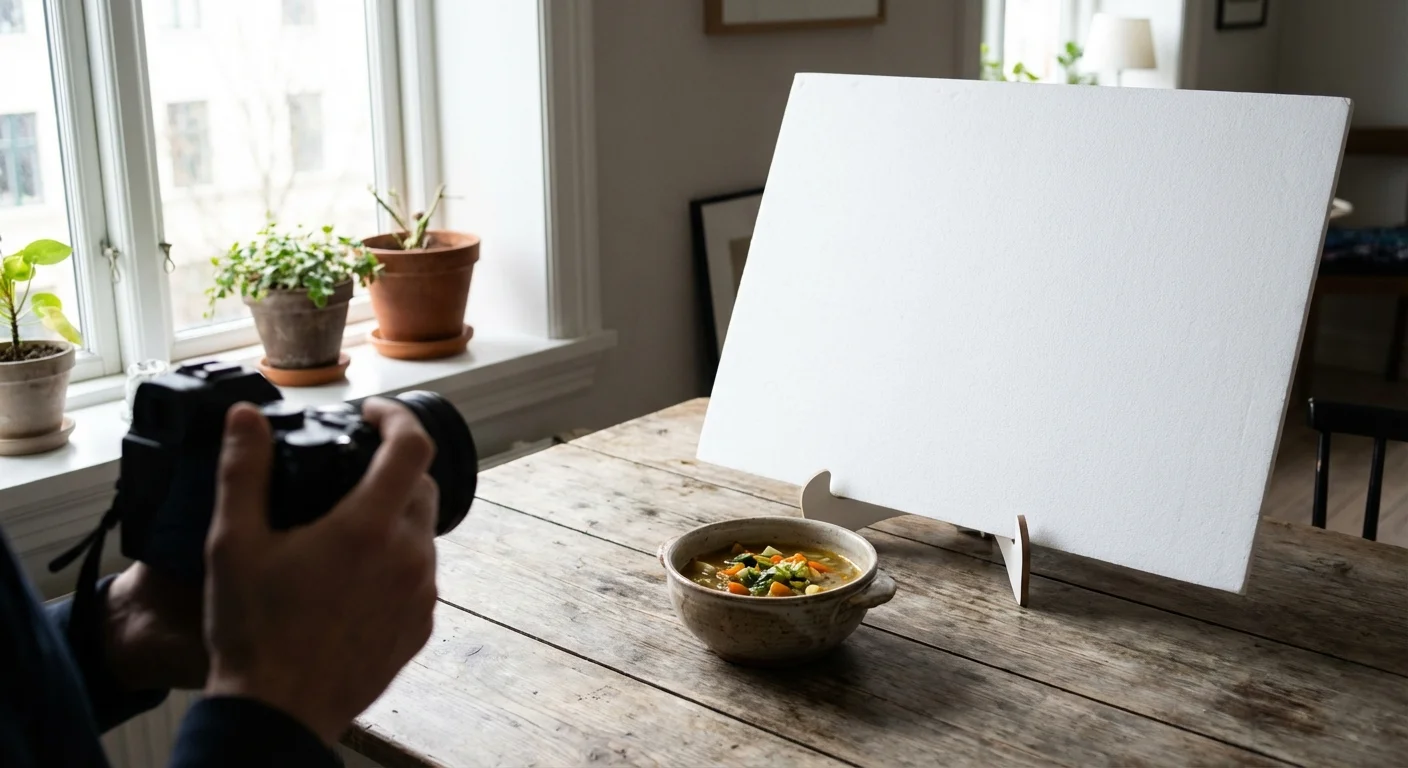
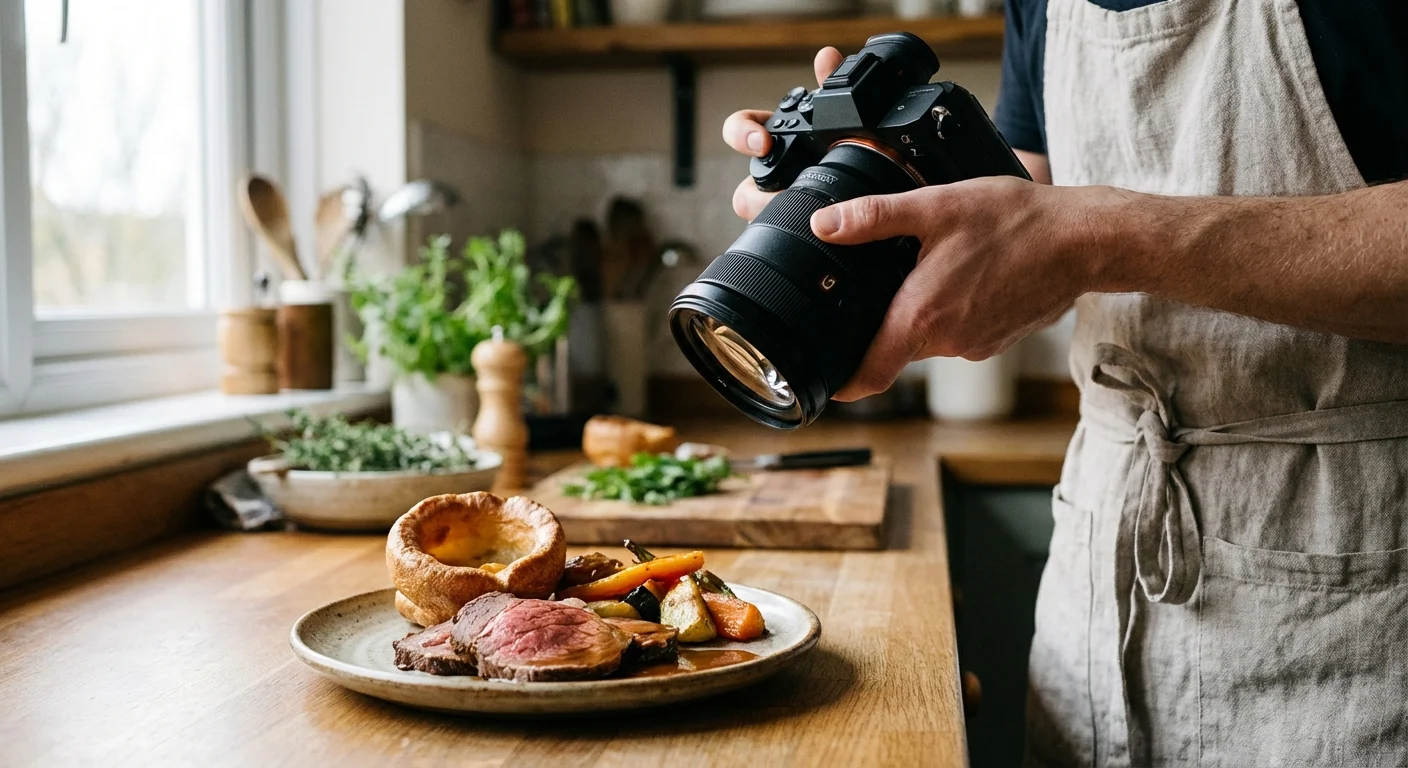
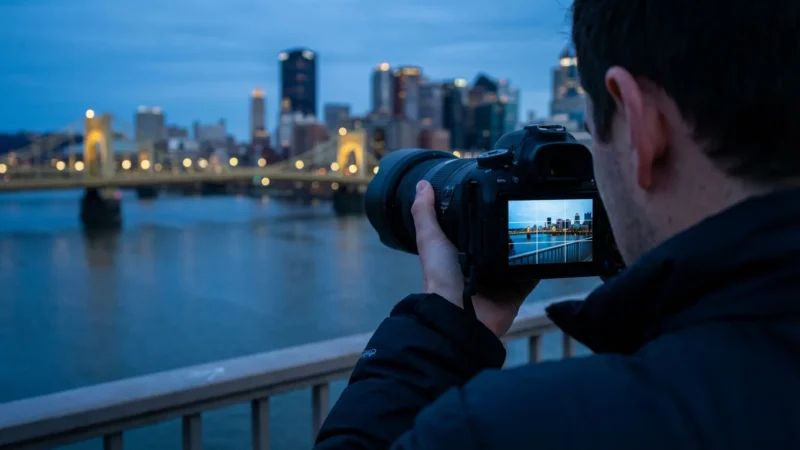
If you are using a dedicated camera, aim for a wide aperture (a low f-stop number like f/2.8 or f/4). This creates a shallow depth of field, which blurs the background and keeps the viewer’s focus entirely on the food. This “bokeh” effect is a hallmark of professional food photography and helps eliminate distractions from a busy kitchen background. Ensure the focus point is on the “front” of the food or the most textured part of the dish, such as the edge of a garnish or the top of a crust.
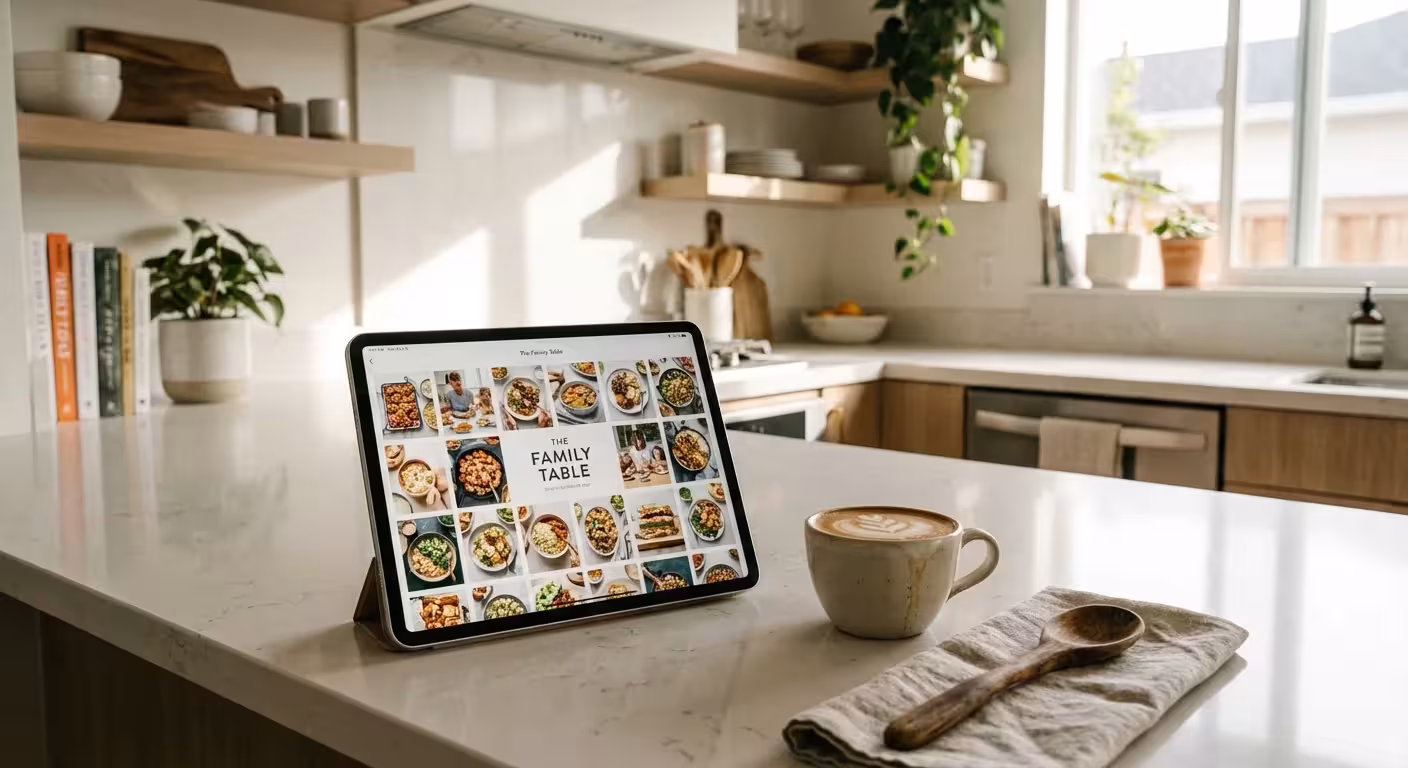
Organizing Your Digital Cookbook Layout
Once you have captured your images, the final step is assembling them into your digital cookbook. Organization is key to making the book functional for daily use. Group your recipes into logical sections—appetizers, mains, desserts, or even by “Holiday Traditions.” Use a consistent layout style throughout the book to give it a professional, cohesive feel.
When placing photos, vary the sizes. Use a large, full-page “hero” shot for the beginning of a recipe, and smaller square or circular images for the process steps. Don’t be afraid of “white space.” Leaving some empty space around your text and photos makes the pages easier to read and allows the imagery to breathe. Consider adding a small caption or a “Memory Note” next to the photos, explaining when the dish was usually served or a funny story about a time the recipe went wrong.
Digital cookbooks offer the advantage of being easily shared and updated. You can use platforms like Canva, Adobe Express, or dedicated book-making software to create a PDF that can be emailed to relatives or even printed as a high-quality hardback book. By combining these food photography tips with your family’s unique culinary history, you are creating a digital legacy that will be cherished for decades to come.
“A family recipe is a map of where we’ve been; a photograph of that recipe is the landscape that brings the map to life.”
Frequently Asked Questions
What is the best lighting for food photography at home?
Natural, indirect sunlight is almost always the best choice. Set up your dish near a large window, but avoid harsh, direct beams that create deep shadows. North-facing windows provide the most consistent, soft light throughout the day.
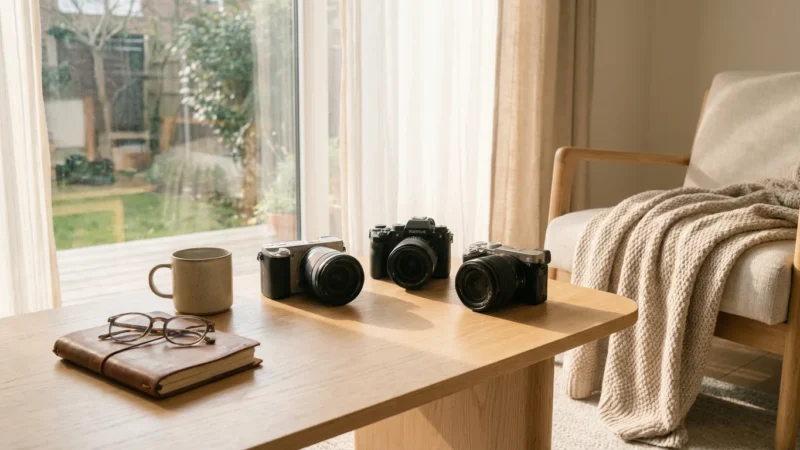
Do I need an expensive camera to take digital cookbook photos?
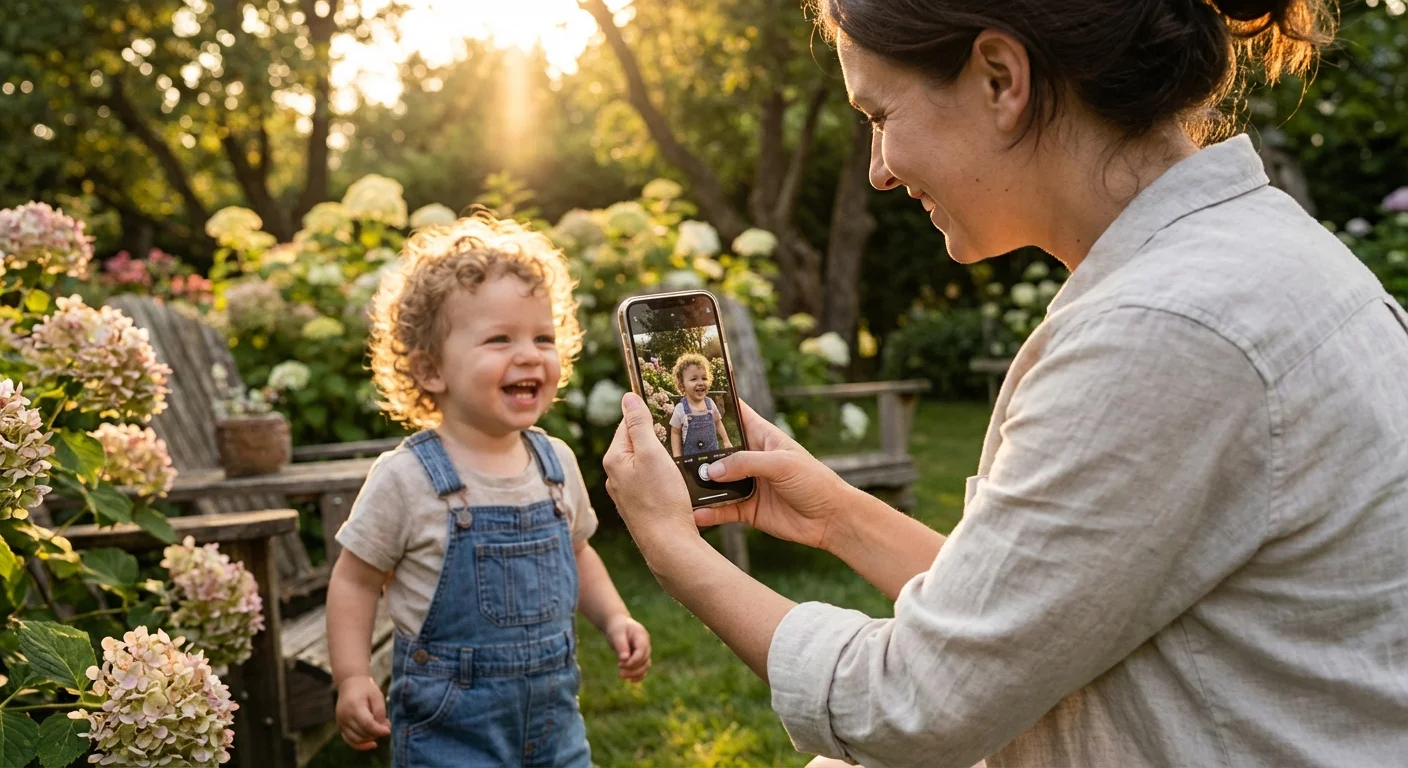
No, modern smartphones are incredibly capable of capturing high-quality images for digital cookbooks. Focus on good lighting, steady positioning, and basic editing rather than purchasing high-end gear immediately.
How do I photograph steam or heat in food?
To capture steam, use a dark background and ensure the light source comes from the side or slightly behind the dish. You must act quickly, as steam dissipates within seconds of the dish being plated.
Should I digitize the original handwritten recipe cards too?
Yes, photographing or scanning the original handwriting adds immense sentimental value and historical context to your digital cookbook. It preserves the personality of the original cook alongside the new food imagery.
Disclaimer: This article is for informational purposes only. When handling valuable or irreplaceable photographs, consider consulting a professional conservator. Always test preservation methods on non-valuable items first.
Leave a Reply