Your family heirlooms serve as the physical anchors of your history. That tarnished silver pocket watch, the hand-stitched quilt from your great-grandmother, or the delicate porcelain tea set all carry stories that deserve to be protected. While physical objects can unfortunately be lost to fire, theft, or natural decay, high-quality digital documentation ensures their legacy remains intact. Photographing these items provides two essential benefits: it creates a detailed record for insurance purposes and builds a digital archive that you can share with relatives across the globe.
Documenting a lifetime of treasures can feel like a daunting task, but you do not need a professional studio to achieve professional results. By following a systematic approach to lighting, composition, and data management, you can create a comprehensive catalog that serves both your practical needs and your family’s heritage. This guide walks you through the technical and organizational steps required to document your family treasures with the care they deserve.
Preparing Your Heirlooms for the Camera
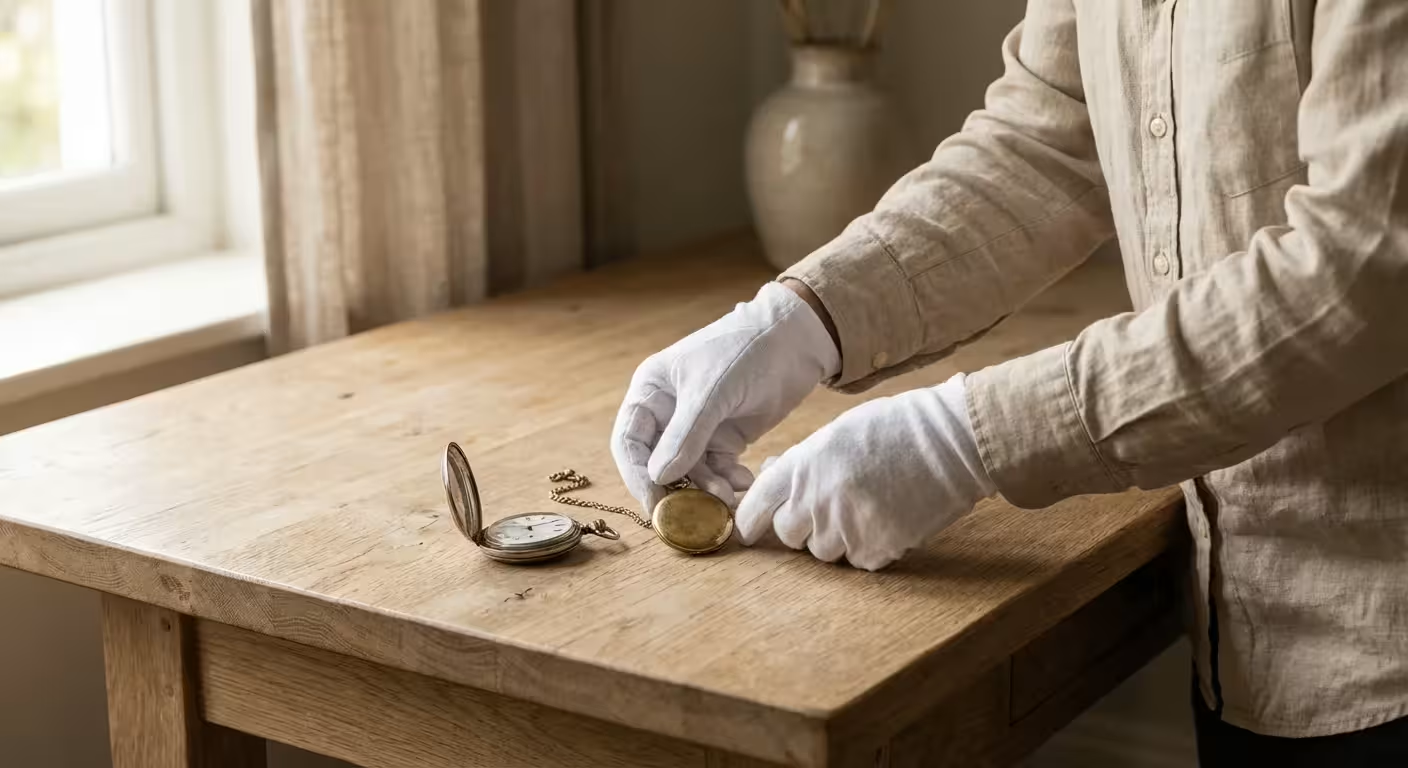
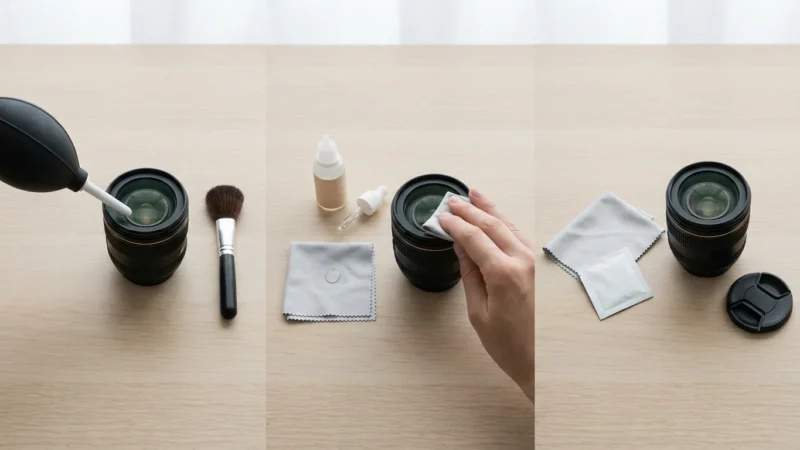
Before you pick up your camera, you must handle your heirlooms with the respect their age demands. Oils and acids from your skin can cause long-term damage to metals, papers, and textiles. When you begin photographing heirlooms, wear clean, white cotton gloves or powder-free nitrile gloves. This simple step prevents fingerprints from etching into metal surfaces or staining delicate fabrics.
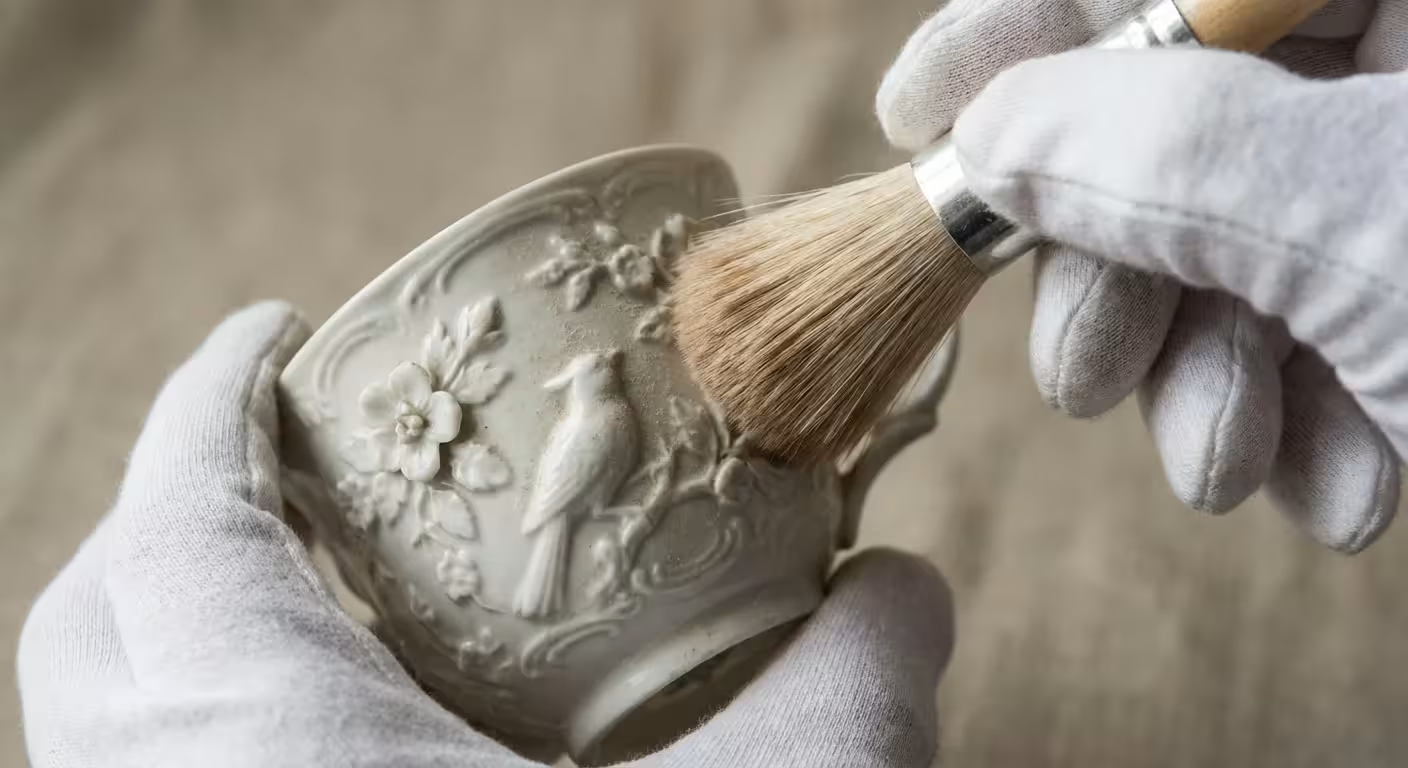
Cleaning should be minimal and non-invasive. Use a soft, dry brush to whisk away dust from intricate carvings or jewelry settings. Avoid the temptation to polish silver or deep-clean old wood. According to the Smithsonian Archives, maintaining the original state of an object is vital for its historical integrity. If an item is exceptionally fragile, such as a crumbling letter or a thinning silk ribbon, do not attempt to flatten it or clean it yourself; photograph it as it is to avoid further degradation.
Gather your items and group them by type. It is more efficient to photograph all your jewelry in one session and all your framed documents in another because the lighting and camera settings will remain consistent for each group. Create a simple staging area on a sturdy table at a comfortable height where you can work without rushing.
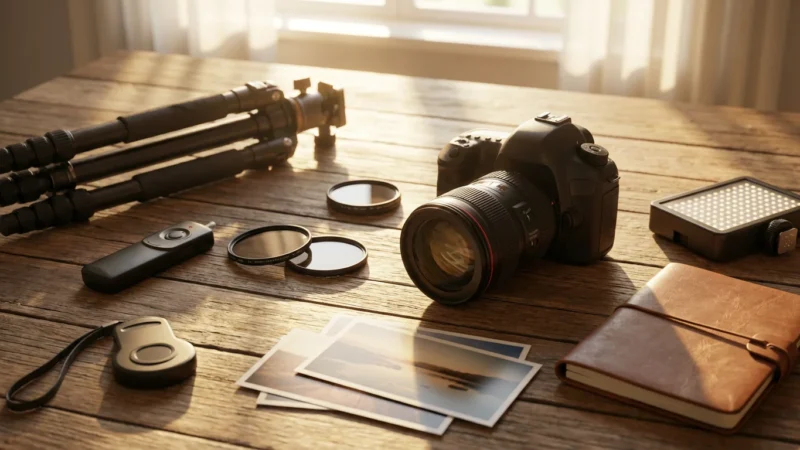
Setting Up Your Home Documentation Studio
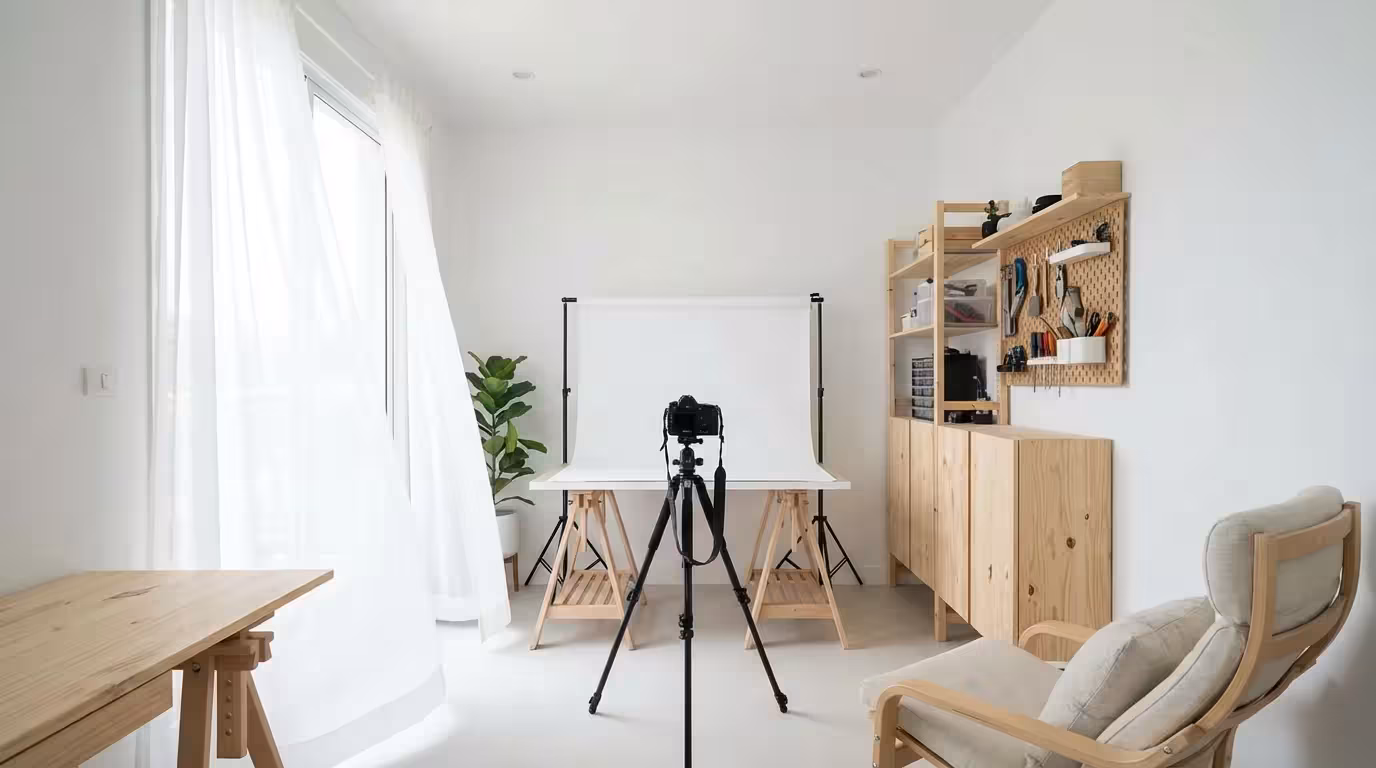
You do not need expensive gear to produce clear, archival-quality images. The most important factor in antique photography tips is the quality of your light. Harsh shadows or bright “hot spots” can obscure important details like hallmarks or signatures. Position your staging table near a large window that receives plenty of indirect light. North-facing windows are ideal because they provide a steady, soft light throughout the day. Avoid direct sunlight, which creates high-contrast shadows and may expose sensitive materials to harmful UV rays.
If you are working with artificial light, use two identical lamps placed at 45-degree angles to the object. This “cross-lighting” setup minimizes shadows and highlights the texture of the item. Use LED bulbs with a high Color Rendering Index (CRI) to ensure the colors in your photos match the object in real life. Avoid using your camera’s built-in flash, as it often flattens the appearance of the object and creates distracting reflections on glass or polished metal.
The background should be neutral and non-distracting. A large sheet of acid-free white foam board or a piece of matte black velvet works best. White backgrounds are excellent for most items, while black velvet is superior for jewelry and glass because it absorbs light and eliminates reflections. Ensure your background is clean and free of lint; any debris on the surface will be magnified in your final image and require tedious digital cleanup later.
Technical Photography Basics for Sharp Details
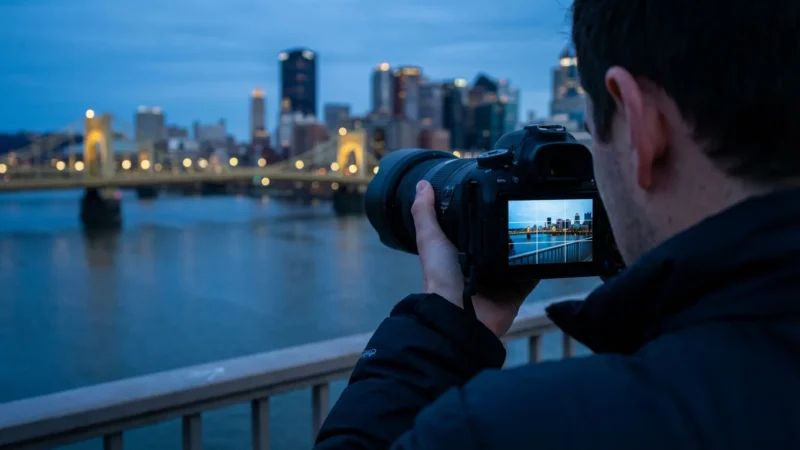
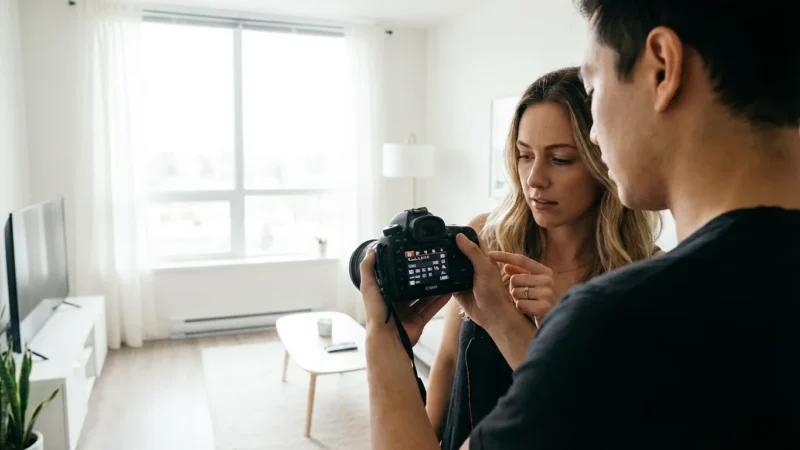
To document family treasures effectively, your images must be sharp from edge to edge. Use a tripod whenever possible. Even if you have steady hands, the slight vibrations of a shutter press can cause blurring, especially in lower light. If you are using a smartphone, look for a specialized mount that attaches to a tripod or a stable stand.
When adjusting your settings, prioritize a low ISO (usually 100 or 200). A high ISO introduces “noise” or graininess, which can mask the very details an insurance appraiser needs to see. For those using a DSLR or mirrorless camera, choose a mid-range aperture like f/8 or f/11. This creates a “deep” depth of field, ensuring that the front and back of a three-dimensional object, such as a silver teapot, remain in crisp focus. If you want to learn more about how aperture and ISO interact, Cambridge in Colour offers excellent tutorials on these fundamental concepts.
Archival photography is not about artistic flair; it is about the honest and accurate representation of an object’s condition and character at a specific moment in time.
Always shoot at the highest resolution your camera allows. If your camera supports RAW format, use it. RAW files capture all the data from the sensor without the compression found in JPEGs, giving you much more flexibility to correct exposure or white balance later. If RAW is not an option, select the “Fine” or “Extra Fine” JPEG setting. Ensure your white balance is set correctly for your light source so that your great-grandmother’s “cream” lace doesn’t look “yellow” or “blue” in the digital file.
Specific Requirements for Insurance Documentation
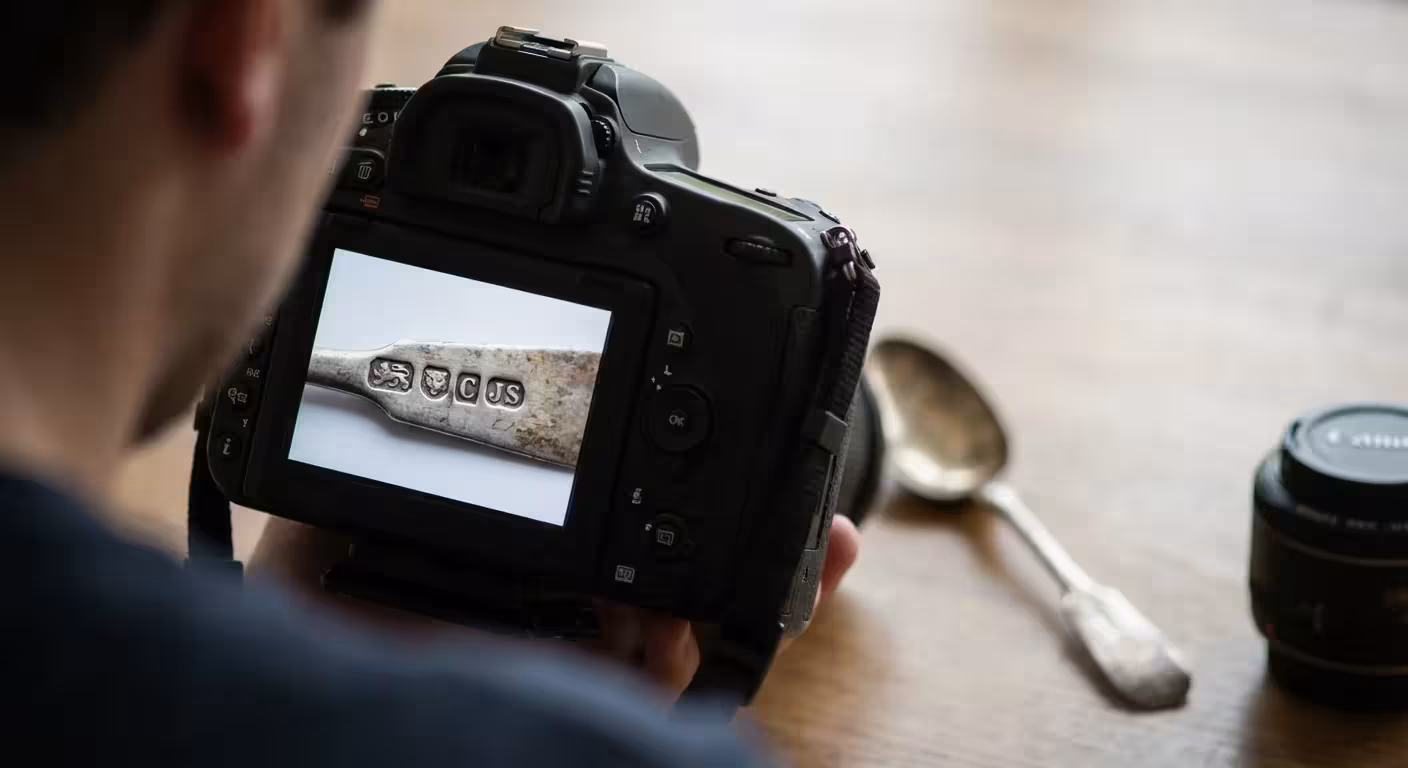
Insurance companies require more than just a pretty picture; they need proof of identity and condition. When you photograph for insurance, you must capture the “identifying marks” that make your item unique. This includes serial numbers, maker’s marks, hallmarks on precious metals, and signatures on artwork. Use a “macro” or “close-up” mode to fill the frame with these details.
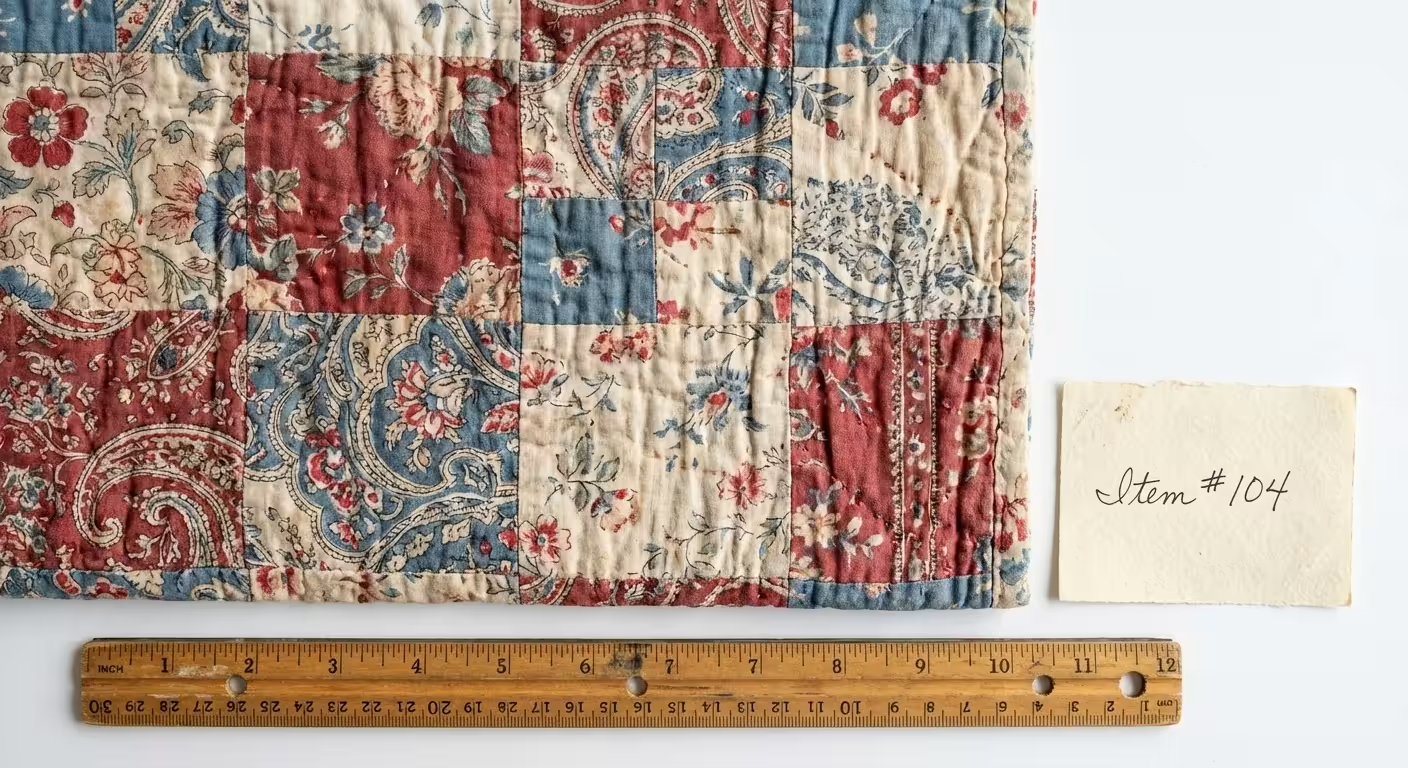
A critical component of insurance photography is scale. Without a reference point, it is impossible to tell if a diamond is a quarter-carat or three carats from a photo alone. Place a small, non-reflective ruler or a professional “archival scale” next to the item. This allows an appraiser to determine exact dimensions even years after the item has been documented. For three-dimensional objects, take at least four photos: a front view, a side view, a top view, and a close-up of the most significant detail.
Use the following table to ensure you have captured all the necessary data for your insurance records:
| Requirement | What to Capture | Purpose |
|---|---|---|
| The Overview | The entire object from the front. | General identification. |
| The “Hallmark” | Extreme close-up of stamps or signatures. | Verification of authenticity and maker. |
| The Condition | Detailed shots of chips, cracks, or repairs. | Establishing value based on state of preservation. |
| The Scale | A photo of the item next to a ruler. | Documenting physical dimensions. |
Keep a physical log as you work. Assign each item a number that corresponds to the photo file name. Record the item’s history, its approximate age, and how it came into your possession. This “provenance” is often just as valuable as the item itself when it comes to historical archiving and insurance valuation.
Organizing and Backing Up Your Digital Archive
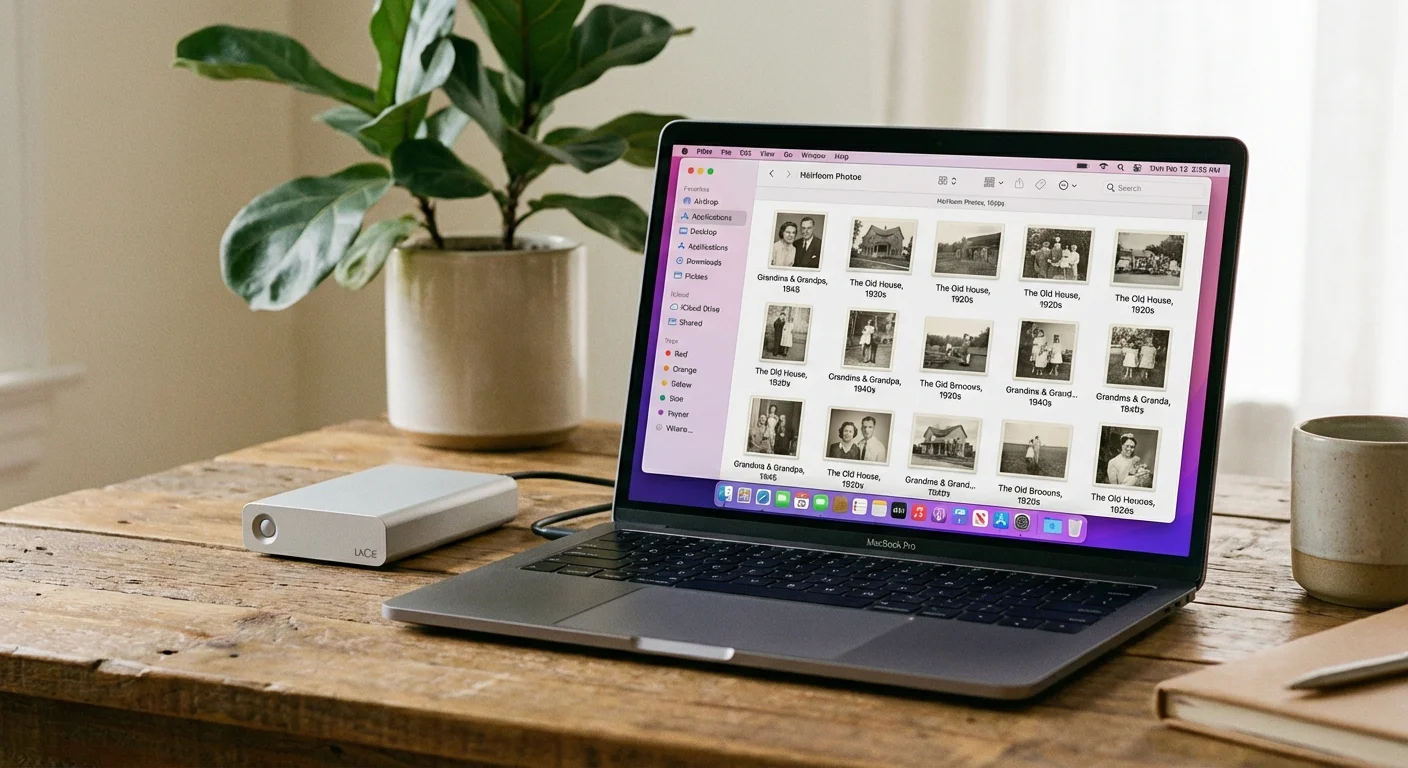
The best photographs in the world are useless if you cannot find them when you need them. A pile of files named “IMG_4829.jpg” is a digital junk drawer. You must implement a logical naming convention immediately. A standard format is YYYY-MM-DD-ItemName-View.extension. For example, “2023-10-15-SilverPocketWatch-Hallmark.jpg” tells you exactly what is in the file without having to open it.
Modern photography allows you to embed “metadata” directly into the image file. Most photo management software lets you add “tags” or “keywords.” Use terms like “Family Heirloom,” “Insurance 2023,” or “Great-Uncle Arthur.” You can also include the item’s history in the “Description” or “Caption” field of the metadata. This information stays with the file even if it is moved or shared, ensuring the story is never separated from the image.
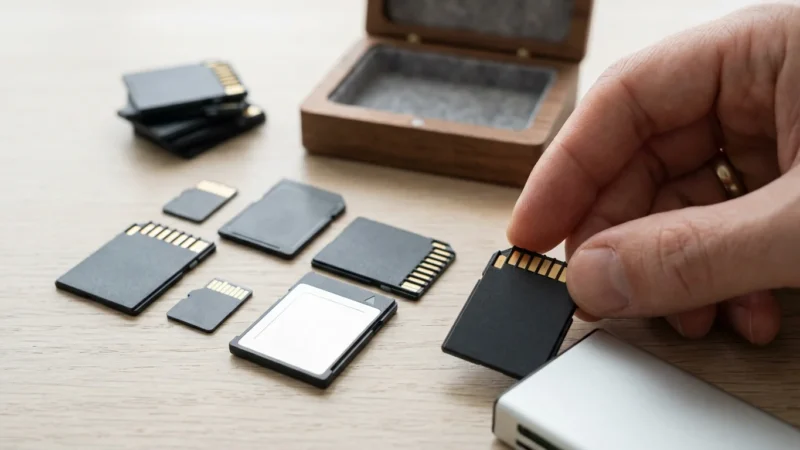
Follow the “3-2-1 rule” for backups: maintain three copies of your data, on two different media types, with one copy located off-site. You might keep your primary collection on your computer’s hard drive, a second copy on a high-quality external solid-state drive (SSD), and a third copy in a secure cloud storage service. Avoid using inexpensive thumb drives for long-term storage, as they are prone to data corruption over time. Check your digital archives every few years to ensure the files are still readable and the hardware is functioning correctly.

Preserving Physical Items After the Shoot
Once you have finished documenting your treasures, do not simply throw them back into a cardboard box in the attic. The process of archiving digitally should be paired with a commitment to physical preservation. Cardboard boxes and standard plastic bins often off-gas chemicals that can accelerate the deterioration of photos, fabrics, and papers. Instead, invest in archival-grade, acid-free, and lignin-free storage containers.
The National Archives recommends storing precious items in a “cool, dry, and stable environment.” Fluctuations in temperature and humidity are the primary enemies of heirlooms. Basements are often too damp, leading to mold and mildew, while attics are usually too hot, causing materials to become brittle. A closet in the main living area of your home is typically the best location for your physical archive.
For photographs and documents, use polyester (Mylar) sleeves to protect them from handling. For textiles, wrap them in unbuffered acid-free tissue paper and store them flat in a textile box to prevent permanent creasing. By taking these steps, you ensure that the physical items you just worked so hard to photograph will survive for another generation to hold and admire.
The goal of preservation is to slow the inevitable passage of time, giving future generations a chance to touch the same history that you hold today.
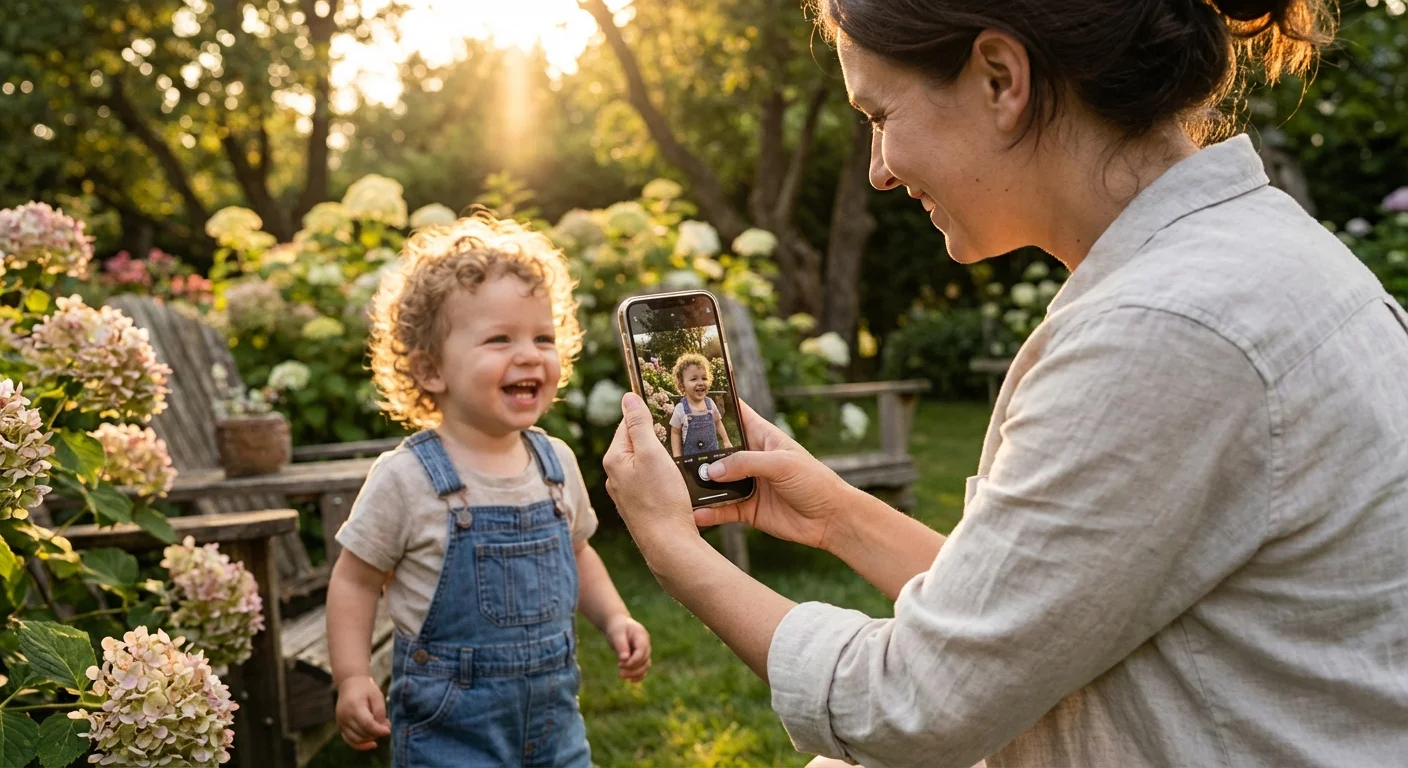
Remember that digital archiving is an ongoing process. As you inherit new items or discover forgotten boxes, add them to your system. Share your digital gallery with family members; not only does this spread joy, but it also creates “social backups”—the more family members who have copies of these photos, the less likely they are to be lost to history. Your efforts today create a bridge between the ancestors who owned these objects and the descendants who will one day cherish them.
Frequently Asked Questions
What resolution should I use for scanning or photographing old documents?
For most documents, a resolution of 300 to 600 DPI (dots per inch) is sufficient for digital archiving and printing. If the document has extremely fine detail or you plan to enlarge it significantly, 1200 DPI is recommended. Ensure you save these as TIFF files rather than JPEGs to prevent losing detail through compression.
Do I need a professional macro lens for jewelry?
While a dedicated macro lens is ideal for capturing tiny hallmarks, many modern smartphones have impressive macro modes that work well for basic documentation. If your camera cannot focus close enough, take the sharpest photo you can from a distance at high resolution and then crop the image later. For insurance, clarity and scale are more important than artistic bokeh.
How should I document items that are too large to move, like antique furniture?
For large furniture, focus on “contextual” shots first—photograph the item in the room. Then move the furniture slightly away from the wall if possible to photograph the back and underside. These areas often contain labels, maker’s stamps, or construction techniques (like dovetail joints) that help date the piece. Use a helper to hold a neutral bedsheet behind the item to create a clean background.
Should I include the original packaging or boxes in the photos?
Absolutely. For many collectibles and heirlooms, the original box or the jeweler’s case adds significant value and historical context. Photograph the item inside the box, the box itself (including any labels or addresses), and any original receipts or certificates of authenticity that were stored with it.
Disclaimer: This article is for informational purposes only. When handling valuable or irreplaceable photographs, consider consulting a professional conservator. Always test preservation methods on non-valuable items first.


Leave a Reply