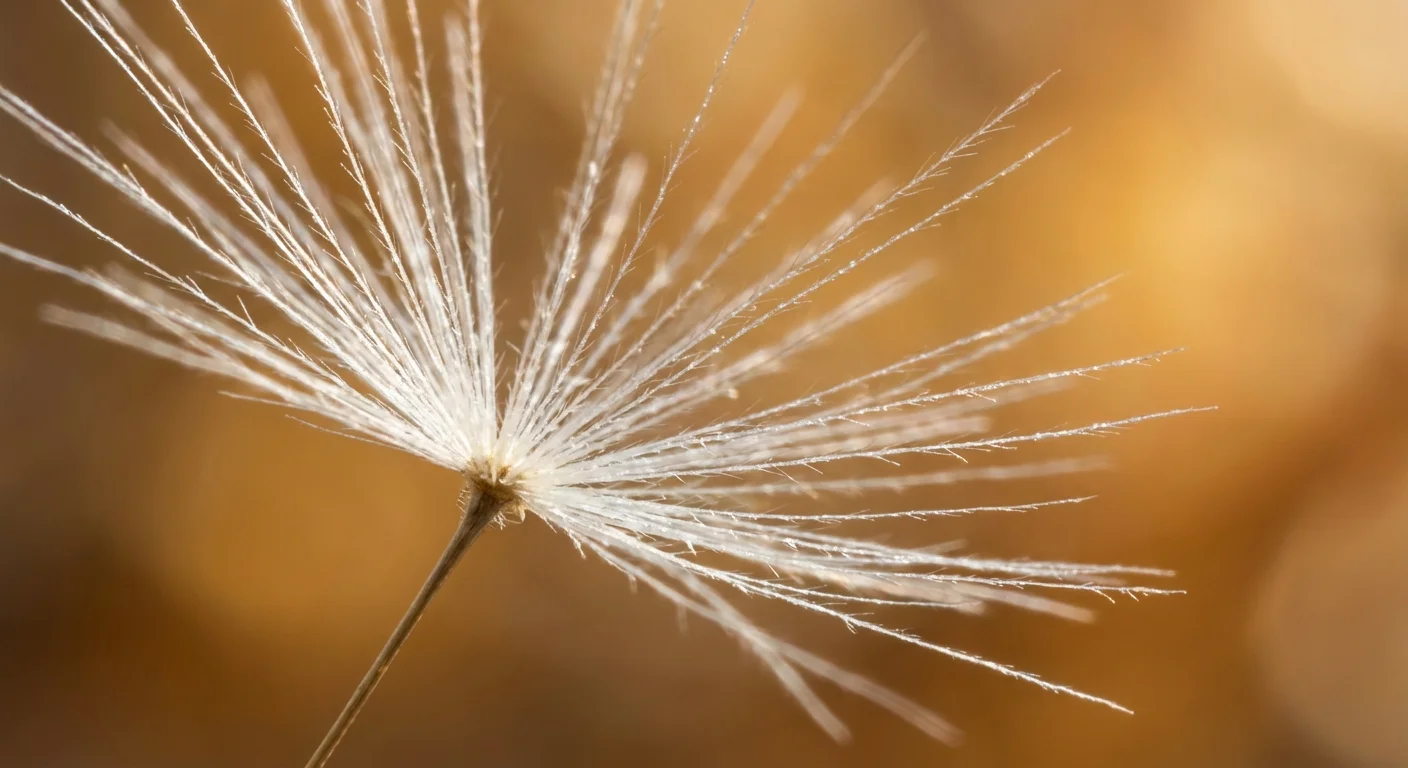
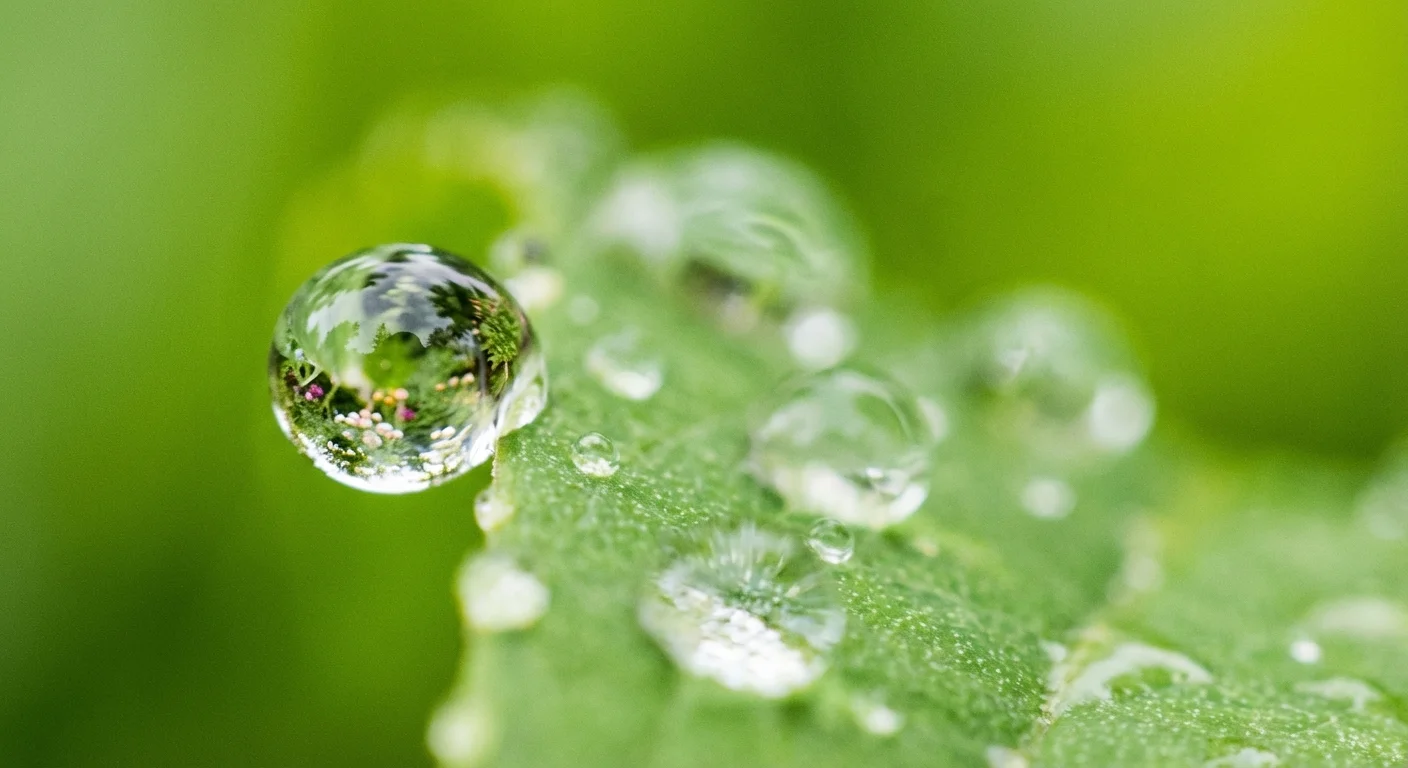
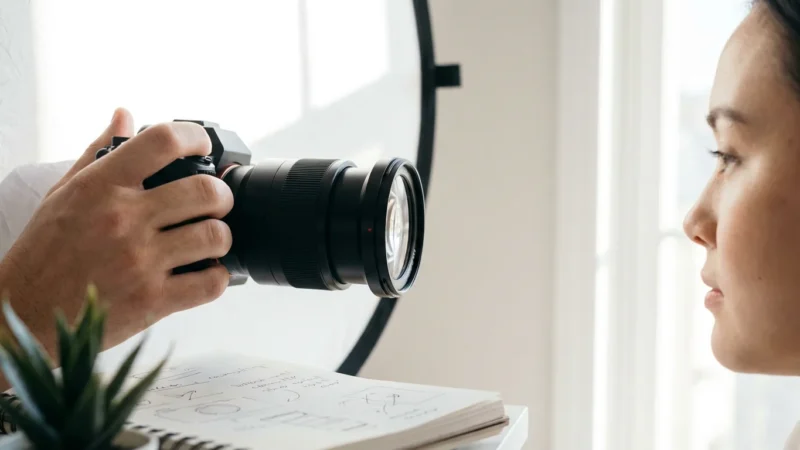
Macro photography invites you into a hidden universe that exists right beneath your nose—a world where a common housefly resembles a prehistoric titan and a simple dewdrop becomes a crystalline sphere reflecting the entire garden. For many of us at PhotoMemoryHub, macro photography serves as more than just a creative hobby; it is a vital tool for documenting the intricate textures of our heritage. Whether you are capturing the delicate engraving on a grandmother’s wedding ring or the fine fibers of a hand-stitched quilt from the 19th century, mastering the art of the close-up allows you to preserve details that the naked eye often overlooks.
You might feel intimidated by the technical jargon or the expensive-looking gear often associated with professional galleries. However, capturing stunning “tiny life” images is accessible to anyone willing to slow down and observe. By understanding a few core principles of light, magnification, and stability, you will transform your perspective on the world. This guide will walk you through the essential gear, the critical settings, and the practical techniques you need to start your journey into macro photography today.
Understanding Magnification and the 1:1 Ratio
To succeed in macro photography, you must first understand what makes an image “macro” rather than just a close-up. In the strictest sense, true macro photography occurs when the subject is reproduced on your camera sensor at life-size or larger. This is known as a 1:1 magnification ratio. If you photograph a honeybee that is one centimeter long, and that bee takes up exactly one centimeter of space on your digital sensor, you have achieved 1:1 macro.
Most standard lenses—the ones that come in a camera kit—usually offer a magnification ratio of 1:4 or 1:6. While these allow for decent close-up photography, they cannot capture the microscopic textures of a butterfly wing or the individual grains of sand on a beach. When you move into the realm of 1:1 magnification, the physical laws of photography seem to change; your depth of field shrinks to millimeters, and the slightest vibration can ruin a shot.
“Macro photography is about exploring the architecture of the small—finding the grand designs in the most overlooked corners of our environment.”
You do not always need to reach 1:1 to create beautiful images. Many photographers find that “near-macro” (ratios like 1:2) is perfect for flowers or larger insects. However, knowing the limits of your equipment helps you manage your expectations. If you find you cannot focus as closely as you’d like, you are likely hitting the “minimum focus distance” of your lens. Every lens has a physical limit on how close it can be to a subject while still maintaining focus; pushing past this limit requires specialized tools or techniques.

Essential Macro Gear for Beginners
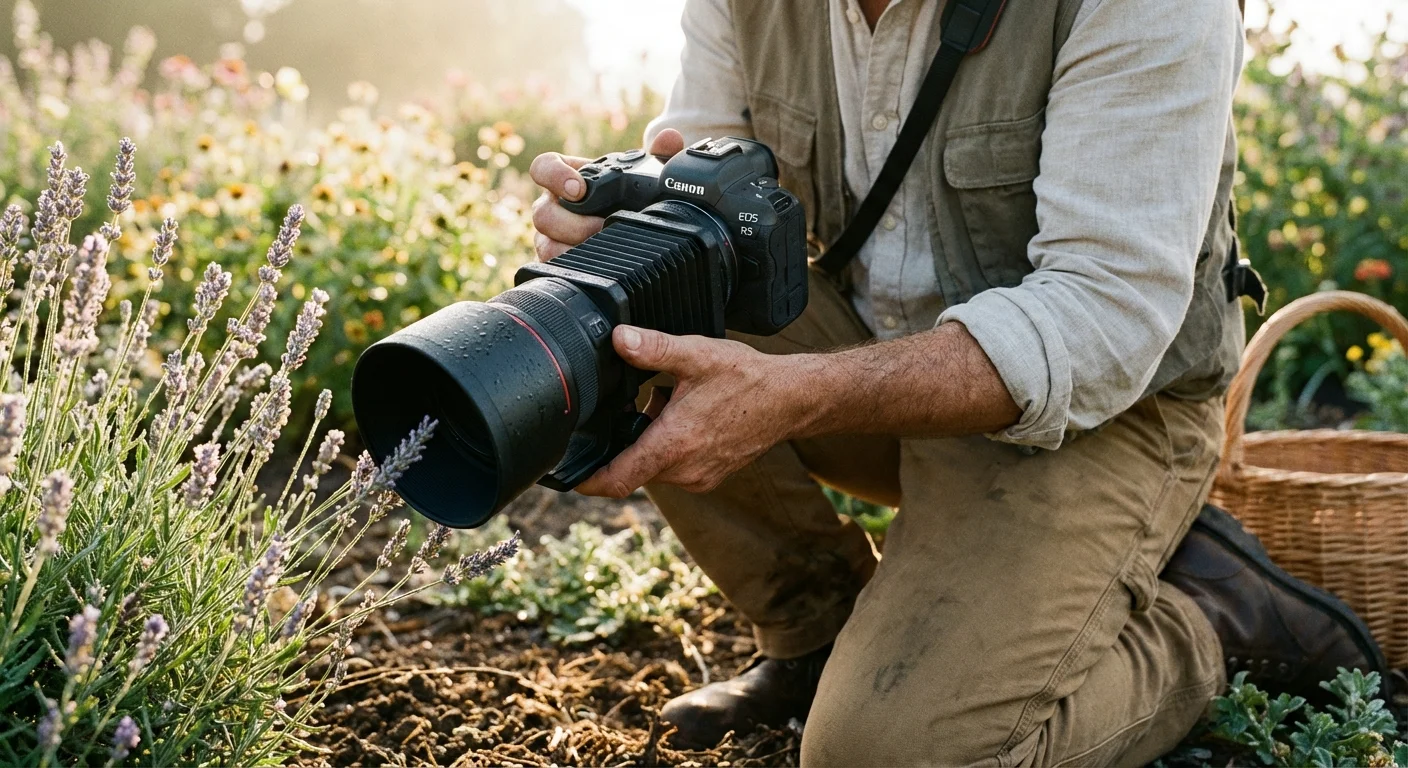
Building a kit for macro photography does not have to break your bank account. While a dedicated macro lens is the gold standard, several budget-friendly alternatives can yield professional results. You should evaluate your needs based on your budget and how often you plan to shoot small subjects.
Dedicated Macro Lenses: These lenses are specifically engineered to focus at very close range and maintain sharpness across the entire frame. Popular focal lengths for macro lenses range from 60mm to 105mm. A 100mm macro lens is often considered the “sweet spot” because it provides a comfortable “working distance”—the physical space between the front of your lens and your subject. This is crucial if you are photographing skittish insects that might fly away if you get too close.
Extension Tubes: If you aren’t ready to invest hundreds of dollars, extension tubes are a brilliant alternative. These are hollow cylinders that fit between your camera body and your existing lens. By moving the lens further from the sensor, you decrease the minimum focus distance, allowing you to get much closer to your subject. Because there is no glass inside the tubes, they do not degrade your image quality, though they do reduce the amount of light reaching the sensor. You can find detailed reviews of various macro-capable systems at Digital Photography Review to see which lenses or accessories fit your specific camera mount.
Close-up Filters (Diopters): Think of these as reading glasses for your camera. You screw them onto the front of your lens just like a UV filter. While they are the most affordable option, high-quality “achromatic” close-up lenses are necessary to avoid color fringing and softness at the edges of your images.
| Gear Type | Pros | Cons | Best For |
|---|---|---|---|
| Dedicated Macro Lens | Superior sharpness, 1:1 ratio, easy to use. | Expensive, specialized use. | Professional insect and floral work. |
| Extension Tubes | Affordable, works with lenses you own. | Loss of light, requires manual handling. | Hobbyists on a budget. |
| Close-up Filters | Very portable, extremely cheap. | Can reduce image sharpness at edges. | Casual nature walks. |
| Reverse Ring | Incredible magnification. | Exposes the rear of your lens to dust. | Extreme micro-details. |
Mastering Camera Settings for Close-Up Work
When you enter the macro world, your typical “Auto” mode will likely fail you. To get the best results, you must take manual control over your exposure. The most significant challenge you will face is the loss of depth of field. At high magnifications, even if you use a narrow aperture, only a tiny sliver of your subject will be in focus.
Aperture (F-Stop): In landscape photography, f/11 might keep an entire mountain range in focus. In macro photography, f/11 might only keep the head of an ant in focus while its body blurs into a soft haze. You should generally aim for an aperture between f/8 and f/16. While it is tempting to go even higher (like f/22 or f/32), you will eventually encounter “diffraction,” a physical phenomenon where the image actually starts to lose sharpness because the light has to squeeze through such a tiny hole.
Shutter Speed: Because you are zoomed in so tightly, every heartbeat or slight breeze is magnified. If you are shooting handheld, you need a fast shutter speed—typically 1/200th of a second or faster—to eliminate blur. If you are using a tripod, you can afford slower speeds, but only if your subject (like a flower) is perfectly still. For a deeper dive into how aperture and focal length interact at high magnifications, Cambridge in Colour offers excellent tutorials on the physics of diffraction and depth of field.
ISO: To compensate for the narrow aperture and fast shutter speed, you will often need to increase your ISO. While higher ISOs can introduce “noise” or graininess, modern cameras handle ISO 800 to 3200 remarkably well. It is better to have a sharp, slightly grainy photo than a clean, blurry one.
Lighting Techniques for the Micro World
Light is the lifeblood of macro photography, yet it is often the hardest element to control. When you are inches away from a subject, your own body or the camera lens often casts a shadow over the scene. Additionally, because you are using small apertures to gain depth of field, your camera is “starved” for light.
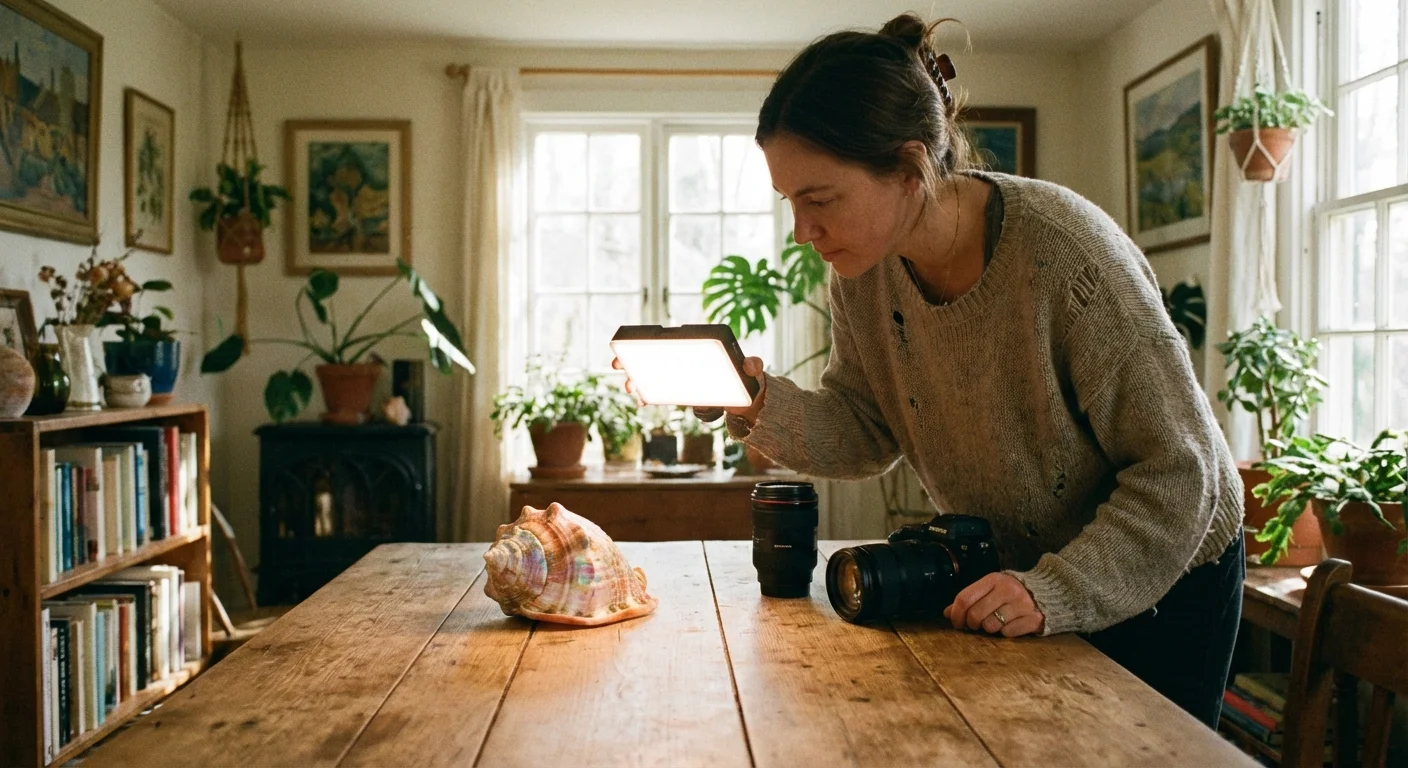
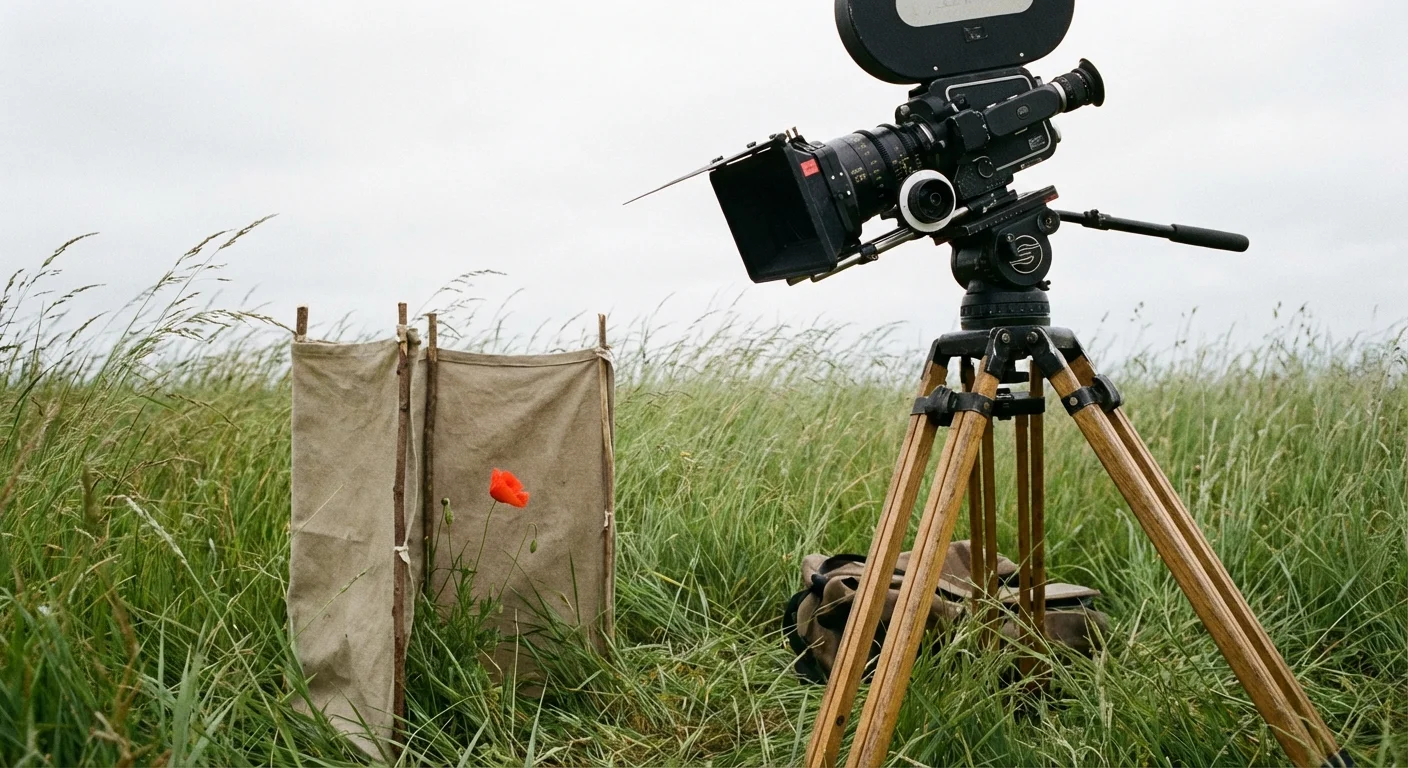
Natural Light: Overcast days provide the best natural light for macro. The clouds act as a giant softbox, eliminating harsh shadows and preventing “hot spots” on shiny surfaces like beetle shells or wet leaves. If you are shooting in bright sunlight, you can use a small handheld diffuser—or even a piece of white parchment paper—to soften the light hitting your subject.
Flash and Ring Lights: Many macro photographers use a “ring flash,” which mounts to the front of the lens. This provides even, shadowless illumination that is perfect for scientific or documentary work. If you find ring flashes too “flat,” a standard external flash with a custom diffuser can create more dramatic, three-dimensional lighting. You can build a DIY diffuser using a white plastic container or specialized foam to spread the light evenly around your tiny subject.
Reflectors: Never underestimate the power of a small piece of silver foil or a white index card. You can use these to bounce light back into the shadowed side of a flower or a piece of jewelry, revealing details that would otherwise be lost in the darkness. This “fill light” is essential for creating a professional, polished look in your macro photography tips and practice.
Composition and Focus Strategies
Composition in the macro world requires a change in mindset. You are no longer looking for “views”; you are looking for patterns, textures, and lines. A common mistake beginners make is centering every subject. Instead, try applying the “Rule of Thirds” to create a more dynamic and engaging image.
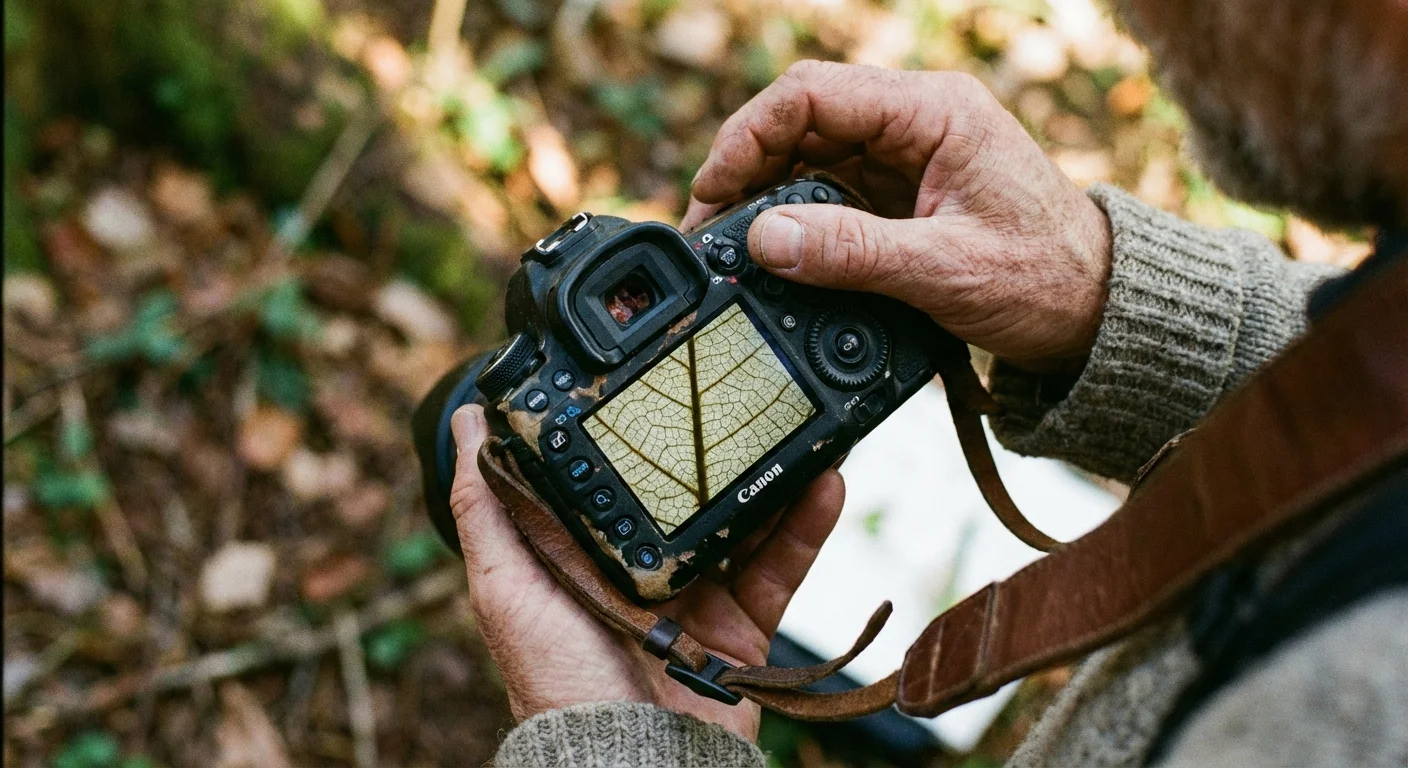
The Plane of Focus: Imagine a sheet of glass extending out from your lens. Anything that touches that glass is in focus. In macro, you must learn to align this “plane of focus” with the most important parts of your subject. If you are photographing a dragonfly from the side, try to keep its entire body parallel to your camera sensor. This ensures that the head, thorax, and wings all fall within that narrow sliver of focus.
Manual Focus is Key: Autofocus often struggles in macro photography because it doesn’t know whether you want to focus on the bee’s eye or the petal it is standing on. Switch your lens to manual focus. A popular technique involves setting your focus to a specific magnification and then physically moving your body (or your tripod) forward and backward until the subject pops into clarity. This gives you much finer control over the final result.
Background Management: Because the depth of field is so small, your background will usually be a soft, colorful blur (often called “bokeh”). You should pay close attention to the colors in the background. A green leaf behind a red ladybug creates a pleasing color contrast, while a cluttered brown background might make the subject disappear. You can even carry small pieces of colored cardstock to place behind your subjects for a clean, “studio” look in the wild.

Preserving Memories Through Macro Photography
At PhotoMemoryHub, we believe macro photography is an essential skill for family historians. Traditional scanning is great for flat photos, but how do you preserve the three-dimensional heirlooms that tell your family’s story? Macro photography allows you to document these items with incredible precision.
Consider the following projects to build your photographic heritage:
- The Jewelry Archive: Photograph the hallmarks, engravings, and gemstone settings of family jewelry. These details are often invisible to the naked eye but provide proof of authenticity and historical context.
- Textile Documentation: Use macro to capture the intricate lace of a christening gown or the specific stitching pattern on a handmade quilt. These textures evoke a sense of touch that standard photos cannot replicate.
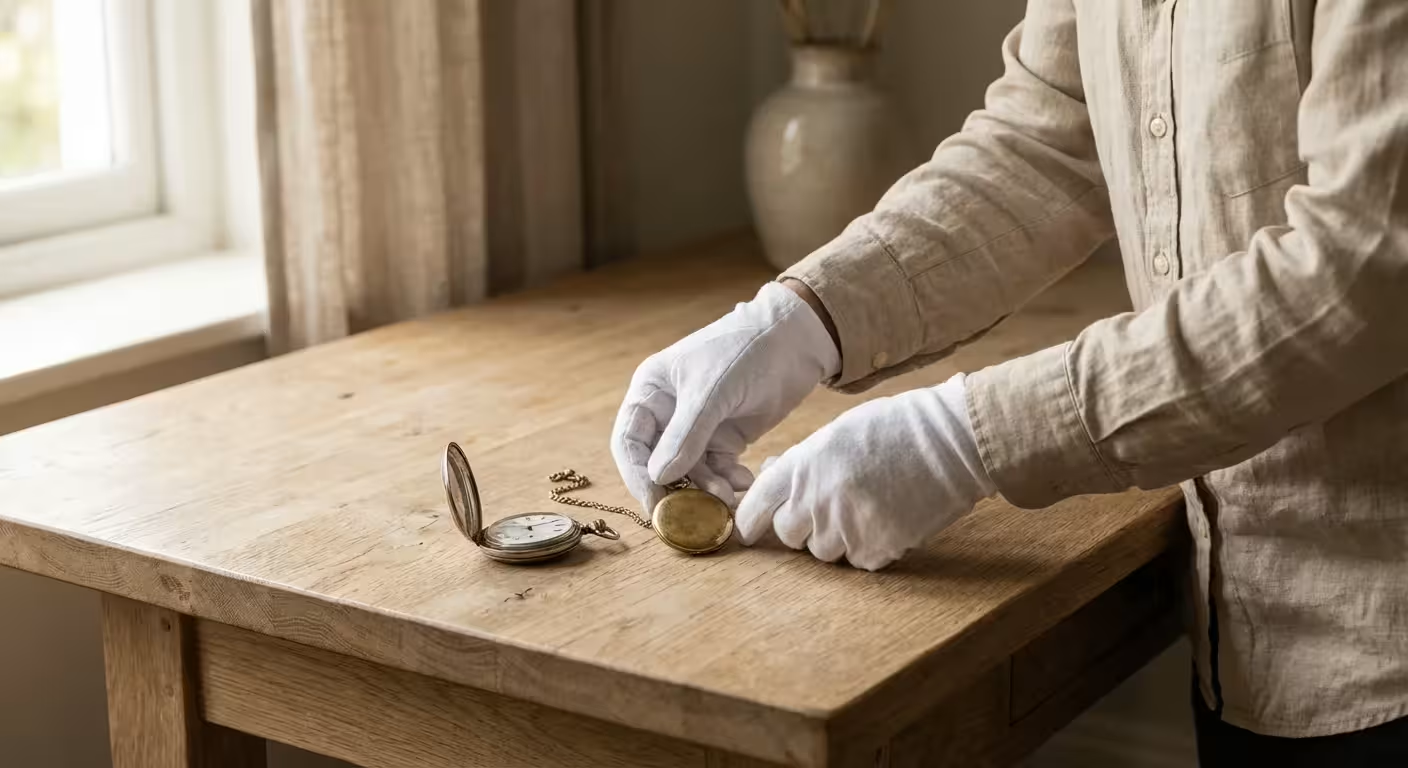
- Antique Timepieces: The gears and faces of old pocket watches are masterpieces of engineering. Macro shots can capture the “heartbeat” of these objects before they are passed down to the next generation.
- Handwritten Notes: While you might scan a letter, a macro shot of the ink’s texture on the paper or the indentations made by a fountain pen adds a layer of intimacy and physical presence to the digital record.
When working with these precious objects, remember the principles of the American Institute for Conservation: handle items with clean, dry hands (or lint-free gloves), and ensure your lighting setup does not generate excessive heat that could damage delicate materials like silk or old paper.
Overcoming Common Macro Photography Challenges
Even seasoned professionals face hurdles when working at high magnifications. Learning to troubleshoot these issues will save you hours of frustration in the field.
The Wind: Outside, even a gentle breeze can make a flower head sway like a pendulum. To combat this, you can use a “plamp”—a specialized clamp that holds the plant’s stem steady. Alternatively, you can use a faster shutter speed or wait for the “lull” between gusts. Patience is perhaps the most important piece of beginner macro gear you can possess.
Camera Shake: If you are using a tripod, even the act of pressing the shutter button can cause enough vibration to blur your image. You should use a remote shutter release or your camera’s built-in self-timer (set to 2 seconds). This allows the vibrations to settle before the camera captures the frame.
Focus Stacking: Sometimes, no matter how small your aperture is, you simply cannot get enough of the subject in focus. This is where “focus stacking” comes in. You take a series of photos, slightly shifting the focus point for each one, and then use software to merge the sharpest parts of each image into one perfectly focused final photo. Many modern cameras now have “focus bracketing” built-in to automate this process.
“The more you look at the small things, the larger your world becomes. Macro photography teaches you that beauty isn’t always in the grand vista; it’s often in the structure of a single leaf.”
Frequently Asked Questions
Do I need a dedicated macro lens to get started?
No, you do not need a dedicated macro lens immediately. While a 1:1 macro lens offers the best quality, beginners can use extension tubes, reverse ring adapters, or close-up filters to achieve high magnification at a fraction of the cost. These tools allow you to experiment with “close up photography” without a significant financial commitment.
Why are my macro photos always blurry?
Blur in macro photography usually stems from two sources: camera shake or a razor-thin depth of field. Because you are working at such high magnification, even the slightest movement is amplified. Use a tripod and a faster shutter speed (at least 1/200s for handheld), or increase your aperture to f/8 or f/11 to widen the plane of focus. Ensure you are using a remote trigger to avoid touching the camera during the exposure.
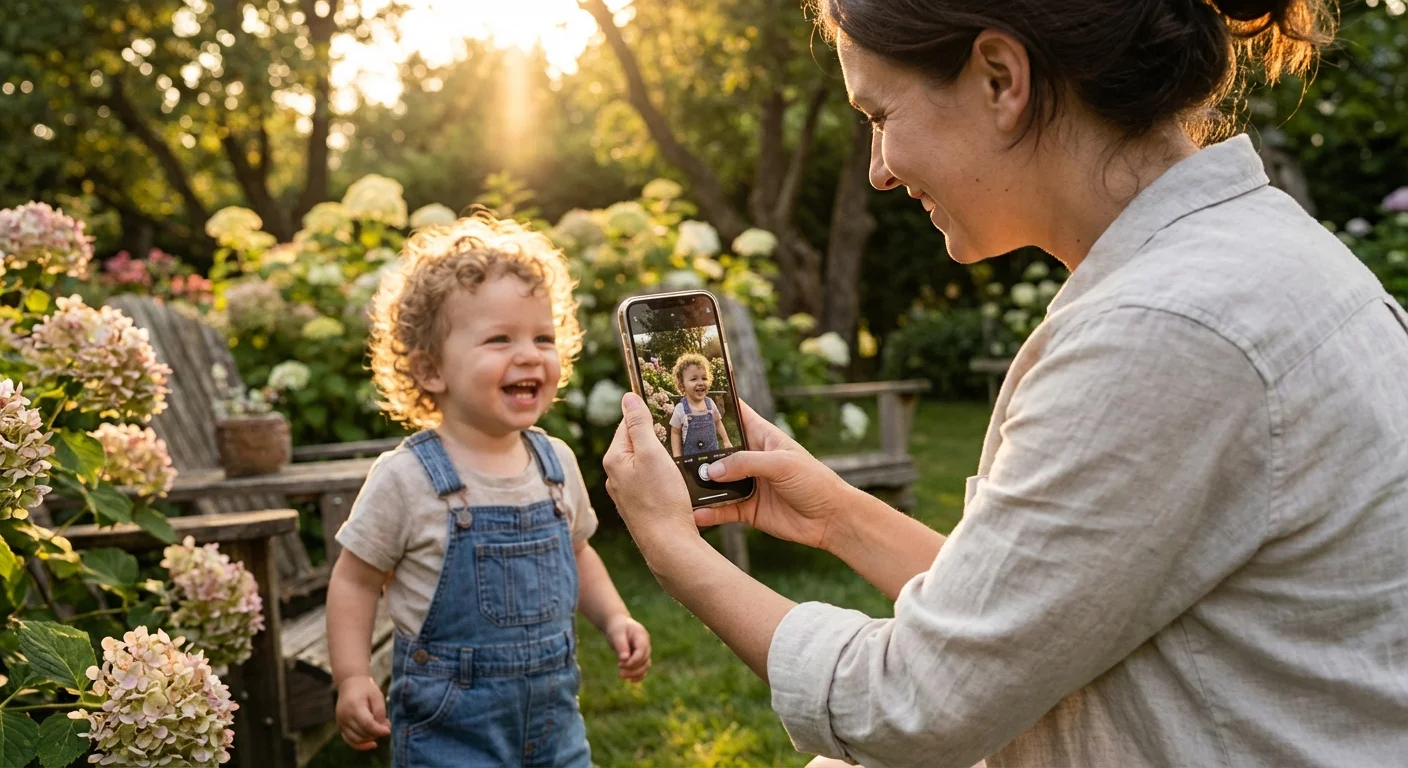
Can I take macro photos with my smartphone?
Yes, many modern smartphones include a dedicated macro mode that activates automatically when you move the camera close to a subject. For older phones, you can purchase clip-on macro lenses. While the sensor size is smaller than a DSLR, the software processing in modern phones can produce stunning results for web sharing and small prints.
What is the best time of day for outdoor macro photography?
Early morning is often the best time. The light is soft and directional, providing beautiful modeling on your subjects. Additionally, insects are “ectothermic,” meaning they rely on external heat. In the cool morning hours, they move slowly, allowing you to get close without them flying away. You may also find dew drops that add a magical, sparkling element to your compositions.
Disclaimer: This article is for informational purposes only. When handling valuable or irreplaceable photographs and heirlooms, consider consulting a professional conservator. Always test preservation methods on non-valuable items first.
Leave a Reply