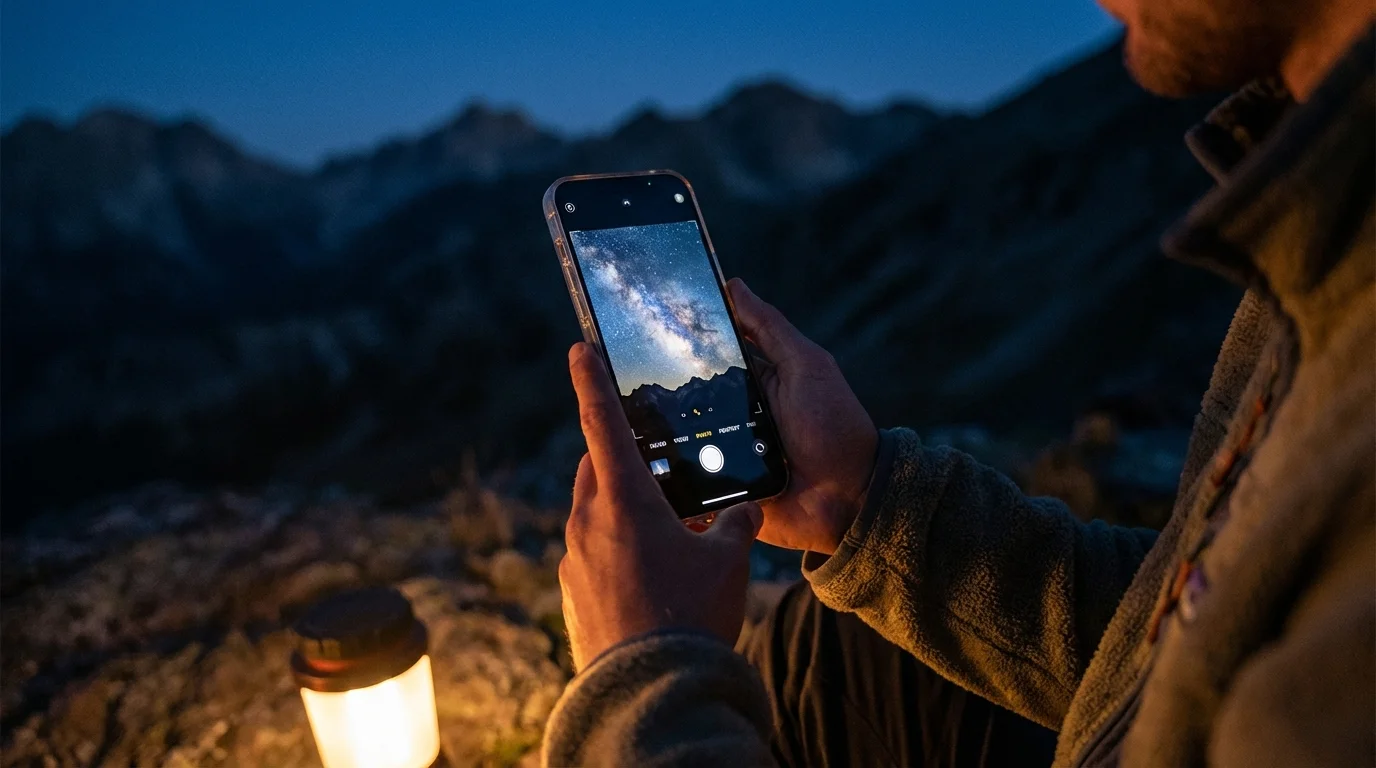
You likely remember a time when capturing the night sky required thousands of dollars in specialized equipment—heavy German-equatorial mounts, cooled CCD cameras, and expensive wide-angle lenses. Today, that narrative has shifted. The device sitting in your pocket is a marvel of computational photography, capable of pulling light from the darkness in ways that would have seemed like science fiction a decade ago. Whether you want to document a meteor shower, capture the Milky Way over a family camping trip, or simply preserve a clear, starry night from your backyard, your smartphone is a capable companion.
Astrophotography with a smartphone is about more than just pointing and clicking; it is an exercise in patience and a lesson in how your phone interprets light. By understanding the physics of your camera and the environment around you, you can transform a grainy, black rectangle into a vibrant celestial landscape. This guide provides the technical steps and creative insights you need to master the art of the night sky, ensuring these moments are preserved for generations to come.

Understanding Computational Astrophotography
To succeed at smartphone astrophotography, you must understand how your device “sees” the dark. Unlike traditional film cameras that capture a single long exposure, modern smartphones use a process called “stacking.” When you engage Night Mode, your phone actually takes a series of shorter exposures over several seconds. Its internal processor then aligns these images, discards the blurry parts, and averages the data to reduce noise and brighten the stars.
This technological leap allows you to capture star photos that are surprisingly clean. However, even the best algorithms cannot overcome physics; sensors in smartphones are small, meaning they struggle to gather as much light as a full-frame DSLR. This is why you must maximize every photon. By using a stable platform and the right software, you assist the computer inside your phone in making better decisions about which light to keep and which noise to delete. Understanding the relationship between aperture, ISO, and shutter speed remains vital, even when the software is doing the heavy lifting. For a deeper dive into how camera sensors manage light and noise, Digital Photography Review offers extensive technical breakdowns of modern mobile sensor capabilities.
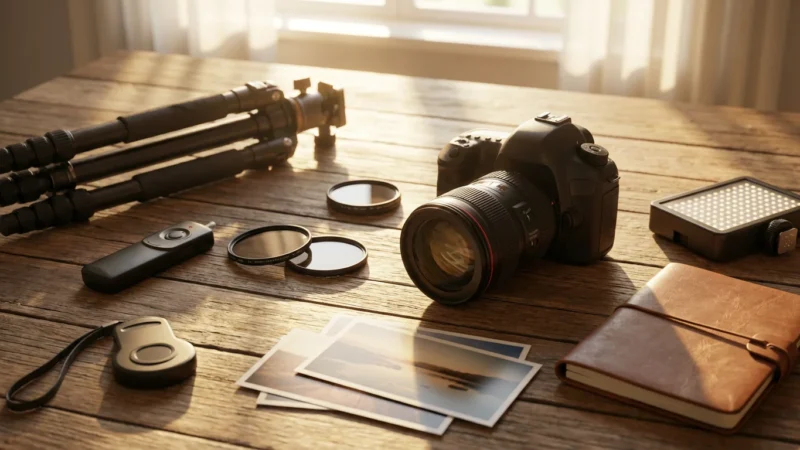
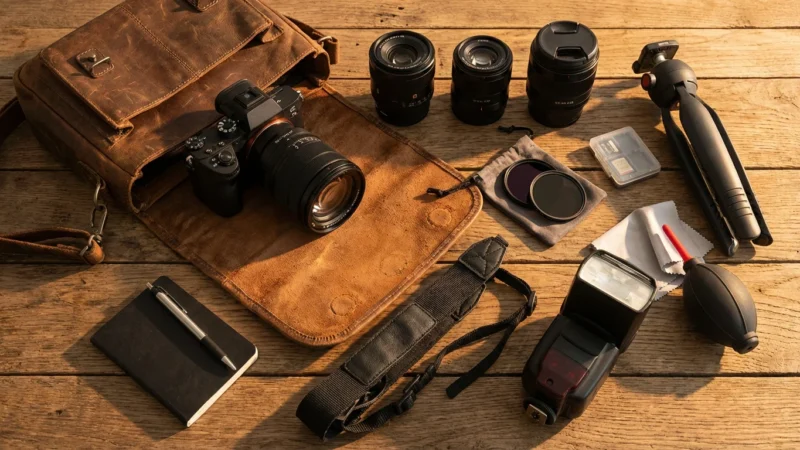
Essential Gear for Stability
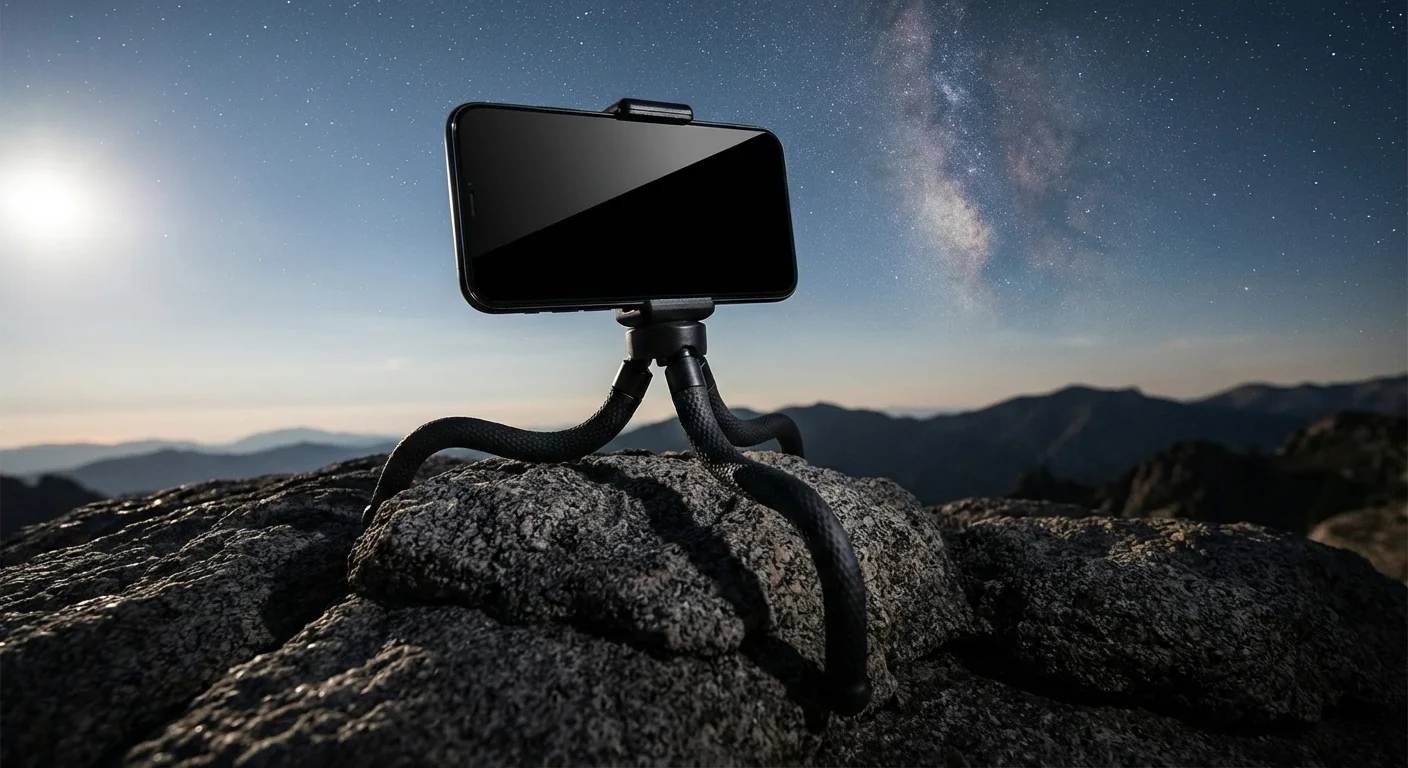
Stability is the foundation of every successful night photo. Because your phone needs to keep its shutter open—or simulate a long shutter through stacking—for anywhere from 3 to 30 seconds, even the pulse in your thumb can cause a blur. You cannot hold a phone steadily enough by hand to get a sharp star photo; you must remove the human element from the equation.
- The Tripod: You do not need a professional-grade carbon fiber tripod, but you do need something sturdy. A “GorillaPod” or a small tabletop tripod is often sufficient for smartphone use. Ensure the head is tight and does not drift under the weight of the phone.
- The Phone Mount: A spring-loaded or screw-clamp mount is essential. Look for one with a cold-shoe mount or a standard 1/4-inch thread that fits onto your tripod. Avoid cheap, flimsy plastic clips that might vibrate in the wind.
- Remote Shutter or Timer: Tapping the screen to take the photo creates a vibration. Use a Bluetooth remote shutter or, more simply, set your camera’s built-in self-timer to a 3-second delay. This allows the vibrations from your touch to dissipate before the camera begins capturing light.
- External Battery Pack: Cold night air and long processing times drain smartphone batteries quickly. Keep a portable power bank connected if you plan on an extended session under the stars.
If you find yourself without a tripod, don’t give up. You can lean your phone against a rock or a fence post. Use the landscape to your advantage—prop the phone up and use a pebble to adjust the angle of the lens toward the zenith. The key is total immobility.

Mastering Manual and Night Mode Settings
Most flagship smartphones from Apple, Samsung, and Google feature a dedicated Night Mode. On an iPhone, this appears as a yellow moon icon; on many Android devices, it is a specific “Night” or “Pro” tab in the camera app. When you place your phone on a tripod, many of these devices automatically detect the lack of movement and extend the maximum exposure time—sometimes up to 30 seconds.
If your phone allows for “Pro” or “Manual” mode, you gain even more control. To capture the stars effectively, follow these specific settings:
- Focus: Set your focus to “Infinite.” In many apps, this is represented by a mountain icon. Avoid using auto-focus, as the camera will likely hunt in the dark and result in a blurry mess.
- ISO: This determines the sensor’s sensitivity to light. For stars, start around ISO 800 or 1600. Going higher (like ISO 3200) will make the image brighter but significantly grainier.
- Shutter Speed: Aim for an exposure between 15 and 30 seconds. Be aware that if your exposure exceeds 30 seconds, the rotation of the Earth will cause the stars to appear as small lines (trails) rather than sharp points of light.
- RAW Format: If your phone supports ProRAW or DNG files, enable this. RAW files contain far more data than standard JPEGs, which is crucial when you try to bring out the faint details of a nebula or the Milky Way in post-processing.
Mastering these settings requires experimentation. Take a shot, look at the result, and adjust. If the sky looks too orange, your ISO might be too high or you might be catching too much light pollution from a nearby city. For more on the fundamentals of exposure, Cambridge in Colour provides excellent visual tutorials on how ISO and shutter speed interact in low-light environments.
Finding the Right Sky Conditions
The greatest enemy of astrophotography is not your equipment; it is light pollution. To see the stars clearly, you must distance yourself from the orange glow of streetlights and city skylines. Even a small amount of ambient light can wash out the faint glimmer of distant stars, leaving you with a hazy, featureless sky.
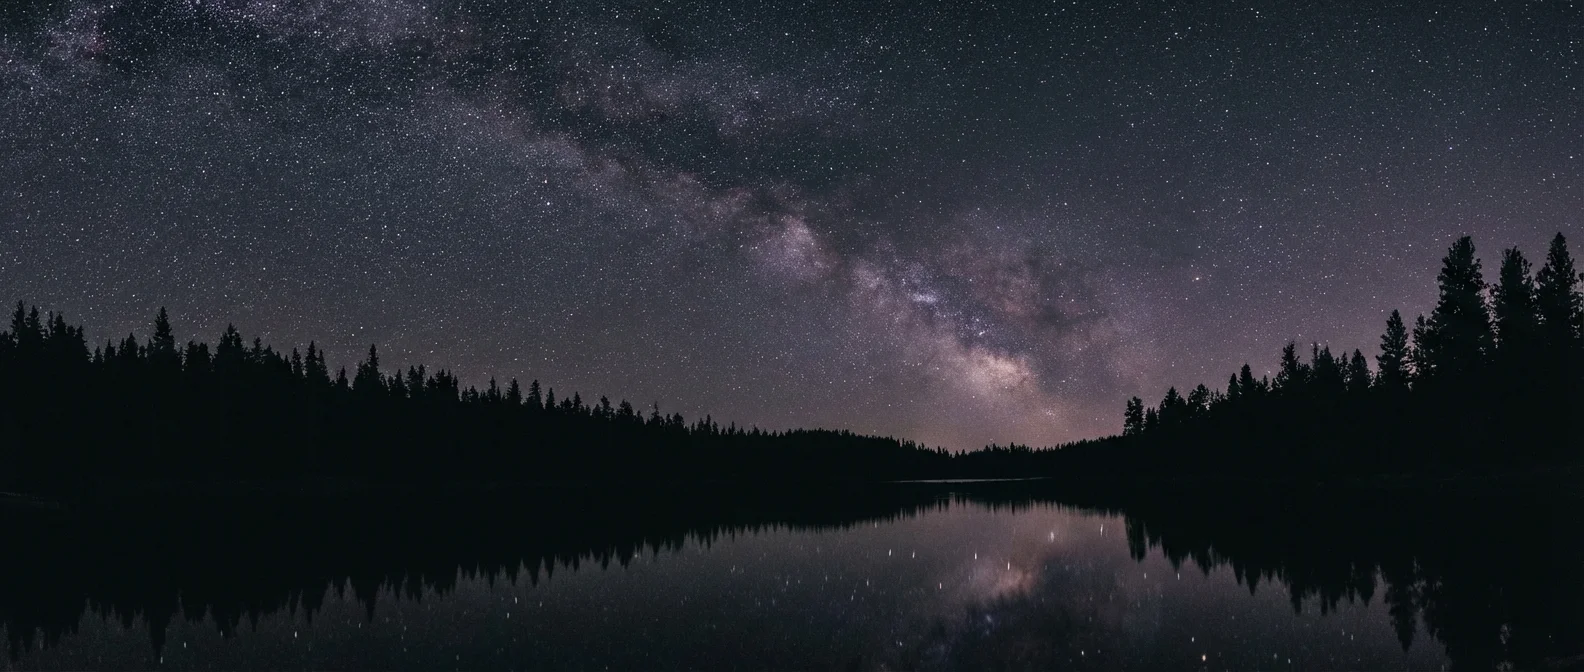
To find the best locations, consult a light pollution map. Astronomers use the Bortle Scale to measure the darkness of a location, ranging from Class 9 (inner-city) to Class 1 (excellent dark sky). You should aim for a Class 4 or lower to capture the Milky Way. National parks and remote coastal areas are often your best bets. Additionally, timing is everything. A full moon is essentially a giant light bulb in the sky that will drown out most stars. Plan your photography sessions during the “New Moon” phase or when the moon has already set.
Weather is your second major consideration. Check for transparency—not just “clear skies.” High-altitude haze or humidity can scatter light and make the stars look soft. Cold, crisp winter nights often offer the clearest views, as the air holds less moisture, though you must ensure your phone is protected from extreme temperature drops and condensation.

Composition Techniques for Stellar Shots
A photo of just stars can be technically impressive but artistically flat. To create a truly memorable image, you must ground the heavens with a terrestrial element. This provides scale and tells a story about your location. Think of the stars as your background and the landscape as your subject.
Use the “Rule of Thirds” by placing the horizon line along the bottom third of the frame. This gives the sky—the star of the show—plenty of room to breathe. Incorporate interesting foreground elements such as the silhouette of an old barn, a gnarled pine tree, or the jagged peaks of a mountain range. If you are photographing with family, have someone stand still for the duration of the exposure while pointing a dim flashlight at the ground or toward the sky; this adds a human element to the vastness of space.
The best night sky photographs are not just about the stars themselves, but about the relationship between the earth we stand on and the universe above us.
Lighting your foreground can also add depth. This technique, called “light painting,” involves using a low-power flashlight to gently sweep across a tree or a rock for a second or two during your 30-second exposure. Be careful not to overdo it; a little light goes a long way in the dark. If the foreground is too bright, it will distract from the stars; if it is a complete silhouette, ensure the shape is recognizable and adds to the composition.
Post-Processing for Clarity and Color
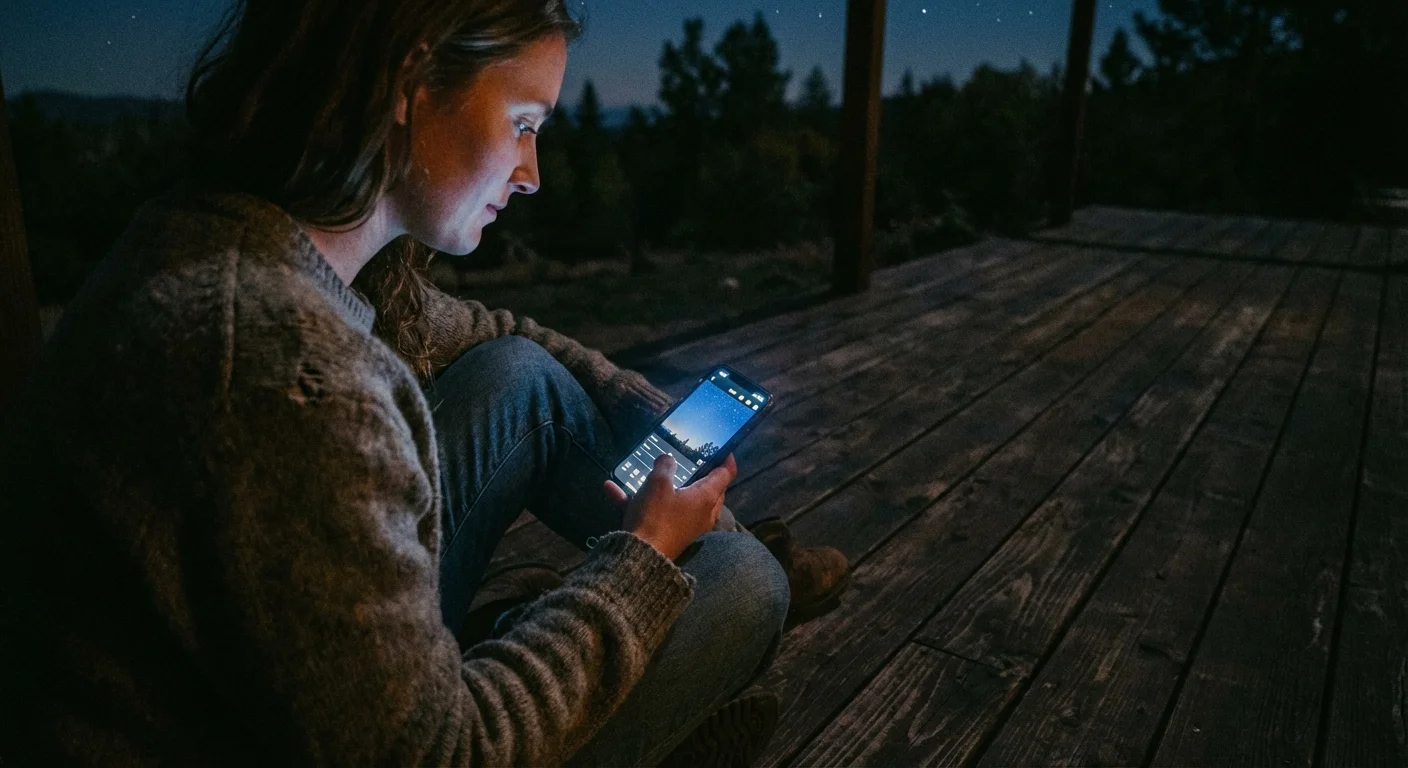
Rarely does a star photo look “perfect” straight out of the camera. Because of the way smartphone sensors handle low light, the initial image might look a bit flat or carry a yellowish tint from light pollution. Post-processing is where you breathe life into the shadows and make the stars pop.
Download a high-quality editing app like Adobe Lightroom Mobile or Snapseed. If you shot in RAW format, you have much more room to move the sliders without ruining the image quality. Start with these basic adjustments:
- White Balance: If the sky looks too brown or orange, move the temperature slider toward the blue (cool) side. A natural night sky often has a deep indigo or slightly violet hue.
- Contrast and Dehaze: Increasing the contrast helps separate the stars from the dark background. The “Dehaze” tool is particularly effective at removing the “glow” caused by atmosphere and light pollution.
- Highlights and Whites: Gently pull these up to make the stars twinkle. Be careful not to go too far, or you will introduce “clipping,” where the stars turn into harsh white blobs.
- Noise Reduction: Use this sparingly. Too much noise reduction will make your photo look like an oil painting or “smush” the smaller stars together. Aim for a balance where the grain is reduced but the details remain sharp.
Remember that editing is a matter of personal taste. Some photographers prefer a vibrant, colorful “galactic” look, while others strive for a more natural, dark aesthetic. The goal is to reflect the awe you felt while standing under the canopy of space.

Archiving Your Celestial Memories
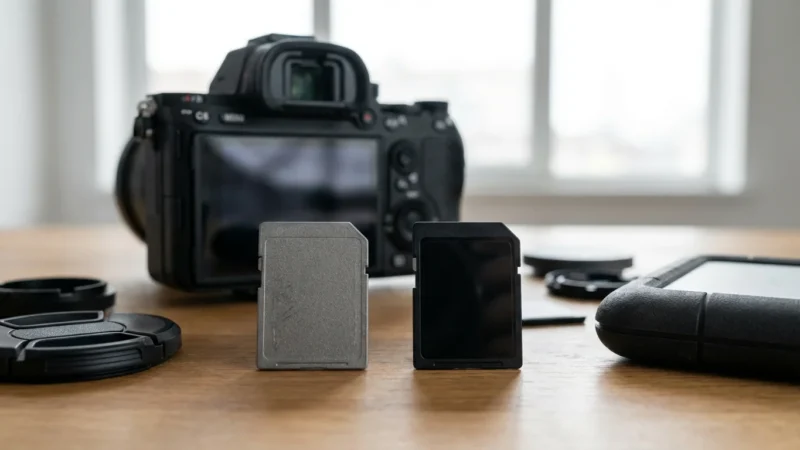
Once you have captured and edited your stellar masterpiece, do not let it sit forgotten in your phone’s camera roll. Digital photographs are surprisingly fragile; a lost phone or a corrupted cloud account can erase your work in an instant. Because these photos represent a specific time and place in your life—perhaps a summer vacation or a quiet night at home—they deserve a long-term preservation strategy.
Apply the “3-2-1” backup rule: maintain three copies of your photos, on two different types of media, with one copy stored off-site. For example, keep your photos on your phone (1), a physical external hard drive at home (2), and a cloud service like Google Photos or iCloud (3). For those interested in the long-term longevity of digital files, the National Archives provides extensive guidelines on digital preservation standards to ensure your images remain readable as technology changes.
Finally, consider the power of the printed image. There is a tactile joy in seeing the Milky Way printed on high-quality luster paper or a metal mount. Large-format prints of night sky photography can serve as stunning decor and a conversation piece for your home. When you print your work, you move it from the ephemeral world of pixels into the physical heritage of your family. These prints become heirlooms, documenting the nights you spent looking upward, reminding future generations that even with a simple phone, we can reach for the stars.
Frequently Asked Questions
Do I need a special app to take star photos with my phone?
While most modern smartphones include a native Night Mode that performs well, using a specialized manual camera app allows you to control ISO and shutter speed precisely. Apps like Halide for iOS or DeepSkyCamera for Android provide more flexibility for advanced users.
How do I prevent my night photos from looking grainy?
Grain, or digital noise, occurs when the ISO is too high. To minimize this, use a tripod to allow for a longer shutter speed, which keeps the ISO lower. Additionally, shooting in RAW format allows you to use noise-reduction software more effectively during the editing process.
Is a tripod absolutely necessary for smartphone astrophotography?
Yes, for high-quality results. Even the slightest handshake will cause the stars to appear as blurry streaks during a long exposure. If you do not have a tripod, prop your phone against a stable rock or wall and use the self-timer to trigger the shutter.
Can I capture the Milky Way with a standard smartphone?
You certainly can. If you are in a location with very low light pollution (Bortle Class 1-4) and use a long exposure of 20 to 30 seconds on a tripod, modern flagship phones can capture the core of the Milky Way galaxy.
Disclaimer: This article is for informational purposes only. When handling valuable or irreplaceable photographs, consider consulting a professional conservator. Always test preservation methods on non-valuable items first.


Leave a Reply