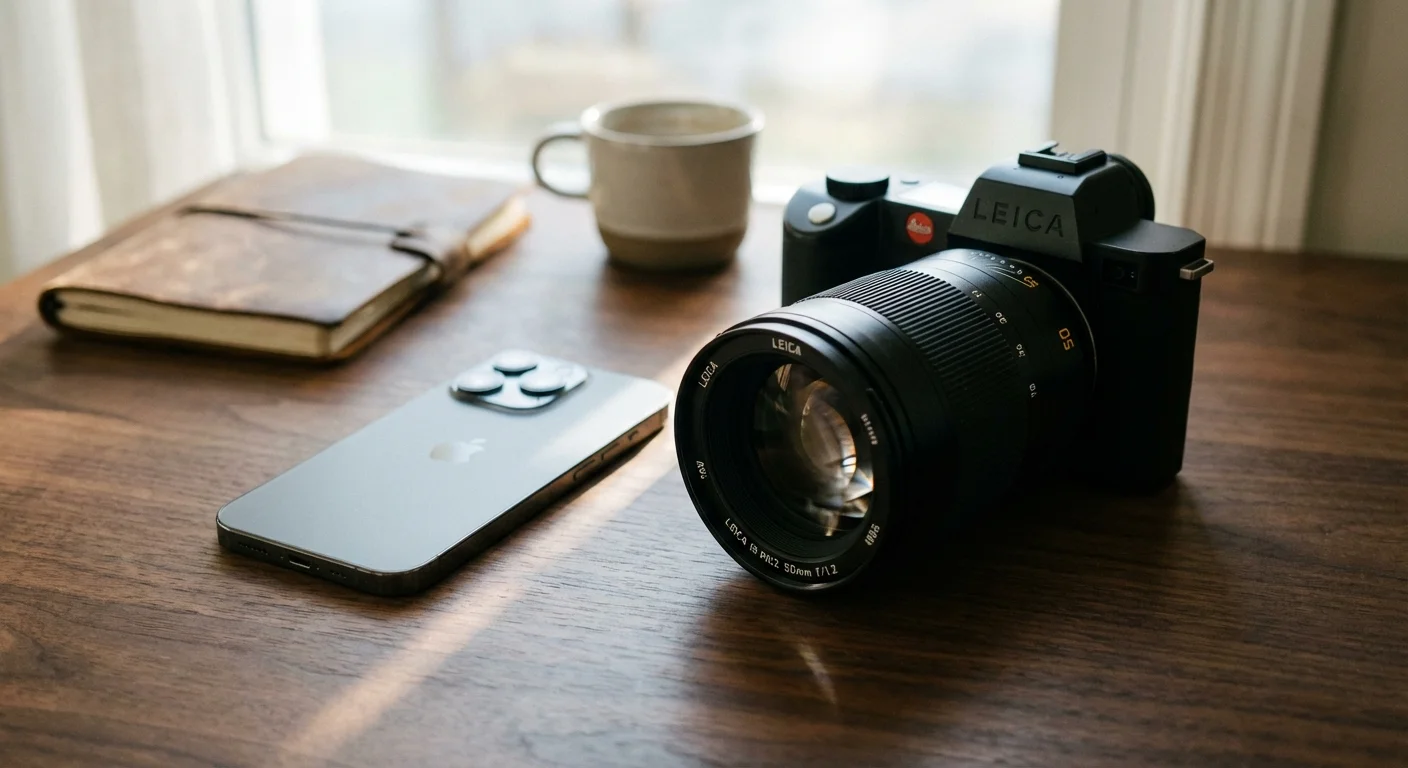
You stand in the camera aisle or scroll through smartphone specs, and the numbers start flying. One device boasts 48 megapixels; another claims 100. It is easy to assume that a higher number automatically translates to a clearer, more beautiful photograph. However, if you have ever compared a grainy 20-megapixel smartphone photo to a crisp, professional 12-megapixel portrait from a dedicated camera, you already know that the math does not always add up. In the world of photography basics, the “megapixel myth” often leads well-meaning consumers away from what truly matters: light collection.
To preserve your family memories with the clarity they deserve, you must look beneath the marketing jargon. The relationship between megapixels and sensor size defines how your camera handles shadows, how it renders vibrant colors, and how well it performs when the lighting is less than perfect. By understanding these two pillars of digital imaging, you can make informed decisions about your gear and ensure your digital photo collection remains a high-quality heirloom for generations.
The Megapixel Myth: Why More Isn’t Always Better
A megapixel is simply one million pixels. If a camera captures an image that is 4,000 pixels wide and 3,000 pixels tall, it produces a 12-megapixel image. For years, manufacturers used this number as a shorthand for “quality” because it was an easy metric for consumers to grasp. They suggested that more pixels equaled more detail, but this is only true under specific, ideal conditions.
Think of pixels as tiny buckets designed to catch rain—in this case, light. If you have a fixed amount of space (the sensor) and you try to cram more and more buckets into that space, the buckets must become smaller. Smaller buckets catch less rain and are more likely to overflow or spill, creating “noise” in your digital file. This is why a high-megapixel smartphone often struggles in a dimly lit living room while an older professional camera with fewer megapixels produces a clean, usable image.
When you prioritize megapixels over everything else, you often sacrifice the integrity of the data. High resolution without high-quality light collection results in “empty” pixels—images that are large in size but lack the sharpness, color depth, and nuance required for true archival quality. For most standard uses, such as sharing on social media or printing a standard 4×6 photo, you only need about 2 to 3 megapixels. The obsession with 50+ megapixel counts is often overkill for the average user unless they plan to print billboards or crop their photos aggressively.
Sensor Size: The True Engine of Your Camera
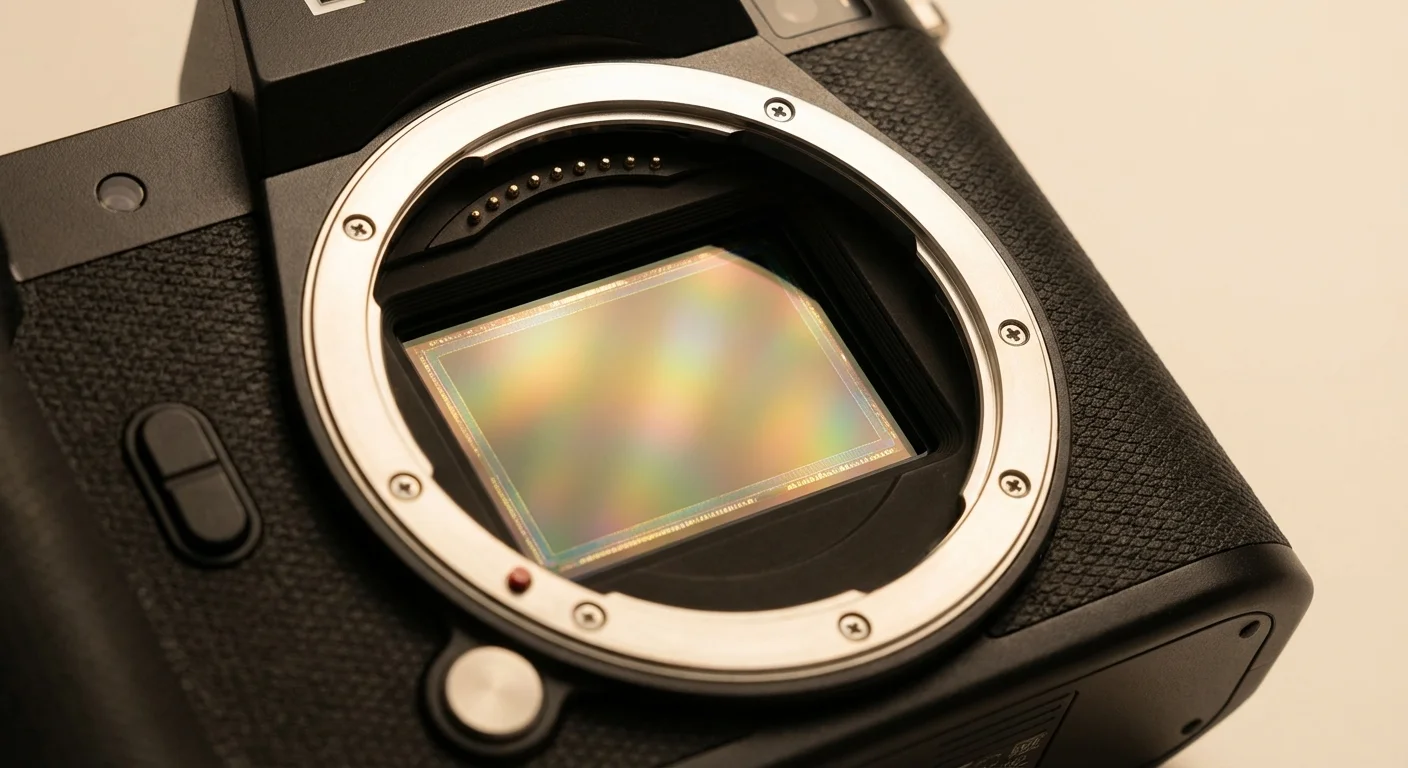
If megapixels represent the quantity of the data points, the sensor size represents the quality of the environment where those points are created. The sensor is the physical hardware inside your camera that reacts to light. In the film era, this was the 35mm strip of film; today, it is a silicon chip. The physical dimensions of this chip are the single most important factor in determining digital camera quality.
Common sensor sizes include:
- Full-Frame (36mm x 24mm): This matches the size of traditional 35mm film. It is the gold standard for professionals because its large surface area maximizes light collection.
- APS-C (approx. 24mm x 16mm): Often called “crop sensors,” these are found in many mid-range mirrorless and DSLR cameras. They offer a great balance of size and performance.
- Micro Four Thirds (17.3mm x 13mm): Popular in compact travel cameras, offering good quality in a much smaller form factor.
- 1-Inch Type: Found in high-end “point and shoot” cameras.
- Smartphone Sensors: These are tiny, often measuring around 6mm x 4.5mm or even smaller.
To visualize the difference, a full-frame sensor has about 30 times the surface area of a standard smartphone sensor. This massive difference in physical real estate allows the larger sensor to “see” more light in the same amount of time. When your camera sees more light, it doesn’t have to struggle or use digital trickery to brighten the image, resulting in a more natural and detailed photograph.
“The sensor size is the most important hardware specification because it dictates the physical limits of how much information the camera can gather in any given moment.”

Pixel Pitch and the Physics of Light
To understand the interplay between megapixels vs sensor size, you must look at pixel pitch. Pixel pitch is the distance from the center of one pixel to the center of the next. Effectively, it tells you how large each individual pixel is. When you have a large sensor with a modest number of megapixels (like a 20MP full-frame camera), the pixels are large. When you have a small sensor with a high number of megapixels (like a 100MP smartphone), the pixels are microscopic.
Large pixels are objectively better at capturing light. They have a higher “signal-to-noise ratio.” This means the actual light data (the signal) is much stronger than the electronic interference (the noise). In practical terms, larger pixels provide smoother color transitions and more detail in the shadows. This is why a professional photographer might choose a 24-megapixel camera over a 60-megapixel model for a wedding—the 24-megapixel sensor likely has larger pixels that handle the dark corners of a reception hall much better.
You can explore more about the technical nuances of pixel size and how it affects diffraction and clarity at Cambridge in Colour, which offers deep dives into the science behind these sensors. Understanding this helps you realize that a 40MP camera is not “twice as good” as a 20MP camera; in fact, if the sensor size remains the same, the 40MP camera might actually perform worse in difficult lighting conditions.

Low Light, Noise, and Dynamic Range
The most immediate benefit of a larger sensor is its ability to perform in low light. When you take a photo at night or indoors, your camera increases its sensitivity, known as ISO. High ISO settings amplify the light signal, but they also amplify the noise. Because small sensors start with a much weaker light signal, the noise becomes overwhelming very quickly. You see this as “grain” or “snow” in your photos, which can obscure faces and muddy the colors of your precious memories.
Beyond noise, sensor size affects dynamic range. Dynamic range is the camera’s ability to capture detail in both the darkest shadows and the brightest highlights of the same image. Imagine taking a photo of a family member standing in front of a bright window. A small sensor will often “blow out” the window into a pure white blob or leave the person’s face as a black silhouette. A larger sensor has the capacity to hold onto the details in both areas, allowing you to see the view outside the window and the expression on your loved one’s face.
For those interested in photography basics, mastering dynamic range is a turning point. It allows you to move away from “flat” images and toward photographs that have depth and realism. By choosing a camera with a larger sensor, you give yourself more latitude to edit your photos later, as the files contain more “raw” data in the highlights and shadows.
| Feature | Small Sensor (Smartphone) | Large Sensor (Full-Frame DSLR/Mirrorless) |
|---|---|---|
| Low Light Quality | Often grainy; relies on software to “fix” images. | Clean, sharp images with minimal electronic noise. |
| Background Blur (Bokeh) | Mostly faked using “Portrait Mode” software. | Natural, creamy background blur due to optics. |
| Dynamic Range | Limited; highlights often turn pure white. | Excellent; preserves detail in shadows and sun. |
| Detail at 100% Zoom | Can look “smudged” or like a watercolor painting. | Retains crisp edges and fine textures. |

When Megapixels Actually Matter: Printing and Cropping
Despite the advantages of sensor size, megapixels are not useless. Their primary role is to provide resolution. Resolution dictates how large you can print an image before it starts to look “pixelated” or blurry. For high-quality printing, the industry standard is 300 Dots Per Inch (DPI). This means for every inch of paper, you want 300 pixels of data.
If you want to print a standard 8×10 inch portrait, you multiply the dimensions by 300: (8 x 300) x (10 x 300) = 2,400 x 3,000 pixels. This equals 7.2 million pixels, or 7.2 megapixels. As you can see, even an older 12-megapixel camera provides more than enough data for a beautiful 8×10 print. However, if you want to print a large 20×30 inch canvas to hang over your mantle, you would need about 54 megapixels to maintain that 300 DPI sharpness.
The other major benefit of high megapixels is “cropping.” Sometimes you cannot get close enough to your subject—perhaps a bird in a tree or a candid moment at a graduation. If you have a 45-megapixel image, you can cut out the center of the photo and still have a 15-megapixel file that looks great. If you start with only 12 megapixels and crop heavily, you will quickly run out of detail, leaving you with a blurry result. If you enjoy wildlife or sports photography, megapixels become much more important to your workflow.
Applying These Concepts to Photo Preservation and Digitization
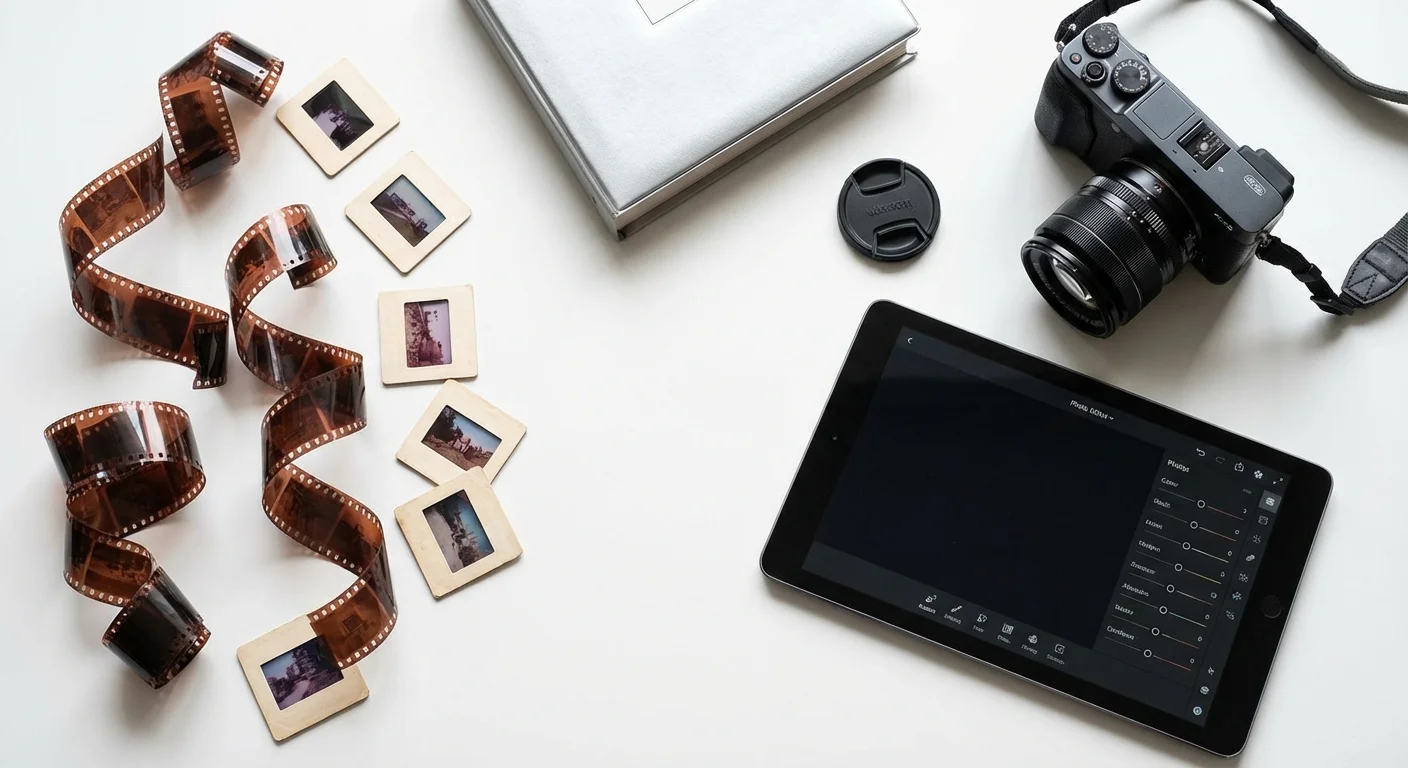
When you begin the journey of digitizing your family’s physical archives—those boxes of slides, negatives, and prints—the megapixels vs sensor size debate becomes incredibly practical. Many people buy “all-in-one” scanners that boast high megapixel counts, only to find their scanned images look terrible. This is because these cheap scanners use tiny, low-quality sensors.
When digitizing a 35mm slide, you are dealing with a tiny piece of film that contains an immense amount of detail. To capture that detail, you need a high-resolution scan (usually 3000 to 4000 DPI), but you also need a sensor with enough dynamic range to “see” into the dark parts of the film. Professional-grade scanners or “camera scanning” setups using a full-frame digital camera are superior because they use larger sensors to capture the subtle color shifts in old Kodachrome or Ektachrome slides.
For standard paper prints, a scan at 300 DPI is sufficient for a 1:1 reproduction. However, if you plan to enlarge a small 2×3 inch vintage photo into a larger print for a memorial service, you should scan it at 600 or even 1200 DPI. This creates a high-megapixel file that allows for enlargement without losing the character of the original photograph. Always remember to use archival-safe handling—wear lint-free cotton gloves and avoid touching the emulsion of the photo—during the digitization process.
“High resolution alone cannot save a poor scan; you must have a sensor capable of distinguishing the subtle gradients of silver and dye found in vintage film.”
Choosing the Right Tool for Your Creative Needs
Now that you understand the balance, how do you choose your next camera or scanner? Do not let the marketing stickers be your only guide. Instead, ask yourself what your primary goal is for your photography. If you are mostly taking photos of your children’s soccer games or family vacations to share on Instagram and perhaps print in a small photo book, a modern smartphone or a 20MP “crop sensor” camera is more than sufficient.
If you are a “memory keeper” tasked with photographing your family’s heritage, or if you aspire to create large-scale gallery prints, you should prioritize sensor size. Look for cameras labeled “Full-Frame.” While the initial cost is higher, the “cleanliness” of the images will make your preservation work much easier. You will spend less time “fixing” grainy photos in software and more time enjoying the clarity of the moments you’ve captured.
For unbiased reviews and side-by-side sensor comparisons, Digital Photography Review is an excellent resource. They provide “studio scene” tools where you can compare a 20MP camera against a 50MP camera at high ISO settings to see exactly how noise affects the image. This data-driven approach will help you see past the hype and find a tool that aligns with your specific needs for quality and longevity.
Ultimately, the best photo is the one that captures the emotion and story of a moment. However, by choosing gear with a capable sensor, you ensure that the technical quality of the image lives up to the emotional weight of the memory. You aren’t just taking a picture; you are creating a digital heirloom that should look as good in fifty years as it does today.
Frequently Asked Questions
Is a 12MP camera outdated in 2024?
Absolutely not. Many professional cameras, such as those designed for high-end video or low-light sports photography, still use 12MP sensors. Because those 12 million pixels are spread across a large sensor, they provide incredible image quality that often surpasses “high-megapixel” budget cameras. For most screens and standard prints, 12MP is still a sweet spot.
Can software make up for a small sensor?
Partially. Modern smartphones use “computational photography” to combine multiple images and reduce noise. While this produces impressive results for social media, it often looks “over-processed” when printed large or viewed on a big monitor. Software can mimic quality, but it cannot create light data that the sensor failed to capture in the first place.
What is the “Crop Factor” and why does it matter?
When you use a lens on a smaller sensor (like APS-C), the sensor only “sees” the middle part of the image the lens produces. This makes the image look more zoomed in. For example, a 50mm lens on a crop sensor looks like a 75mm lens. This is great for sports or birds, but it can make it harder to take wide-angle photos of large family gatherings in small rooms.
Should I always shoot in the highest megapixel setting?
If you have the storage space, yes. You can always make a high-resolution photo smaller, but you cannot realistically make a low-resolution photo larger without losing quality. Especially for heritage photos or once-in-a-lifetime events, capture the maximum amount of data your camera allows to “future-proof” your collection.
Disclaimer: This article is for informational purposes only. When handling valuable or irreplaceable photographs, consider consulting a professional conservator. Always test preservation methods on non-valuable items first.


Leave a Reply