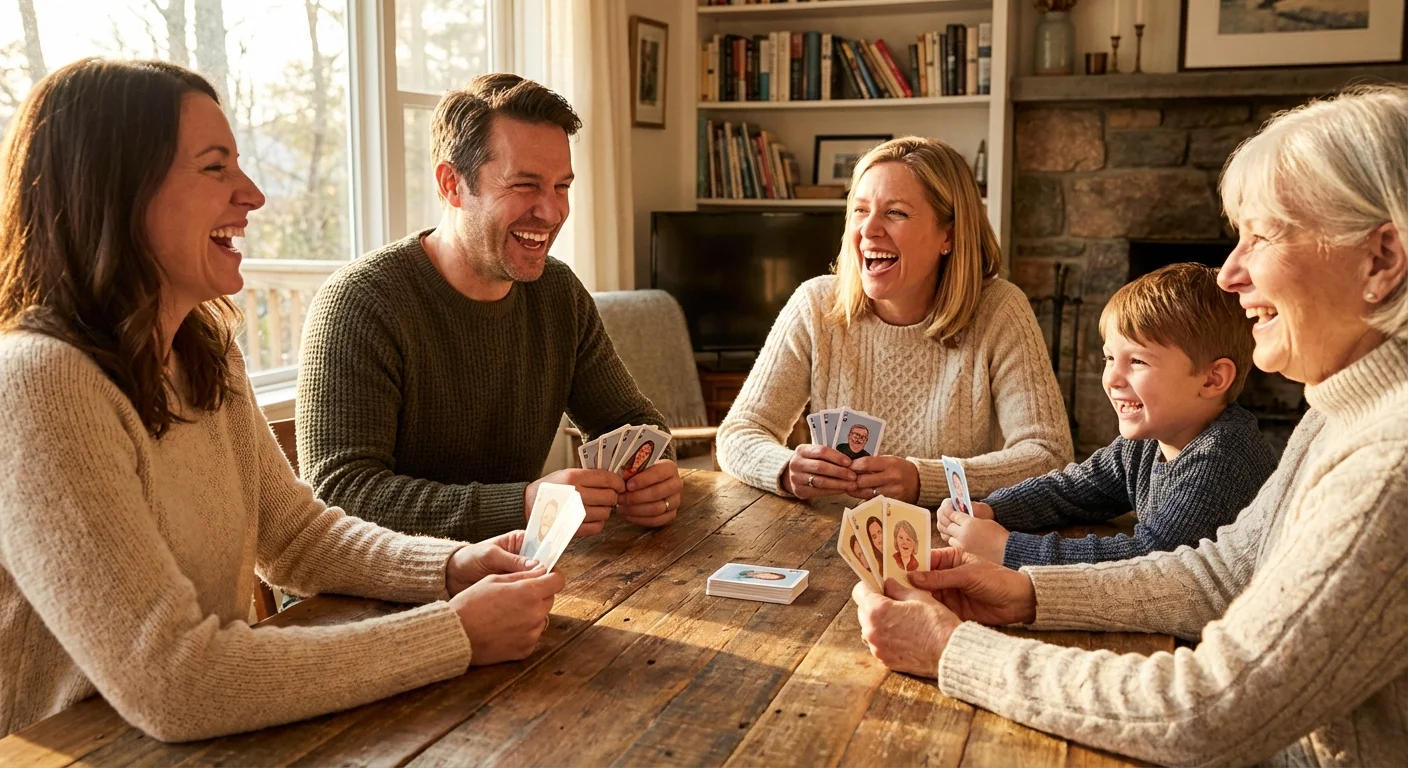
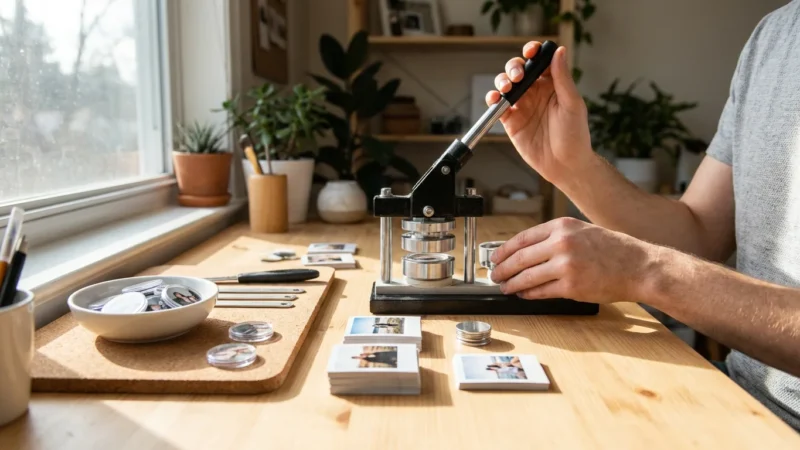
Memory is the heartbeat of every family, but often those memories stay locked away in dusty albums or buried in a smartphone’s endless camera roll. Transforming your favorite photographs into a deck of custom playing cards breathes new life into your history; it turns a passive viewing experience into an interactive one. Whether you are hosting a weekly poker night or gathering for a holiday game of Rummy, a personalized card deck serves as a tactile bridge between the past and the present. You are not just gifting a game; you are gifting a portable gallery of your most cherished moments.
This project is just one of many DIY photo gifts that can turn standard snapshots into meaningful keepsakes.
The beauty of custom photo playing cards lies in their versatility. You can tailor them for a wedding anniversary by featuring the couple’s journey from their first date to their golden years. You can celebrate a child’s first year of life or pay tribute to the family pets that rule the household. Because cards are handled, shuffled, and dealt, they provide a physical connection to the images that digital screens simply cannot replicate. This guide will walk you through every step of the creative process, from selecting the right themes and technical specifications to choosing the professional finishes that ensure your deck lasts for generations.
Thematic Concepts for Your Deck
Before you dive into the technical details, you must establish a cohesive theme for your deck. A scattered collection of random photos can be fun, but a curated narrative makes the deck feel like a professional heirloom. Consider how the four suits—Hearts, Diamonds, Clubs, and Spades—can help you categorize your memories. This structure gives the deck a logical flow and makes it easier for players to identify the cards during a fast-paced game.
If you enjoy organizing trip photos this way, you might also be interested in creating a travel photo journal to document your adventures in more detail.
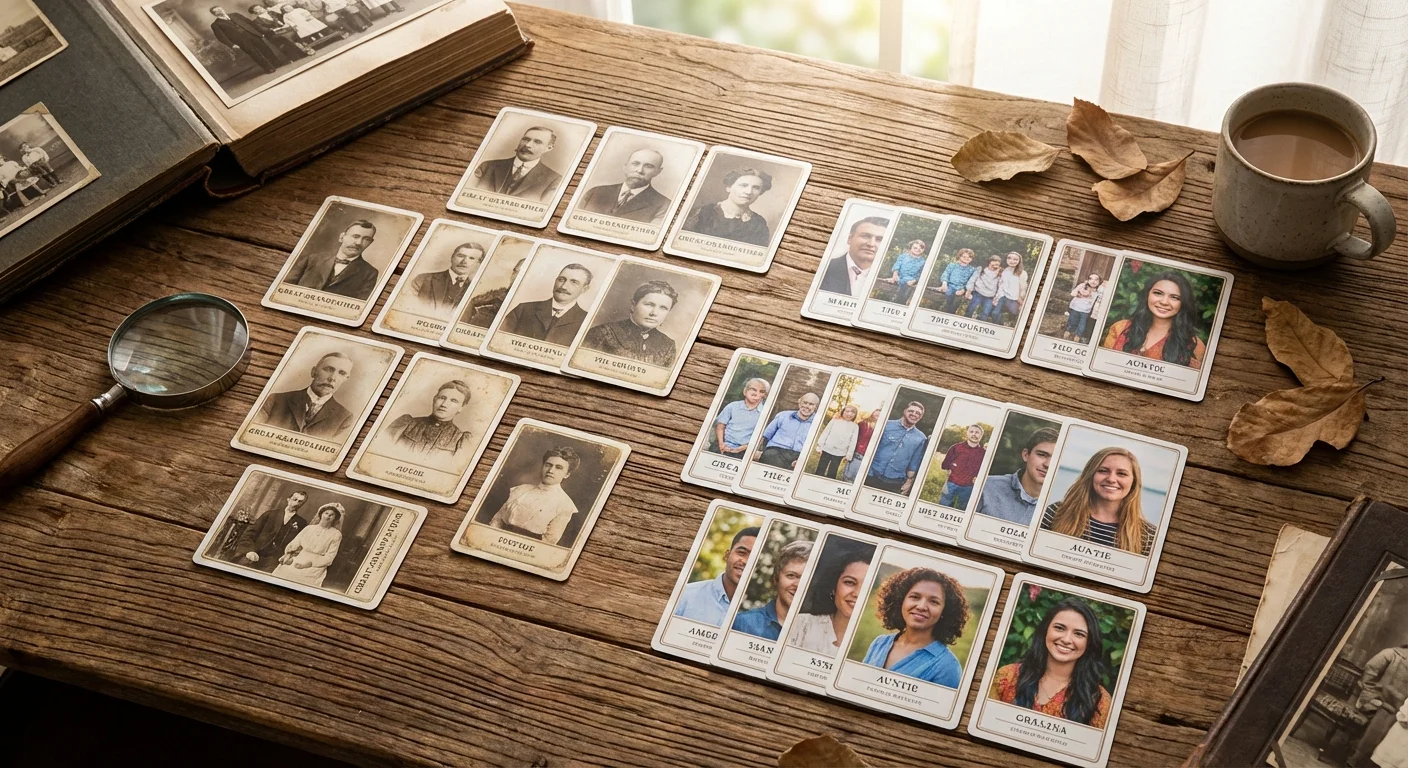
One highly effective approach is the Family Ancestry Deck. In this theme, you assign each suit to a different branch of your family tree. For instance, the Spades might represent your paternal grandparents and their descendants, while the Hearts represent your maternal side. The King and Queen spots naturally go to the matriarchs and patriarchs, while the Jacks and numbered cards feature children, cousins, and historic homes. This turns every hand dealt into a mini-history lesson, sparking conversations about relatives who may no longer be with you.
If you prefer a more lighthearted approach, a Pet-Centric Deck is always a crowd-pleaser. You might use the “King” spot for your dog’s most regal portrait and the “Joker” for that hilarious shot of them getting stuck in a fence. For travel enthusiasts, a Wanderlust Deck organizes photos by destination. Each suit could represent a different continent or a specific cross-country road trip. By grouping these images, you create a visual travelogue that highlights the highlights of your adventures every time someone calls “snap” or “fish.”
Custom playing cards move your family history from the shelf to the table, transforming static photos into a living part of your family’s social tradition.
Technical Specifications for Print Quality
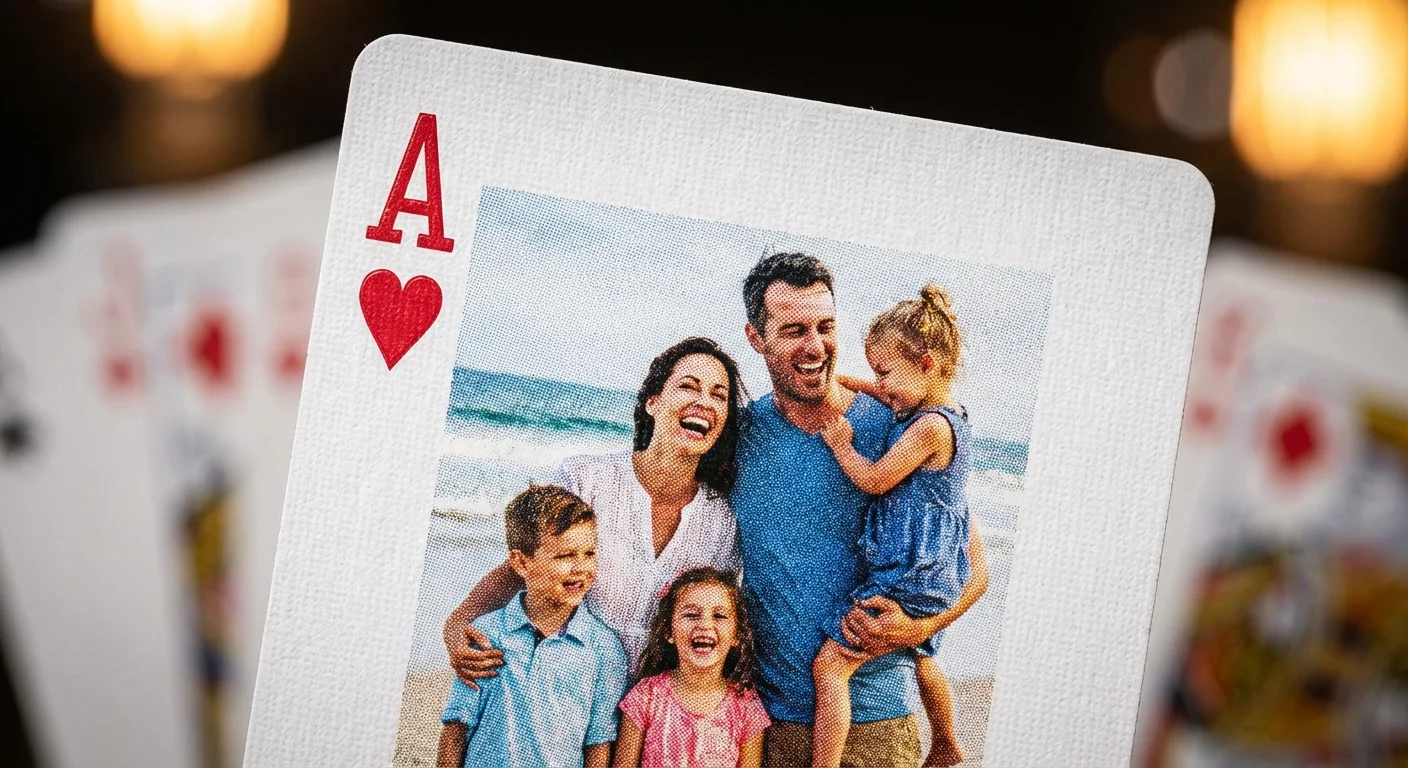
A deck of cards is a small canvas, but that does not mean you can compromise on image quality. Most standard playing cards measure 2.5 inches by 3.5 inches (64mm x 89mm). To ensure your photos look sharp and professional, you must pay close attention to resolution and aspect ratio. If you use low-resolution images from social media, they will likely appear pixelated or “blocky” when printed, which detracts from the premium feel of a custom gift.
Finding the best photo printing services is essential for ensuring that the colors and details of your digital files translate perfectly to the physical cardstock.
You should aim for a minimum of 300 DPI (dots per inch) for all images. For a standard poker-sized card, this means your digital file should be at least 750 pixels wide by 1050 pixels tall. If you plan to include a “bleed” area—which is the extra margin around the edge that gets trimmed during production—aim for 825 by 1125 pixels. Understanding image resolution and print quality is vital because the printing process for cardstock differs significantly from standard photo paper; the ink absorption can slightly soften the details of your image.
When selecting photos, keep the orientation in mind. Most playing cards are designed to be held vertically. If you have a beautiful panoramic shot of the Grand Canyon, you will have to crop it significantly to fit the card’s proportions. Look for “portrait” oriented images or photos where the main subject is centered, allowing you to crop the sides without losing the essence of the moment. Also, check the lighting in your photos. High-contrast images with clear subjects work best; dark, muddy photos often lose detail once they are printed on the dense cardstock used for gaming decks.
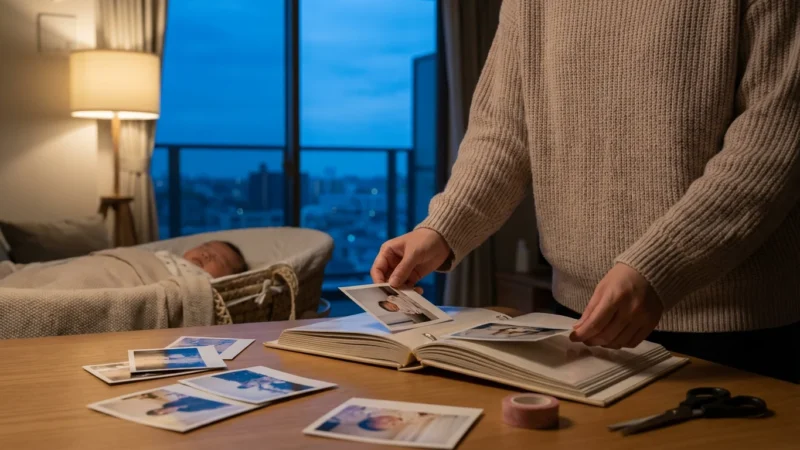
Digitizing Vintage Photographs
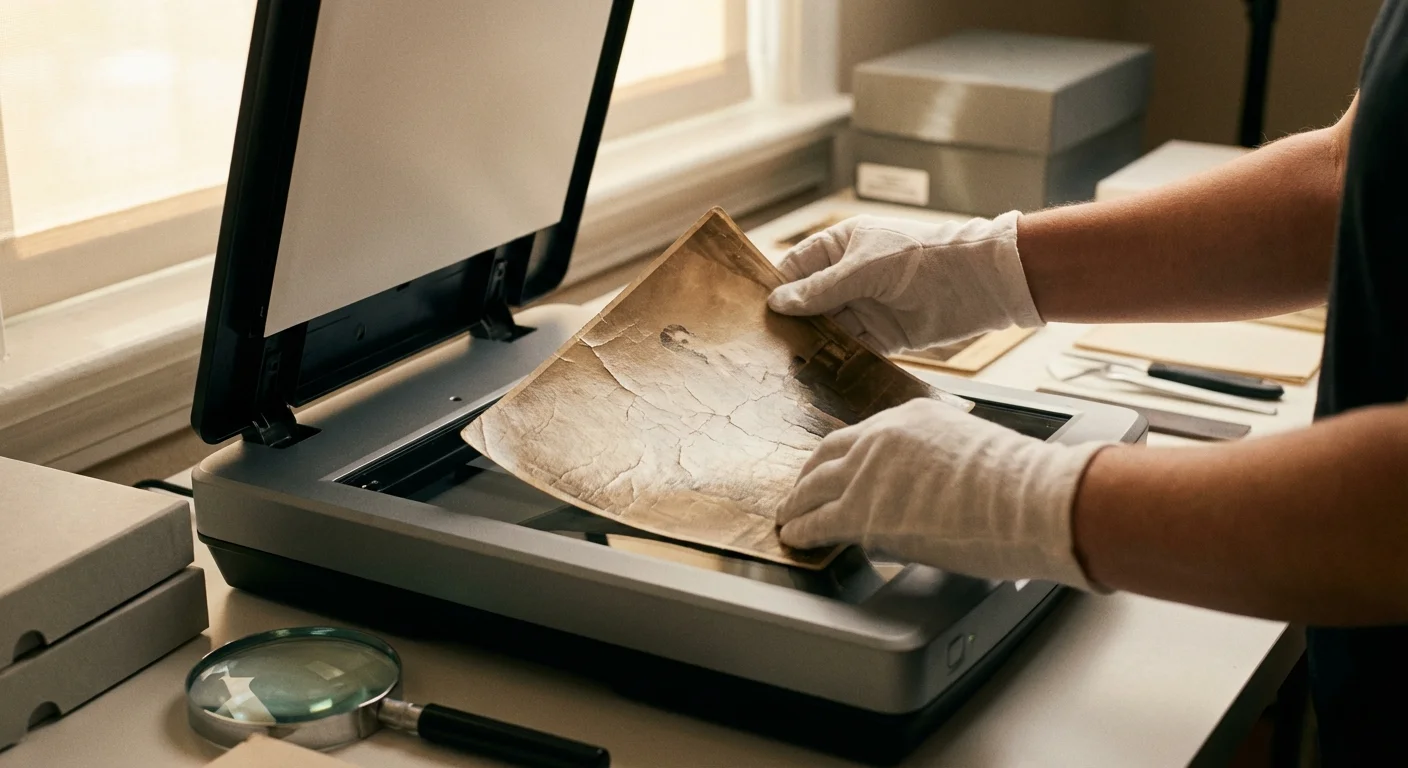
Many of your most precious memories likely exist as physical prints in shoeboxes or old sticky-page albums. To include these in your custom deck, you must digitize them with care. The quality of your scan determines the quality of your card. Avoid the temptation to simply take a picture of the old photo with your smartphone. Glare from the glossy surface and lens distortion can ruin the final product. Instead, use a flatbed scanner or a dedicated photo scanning service.
Set your scanner to at least 600 DPI. While 300 DPI is the printing standard, scanning at 600 DPI gives you more “data” to work with if you need to enlarge a small detail or perform digital restoration. Before you begin, gently wipe the scanner glass with a microfiber cloth to remove dust. When handling the original prints, wear lint-free cotton gloves to prevent oils from your skin from damaging the emulsion. For extremely fragile or stuck photos, refer to the National Archives guidelines on handling photographic prints to avoid causing irreversible harm.
Once you have your digital files, use photo editing software to correct faded colors or remove scratches. Even simple adjustments to “Levels” or “Curves” can make a 50-year-old photo look vibrant again. Pay special attention to the corners of the digital image. Since playing cards have rounded corners, you should ensure no critical details—like someone’s face or a significant landmark—are located in the very edges of the frame where they might be cut off during the die-cutting process.
Strategic Layout and Card Mapping
Designing a deck requires a strategy for “mapping” your images. You have 54 opportunities to showcase your photography (52 standard cards and 2 jokers). You must decide whether every card will be unique or if you will repeat images across different ranks. A fully custom deck where every card features a different photo is the most impressive, but it also requires the most preparation.
| Card Type | Recommended Subject Matter | Design Tip |
|---|---|---|
| Aces | Iconic landmarks or pets | Use high-contrast images that stand out. |
| Kings / Queens | Parents, Grandparents, or Head of House | Use formal portraits for a traditional look. |
| Jacks | Children, siblings, or “troublemakers” | Candid photos work best for these energetic cards. |
| Numbered Cards | Vacation spots, homes, or group shots | Ensure the suit symbol doesn’t obscure faces. |
| Jokers | Blooper photos or funny expressions | Embrace the whimsy of these wild cards. |
| Card Back | Family crest, house photo, or pattern | Must be symmetrical so players can’t tell the card’s orientation. |
The card back is the most important part of the design for gameplay. If the back design is not symmetrical, players might be able to tell if a card is “upside down,” which can inadvertently signal what the card is. Use a single high-quality photo for the back, perhaps a beautiful landscape of the family cottage or a professionally designed monogram. Alternatively, create a collage of smaller photos, provided the pattern remains consistent across the entire deck.
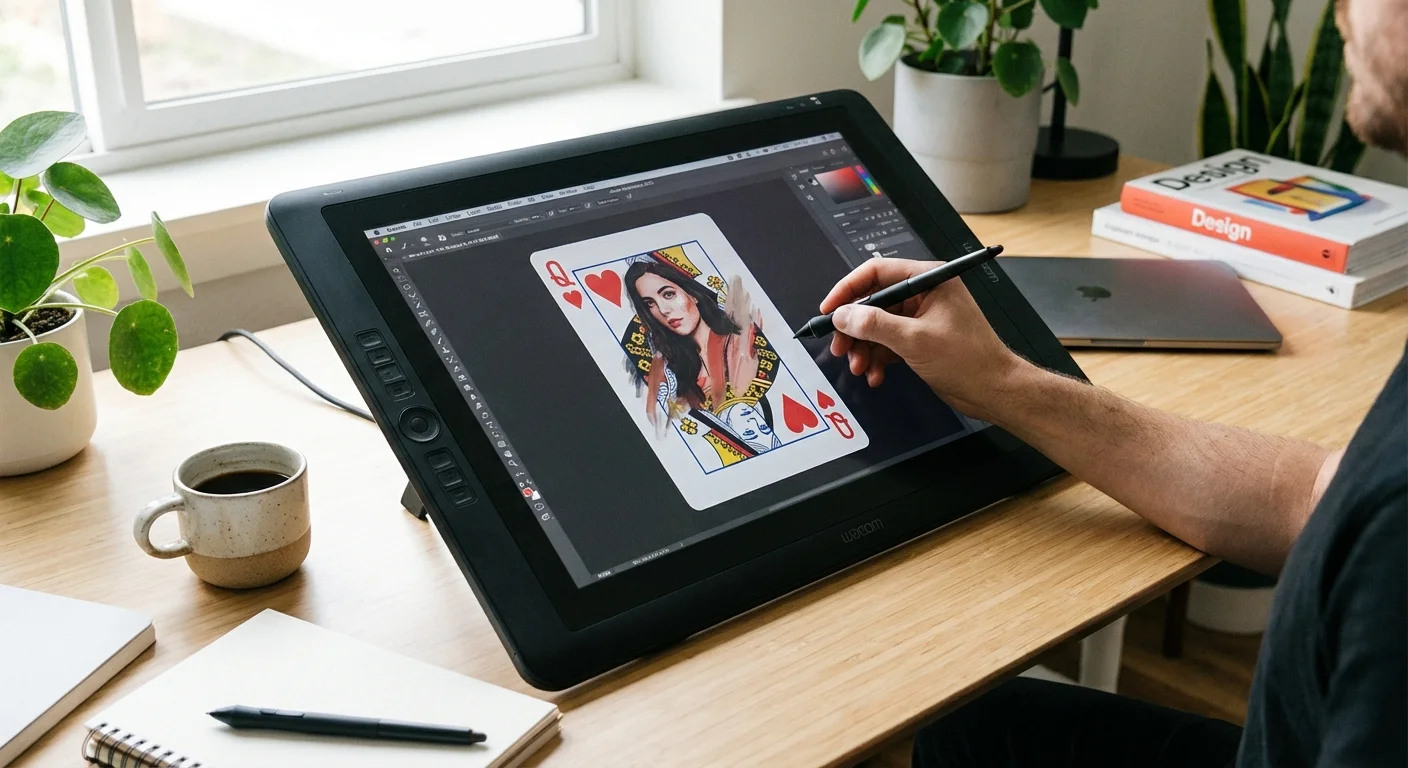
On the faces of the cards, consider the placement of the “pips” (the hearts, diamonds, etc.) and the indices (the numbers and letters in the corners). Most design templates allow you to overlay your photo behind the card’s value. Ensure that the photo’s main subject is not obscured by the “10” or the “Q.” If your photo is busy, you might want to fade the edges or use a semi-transparent white border to make the card value more readable during play.
Selecting Cardstock and Finishes
The “feel” of the cards is just as important as the photos. If the cards are too thin, they will crease after one game; if they are too glossy, they will stick together and become impossible to shuffle. Professional playing cards are usually made from two layers of cardstock glued together with a black opaque adhesive in the middle. This is known as “black core” or “blue core” paper, and it prevents players from seeing through the card when it is held up to the light.
Just as with printing photos on canvas, the texture and weight of the material you choose will dictate how the final product is perceived.
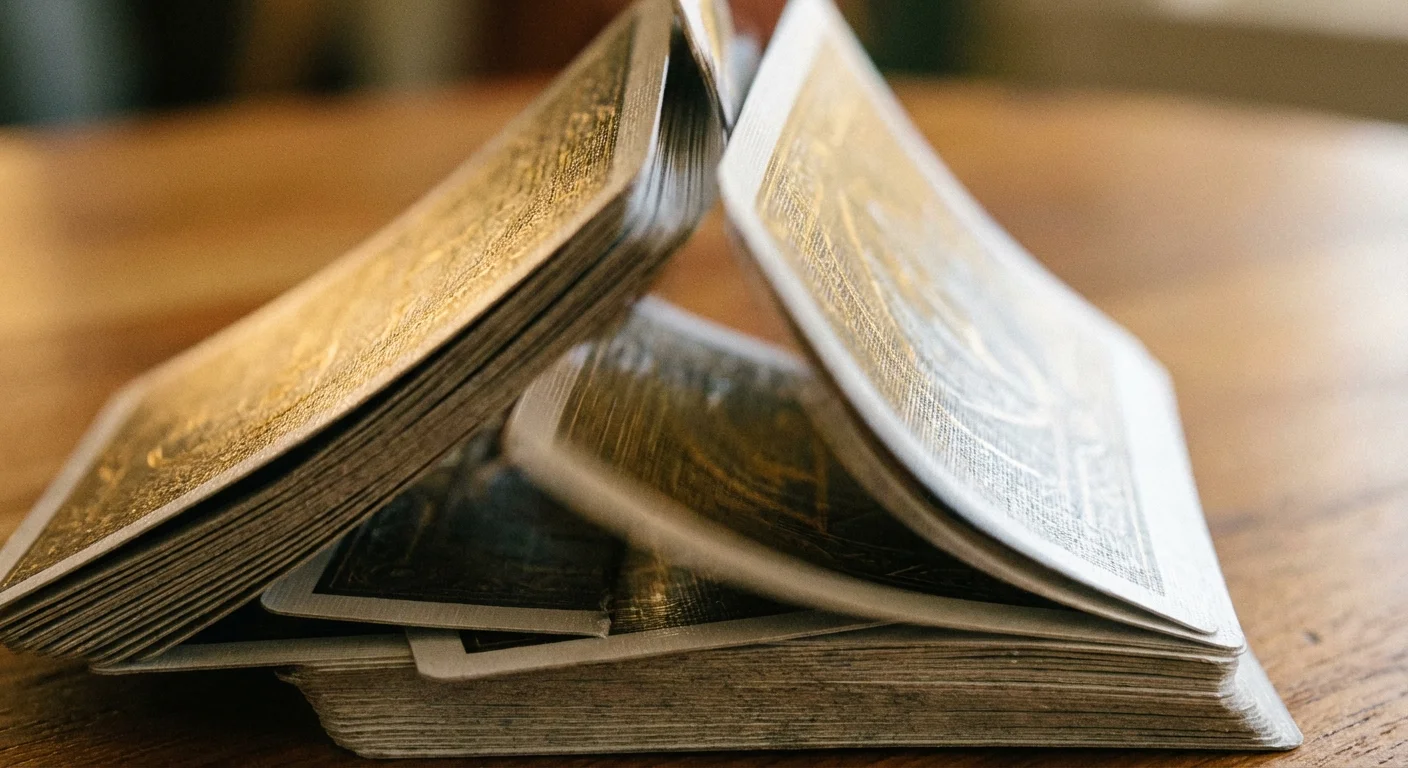
Standard professional cardstock is usually 300gsm or 310gsm (grams per square meter). For a premium gift, you should look for “Linen” or “Air-Cushion” finishes. These finishes create tiny pockets of air on the surface of the card, allowing them to glide over each other smoothly. This is the secret behind the “fanning” and “shuffling” quality you find in high-end brands like Bicycle. A smooth finish is also an option, but it can be more prone to fingerprints and static stickiness over time.
UV coating is another essential feature. This liquid laminate is cured under ultraviolet light to create a hard, protective shell. It guards the printed images against fading from sunlight and protects the paper from the natural oils and moisture on a player’s hands. When you are investing time into designing a custom deck, selecting a UV-protected, 310gsm linen stock ensures your gift doesn’t just look like a novelty, but performs like a professional piece of gaming equipment. Researching image longevity and material stability can help you understand why these high-quality coatings are necessary for items meant to be handled frequently.
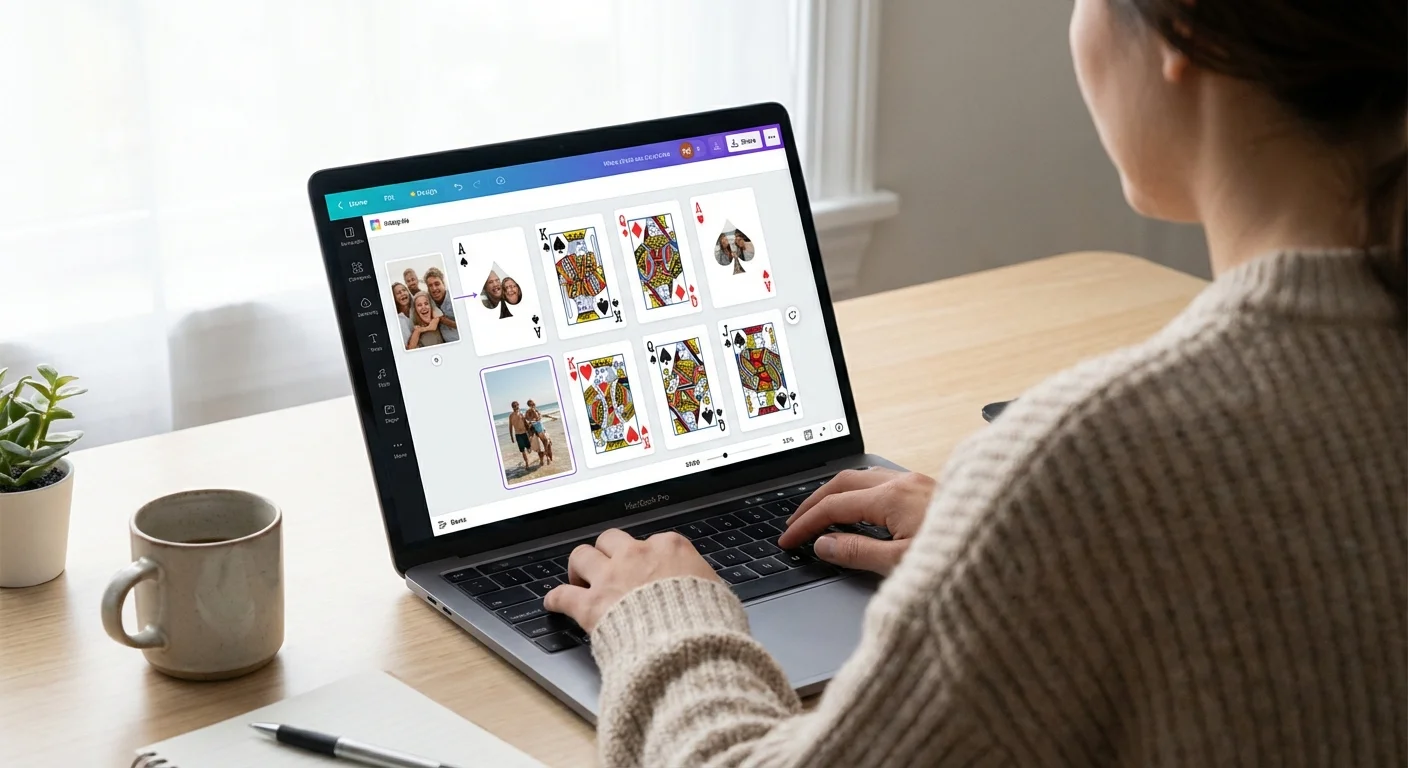
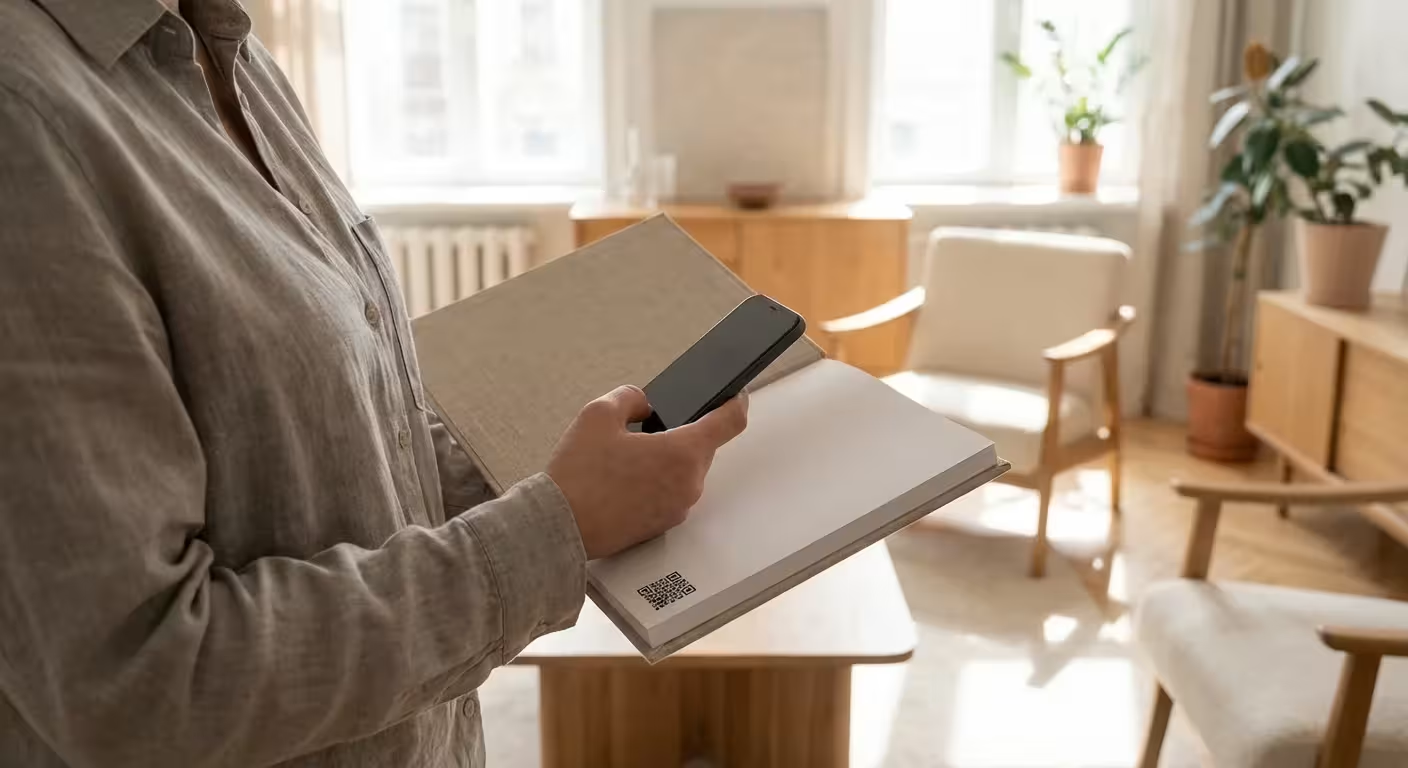
Design Software and Online Tools
You do not need to be a professional graphic designer to create a stunning deck of cards. Many specialty printers offer web-based design interfaces where you can simply drag and drop your photos into pre-made templates. These tools handle the technical aspects like bleed lines and corner rounding for you. However, for those who want total creative control, software like Adobe Photoshop or Canva provides much more flexibility for creating custom borders, typography, and color grading.
Once you master this software, you can apply those skills to other projects like custom photo merchandise including mugs and blankets.
If you use a professional template, pay attention to the “Safe Zone.” This is an area about 1/8th of an inch inside the cut line. You should keep all text and important visual elements (like eyes or text) inside this zone. Because the industrial cutters that slice large sheets of cardstock into individual cards can shift slightly—sometimes by as little as a millimeter—anything on the very edge is at risk of being trimmed away. Always preview your deck in “3D mode” if the software offers it, to ensure the cards look exactly as you intended before you hit the “order” button.
When working with your digital files, keep your color mode in mind. Most digital photos are in RGB (Red, Green, Blue) mode, which is optimized for screens. However, commercial printers use CMYK (Cyan, Magenta, Yellow, Black). Some vibrant colors, especially bright greens and blues, can appear slightly duller when converted to print. If you are a perfectionist, you may want to manually convert your images to CMYK in a program like Photoshop to adjust the saturation and ensure the colors pop on the finished cardstock.
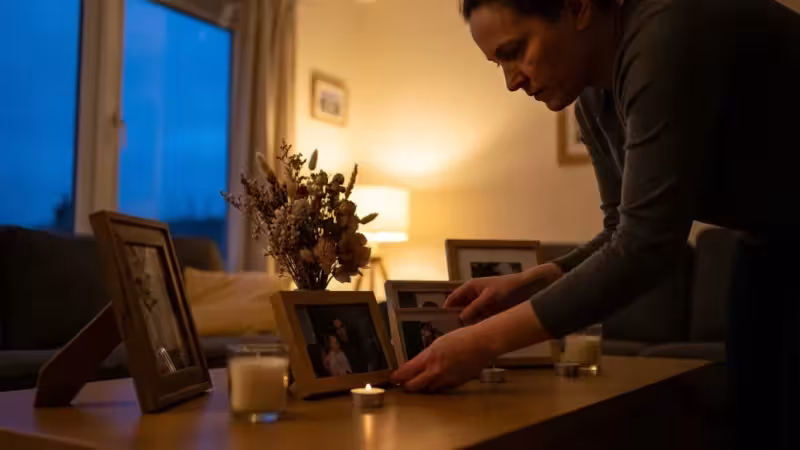
Preserving Your Custom Deck
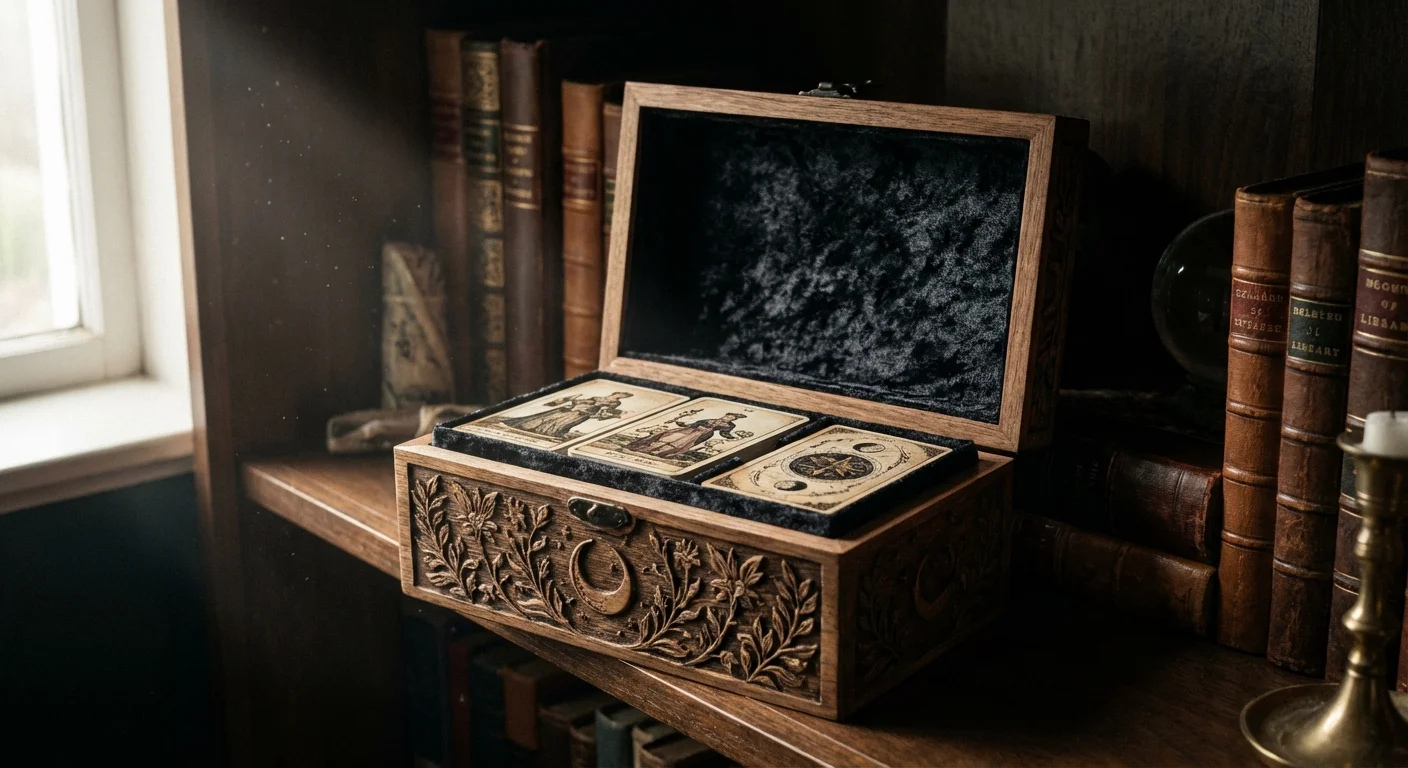
Once your custom photo playing cards arrive, you want to ensure they remain in pristine condition for years to come. The biggest enemies of paper-based cards are humidity, heat, and dirt. If you store your cards in a damp basement or a hot attic, the cardstock can warp or the glue layers can begin to delaminate. Always store your deck in its tuck box or a dedicated plastic protector when not in use.
If you plan to use the cards frequently, consider ordering two decks—one for active play and one to keep as a “master” copy. This is a common practice among photo preservationists. The “play” deck will eventually show wear, especially along the edges (known as “chipping”), but the master copy will remain a perfect snapshot of your family history. If a card gets dirty during a game, do not use water to clean it; instead, use a slightly damp (nearly dry) microfiber cloth to gently wipe the surface, then dry it immediately with a second cloth.
Treat your custom deck like a functional archive; while it is designed to be used, its true value lies in the history it carries within its suits.
For those who want to take preservation a step further, you can find archival-safe clear sleeves, similar to those used by collectors of trading cards. While these make shuffling more difficult, they provide an extra layer of protection against spills and rough handling. Regardless of how you choose to display or use them, your custom photo playing cards will serve as a constant reminder of the people and places that matter most, making every game night a celebration of your unique story.
Frequently Asked Questions
Can I make a deck using only black and white photos?
Absolutely. Black and white decks often look more sophisticated and timeless. If you are using a mix of color and old black and white photos, consider converting all of them to a uniform sepia or grayscale tone to give the deck a cohesive, vintage aesthetic.
What if I don’t have enough photos for 54 cards?
You can repeat photos for each rank. For example, all “Aces” could feature the same photo of the family home, or all “Kings” could feature the same patriarch. This maintains the personalized feel while requiring only 13 or 14 unique images instead of 54.
How long does it typically take to receive a custom deck?
Production times vary, but most custom printers take 3 to 7 business days to manufacture the cards, plus shipping time. If you are designing these as a holiday or anniversary gift, start the process at least three weeks in advance to allow for design time and potential shipping delays.
Are custom photo cards waterproof?
Most are not. While UV coating provides a degree of moisture resistance, the cards are still made of paper and will soak up liquids if submerged or if a drink spills on the table. For outdoor or poolside play, look for companies that offer 100% plastic (PVC) custom cards, though these are more expensive and have a different feel than traditional cardstock.
Disclaimer: This article is for informational purposes only. When handling valuable or irreplaceable photographs, consider consulting a professional conservator. Always test preservation methods on non-valuable items first.


Leave a Reply