
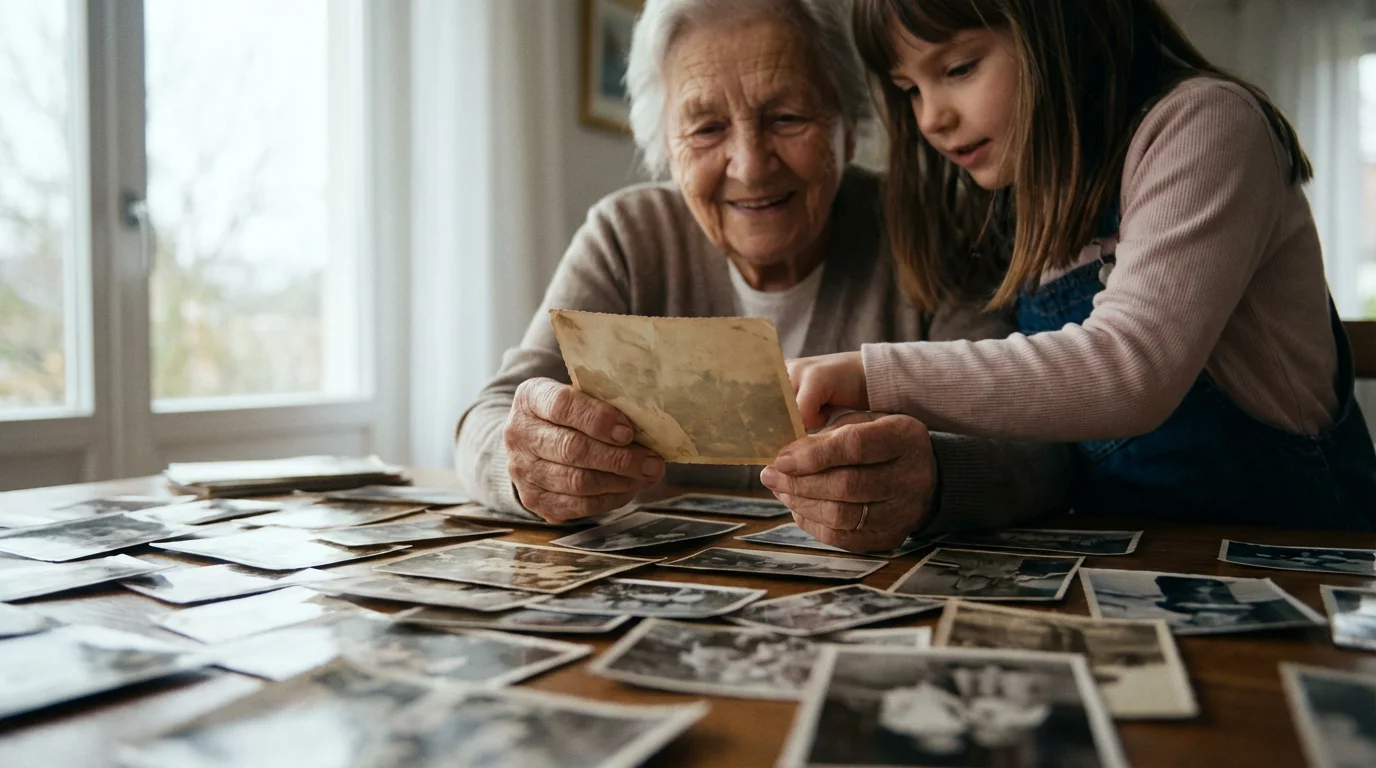
Your photographs represent more than just images; they are tangible threads connecting you to your past, preserving moments, and telling your unique story. In an age dominated by digital screens, a physical photo book offers a timeless way to experience these memories. It transforms scattered files and shoeboxes of prints into a curated heirloom, perfect for sharing, gifting, and treasuring for generations. Creating a custom photo book online might seem daunting, especially if you have a vast collection of old family photos or thousands of digital images. However, the process is straightforward and incredibly rewarding. This guide walks you through each step, helping you craft a beautiful, high-quality photo book that honors your photographic heritage.
Why Create a Photo Book? Preserve Your Legacy
A photo book serves as a powerful testament to your family’s journey, capturing significant events, everyday joys, and the evolution of relationships. It offers a structured, tactile way to revisit memories, unlike endlessly scrolling through digital folders. Here are compelling reasons to invest your time in memory book creation:
While books are portable, printing photos on canvas allows you to turn your most stunning shots into permanent home decor.
While books provide a private journey through time, you can complement them with creative photo wall ideas to showcase your most impactful images daily.
- Tangible Preservation: Digital files face risks from hardware failure, format obsolescence, and data loss. A physical book, printed with archival quality, provides a durable backup and an accessible format. It ensures your photos survive beyond your current devices.
- Storytelling and Context: A photo book allows you to arrange images chronologically or thematically, adding captions and narratives that give context to each moment. You transform a collection of pictures into a cohesive story, enriching their meaning for current and future generations. Imagine your grandchildren seeing photos of your wedding day with your own handwritten anecdotes, providing a personal touch no digital album can replicate.
- Sharing and Connection: Photo books are ideal for sharing. They become conversation starters at family gatherings, enabling relatives to flip through pages, recall shared experiences, and strengthen bonds. You simply hand the book over, encouraging a communal experience that digital sharing often lacks.
- Decluttering and Organization: The process of selecting photos for your book naturally forces you to organize your digital and physical archives. You curate your best images, reducing overwhelming quantities into a manageable, meaningful collection. This focused selection process transforms chaos into a cherished keepsake.
- Accessibility for All Ages: Not everyone is comfortable with digital photo albums. Grandparents or young children often prefer the simplicity and joy of flipping through a physical book, making memories accessible to every family member regardless of their tech proficiency.

Gathering Your Memories: The Essential First Step
Before you even think about an online photo book service, you must first gather and organize the raw material: your photographs. This foundational step dictates the theme, quality, and overall success of your memory book creation.
To make future projects even easier, consider creating a photo organization system that helps you manage your growing library.
- Define Your Book’s Theme or Purpose:
- Event-based: A wedding, graduation, birthday, or family reunion.
- Year-in-review: A chronological compilation of a specific year’s highlights.
- Family history: Tracing generations, featuring old family photos and genealogies.
- Travel adventure: Documenting a specific trip or vacation.
- Baby’s first year: A detailed chronicle of a child’s early milestones.
Clearly defining your theme helps narrow down your photo selection, making the task less overwhelming. For instance, if you create a book about a family reunion, you focus only on those specific images, rather than sifting through your entire life’s collection.
- Locate All Potential Photos:
- Digital files: Check your computer’s hard drives, external drives, cloud storage (Google Photos, iCloud, Dropbox), social media archives, and old phone backups.
- Physical prints: Look in shoeboxes, old albums, framed photos, and scrapbooks. Be gentle with old photographs, as they can be fragile.
Create a temporary master folder on your computer for all candidate images. This centralizes your collection, preventing duplicates and ensuring you do not miss any valuable shots.
- Curate Your Selection: This is arguably the most critical and time-consuming part.
- Be ruthless but respectful: Choose only your strongest, most emotive, and clearest images. Eliminate blurry, redundant, or unflattering shots. A good rule of thumb is to select one to three “hero” shots per event or memory.
- Tell a story: Look for photos that, when placed together, create a narrative arc. Consider the emotional flow you want your book to convey. For example, photos of a child learning to walk should show progression, not just one static image.
- Prioritize variety: Include close-ups, wide shots, portraits, and candid moments. This adds visual interest and depth to your photo book.
- Check for quality: Ensure photos are well-exposed and in focus. You can often improve minor flaws with editing, but a severely out-of-focus image usually remains problematic.
Many experts recommend a final selection of 20-50 photos for a standard 20-page book, depending on your desired layout. Some services offer books with hundreds of pages for larger projects.
- Organize Selected Photos: Once you have your curated selection, organize these images into subfolders within your master folder. Name them logically, such as “Chapter 1: Childhood Memories,” “Trip to Italy – Day 1,” or “Wedding Day – Ceremony.” This structure translates directly to your book’s layout.

Digitizing Your Physical Photos for Online Photo Books
Many families possess a treasure trove of old photographs that exist only as physical prints. To include these in your online photo books, you must digitize them. This process not only makes them usable for your book but also creates valuable digital backups for preservation.
Establishing a proper home photo archive ensures your entire collection is preserved, not just the images you select for your book.
- Choose Your Digitization Method:
- Flatbed scanner: For the best quality, especially for delicate or oddly-sized prints. Scanners like the Epson Perfection V600 offer excellent resolution and color depth.
- Photo scanning app: For convenience, use smartphone apps like Google PhotoScan or Adobe Scan. While not as high-resolution as a flatbed scanner, they are quick and can correct glare.
- Professional scanning service: If you have thousands of photos or specialized formats like slides and negatives, a professional service saves you time and ensures high quality. Services often offer bulk rates.
Your choice depends on your budget, time, and the volume and condition of your physical photos.
- Prepare Your Photos for Scanning:
- Clean carefully: Use a soft, lint-free cloth or a bulb blower to remove dust and debris from prints. Avoid harsh chemicals or abrasive materials, which can damage the photo emulsion.
- Handle with care: Wear cotton gloves to prevent fingerprints and oils from transferring to the prints, particularly for old or delicate items.
- Scan with Optimal Settings:
- Resolution: Scan at a minimum of 300 DPI (dots per inch) for standard printing. For critical images or future enlargements, consider 600 DPI or even 1200 DPI. Higher DPI captures more detail but results in larger file sizes.
- Color depth: Use 24-bit color (standard) or 48-bit color for maximum color information.
- File format: Save images as TIFF files for archival quality, as they are uncompressed. Convert to high-quality JPEG (with minimal compression) for uploading to photo book services, as TIFFs are often too large for online platforms.
For best practices in digitizing physical photographs to ensure their longevity and quality for your online photo book, consult resources like the Image Permanence Institute. They provide detailed guidelines on proper handling and scanning techniques.
- Review and Organize Scanned Files: After scanning, review each image for quality. Crop out any scanner bed edges. Rename files descriptively (e.g., “Grandma-Alice-1950-GardenParty.jpg”) and move them into your curated photo book folder.
Choosing the Right Online Photo Book Service
The market for online photo books is robust, offering a variety of platforms that cater to different needs and budgets. Selecting the best photo book services for quality prints involves evaluating several key factors.
Many platforms are also great for creating personalized photo gifts like calendars or custom ornaments for special occasions.
- Quality of Prints and Materials:
- Paper type: Look for options like premium matte, glossy, lustre, or lay-flat pages. Lay-flat bindings are excellent for panoramic photos or images that span two pages. Standard paper weights usually range from 80lb to 100lb text weight, while cover stock is heavier.
- Printing process: Professional services often use advanced digital presses or even silver halide printing for superior color accuracy and longevity. Read reviews focusing on color reproduction and sharpness.
- Cover options: Hardcover, softcover, linen, leatherette, or custom photo covers. Hardcovers generally offer greater durability and a more premium feel.
- Ease of Use and Software Features:
- Online editor vs. downloadable software: Online editors are convenient, but downloadable software (like that offered by some professional services) often provides more advanced design tools and better performance for large projects.
- Templates and layouts: Look for a wide selection of pre-designed templates that match your book’s theme. Check if you can easily customize layouts, add text boxes, and move photos freely.
- Photo upload: Ensure the service allows uploads from various sources (computer, cloud storage, social media) and handles large file sizes efficiently.
- Pricing and Value:
- Base cost: Compare the starting price for a standard book (e.g., 20 pages, hardcover).
- Additional pages: Understand the cost per extra page, as your project might exceed the base page count.
- Shipping costs: These can significantly impact the final price. Look for promotions or free shipping offers.
- Sales and discounts: Many services frequently offer discounts. It is often wise to wait for a sale if your project is not time-sensitive.
- Customer Support and Reviews:
- Responsiveness: Good customer support is crucial if you encounter technical issues or have questions about your order.
- User reviews: Check independent review sites for feedback on print quality, software glitches, and delivery times. Pay attention to comments regarding color accuracy and binding quality.
- Integration with Your Workflow: Consider if the service integrates with photo organizing tools you already use, streamlining the upload process. Some services allow direct import from platforms like Google Photos, saving you time.
By carefully weighing these factors, you can choose an online photo book service that aligns with your quality expectations and budget, ensuring your investment results in a truly beautiful photo book.

Designing Your Photo Book: Layout and Storytelling
The design phase is where your chosen photos transform into a cohesive narrative. Effective layout and storytelling make your photo book engaging and memorable. This is a core part of how to create a photo book online effectively.
- Choose a Template or Start from Scratch:
- Templates: Most online services offer pre-designed templates. These provide a great starting point, especially for your first memory book creation. Select a template that complements your theme and photo style. Many services allow you to modify template elements.
- Blank canvas: If you have a specific vision or design experience, starting with a blank canvas offers maximum creative freedom. You control every element, from photo placement to background colors.
- Master Photo Placement and Layout:
- One photo, one page: For impact, dedicate an entire page to a particularly strong image, especially a landscape or portrait.
- Photo grids: Use grids for sequences of related photos, such as a child’s various expressions or different angles of an event. Ensure photos within a grid share a common theme or color palette for visual harmony.
- Visual hierarchy: Place your most important photos prominently. Larger photos naturally draw more attention.
- White space: Do not overcrowd pages. Ample white space around photos and text allows each element to breathe and enhances readability. It guides the eye and prevents visual fatigue.
- Consistency: Maintain a consistent design style throughout the book. Use the same fonts, color scheme, and photo border styles. This creates a professional and polished appearance.
- Avoid the “kitchen sink” approach: Resist the urge to include every good photo. Less is often more. A curated selection has greater impact than a cluttered one.
- Craft Your Story Flow:
- Chronological order: This is a natural and intuitive way to tell a story, especially for event-based or year-in-review books.
- Thematic grouping: If your book covers a broader topic, group photos by themes (e.g., “Family Vacations,” “Holiday Traditions”).
- Opening and closing impact: Choose strong, evocative images for the first and last pages. The opening sets the tone, and the closing leaves a lasting impression. Consider a “title page” with a significant photo and the book’s title.
- Leverage Design Tools:
- Alignment tools: Use the service’s alignment guides to ensure photos and text boxes are perfectly straight and evenly spaced. This attention to detail elevates your design.
- Backgrounds: Choose subtle background colors or textures that complement your photos, rather than competing with them. Often, plain white, black, or a muted color works best.
- Clip art and embellishments: Use these sparingly, if at all. Too many can make a book look juvenile or cluttered. When used, ensure they match the book’s overall aesthetic.
“Effective photo book design is not about fitting as many images as possible on a page. It is about guiding the viewer’s eye, creating rhythm, and allowing each photograph the space to tell its story. Prioritize clarity and emotional impact over sheer quantity.”

Mastering Photo Editing for Stunning Photo Books
Even the best photographs can benefit from a little polish. Basic photo editing enhances your images, ensuring they look their best when printed in your photo book. You do not need professional software for this; many free tools and online photo book editors offer essential adjustments.
- Start with Basic Adjustments:
- Cropping: Remove distracting elements from the edges of your photos. Improve composition by using the rule of thirds, placing subjects off-center for more dynamic images. Cropping can dramatically improve a weak photo.
- Exposure: Adjust brightness and contrast. Dark photos often need brightening, while overexposed ones might benefit from reduced highlights. Aim for balanced tones where details are visible in both shadows and highlights.
- Color correction: Correct color casts (e.g., photos with a yellow or blue tint). Adjust white balance to make colors appear more natural. Most editors have an auto-correct feature, which is a good starting point.
- Saturation and vibrance: Boost colors subtly to make them pop. Avoid over-saturating, which can make colors look unnatural or cartoonish. Vibrance intelligently increases saturation for muted colors without affecting already saturated ones.
- Sharpening and Noise Reduction:
- Sharpening: Apply a small amount of sharpening to make details crisper, especially important for digital photos that might appear soft. Do not overdo it, as excessive sharpening can create an artificial look or introduce artifacts.
- Noise reduction: If you have old digitized photos or shots taken in low light, they might exhibit digital noise (graininess). Use noise reduction carefully, as too much can smooth out important details.
- Consider Black and White Conversion: Some photos, especially older ones, look stunning in black and white. This conversion can add a timeless, artistic quality and unify disparate images. Use this creatively to enhance storytelling.
- Maintain Consistency: Apply similar editing styles to all photos within a specific section or the entire book. Consistent exposure, color, and sharpening create a cohesive visual experience. You do not want some photos looking vibrant and others muted on adjacent pages.
- Save and Back Up: Always save edited photos as new files, preserving your original images. Use high-quality JPEG files for your photo book uploads. Back up your edited files to cloud storage or an external hard drive, safeguarding your work.
Remember, the goal of editing is to enhance, not to transform. You want your photos to look their best, clear and vibrant, ready for quality prints in your custom photo book.

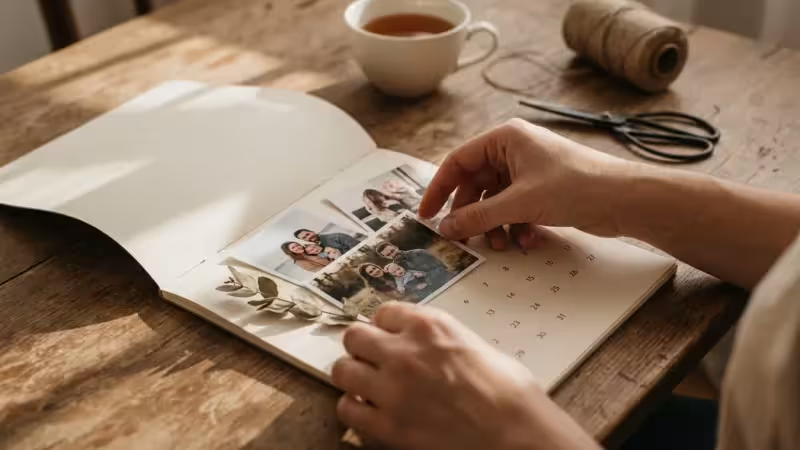
Adding Text and Captions: Giving Your Photos a Voice
Photographs are powerful, but words provide crucial context and personal insight. Adding text and captions elevates your photo book from a collection of images to a rich, narrative experience. This step is vital for memory book creation.
- Identify Key Information: For each photo or group of photos, consider what information adds value:
- Names: Who is in the picture?
- Dates: When did this moment occur? (Exact dates or even just the year are helpful.)
- Locations: Where was the photo taken?
- Event: What occasion does it commemorate?
- Anecdotes: What is the story behind the photo? A funny memory, a significant detail, or an emotional reflection.
- Write Concise and Engaging Captions:
- Be brief: Aim for one to three sentences per caption. People often skim text in photo books, so get to the point quickly.
- Tell, do not just describe: Instead of “John and Mary,” try “John and Mary celebrating their anniversary, Lake Tahoe, 1985.” Even better: “John and Mary, thrilled after catching their biggest fish ever on their 1985 Lake Tahoe anniversary trip.”
- Add emotion: Share how the moment felt or what it meant to you. “Pure joy on Sarah’s face during her first rollercoaster ride.”
- Engage the reader: Ask a rhetorical question or offer an interesting fact.
- Choose Fonts and Text Placement Carefully:
- Readability: Select fonts that are clear and easy to read. Sans-serif fonts (like Arial or Helvetica) are often preferred for captions in print. Limit yourself to one or two complementary fonts throughout the book for a consistent look.
- Font size: Ensure text is large enough to be easily read, typically 8-12 points for captions, depending on the service and paper.
- Color: Choose a text color that contrasts well with the background. Black or dark gray on light backgrounds, or white on dark backgrounds, generally works best.
- Placement: Place captions consistently below or beside their respective photos. Ensure text boxes do not overlap photos or get cut off by the book’s binding (check “safe zones” in the editor).
- Consider Introductory and Concluding Text:
- Introduction: A short paragraph at the beginning of the book can set the stage, explaining the book’s theme or dedication.
- Conclusion: A reflective message or a look towards the future can provide a satisfying close to your photo narrative.
- Chapter breaks: For longer books, introduce each section or chapter with a title and a brief paragraph summarizing its content.
- Proofread Meticulously: Before ordering, carefully proofread all text for typos, grammatical errors, and factual inaccuracies. Ask a friend or family member to review it as well; a fresh pair of eyes often catches mistakes you missed. Incorrect dates or misspelled names can detract significantly from your beautiful photo book.

Reviewing and Ordering Your Masterpiece
You are almost there! The final review and ordering process are critical steps to ensure your beautiful photo book arrives exactly as you envisioned it. Do not rush this stage.
- Perform a Thorough Digital Review:
- Page by page: Click through every single page of your digital book within the online editor. Look for misplaced photos, typos, and incorrect captions.
- Resolution warnings: Most online photo book services display warnings if a photo has too low a resolution for good print quality. Pay attention to these alerts. Replace low-res images with higher-quality versions or reduce their size on the page if warnings appear. Ignoring these often leads to blurry prints.
- Cropping and borders: Check that no important parts of photos or text are cut off at the edges of the pages. Ensure consistent borders or margins.
- Color consistency: While screen colors differ from print, check for any glaring color discrepancies or overly dark/light pages.
- Binding area: Be mindful of the “gutter” or binding area. Text or faces placed too close to the center might get lost in the fold, especially in standard perfect-bound books.
- Order a Single Copy (if feasible for critical projects): If this is a very important or expensive photo book, and time permits, consider ordering a single copy first. This allows you to inspect the physical product for print quality, color accuracy, paper feel, and binding before placing a larger order. This step helps you identify and correct any issues before a full print run.
- Final Price Check and Shipping Options:
- Verify total cost: Confirm the final price, including any additional pages, upgrades (like lay-flat binding or premium paper), and taxes.
- Shipping speed and cost: Select the shipping option that meets your timeline and budget. Expedited shipping can add significantly to the cost.
- Coupon codes: Double-check for any available coupon codes before finalizing your purchase. Many services offer discounts for first-time buyers or during holiday seasons.
- Payment and Order Confirmation: Complete your payment information and confirm the order. Save your order confirmation email, as it contains your order number and estimated delivery date. This information is crucial if you need to contact customer support later.
- Anticipate Delivery: Photo book creation and delivery typically take 1-3 weeks, depending on the service and shipping method. Factor this into your planning if you need the book by a specific date.

Beyond the First Book: Printing and Sharing Tips
Creating your first beautiful photo book online is a significant accomplishment. This success opens up new possibilities for sharing your memories and continuing your photo preservation journey.
- Order Multiple Copies for Gifting:
- Thoughtful presents: Photo books make exceptionally personal and cherished gifts for family members and close friends. Imagine gifting a “Year in Review” book to grandparents or a wedding album to the couple.
- Bulk discounts: Many online photo book services offer discounts for ordering multiple copies of the same book. Plan ahead to take advantage of these savings.
- Create a Series of Books:
- Thematic collections: Instead of one massive book, consider creating a series. For example, “Our Family Vacations – Volume 1,” “Grandchildren’s Adventures – Year 1,” or “Decades of Memories – 1950s.” This makes each book more focused and manageable.
- Chronological sets: Document each year or a significant period with its own book, building a chronological library of your family’s history.
- Safeguard Your Digital Project Files:
- Download project files: If your chosen service allows it, download and save the project file for your photo book. This makes reordering easier and allows you to make minor edits without starting from scratch.
- Back up original photos: Ensure all the original, high-resolution photos used in your book are backed up to at least two different locations (e.g., an external hard drive and cloud storage). This protects your investment in the selection and editing process.
- Share Your Experience and Inspire Others:
- Show off your book: Let friends and family see your finished photo book. Their positive reactions often encourage them to start their own memory book creation projects.
- Offer guidance: Share the insights you gained during your process. Your experience with how to create a photo book online can be invaluable to others.
- Consider Archival Storage for Physical Books: To ensure the longevity of your printed photo books, store them in a cool, dry, dark place, away from direct sunlight and humidity. Use archival boxes or sleeves if you have particularly precious volumes. This protects the paper and binding from degradation, preserving your quality prints for many years.
Your beautiful photo book is more than just a collection of images; it is a legacy. By taking these steps, you not only create a stunning keepsake but also actively participate in preserving your family’s unique story for generations to come.
Frequently Asked Questions
How long does it typically take to create a photo book online?
The time required varies significantly based on the number of photos, the complexity of your design, and how organized your photos are initially. Gathering and curating photos can take several hours to several days. The actual design process in an online editor can range from a few hours for a simple template to several days of focused work for a highly customized, multi-page book. Many people spread the process over a few weeks, working in short, focused sessions.
What is the ideal resolution for photos in an online photo book?
For optimal print quality, aim for photos that are 300 DPI (dots per inch) at the size they will appear in the book. This means if you want a photo to be 6 inches wide on a page, it should have at least 1800 pixels horizontally (6 inches x 300 DPI). Most modern digital camera photos are more than sufficient. Online photo book services typically provide warnings if a photo’s resolution is too low for the chosen size, helping you ensure quality prints.
Can I use old, physical photos in my online photo book?
Absolutely. You must first digitize your physical photos using a flatbed scanner or a reputable photo scanning service. Scan them at a high resolution, ideally 300-600 DPI, to capture enough detail for good print quality. Once digitized, these images can be uploaded to your chosen online photo book service just like your digital photos.
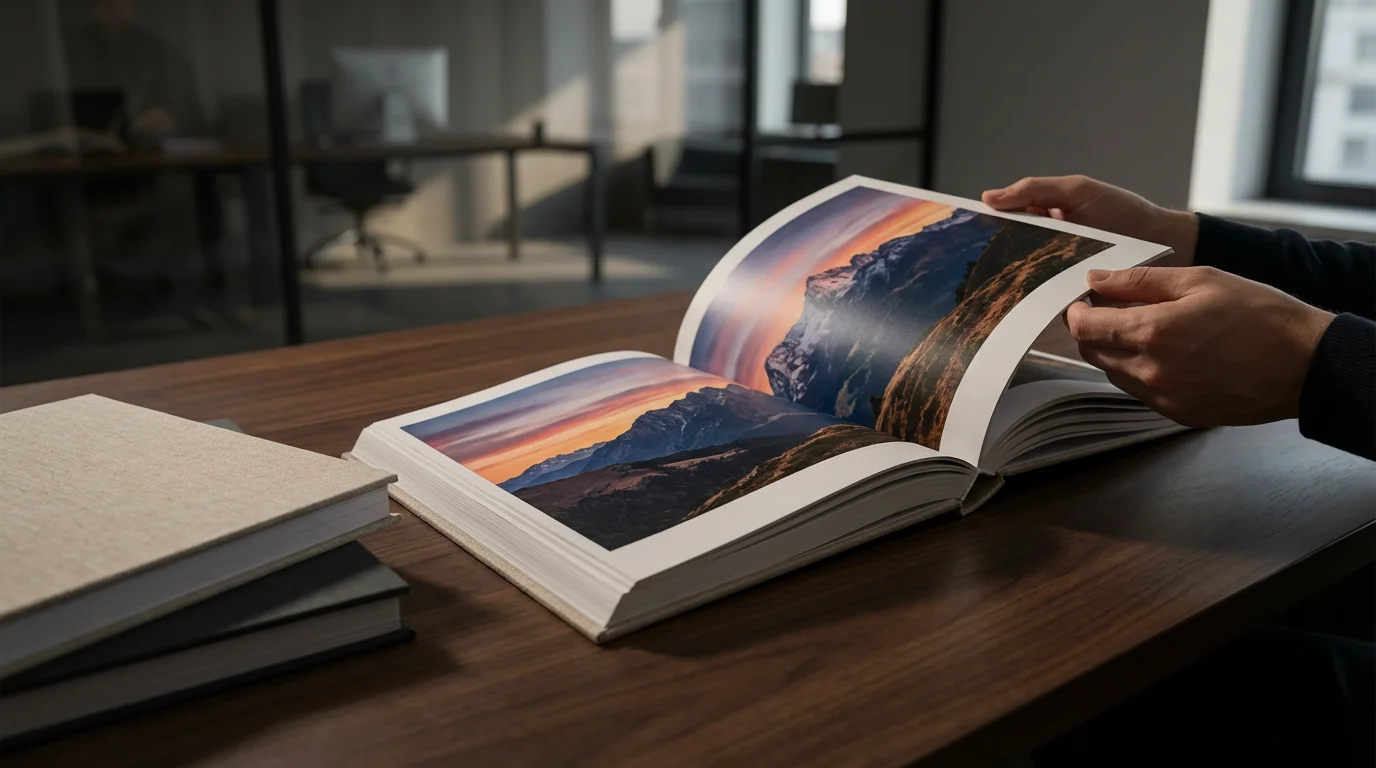
What is a “lay-flat” photo book, and is it worth the extra cost?
A lay-flat photo book uses a specific binding technique that allows the pages to lie completely flat when open, without a crease in the center. This is particularly beneficial for photos that span two pages, as it prevents any part of the image from being lost in the gutter. While lay-flat binding often costs more, it significantly enhances the viewing experience, especially for showcasing panoramic shots or crucial two-page spreads, making it a worthwhile upgrade for premium photo books.
How do I ensure my custom photo book is durable?
To ensure durability, select a service that uses high-quality materials and binding. Opt for a hardcover rather than a softcover for increased protection. Choose thicker paper stocks (e.g., 100lb text weight or higher) and durable paper finishes like lustre or matte. Once printed, store your photo book in a cool, dry place away from direct sunlight and extreme humidity, which can degrade paper and binding over time. This preserves your memory book creation for many years.
Disclaimer: This article is for informational purposes only. When handling valuable or irreplaceable photographs, consider consulting a professional conservator. Always test preservation methods on non-valuable items first.
In addition to physical books, you may also want to learn how to share photo galleries with family online to give distant relatives instant access to your digital collection.


Leave a Reply