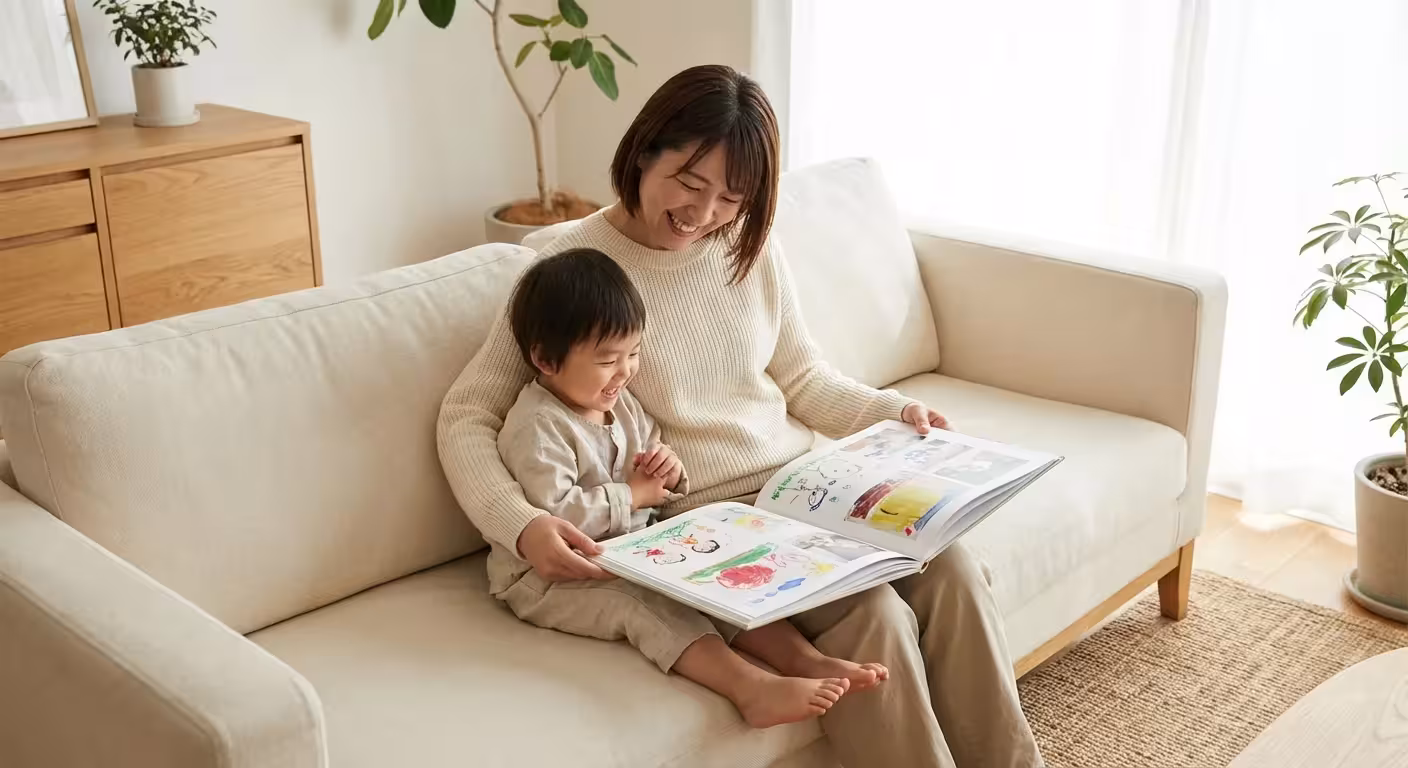
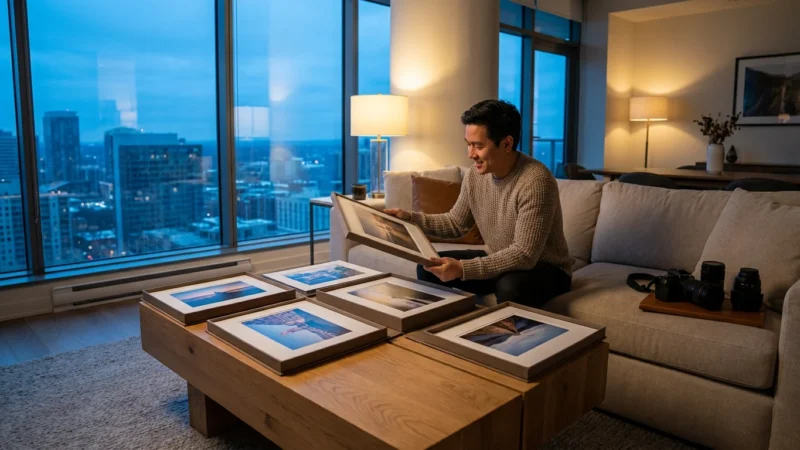
Your photographs capture life’s fleeting moments, preserving everything from grand celebrations to everyday joys. These images hold immense personal value, connecting you to your past, your family, and your stories. While digital storage offers convenience, transforming your cherished photos into physical keepsakes brings them into your daily life in a tangible, heartwarming way. Imagine seeing a beloved snapshot on your refrigerator every morning or gifting a unique, handmade item that tells a personal story.
While magnets are great for the fridge, you might also look for unique photo wall ideas to transform your living space.
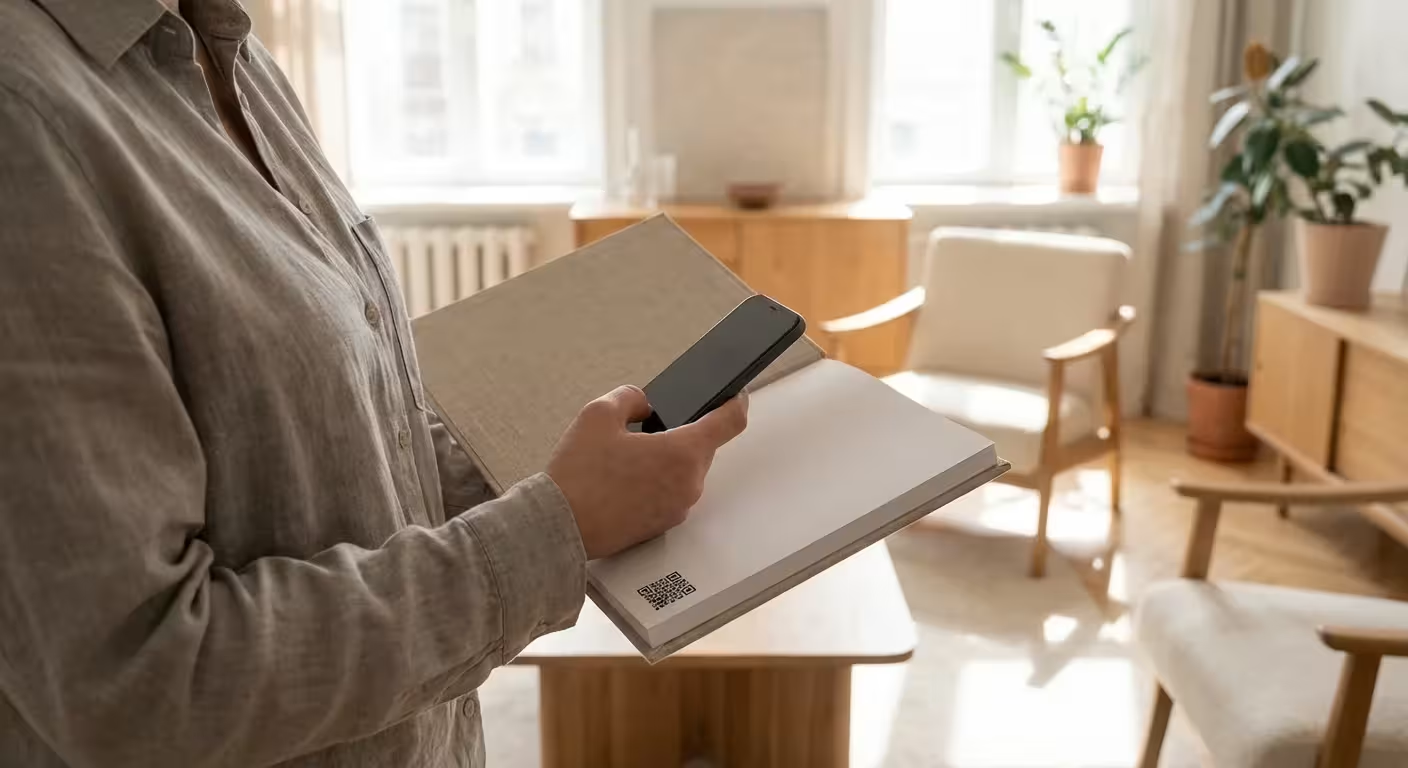
If you want to preserve a larger collection of images at once, you might also consider how to create a beautiful photo book online.
This guide equips you with the practical skills and actionable steps to create beautiful photo magnets and other meaningful keepsakes. You will learn how to select the right images, gather essential materials, and follow simple tutorials to craft personalized items that celebrate your memories and make perfect gifts. We emphasize techniques that protect your original photographs, ensuring their longevity while you enjoy their new forms.
Why Create Photo Magnets and Keepsakes?
Creating photo magnets and photo keepsakes offers more than just decoration; it transforms your memories into constant, comforting reminders. You elevate a simple image to a tactile object, giving it a new purpose and presence in your home. These DIY photo crafts provide several compelling benefits:
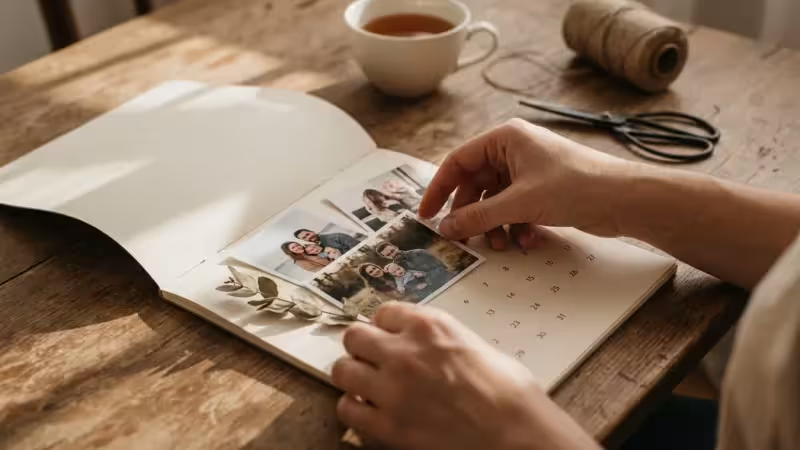
Beyond simple keepsakes, you can also learn how to make a family photo calendar as a practical way to enjoy your images all year long.
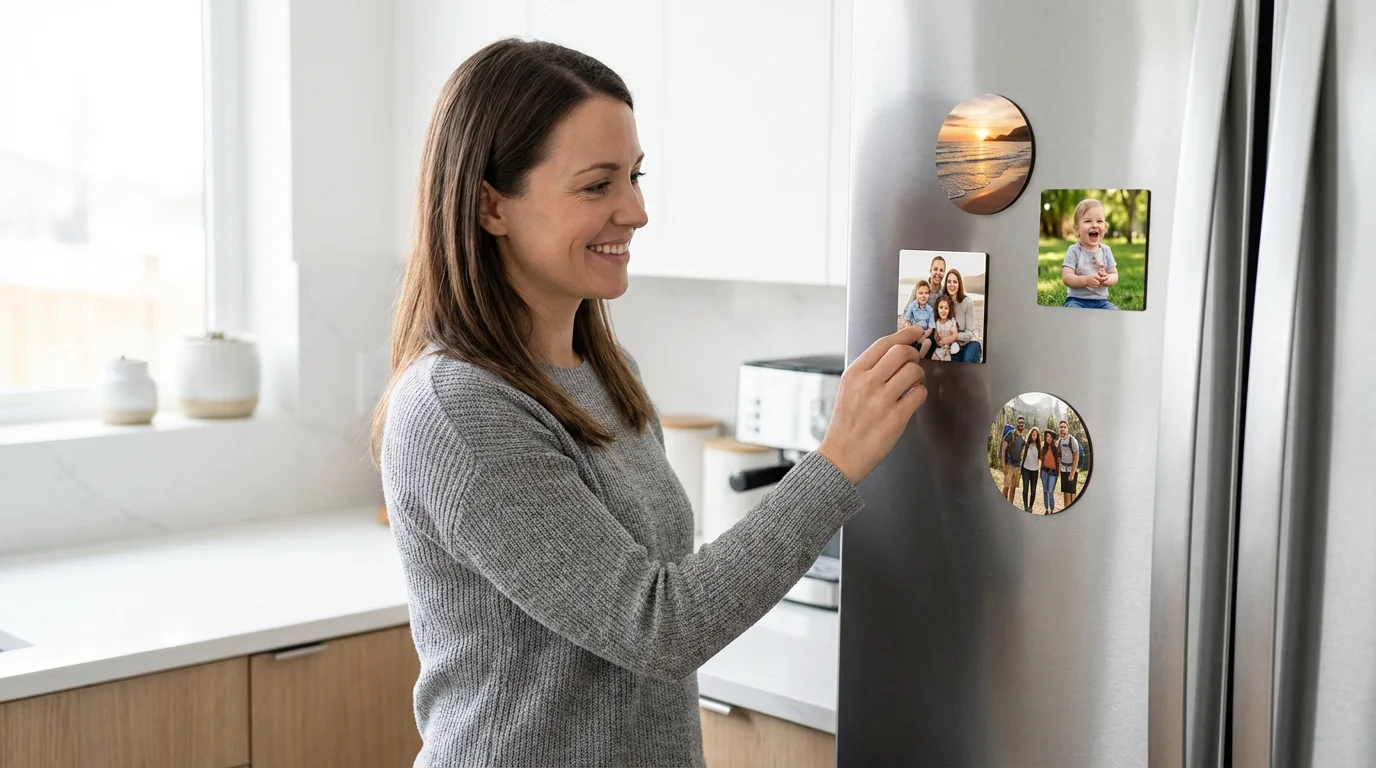
- Personal Connection: You interact with your memories daily. A magnet on the fridge featuring a family vacation photo brings a smile to your face with every trip to the kitchen.
- Meaningful Gifts: Handmade photo keepsakes are incredibly thoughtful and personal gifts. They show effort, care, and a deep understanding of the recipient’s treasured moments. Grandparents especially cherish custom photo items.
- Creative Expression: Engaging in DIY photo keepsake craft ideas allows you to tap into your creativity, customizing each piece to reflect your unique style and the story behind the photo.
- Memory Preservation: By printing and displaying your photos, you actively participate in their preservation. While the original digital file remains safe, having physical copies in accessible forms ensures memories are always visible.
- Decluttering Digital Storage: Many individuals face overwhelming digital photo collections. Selecting specific images for crafts helps you engage with your collection, giving purpose to favorite shots and encouraging organization.
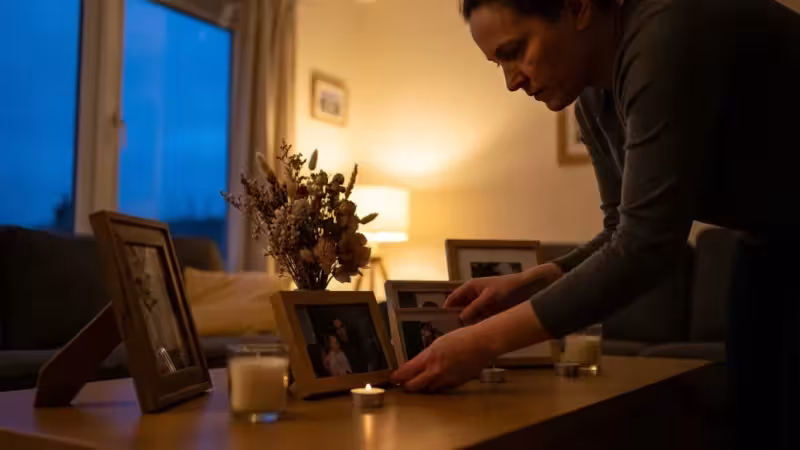
“Tangible photographs hold a unique power. They ground us in our personal history and offer a distinct emotional resonance that digital files often cannot replicate. Transforming digital images into physical objects like magnets ensures these memories become a part of our daily landscape, enriching our lives with constant reminders of joy and connection.”
Choosing Your Photos Wisely for Keepsake Projects
The success of your DIY photo crafts begins with careful photo selection. Not every photo is suitable for every keepsake project. Consider these factors as you browse your collection:
If you find a photo that is particularly stunning but too large for a magnet, printing photos on canvas can turn it into a beautiful piece of wall art.
For those who enjoy a more tactile storytelling approach, learning how to make a photo scrapbook from scratch is another excellent way to use your favorite prints.
Digital Versus Physical Photos
- Digital Photos: These are ideal for crafting. You can easily resize, crop, and edit them without altering the original. Always work with high-resolution digital copies to ensure sharp, clear prints for your keepsakes. A good resolution for printing typically ranges from 200-300 pixels per inch (PPI) at the final print size. For example, if you plan to make a 2×3 inch magnet, ensure your digital file provides at least 400×600 pixels.
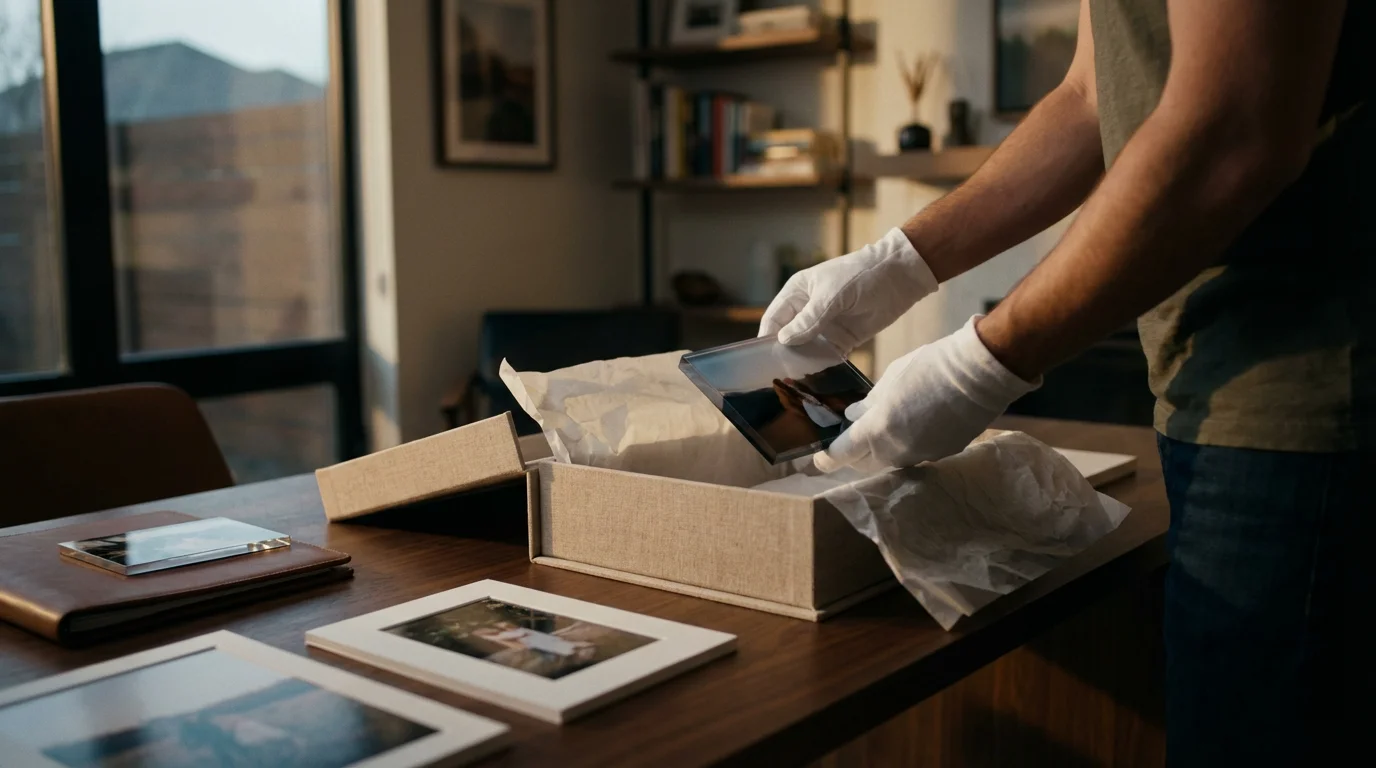
- Original Physical Photos: Handle precious physical photographs with extreme care. We strongly recommend against cutting, gluing, or permanently altering original, irreplaceable photos for crafts. Instead, professionally scan these images to create high-quality digital files. This allows you to print copies for your keepsakes while safeguarding the originals. The Library of Congress offers excellent resources on handling and preserving original photographs, which helps protect your family history. You can find valuable information on their website to ensure your cherished originals remain safe: https://www.loc.gov/preservation/.
Selection Criteria for Keepsakes
- Image Quality: Choose photos that are in focus, well-lit, and have good color balance. Blurry or underexposed images will likely look less appealing when enlarged or displayed on a small keepsake.
- Composition: Consider the primary subject and its placement within the frame. Will the image still look good if cropped to a square, circle, or rectangle? Ensure key elements of the photo are not too close to the edges, preventing accidental cropping during the crafting process.
- Sentimental Value: Prioritize photos that evoke strong emotions, tell a story, or represent a significant memory. These are the images you want to see repeatedly.
- Versatility: Some photos work better for specific projects. A panoramic landscape might not suit a small magnet, but a close-up portrait could be perfect.
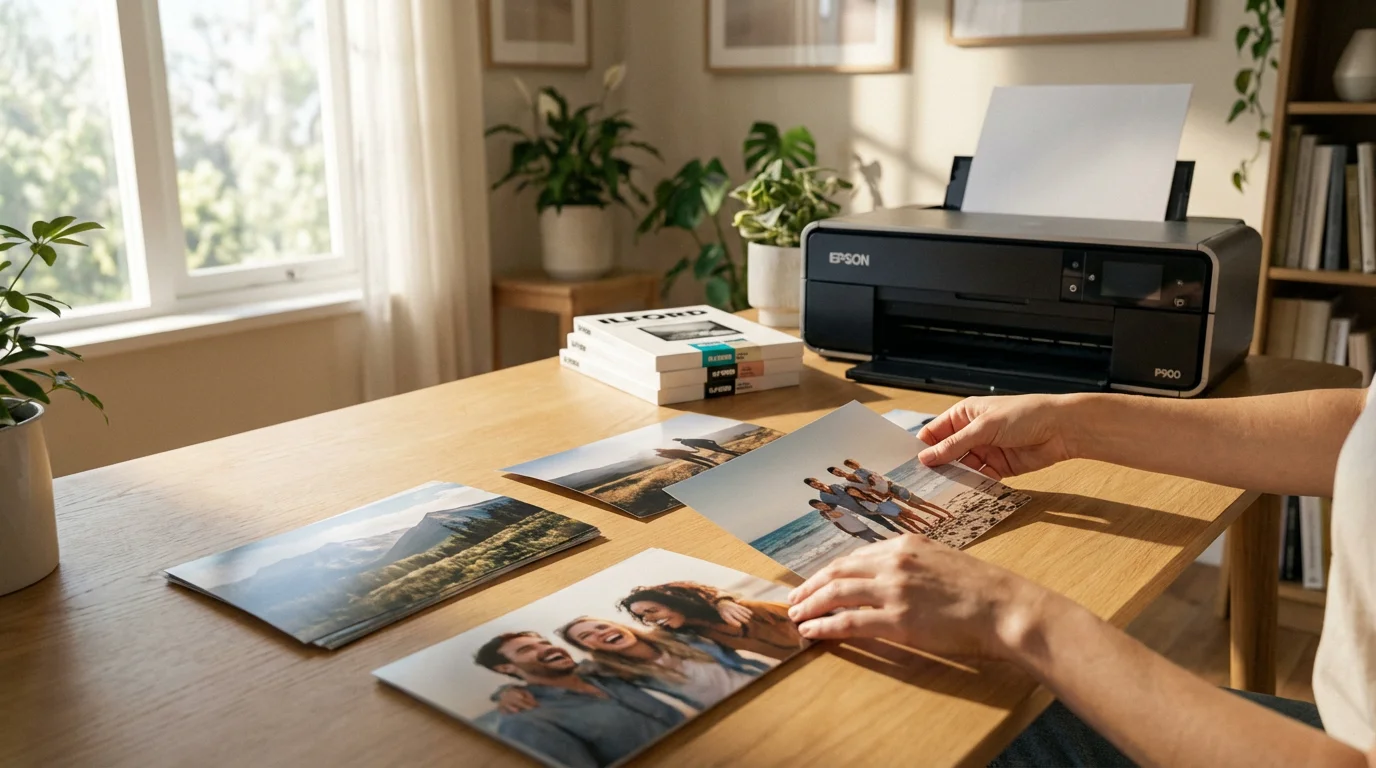
Once you select your images, print them using a good quality photo printer and appropriate photo paper. Matte or semi-gloss photo paper often works best, as it reduces glare and provides a stable surface for adhesives and sealants. Ensure your prints are completely dry before you begin crafting.
Essential Tools and Materials for DIY Photo Crafts
Gathering your supplies before you start ensures a smooth crafting experience. While specific DIY photo keepsake craft ideas might require unique items, this list covers the essentials for most projects, especially when learning how to make photo magnets at home.
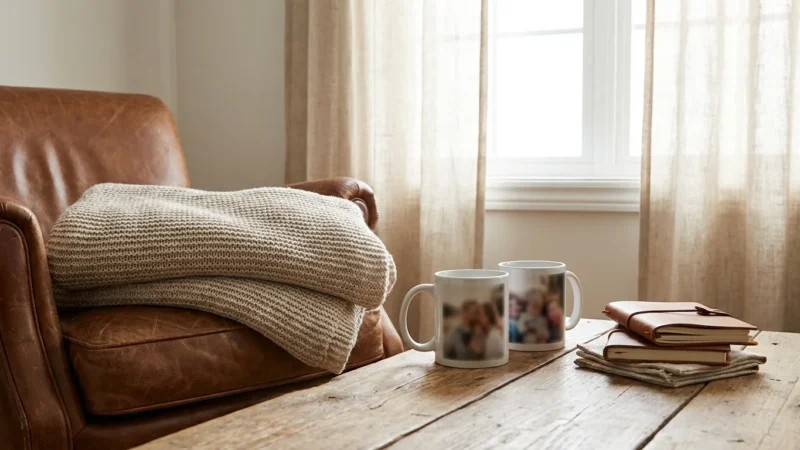
For those who prefer ready-made options, there are many services where you can order custom photo merchandise like blankets and mugs.
To get the best results for your handmade items, check out our guide on the best photo printing services for quality prints to find a lab that meets your needs.
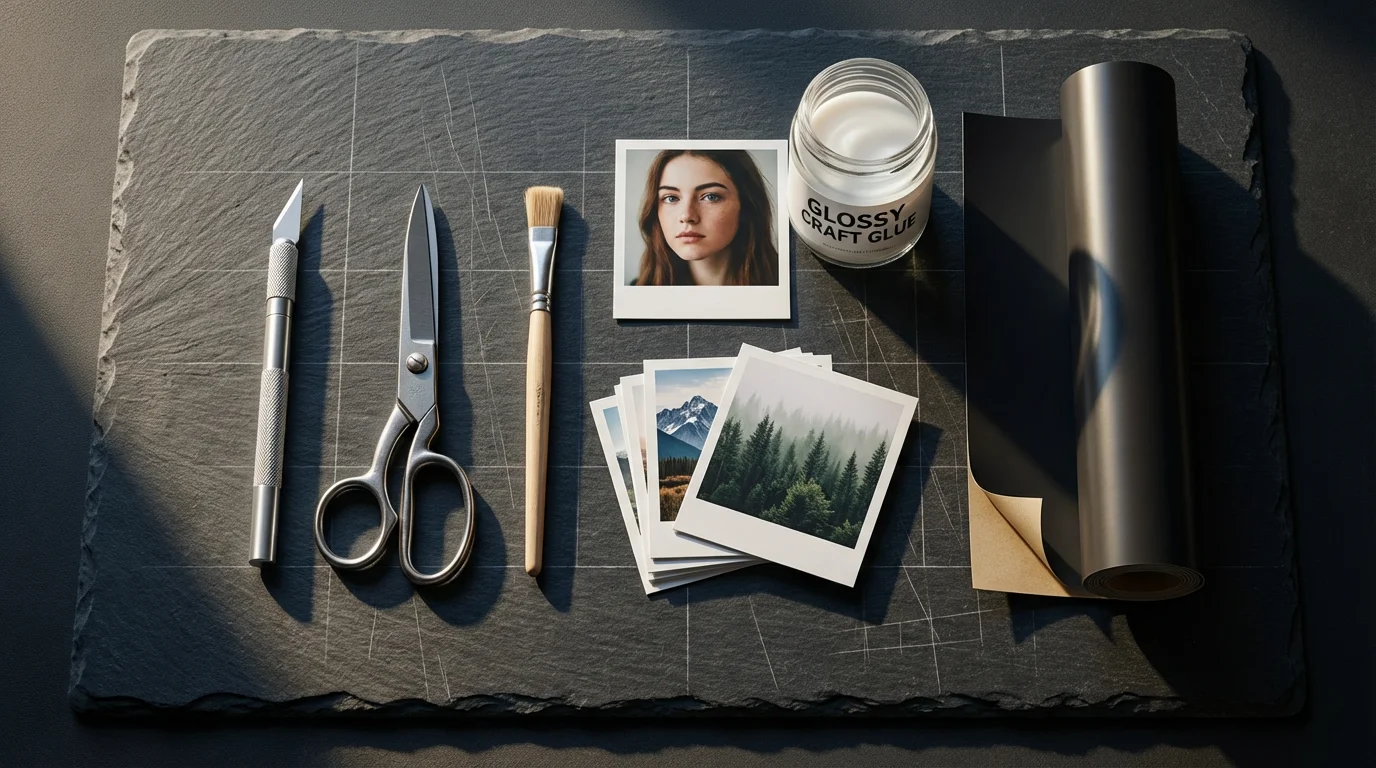
Basic Crafting Tools
- Sharp Scissors or Craft Knife: Essential for precise cutting of photos and other materials. A self-healing cutting mat is crucial when using a craft knife to protect your work surface.
- Ruler: For accurate measurements and straight cuts.
- Pencil: For marking cutting lines or outlines.
- Small Paintbrushes or Foam Brushes: For applying glues, sealants, or protective coatings evenly.
- Crafting Mat or Protected Work Surface: To prevent damage to your table from glues, paints, or cutting.
- Damp Cloth: For quick cleanup of spills or sticky fingers.
- Tweezers: Helpful for handling small pieces or positioning delicate items.
Key Crafting Materials
- Photo Prints: High-quality, dry prints of your chosen images. Consider printing duplicates in case of errors.
- Adhesive:
- Mod Podge (Matte, Gloss, or Satin): A popular all-in-one glue, sealant, and finish. It dries clear and offers good durability.
- Craft Glue (PVA Glue): Standard white craft glue works well for paper-to-paper adhesion.
- Super Glue or E6000 Adhesive: For attaching heavier components, like magnets to backing, requiring a strong bond.
- Sealant/Varnish: A clear, protective topcoat to protect your finished keepsakes from moisture and wear. Mod Podge can serve this purpose, or you can use a clear acrylic spray sealant.
- Magnet Material:
- Self-Adhesive Magnetic Sheets: Easy to cut and stick directly to your finished photo pieces.
- Small Neodymium Disc Magnets: Very strong and compact, perfect for smaller or heavier keepsakes. Attach these with strong glue.
- Magnetic Tape Rolls: Versatile for various shapes and sizes.
- Backing Material:
- Chipboard or Thin Wood: Provides stiffness and durability for magnets and coasters.
- Cardstock: For lighter keepsakes or as a base layer.
- Clear Glass Cabochons or Tiles: Popular for creating a domed, magnifying effect over photos for magnets or pendants.
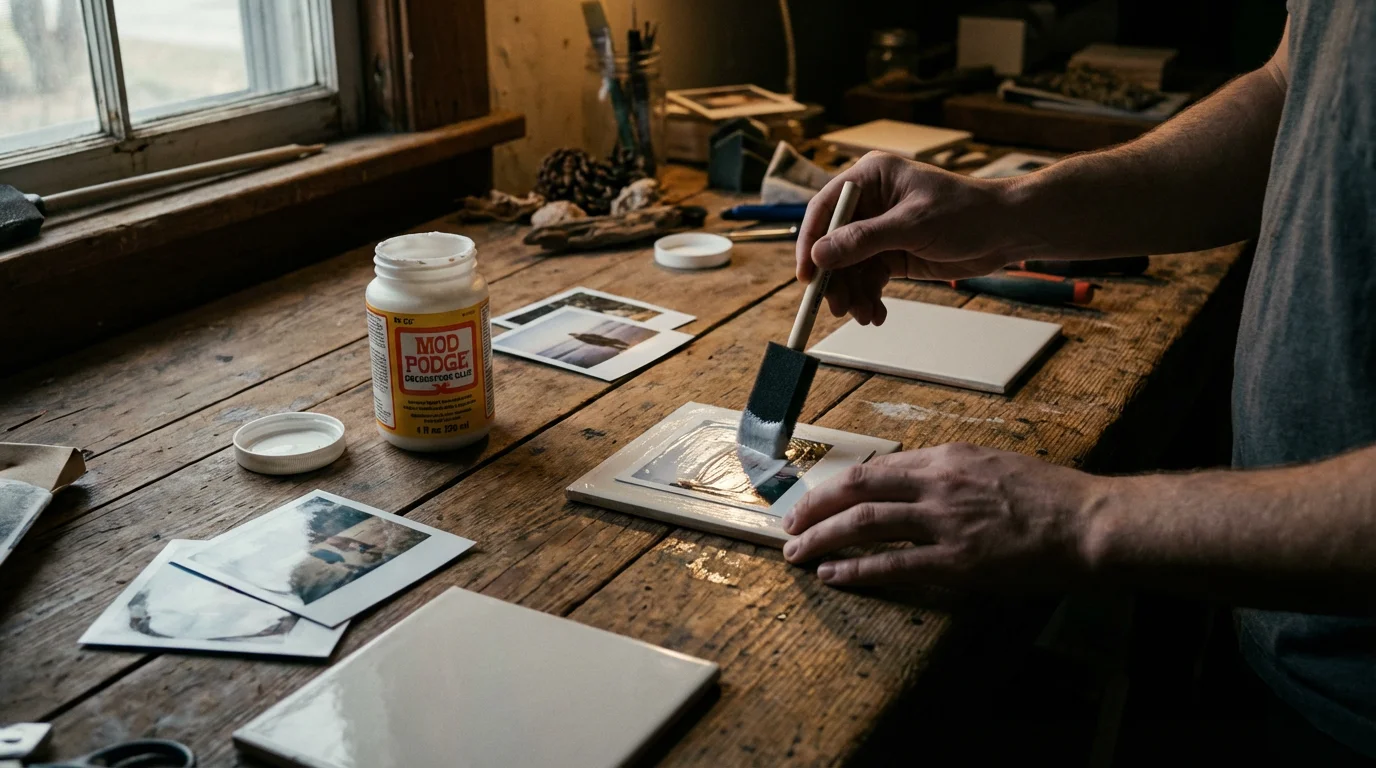
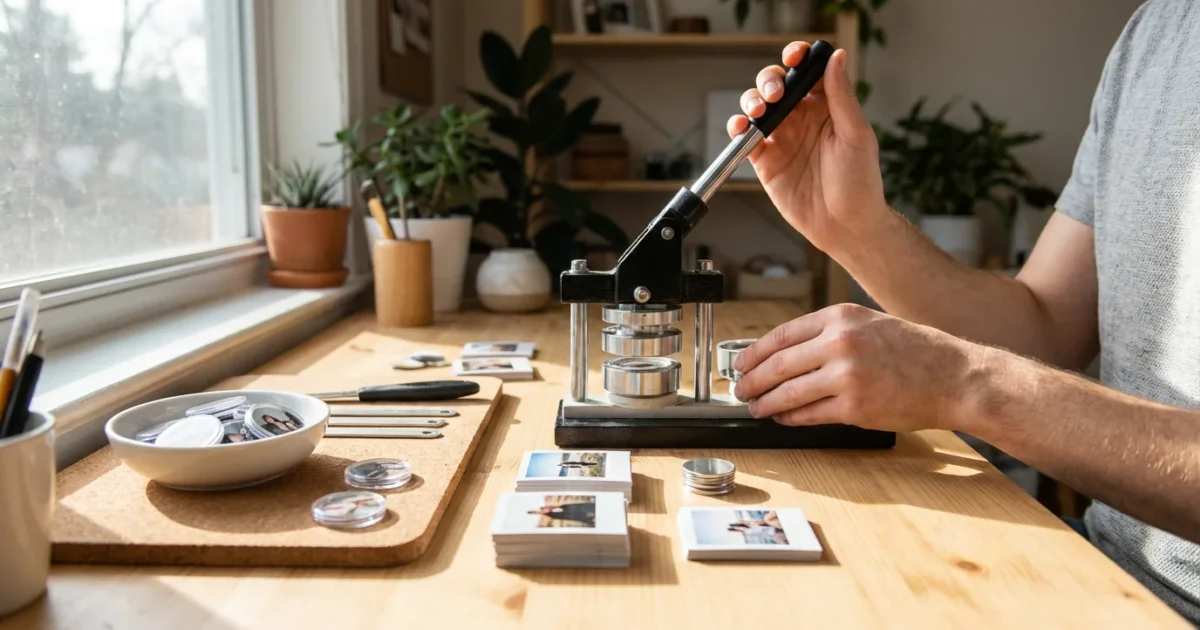
Crafting Classic Photo Magnets: Step-by-Step Guide
Learning how to make photo magnets at home is a rewarding and straightforward process. This tutorial covers a popular method using Mod Podge and a sturdy backing. These photo magnets make excellent gifts and personalized decor.
If you have a large number of images from a single event, creating a photo collage is a fantastic way to fit more memories onto a single magnet.
Materials You Will Need:
- Printed photos (matte or semi-gloss photo paper recommended)
- Sturdy backing material (chipboard, thin wood, or even thick cardstock)
- Mod Podge (matte or gloss, depending on your desired finish)
- Small paintbrush or foam brush
- Scissors or craft knife
- Ruler and pencil
- Self-adhesive magnetic sheet or small disc magnets with strong glue
- Optional: Clear acrylic spray sealant for extra protection
Step-by-Step Instructions:
- Prepare Your Photos: Carefully cut your printed photos to your desired magnet size and shape. Measure precisely and use a ruler for straight lines. If using a craft knife, place your photo on a self-healing mat.
- Prepare Your Backing: Cut your chipboard or thin wood backing to the exact same size and shape as your photos. This creates a sturdy base for your magnet.
- Adhere Photo to Backing:
- Apply a thin, even layer of Mod Podge to one side of your backing material using a paintbrush.
- Carefully center your photo print onto the Mod Podge-coated backing.
- Press down firmly, working from the center outwards to smooth out any air bubbles. You can use a brayer or a credit card wrapped in a cloth to help with this.
- Allow this layer to dry completely for at least 15-20 minutes.
- Seal the Photo:
- Once the first layer of Mod Podge is dry, apply another thin, even layer directly over the top of the photo. This acts as a protective sealant.
- Brush in one direction, then lightly in the perpendicular direction to ensure full coverage.
- Be careful not to overwork the Mod Podge, as this can cause streaks.
- Allow this layer to dry completely (about 15-20 minutes).
- Apply Additional Coats (Optional): For extra durability and a smoother finish, you can apply 2-3 more thin layers of Mod Podge, allowing each layer to dry thoroughly before applying the next. The more layers, the more durable the surface.
- Attach the Magnet:
- Once all Mod Podge layers are completely dry and cured (this may take up to 24 hours for full hardness), turn your photo piece over.
- If using self-adhesive magnetic sheets, cut a piece to fit the back of your photo and simply peel and stick.
- If using small disc magnets, apply a dot of strong adhesive (like E6000 or super glue) to the center of the magnet and press it firmly onto the back of your photo piece. Hold for a few seconds to ensure adhesion. Allow the glue to cure according to the manufacturer’s instructions, typically several hours.
- Final Touches (Optional): For maximum protection against moisture and wear, you can apply a clear acrylic spray sealant. Follow the product instructions for application in a well-ventilated area.
Creative Photo Keepsake Ideas Beyond Magnets
Beyond traditional photo magnets, a world of DIY photo keepsake craft ideas awaits. These projects allow you to preserve memories in unique ways and offer diverse gifting opportunities.
If you are interested in items that require more specialized equipment, you can explore professional options like custom photo blankets or mugs for high-quality gifts.
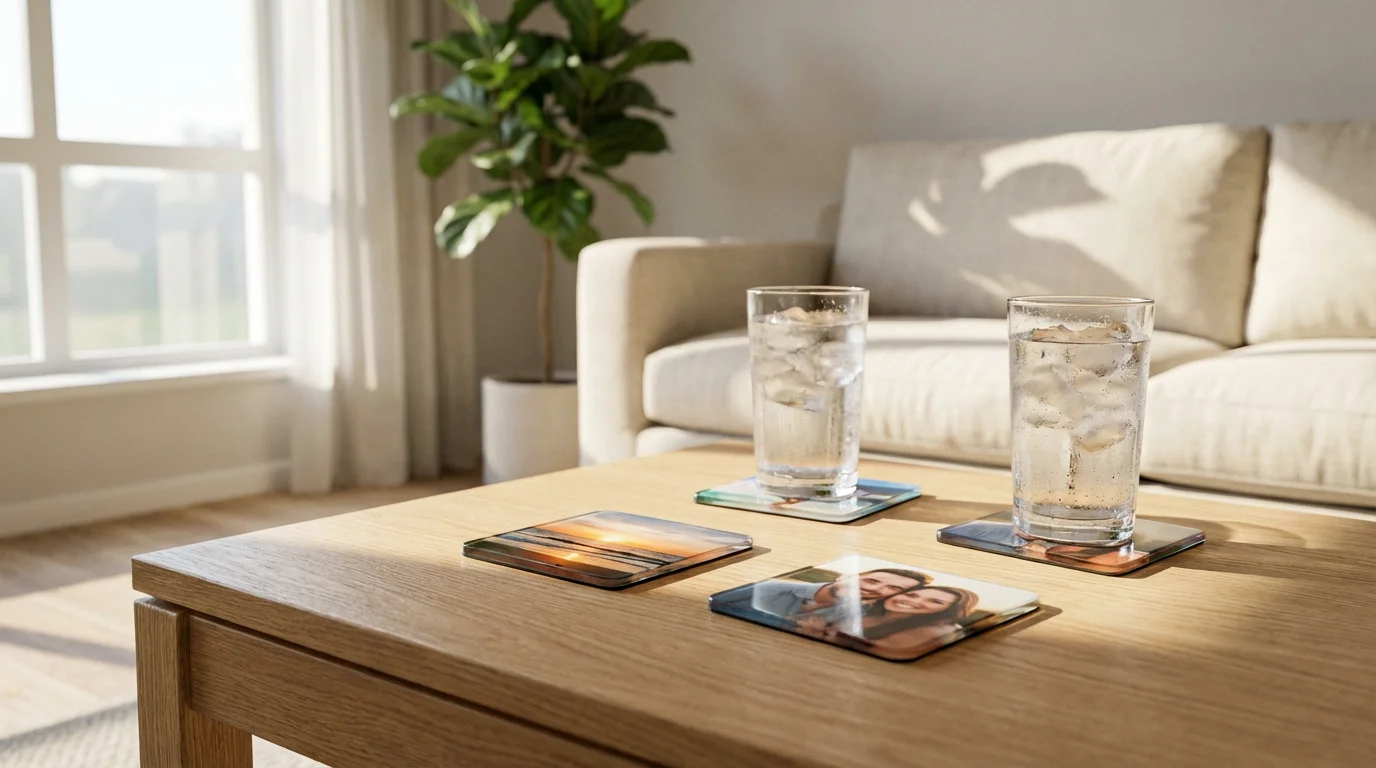
Photo Coasters
Transform ordinary tiles into personalized coasters. Print your photos, cut them to size, and adhere them to ceramic or cork tiles using Mod Podge. Seal thoroughly with multiple layers of Mod Podge or an epoxy resin for waterproof durability. Add felt pads to the bottom to protect furniture.
Personalized Photo Ornaments
Create custom ornaments for holidays or year-round display. You can use clear glass or plastic ornaments that open, inserting small rolled photos, glitter, or artificial snow. Alternatively, adhere photos to wooden slices or flat metal blanks using Mod Podge, sealing them well, and adding a ribbon loop for hanging. These make wonderful annual additions to your tree.
Photo Keychains
Carry your memories wherever you go. Use small metal or acrylic keychain blanks. Cut photos to fit the blanks, adhere them, and seal them with Mod Podge or a clear epoxy dome for protection. These are quick, practical, and highly personal items.
Memory Blocks or Cubes
Adhere different photos to each side of wooden blocks or cubes. You can paint the blocks first, then use Mod Podge to attach your photos. Apply several coats of sealant for a durable, interactive display piece. These are fantastic for showcasing multiple images from an event or a family member’s life.
Photo Bookmarks
For the avid reader, a photo bookmark adds a personal touch. Print long, narrow photos, or combine several small photos onto a strip of cardstock. Laminate them or cover them with clear contact paper for durability. Punch a hole at the top and add a decorative tassel or ribbon.
Ensuring Longevity: Archival Best Practices for Your Photo Keepsakes
You invest time and emotion into creating your DIY photo crafts, so you naturally want them to last. Employing archival best practices helps protect your keepsakes from deterioration. These methods focus on using stable materials and minimizing environmental damage.
When your keepsakes are finished, you can integrate them into your decor using these photo wall ideas to display your memories throughout your home.
Print Quality and Paper
- Archival Ink and Paper: Use printers that utilize pigment-based inks, which resist fading significantly better than dye-based inks. Print on acid-free, lignin-free photo paper. These materials prevent yellowing and degradation over time, crucial for preserving your images.
- Professional Printing Services: For critical projects, consider using professional photo labs that offer archival-quality prints. They typically use high-grade papers and inks designed for longevity.
Adhesives and Sealants
- Acid-Free Adhesives: Ensure any glues or sprays you use are labeled “acid-free” or “photo-safe.” Standard glues can contain acids that degrade photos over time, causing discoloration and brittleness. Mod Podge is generally considered safe for photos once dry and cured.
- UV Protection: While Mod Podge and other sealants offer some protection, applying a clear acrylic spray sealant with UV inhibitors provides an additional layer of defense against sun exposure. UV rays cause photos to fade rapidly.
Display and Storage Environment
- Avoid Direct Sunlight: Even with UV protection, prolonged exposure to direct sunlight will eventually fade your photo keepsakes. Place magnets on refrigerators away from sunny windows. Display other keepsakes in areas with indirect light.
- Stable Temperature and Humidity: Fluctuations in temperature and humidity can damage photos and adhesives. Avoid displaying keepsakes in bathrooms or near heat sources like radiators. Aim for a consistent, moderate environment.
- Reversible Methods: When working with original photos, always prioritize reversible methods or, better yet, use high-quality scans. Professional conservators emphasize reversibility in their work, ensuring that items can be undone without damage if future restoration or changes are needed. The Image Permanence Institute provides extensive research and guidelines on preserving photographic materials, offering insights into stable environments and material choices: https://www.imagepermanenceinstitute.org.
Handling Your Keepsakes
Handle your finished keepsakes with clean, dry hands. Avoid touching the photo surface directly, especially if it does not have a hard, protective topcoat. Over time, oils and dirt from hands can degrade the image.
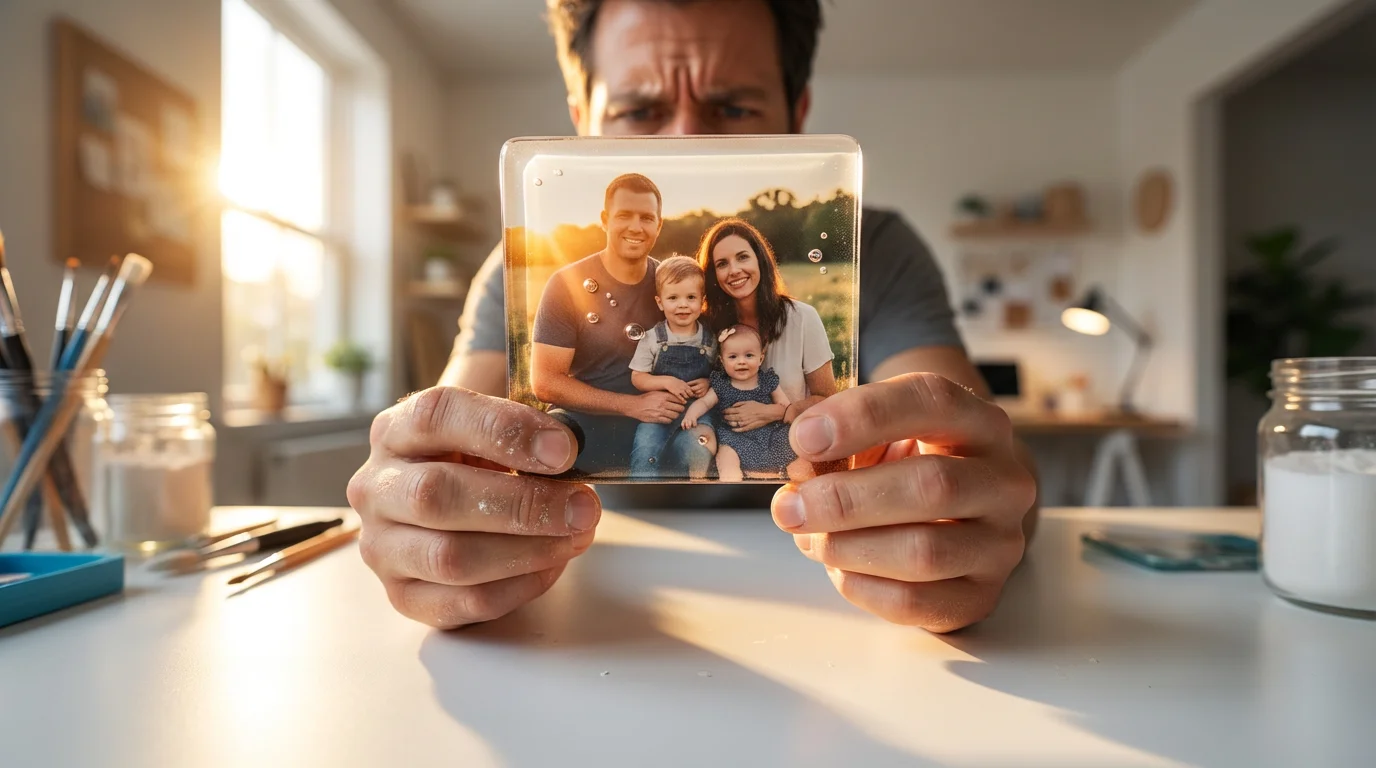
Troubleshooting Common Photo Crafting Challenges
Even experienced crafters encounter issues. Knowing how to address common problems helps you achieve professional-looking results for your DIY photo crafts and reduces frustration.
- Air Bubbles Under the Photo:
- Prevention: Apply Mod Podge or glue in a thin, even layer. Place the photo carefully and smooth it from the center outwards using a brayer, a credit card (wrapped in cloth), or your fingers.
- Fix: If bubbles appear during drying, use a pin to carefully prick the bubble and gently press the air out. For larger bubbles, you may need to carefully lift a corner, apply more adhesive, and re-smooth. This is more difficult once the adhesive starts to dry.
- Wrinkling or Curling of Photos:
- Prevention: Use heavier photo paper (e.g., 200-250 gsm) that resists moisture better. Ensure your prints are completely dry before applying adhesive. Apply Mod Podge or glue in thin layers, allowing each to dry fully.
- Fix: Once completely dry, place the warped item under a heavy book for a few days to flatten it. This might not entirely reverse severe curling but often helps.
- Mod Podge Streaks or Brush Marks:
- Prevention: Use a soft-bristled brush or a foam brush. Apply thin, even coats and avoid overworking the Mod Podge. Brush in one direction, then lightly in the perpendicular direction.
- Fix: If streaks are visible after drying, you can sometimes lightly sand with very fine-grit sandpaper (e.g., 400-600 grit) and apply another thin, smooth coat of Mod Podge. Practice this technique on a scrap piece first.
- Gloppy or Uneven Edges:
- Prevention: Use a precise cutting tool for your photos and backing. Ensure your adhesive application doesn’t extend beyond the edges of the photo.
- Fix: Once completely dry, you can trim excess dried Mod Podge or paper with a craft knife. Lightly sand rough edges for a smoother finish.
- Magnet Not Sticking Securely:
- Prevention: Use a strong, appropriate adhesive for your magnet type (e.g., E6000 for disc magnets, high-quality self-adhesive sheets). Ensure the back surface of your keepsake is clean and dry.
- Fix: Remove the old magnet and adhesive residue as much as possible, then reattach with a stronger adhesive, allowing ample curing time.

Displaying and Gifting Your Cherished Photo Creations
Your finished photo keepsakes deserve to be showcased and celebrated. Think about both presentation and functionality when displaying or gifting your DIY photo crafts.
For more inspiration on where to place your finished pieces, consider these creative photo wall ideas for displaying memories throughout your living space.
Display Ideas for Your Home
- Refrigerator Art Gallery: Photo magnets are perfect for creating an evolving display on your fridge, showcasing recent memories, favorite faces, or seasonal themes.
- Magnetic Boards: If your refrigerator is not suitable, use a dedicated magnetic board in your kitchen, office, or child’s room. This creates a focal point for your magnetic memories.
- Tiered Trays: Use photo coasters or small memory blocks as decorative accents on tiered trays in your living room or dining area.
- Bookshelves and Mantels: Arrange photo cubes or small framed keepsakes among books and other decorative items.
- Entryway Console: A small collection of themed photo keepsakes can offer a warm welcome to guests.
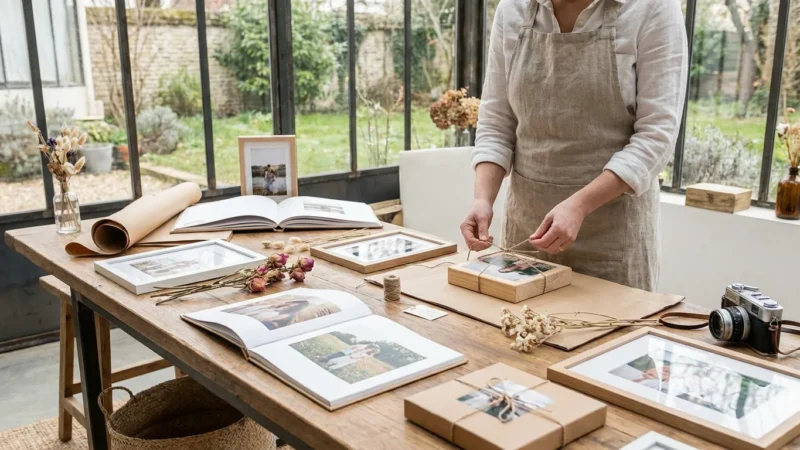
Gifting Your Personalized Photo Keepsakes
Handmade photo keepsakes are exceptionally personal gifts. Enhance their presentation to make them even more special:
- Thoughtful Packaging: Present your photo magnets in a small decorative box, tied with a ribbon. For coasters, stack them and tie them with twine or place them in a small gift bag.
- Personalized Notes: Include a handwritten card explaining the significance of the photo or the memory it represents. This adds immense value to the gift.
- Themed Collections: Create a set of magnets with photos from a shared vacation, a collection of ornaments from a child’s first year, or a series of coasters celebrating a couple’s journey.
- Gift Baskets: Incorporate your photo keepsakes into a larger gift basket. For example, photo coasters could accompany a selection of gourmet coffees, or photo bookmarks could go with a new book.
The act of creating photo magnets and photo keepsakes brings joy both in the making and in the sharing. Each piece you craft tells a story, making your home a warmer, more personal space, and your gifts truly unforgettable.
Frequently Asked Questions
Are photo magnets and keepsakes durable enough for everyday use?
Yes, with proper sealing, your photo magnets and keepsakes can withstand everyday handling. Multiple layers of Mod Podge or a clear acrylic sealant create a protective, durable surface. For items like coasters, an epoxy resin coating provides maximum waterproof durability and heat resistance, making them highly functional.
Can I use regular printer paper for my DIY photo crafts?
While technically possible, regular printer paper is thinner and more prone to wrinkling or tearing when wet with adhesives. It also lacks the vibrant color reproduction and durability of photo paper. For best results and longevity, use quality photo paper that resists moisture and provides a better foundation for your images.
How do I make sure my photos are cut perfectly straight for magnets?
Achieving perfectly straight cuts requires a few tools and techniques. Always use a sharp pair of craft scissors or, even better, a craft knife with a metal ruler on a self-healing cutting mat. Measure twice, cut once. For multiple identical pieces, create a template from cardstock and trace it onto your photos before cutting.
What if I want to remove a photo from a keepsake later? Is it reversible?
Most adhesive methods for DIY keepsakes, like Mod Podge, create a permanent bond. Removing a photo without damaging it or the base material is generally not possible. This is why we highly recommend using high-quality scanned copies of irreplaceable original photographs for all crafting projects, preserving the originals safely.
Can I make these photo crafts with kids?
Absolutely! Many DIY photo keepsake craft ideas are fantastic for involving children. Supervise them closely, especially with sharp tools and strong adhesives. Opt for projects like decorating wooden blocks with pre-cut photos or creating simple magnetic frames, as these are safer and highly engaging for younger crafters. It teaches them about preserving memories in a fun, hands-on way.
Disclaimer: This article is for informational purposes only. When handling valuable or irreplaceable photographs, consider consulting a professional conservator. Always test preservation methods on non-valuable items first.


Leave a Reply