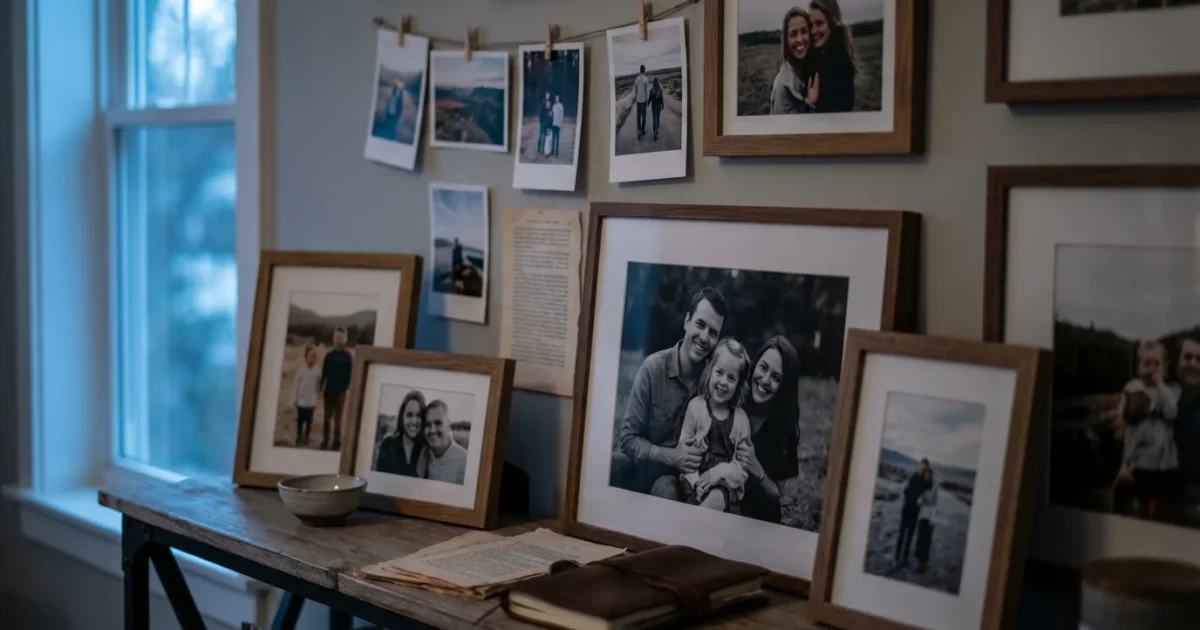
Your cherished photographs tell your unique story, chronicling milestones, everyday joys, and the people who matter most. These images deserve more than a digital folder or a dusty box. Displaying your memories transforms your living space into a warm, personal gallery, inviting conversation and reflection. Creating a photo wall offers a powerful way to celebrate your family’s journey, adding depth and character to your home decor. You might envision a sprawling gallery wall, a curated photo wall display, or a more minimalist arrangement, but the goal remains the same: to bring your memories to life. This guide delivers practical steps and creative insights, showing you exactly how to create a photo wall at home that reflects your style and preserves your precious photographic heritage.
Planning Your Photo Wall: From Concept to Canvas
Before you lift a hammer, successful photo wall design starts with thoughtful planning. This foundational step ensures your photo wall display aligns with your vision and fits your space harmoniously. Consider the room, the wall, and the overall aesthetic you want to achieve for your home decor photos.
Assess Your Space
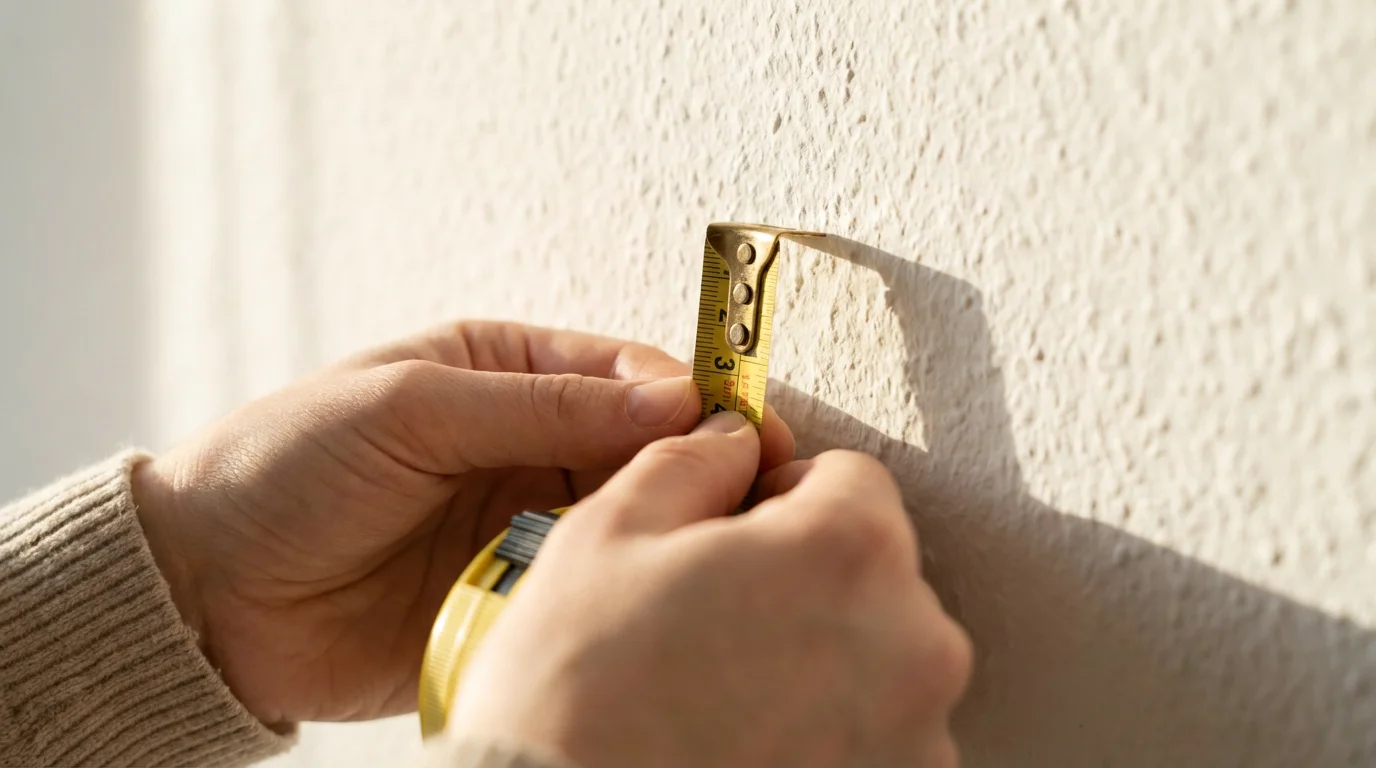
First, identify the ideal wall. High-traffic areas like stairwells or hallways often make excellent gallery wall locations, providing ample viewing opportunities. Living rooms and dining rooms also serve as prime spots for a prominent photo wall. Measure your chosen wall’s width and height. These dimensions dictate the scale of your display and help you avoid over or under-filling the space. A wall that measures 10 feet wide by 8 feet high offers significantly more real estate than a narrow section between two doors. Consider existing furniture. You want your photo wall to complement, not compete with, your sofa, console table, or fireplace mantel. Aim for about 6-12 inches of clearance between the top of your furniture and the bottom of your lowest frames.
Define Your Theme and Style
What story do you want your photo wall to tell? A clear theme provides cohesion and direction. Common themes include:
- Family Milestones: Celebrate birthdays, graduations, and anniversaries.
- Travel Adventures: Showcase landscapes and candid moments from your journeys.
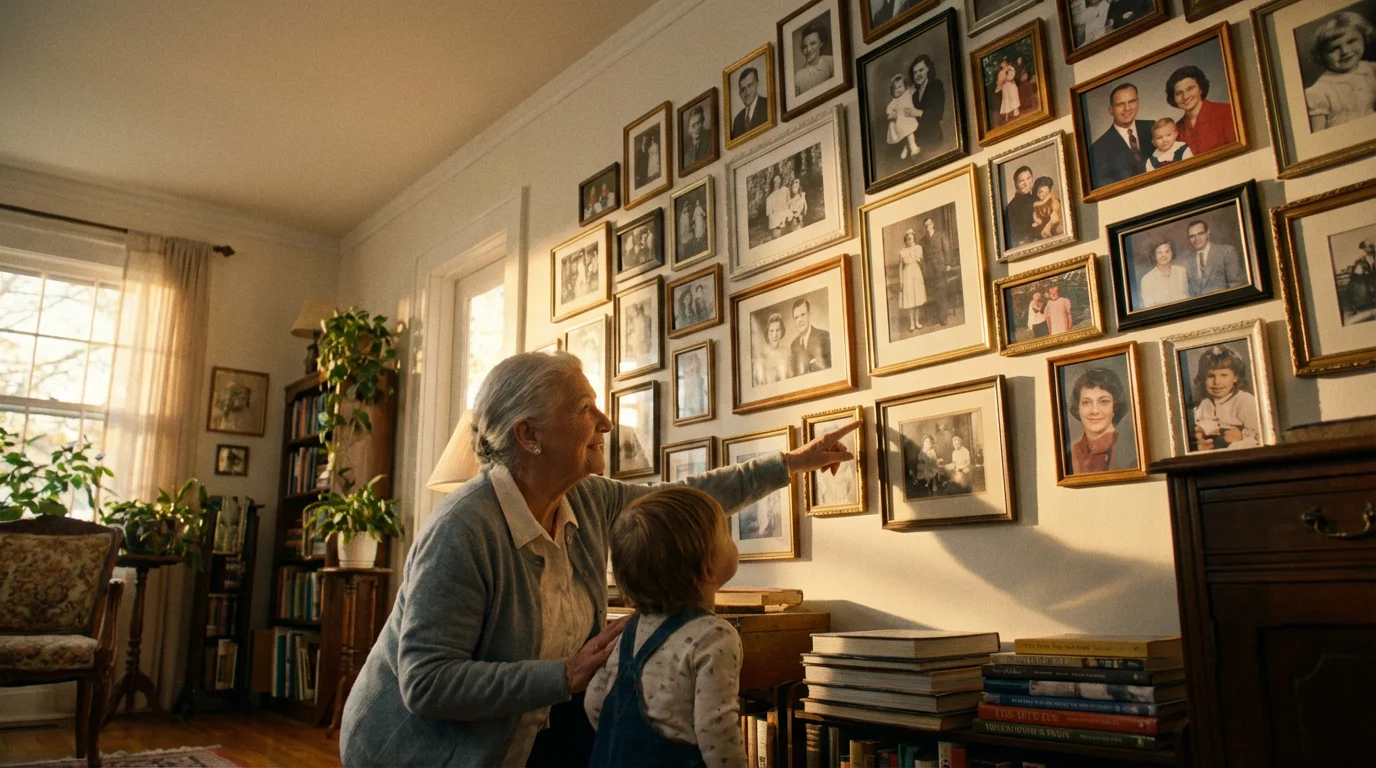
- Generational Portraits: Display images spanning decades, connecting past and present.
- Color Harmony: Select photos with a predominant color palette, creating a visually soothing effect.
- Black and White Elegance: A timeless choice that offers sophistication and focuses on emotion and composition.
Your home’s existing decor also influences your photo wall’s style. Do you prefer a modern, minimalist look, or a more eclectic, bohemian vibe? Matching the style ensures your photo wall integrates seamlessly into your living environment, enhancing your overall home decor.

Curating Your Collection: Selecting the Perfect Photos
The heart of any successful photo wall lies in the images you choose. This step requires a discerning eye and a focus on quality and emotional resonance. Whether you pull from inherited boxes of old family photos or thousands of digital images, thoughtful selection elevates your display.
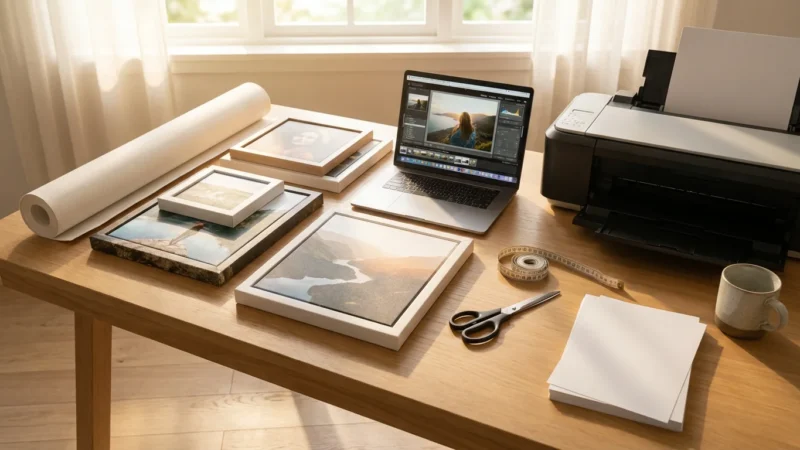
Before finalizing your selection, researching the best photo printing services can help ensure your physical copies meet professional standards for clarity and color.
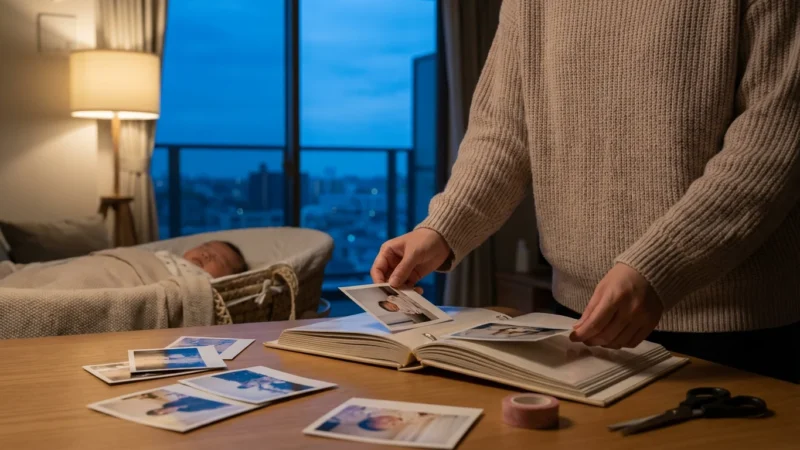
To find your best display pieces, start by organizing physical photo prints to locate hidden gems tucked away in various rooms.
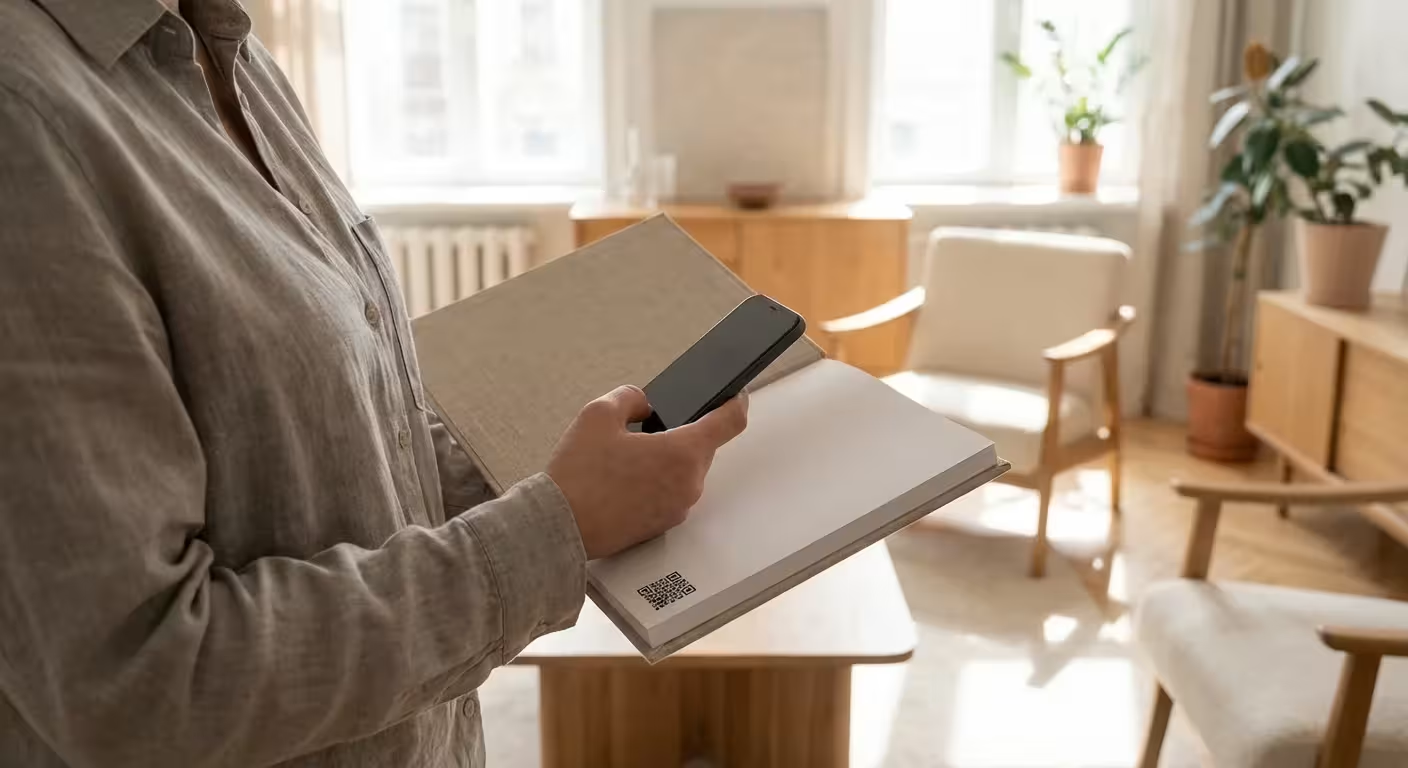
If you find you have too many great shots for one wall, consider how to create a beautiful photo book online to preserve the rest of the collection.
Embrace Both Digital and Physical Memories
You likely possess a wealth of photographs in various formats. Digitize your physical photos to expand your selection pool and protect originals. Scan old prints at a high resolution, typically 300-600 PPI, to ensure print quality for display. For digital files, prioritize high-resolution images. A general rule for printing quality is at least 300 pixels per inch at the desired print size. For example, a 3600 x 2400 pixel image prints well as an 8×12 inch photo. Avoid low-resolution images from social media or old cell phones, as they often pixelate when enlarged.
Select Meaningful Images
Focus on photos that evoke strong emotions, tell a story, or represent significant moments. Look for clear, well-composed images with good lighting. Candid shots often capture genuine emotion more effectively than posed portraits. When selecting images for a gallery wall, aim for a mix of close-ups, medium shots, and wider scenes to add visual interest. Consider varying the number of people in the photos; some might feature a single subject, while others capture group moments.
“A photo wall becomes more than just decoration; it’s a visual narrative of your life. Every chosen image should contribute a piece to that larger story, making the display deeply personal and endlessly engaging.”
Prepare Your Photos for Display
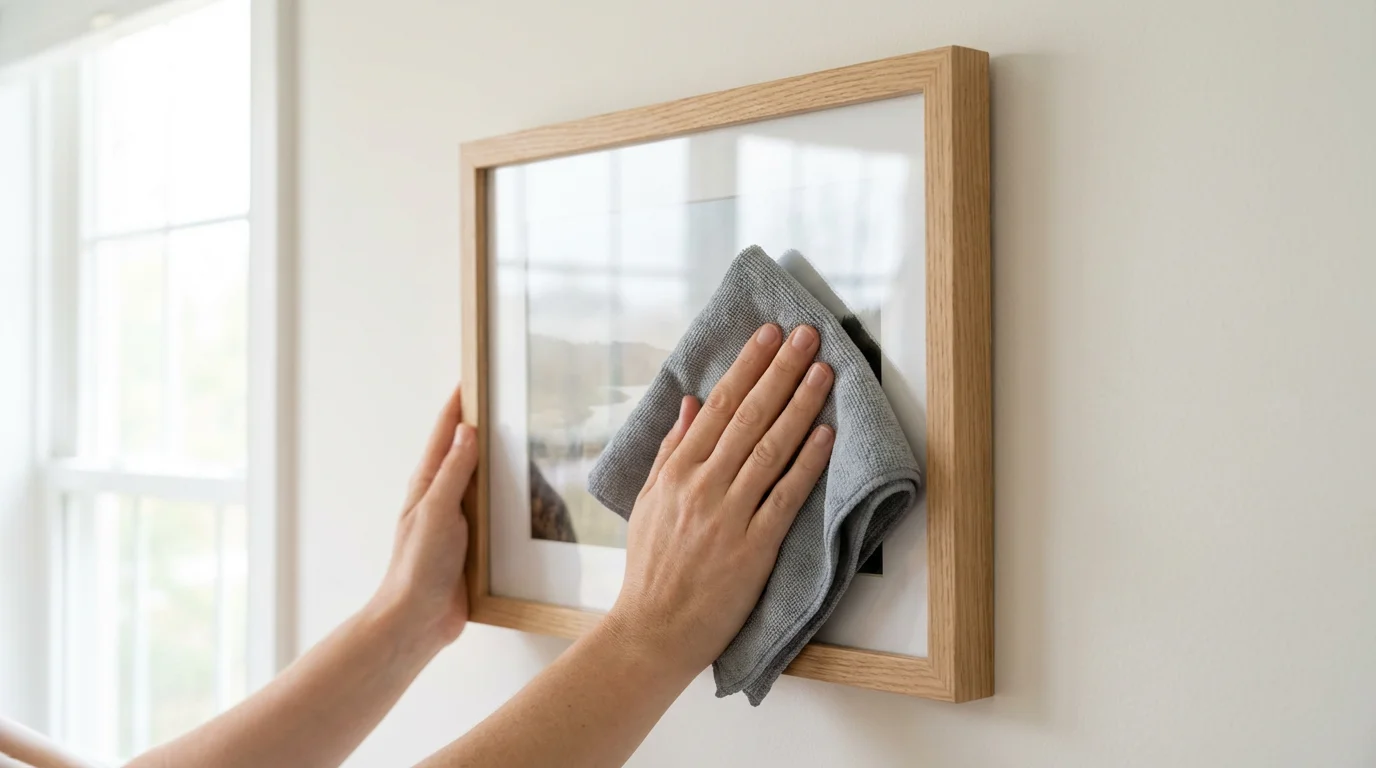
For digital images, perform basic edits if necessary. Adjust brightness, contrast, and color balance to ensure consistency across your collection. Convert color photos to black and white if your theme calls for it. For physical photos, handle them with care, ideally wearing cotton gloves to prevent transferring oils from your skin. If you plan to frame original prints, especially irreplaceable ones, ensure you use archival-quality materials, which we will discuss in detail later. Consider making copies of very old or fragile prints to display, storing the originals safely.
Frame It Right: Choosing Frames and Mounts
Frames protect your photos and significantly contribute to your photo wall’s aesthetic. Selecting the right frames and mounts transforms a collection of images into a cohesive, impactful display.
Frame Materials and Styles
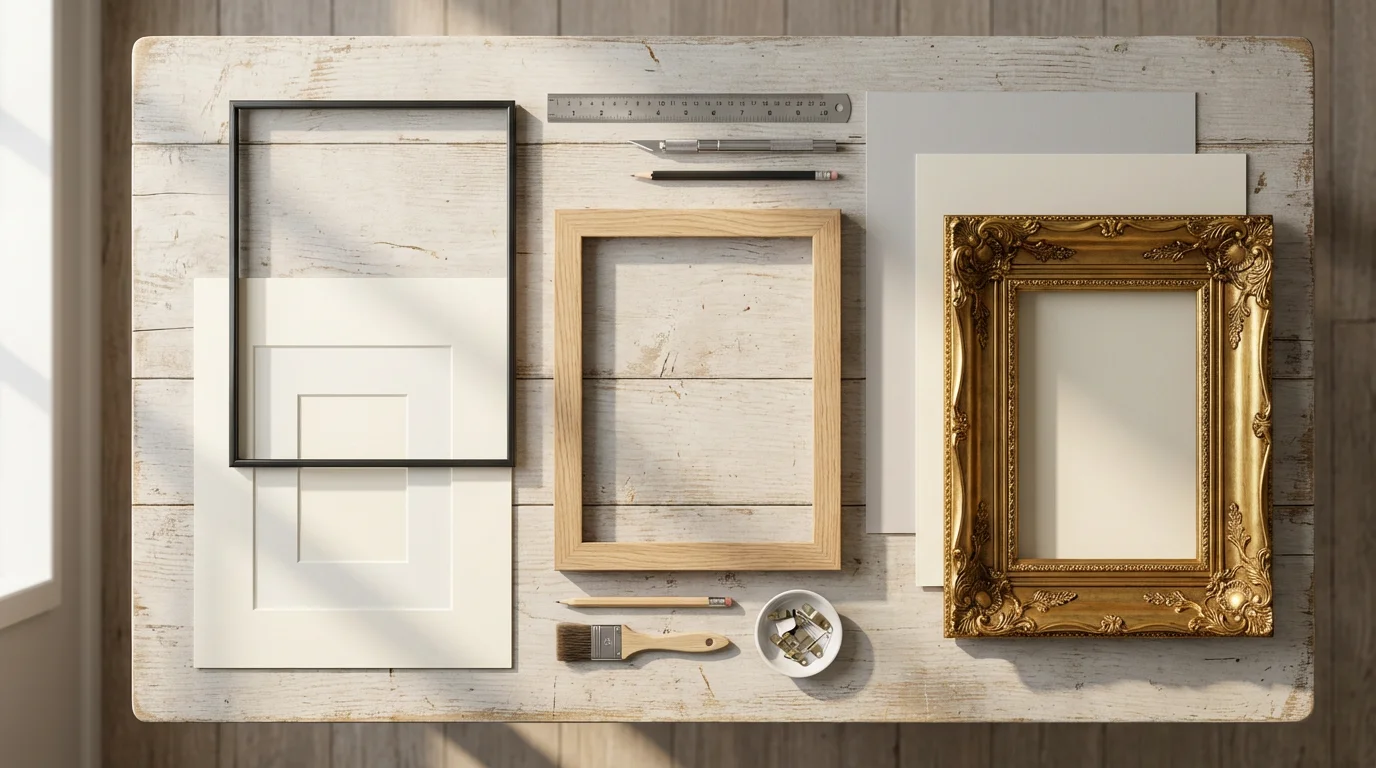
Frames come in a variety of materials, each offering a distinct look:
- Wood: Timeless and versatile, wood frames range from rustic reclaimed wood to sleek, modern painted finishes. They offer warmth and classic appeal.
- Metal: Aluminum or steel frames provide a contemporary, industrial, or minimalist feel. Black metal frames are particularly popular for gallery walls.
- Plastic/MDF: More affordable options, these frames often mimic wood or metal finishes. Choose high-quality versions for durability and appearance.
When creating a photo wall, you can choose a uniform frame style for a classic, ordered look, or mix and match frames for an eclectic, bohemian vibe. A common approach for a gallery wall is to use frames of varying sizes but a consistent color, such as all black, all white, or all natural wood. This creates visual harmony while allowing the different photo sizes to add interest.
Matting and Backing Boards
Matting, the border between your photo and the frame, adds sophistication and protects the image from touching the glass. Always choose acid-free mats and backing boards. Acidic materials can cause photos to yellow, become brittle, or degrade over time. The Image Permanence Institute offers extensive research on the effects of environmental factors on photographic materials, underscoring the importance of archival-quality materials. A typical mat width ranges from 1.5 to 3 inches, depending on the photo size and desired aesthetic. Wider mats often create a more dramatic, museum-like presentation, giving your home decor photos a professional touch.
Glass Options for Protection
The type of glass in your frame plays a crucial role in protecting your photographs:
- Standard Glass: Offers basic protection from dust and physical damage. It reflects light, which can create glare.
- Non-Glare Glass: Features a matte finish to reduce reflections, but it can slightly diffuse the image, reducing sharpness.
- UV-Filtering Glass: Crucial for protecting precious photos, this glass blocks a significant percentage of harmful UV light, which causes fading and discoloration. It is an essential investment for irreplaceable prints, especially if your photo wall receives some indirect natural light.
- Museum Glass: Combines UV protection with excellent clarity and minimal reflection, offering the highest level of protection and visual appeal.
For valuable family heirlooms or professionally printed photographs, investing in UV-filtering or museum glass ensures your memories remain vibrant for generations. The Library of Congress Preservation Directorate emphasizes controlling environmental factors, including light, to prevent deterioration of photographic materials.
Layout Mastery: Best Photo Wall Layout Ideas
The arrangement of your frames defines your photo wall’s visual impact. Exploring various layout ideas helps you achieve a balanced and appealing display that fits your space and personal style. These are some of the best photo wall layout ideas to inspire your project.
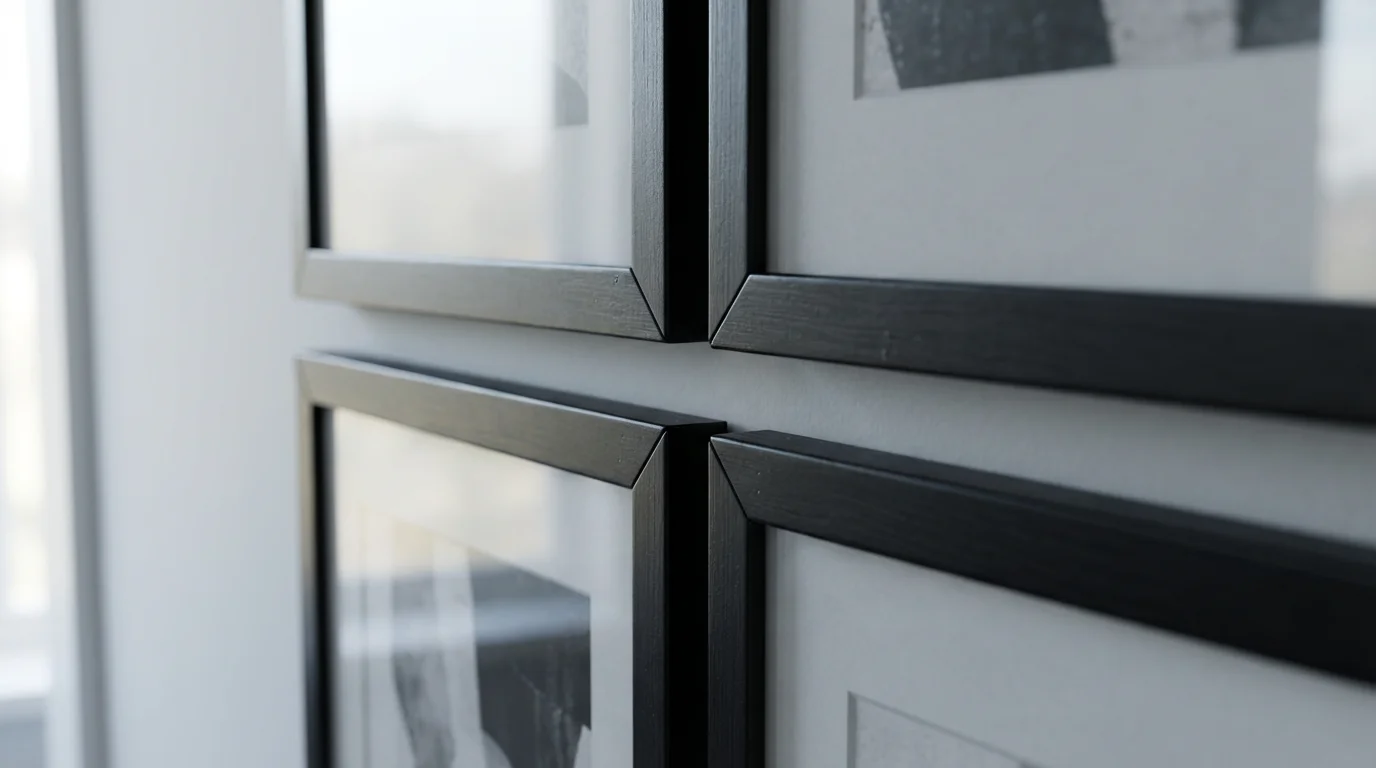
The Grid Layout
A grid layout creates a clean, symmetrical, and modern look. All frames are identical in size and evenly spaced, forming perfect rows and columns. This layout works exceptionally well in contemporary spaces and for collections of similar subjects or black and white photography. To execute a grid, you need precise measurements and careful planning. Maintain consistent spacing between frames, typically 2-4 inches, to achieve a polished finish.
The Salon Style or Organic Layout
This classic European gallery wall style features an eclectic mix of frame sizes, shapes, and sometimes even artwork or mirrors, arranged in a seemingly random but balanced way. The salon style offers flexibility and a more relaxed, artistic feel. Start with a central, prominent piece and arrange smaller frames around it, maintaining visual balance. You can use paper templates cut to the size of your frames and tape them to the wall to experiment with different arrangements before making any holes.
The Staircase Flow
A staircase provides a natural progression for a photo wall. Arrange frames to follow the upward slope of the stairs, maintaining a consistent eye level as you ascend. You can use a grid pattern that steps up or an organic arrangement that flows with the architecture. This creates an engaging visual journey along a wall that might otherwise remain bare. Aim for the center of your frames to be approximately 60-66 inches from the stair tread for comfortable viewing.
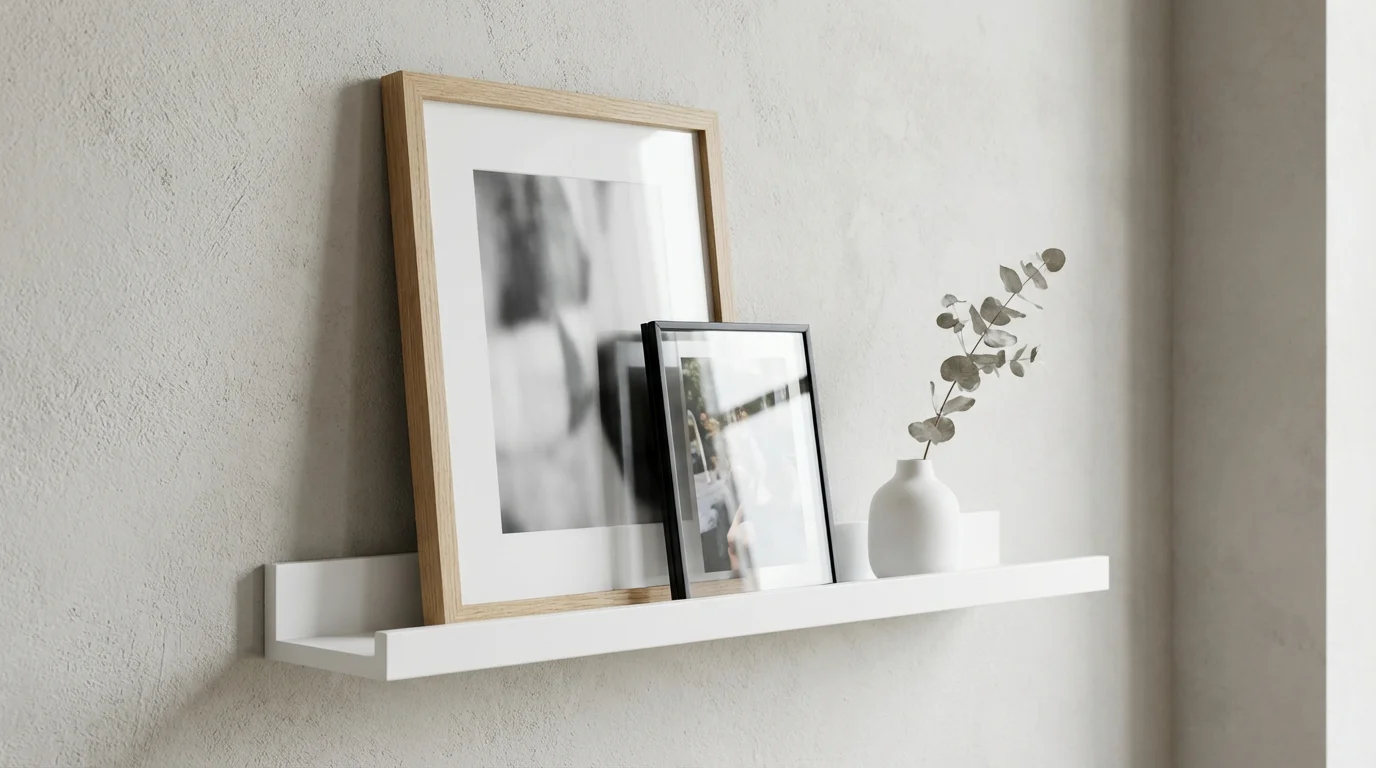
The Shelf Display
Instead of hanging frames directly on the wall, use picture ledges or floating shelves to display your photos. This method offers extreme flexibility, allowing you to easily rearrange frames, swap photos, and add decorative objects without creating new holes. It is perfect for those who frequently update their displays or prefer a less permanent solution for their home decor photos. Mix framed prints with small plants, books, or art objects for added texture and interest.
The Linear or Horizontal Layout
Ideal for above a sofa, bed, or console table, a linear layout arranges frames in a single, straight line, either horizontally or vertically. This can be a very impactful way to create a focal point. You can use frames of the same size for a minimalist look or vary frame sizes while keeping the top or bottom edges aligned. This offers a sleek, modern aesthetic and emphasizes the length of the wall or furniture piece.

Hanging with Confidence: Installation Tips and Tricks
Once you have your photos, frames, and layout chosen, the final step involves confidently hanging your masterpieces. Proper installation ensures your photo wall looks professional and stays securely in place.
Gather Your Tools
Successful installation requires a few essential tools:
- Measuring Tape: For accurate wall and frame measurements.
- Pencil: To mark hanging points.
- Level: A spirit level or laser level ensures your frames hang straight.
- Hammer: For nails.
- Drill and Wall Anchors: Necessary for heavier frames or if you are hanging on drywall without hitting a stud.
- Picture Hanging Hooks/Wire: Choose hooks rated for the weight of your frames. D-rings or picture wire often provide more flexibility for leveling.
- Painter’s Tape and Kraft Paper/Newspaper: For creating templates.
Create Paper Templates
This crucial step allows you to visualize and fine-tune your layout without making any holes. Trace each frame onto Kraft paper or newspaper and cut out the shapes. Mark the exact hanging point on each paper template. Use painter’s tape to arrange these templates on your wall according to your chosen layout. Step back and assess the arrangement, adjusting as needed until you achieve the perfect balance and spacing. This method saves you from unnecessary holes and ensures you create the best photo wall layout ideas on your wall.
Precision Hanging Techniques
Once your templates are finalized, use a pencil to mark the hanging point directly onto the wall through the template. Remove the paper templates. For lighter frames, a single picture hook or nail often suffices. For heavier frames, use two hooks for added stability and easier leveling. Use your level frequently to ensure each frame hangs perfectly straight. If using a wire, hang the wire on the hook, then adjust the frame until it is level. For multiple frames in a grid, measure precisely between hanging points to maintain consistent spacing. For an organic gallery wall, trust your eye after the initial setup with templates.
Protecting Your Display: Preservation for Longevity
Displaying your photographs brings them to life, but it also exposes them to environmental factors that can cause damage. Implementing sound preservation practices ensures your photo wall display remains vibrant for years to come. The American Institute for Conservation of Historic and Artistic Works provides valuable resources for preserving cultural heritage, including photographs.
Control Light Exposure
Light, especially ultraviolet (UV) light, is the primary culprit in photo fading and discoloration. Position your photo wall away from direct sunlight. Windows, skylights, and even bright artificial lighting emit UV rays that can cause irreversible damage to dyes and pigments in prints. If a location with some indirect light is unavoidable, use UV-filtering glass in your frames, as discussed earlier. You can also install UV-filtering window films or use curtains to minimize exposure during peak sunlight hours. Even visible light, over prolonged periods, contributes to fading, so consider areas with lower ambient light levels for particularly valuable or irreplaceable prints.
Maintain Stable Environmental Conditions
Fluctuations in temperature and humidity significantly impact the longevity of photographs. Aim for a stable environment within your home. Ideal conditions for photographic preservation are generally around 68-72°F (20-22°C) and 30-50% relative humidity. Avoid hanging photo walls in bathrooms, kitchens, or near vents, radiators, or fireplaces, where temperature and humidity levels tend to fluctuate dramatically. High humidity can lead to mold growth, stickiness, or emulsion damage, while extreme dryness can cause prints to become brittle. Consistent conditions are key to preserving your photographic heritage.
Use Archival Materials
This point bears repeating because of its critical importance. Any material directly touching your photographs should be archival quality. This includes:
- Acid-Free Mats: Prevents yellowing and acid migration to the photo.
- Acid-Free Backing Boards: Offers stable support without introducing harmful acids.
- Archival Mounting Corners or Adhesives: If you mount photos directly, use reversible, acid-free methods. Avoid rubber cement, tape, or glues not specifically designed for photographic preservation.
Ensuring your frames house archival-grade materials provides a protective micro-environment for your treasured prints. This is a small investment that yields significant long-term preservation benefits for your home decor photos.
Beyond the Frame: Creative Photo Display Alternatives
While framed photo walls offer classic elegance, other creative options allow you to display your memories with unique flair. These alternatives provide flexibility, texture, and a fresh perspective on home decor photos.
If you have too many favorites to choose from, creating a digital photo frame slideshow allows you to showcase thousands of memories in a single, dynamic space.
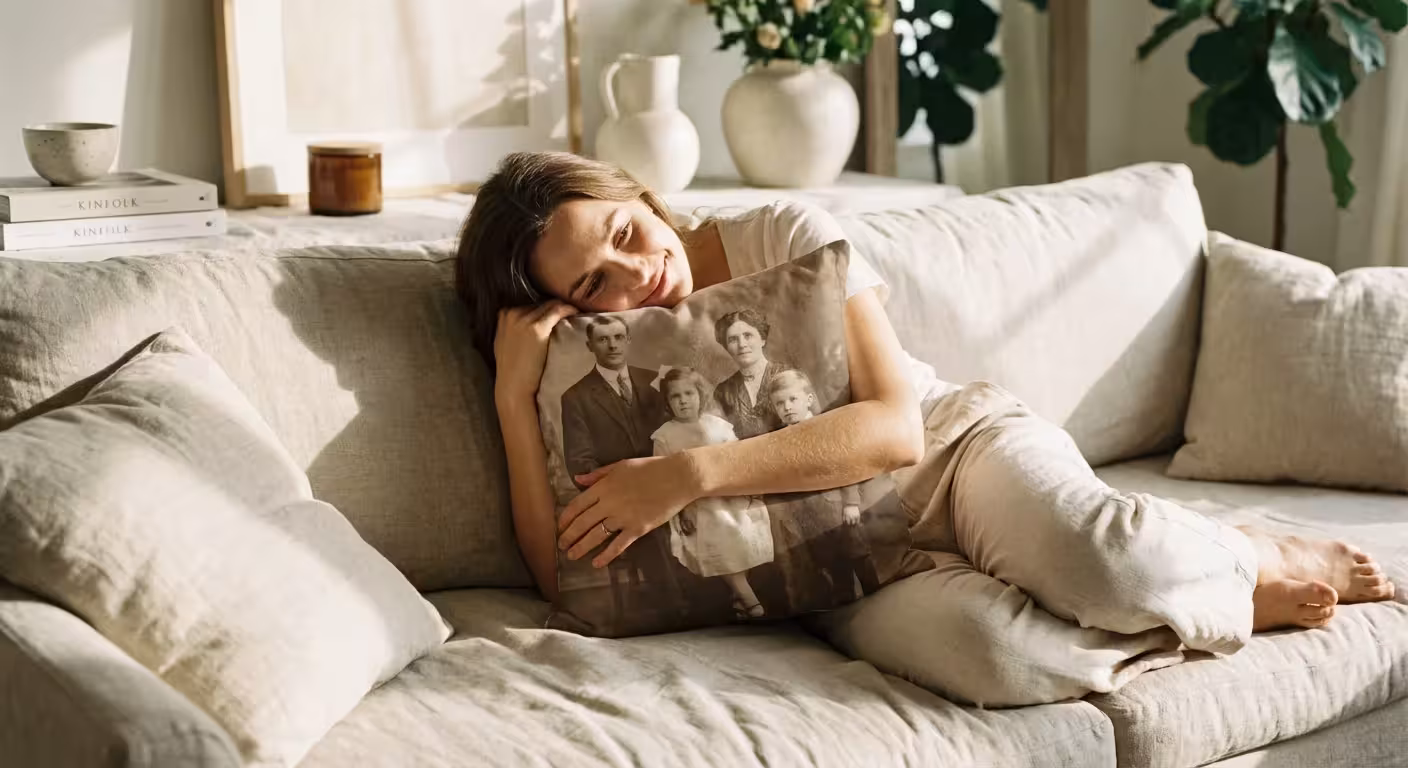
For a more tactile and frameless aesthetic, printing photos on canvas is an excellent way to add texture and depth to your gallery wall.
You might also consider creating photo collages to group related images together into a single cohesive piece of art.
For a modern touch that saves space, creating a digital photo frame slideshow is an excellent way to display a rotating gallery of thousands of images.
Picture Ledges and Floating Shelves
As mentioned previously, picture ledges offer unparalleled versatility. Arrange framed photos of various sizes, lean them against the wall, and layer smaller frames in front of larger ones. You can also incorporate small decorative objects, plants, or books to create a dynamic, ever-changing display. This method is perfect for those who enjoy frequently refreshing their home decor photos without the commitment of hanging each piece individually.
Clipboard Displays
For a rustic, industrial, or minimalist look, consider using clipboards. Attach them directly to the wall in a grid or organic pattern. You can easily swap out prints to match seasons, moods, or new memories. This method works especially well for travel photos, candid shots, or a rotating collection of art prints. It offers a low-cost, high-impact photo wall display that encourages frequent updates.
String and Clip Displays
Stretch twine, string, or thin wire across a wall, attaching it with small nails or adhesive hooks. Then, use miniature clothespins or binder clips to hang your photos. This creates a charming, informal display that is particularly popular in bedrooms, home offices, or children’s rooms. You can layer multiple strings to create a waterfall effect or string photos across a window for a semi-transparent look. This allows you to easily incorporate different photo sizes and even small notes or mementos.
Digital Photo Frames
For a constantly evolving display of digital images, invest in a high-quality digital photo frame. Modern digital frames offer excellent resolution, Wi-Fi connectivity for easy uploading, and various slideshow effects. Place one on a console table, mantelpiece, or even mount it on a wall to rotate through hundreds or thousands of your favorite memories. This solution addresses the challenge of having too many digital images to print, making it an excellent way to keep a vast collection of home decor photos visible.
Custom Photo Books and Albums
While not a wall display, beautifully designed photo books and albums serve as accessible, tangible collections of your memories. Create themed books, such as “Our First Year,” “Family Vacations,” or “Grandparents’ Legacy.” Arrange them on a coffee table or bookshelf, encouraging guests and family members to browse and reminisce. This provides a different kind of “display,” allowing for deeper engagement with your photographic heritage.
Frequently Asked Questions
What is the best height to hang a photo wall?
The general rule for hanging artwork, including a photo wall, is to aim for the center of the arrangement to be at eye level, which typically falls between 57 and 60 inches from the floor. However, adjust this based on the room’s function and furniture. Above a sofa, for instance, the bottom of the lowest frame should be 6-12 inches above the sofa back.
How do I mix different frame styles on a gallery wall?
To successfully mix different frame styles, find a unifying element. This often means choosing frames of the same color, such as all black, all white, or all natural wood, while varying their sizes, textures, and even shapes. Alternatively, you can use a consistent mat color throughout different frames to create cohesion. Planning your layout with paper templates helps you visualize the mixed styles before hanging.
Can I include other decor items in my photo wall display?
Absolutely. Incorporating other decor items like small mirrors, framed quotes, textile art, or even small shelves with trinkets adds depth, texture, and personality to your gallery wall. Ensure these items complement your photo wall’s theme and style, maintaining visual balance and preventing the display from looking cluttered. Use painter’s tape to map out these additions during your template stage.
How can I protect old, fragile photos in a photo wall?
For old, fragile, or irreplaceable photos, prioritize preservation. Always use archival-quality, acid-free mats and backing boards. Choose frames with UV-filtering or museum glass to protect against light damage. Consider scanning and printing high-quality copies for display, storing the originals in archival sleeves and boxes in a stable, dark environment. Avoid direct sunlight and areas with fluctuating temperatures or humidity.
What is the easiest way to plan a photo wall layout without drilling multiple holes?
The easiest and most effective method involves creating paper templates. Trace each frame onto Kraft paper or newspaper, cut them out, and mark the exact hanging point on each template. Use painter’s tape to arrange these paper cutouts on your wall. This allows you to experiment with different photo wall display arrangements, adjust spacing, and confirm the overall look before making any holes in your wall.
Making Your Photo Wall a Lasting Legacy
Creating a photo wall offers more than just decoration; it’s an act of preserving your family’s history and celebrating your shared experiences. Each curated image, carefully framed, and thoughtfully displayed, contributes to a living narrative that enriches your home and warms your heart. You now possess the practical knowledge, from planning your layout to protecting your prints, to confidently create a photo wall display that truly reflects you. Take these actionable steps, gather your memories, and transform your blank walls into a powerful testament to your life’s journey. Embrace the process, knowing you are not just decorating a space, but actively preserving your precious photographic heritage for future generations to enjoy.
Disclaimer: This article is for informational purposes only. When handling valuable or irreplaceable photographs, consider consulting a professional conservator. Always test preservation methods on non-valuable items first.
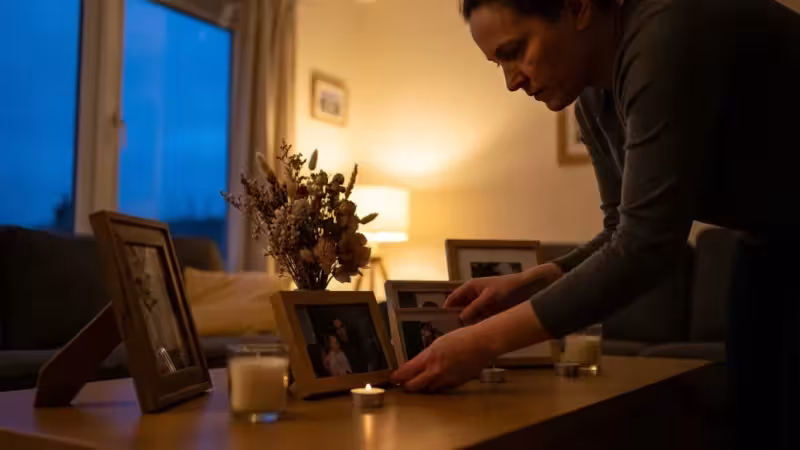
If you want to honor a late family member, you might focus your theme on creating a memorial photo tribute as a central feature of your gallery.


Leave a Reply