
Your photographs capture invaluable moments, preserving snippets of history, milestones, and everyday joys. Turning individual images into a cohesive visual story through a photo collage offers a powerful way to celebrate these memories. Whether you envision a stunning wall display, a thoughtful gift, or a digital keepsake, understanding the right tools and design principles empowers you to transform your scattered photos into a captivating narrative. This guide helps you navigate the exciting world of photo collages, from gathering your cherished images to mastering the art of arrangement.
The Power of Photo Collages: More Than Just Pictures
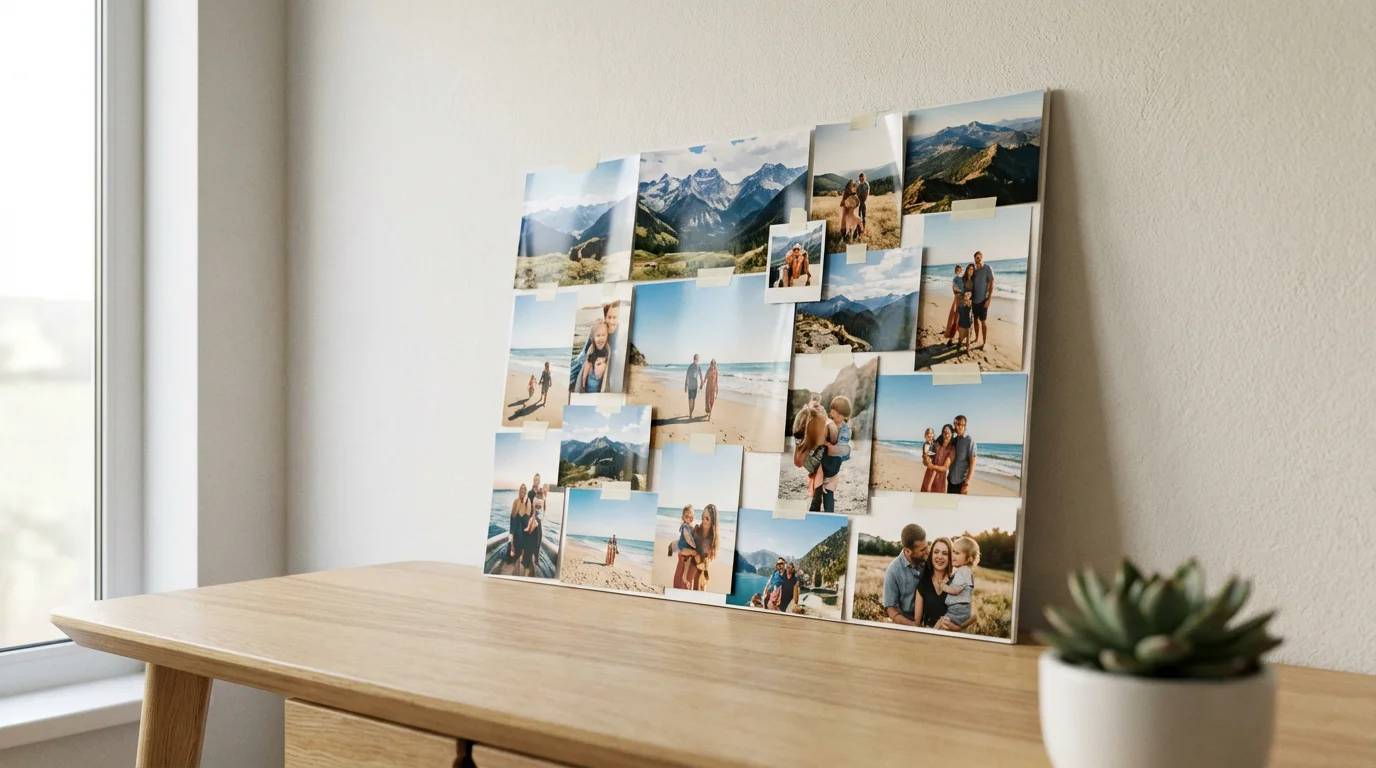
A photo collage transcends a simple collection of images. It represents a curated narrative, a visual conversation between moments that together tell a richer story. Creating a collage allows you to highlight relationships, track a journey, commemorate an event, or simply celebrate a favorite person or pet. You transform isolated photographs into a dynamic masterpiece, offering a fresh perspective on your memories.
If your collage is intended to summarize an entire year of memories, consider the specific steps for creating a year-in-review photo album.
If you are documenting a specific trip, a collage is a perfect centerpiece for creating a travel photo journal that captures every moment of your adventure.
Consider the impact a thoughtfully arranged collage can have: it sparks conversation, evokes emotion, and serves as a powerful reminder of shared experiences. For instance, a collage documenting a child’s first five years can showcase growth, personality shifts, and family bonds far more effectively than viewing individual photos one by one. Similarly, a collage celebrating a grandparent’s life weaves together disparate eras into a tapestry of their legacy. This creative endeavor empowers you to bring your most treasured moments into a new, meaningful light.

Gathering and Preparing Your Photographs
The foundation of any great photo collage lies in selecting and preparing your images. This crucial step ensures your collage looks its best and preserves your original photographs for years to come. You will likely work with a mix of physical prints and digital files.
Building a comprehensive home photo archive ensures your family’s visual heritage stays protected while you use digital versions for creative projects.
Handling Physical Prints with Care
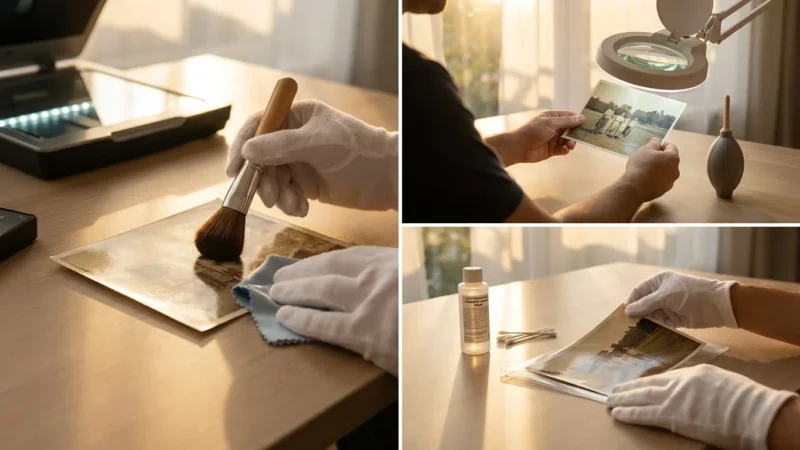
Before you begin any project, treat your physical photographs as irreplaceable artifacts. Avoid cutting or altering original prints directly. Instead, digitize them. Scanning your old photos provides a high-quality digital copy you can use freely, while the originals remain untouched. Use a flatbed scanner designed for photos to capture details accurately. Aim for a resolution of at least 300 DPI for standard prints, or higher if you plan large format printing. Once scanned, store your original prints in archival-safe sleeves and boxes, away from light, dust, and temperature fluctuations. The Library of Congress offers excellent guidelines for preserving historical photographs, which apply equally to your family treasures. You can find valuable advice on their preservation site.
“Proper digitization safeguards original photographs from the wear and tear of everyday use and creative projects. It is a fundamental step in modern photo preservation, ensuring your family’s visual heritage endures digitally, even if the physical originals are rarely handled.”
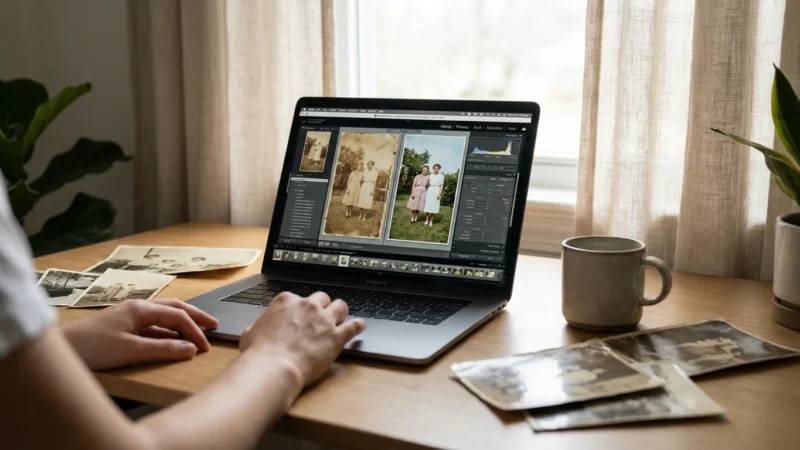
Organizing Your Digital Files
For digital photos, organization is key. Create dedicated folders for your collage project. Sort images by date, event, or theme to simplify selection. Remove duplicates and blurry or poor-quality shots. Basic photo editing can enhance your selected images: adjust brightness, contrast, and color balance for a cohesive look across your collage. For instance, if you have photos taken under different lighting conditions, a quick edit can bring them closer in tone, making your final collage more harmonious. Ensure all images are in a common format, such as JPEG or PNG, for compatibility with most collage maker tools.

Physical Versus Digital Collages: Choosing Your Medium
Your choice between a physical or digital collage depends on your preferences, resources, and ultimate display goals. Both methods offer unique advantages.
When working digitally, you can easily add text and captions to photos to provide context and label the people in your collage.
For those who love the tactile nature of physical projects, learning how to make a photo scrapbook from scratch is another excellent way to preserve and display your favorite prints.
The Charm of Physical Collages
Physical collages provide a tactile, handcrafted feel. You cut, paste, and arrange actual prints, adding textures and embellishments. These collages make wonderful tangible gifts and can become cherished heirlooms. However, they require careful handling of originals, archival-quality materials, and dedicated space. Consider a physical collage if you enjoy hands-on crafting and desire a unique, three-dimensional art piece.
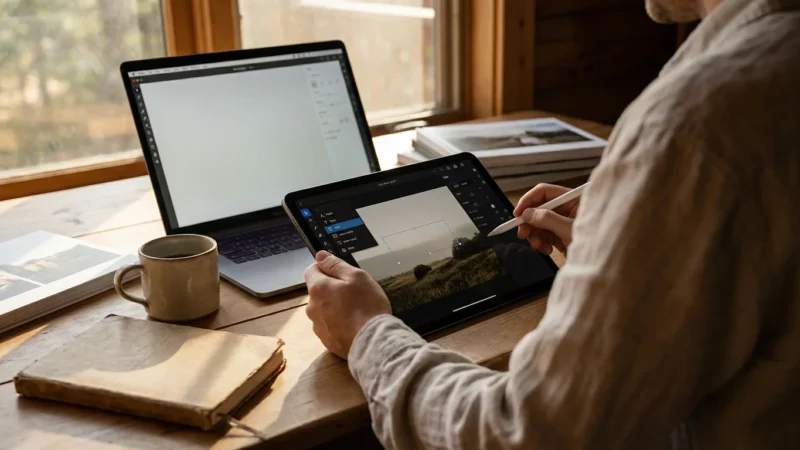
The Versatility of Digital Collages
Digital collages offer unparalleled flexibility and ease of creation. You can experiment with countless layouts, colors, and effects without altering your original photos. Digital tools allow for quick revisions and precise adjustments. You can easily share digital collages online, print them in various sizes, or use them as desktop backgrounds. This method is ideal if you have many digital photos, want to avoid damaging physical prints, or prefer the convenience of online tools and digital sharing.

Essential Digital Collage Tools: Finding Your Perfect Collage Maker
The digital landscape offers a robust selection of tools to help you create stunning photo collages. These range from simple, free online platforms to more sophisticated software. The “best photo collage apps and tools” for you depend on your skill level, desired features, and budget.
Free Online Collage Makers
For beginners or those on a budget, free online tools offer a fantastic entry point. Many provide intuitive drag-and-drop interfaces and a wealth of design templates. These platforms often include basic editing features like cropping, rotation, and color adjustments. They simplify the process of how to make a photo collage online free, making it accessible to everyone. Popular options include:
- Canva: Renowned for its user-friendly interface and extensive library of design templates, fonts, and graphics. Canva is excellent for both quick collages and more elaborate designs, offering a robust collage maker experience.
- PicMonkey: Offers a good balance of ease of use and creative control, with various layouts and effects. It provides a solid foundation for digital image manipulation.
- Fotor: Known for its powerful editing features in addition to collage capabilities, Fotor allows for more detailed photo adjustments within your collage project.
- Adobe Express (formerly Adobe Spark Post): Provides professional-looking templates and integrates well with other Adobe products, though a subscription unlocks full features.
When selecting a free online collage maker, consider how many photos it accommodates, the variety of available layouts, and its ease of use. Always check the output resolution capabilities to ensure your collage prints well.
Dedicated Software and Mobile Apps
If you require more advanced control, professional software and dedicated mobile apps provide a broader range of features:
- Adobe Photoshop/Lightroom: For professional-level editing and intricate designs, Photoshop offers unparalleled control. Lightroom’s print module also allows for custom layouts. These are powerful, but come with a steeper learning curve and a subscription cost.
- PhotoGrid, PicCollage, Layout from Instagram: These mobile apps are perfect for on-the-go creation. They offer quick templates, stickers, and sharing options directly from your smartphone, making them incredibly convenient for spontaneous photo collages.
- GIMP (GNU Image Manipulation Program): A powerful, free, open-source alternative to Photoshop for desktop users. It requires more technical knowledge but offers extensive creative freedom.
The choice ultimately depends on your project’s complexity and your willingness to invest time in learning new tools.
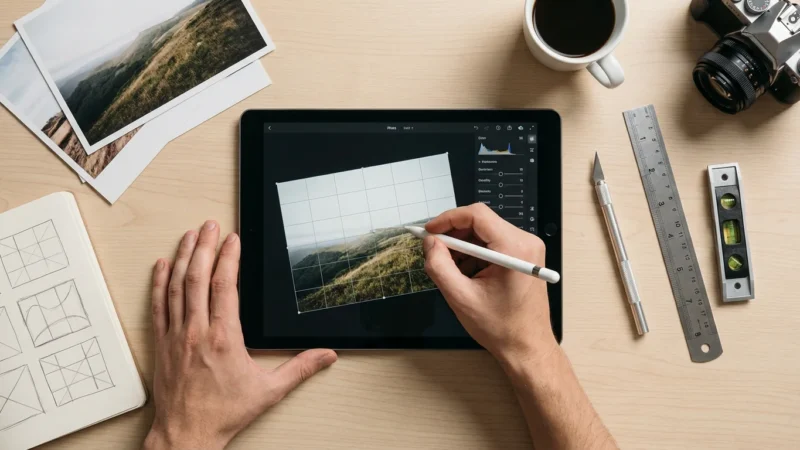
Designing Your Collage: Key Principles and Design Templates
Effective design elevates a simple collection of photos into a work of art. Understanding a few core principles helps you create visually appealing photo collages that tell your story compellingly.
Applying professional composition techniques to the individual shots you choose can significantly enhance the impact of your overall design.
Visual Flow and Storytelling
Consider how your eyes move across the collage. Arrange photos to guide the viewer through a narrative or evoke a particular feeling. For example, place chronologically important images to tell a life story, or group images by color to create a striking aesthetic. Use a central image to anchor your collage, then arrange supporting photos around it.
Balance and Harmony
Strive for a sense of balance. This does not always mean symmetry, but rather an even distribution of visual weight. Avoid clustering too many dark or busy photos in one area. Vary photo sizes and orientations to add interest without creating clutter. For instance, balance a large, impactful photo with several smaller, complementary images.
Color and Contrast
Colors play a significant role in setting the mood. Decide if you want a monochromatic theme, vibrant contrasts, or a soft, harmonious palette. Adjust individual photos to ensure they blend well, or use filters to create a unified look. A collage of black and white photos offers a timeless, elegant aesthetic, while a collage of bright vacation photos exudes energy.
Using Design Templates Effectively
Most collage maker tools offer a wide range of design templates. These templates provide pre-arranged layouts, making it easier to start your project. Experiment with different templates to see how they impact your overall design. Do not feel confined by them. You can often customize templates by adjusting border sizes, colors, and photo placement. For example, a template with a clean grid might be perfect for a professional presentation, while one with overlapping, irregular shapes suits a more artistic, personal project. Learning how to make a photo collage online free often starts with exploring these helpful templates.

Step-by-Step: Creating a Digital Photo Collage Online
Creating a digital photo collage online is a straightforward process, even for beginners. Follow these steps to bring your vision to life:
- Choose Your Collage Maker: Select an online collage maker that fits your needs. For beginners, Canva or Fotor are excellent choices, offering numerous design templates and an intuitive interface.
- Upload Your Photos: Log into your chosen collage maker. Upload all the photos you intend to use. Most platforms allow you to drag and drop images directly from your computer.
- Select a Template or Start from Scratch: Browse the available design templates. Choose one that complements your number of photos and desired aesthetic. Alternatively, if you feel adventurous, start with a blank canvas to create a custom layout.
- Arrange and Adjust Photos: Drag and drop your uploaded photos into the template slots. Experiment with different placements. Most tools allow you to resize, rotate, and crop photos directly within their frames. Double-click an image to zoom in and reposition it for the best composition.
- Customize Backgrounds, Borders, and Text: Personalize your collage with background colors, patterns, or textures. Add borders around individual photos or the entire collage. Incorporate text to add captions, dates, or titles, enhancing the storytelling aspect. Select fonts and colors that match your theme.
- Review and Refine: Take a step back and view your entire collage. Check for any awkward overlaps, misaligned images, or areas that feel too busy or too empty. Make adjustments as needed. Ask a friend for their opinion to gain a fresh perspective.
- Save and Download: Once satisfied, save your collage. Download it in a high-resolution format, such as PNG or JPEG, suitable for printing or sharing online. Many platforms that help you learn how to make a photo collage online free will guide you through this final step.
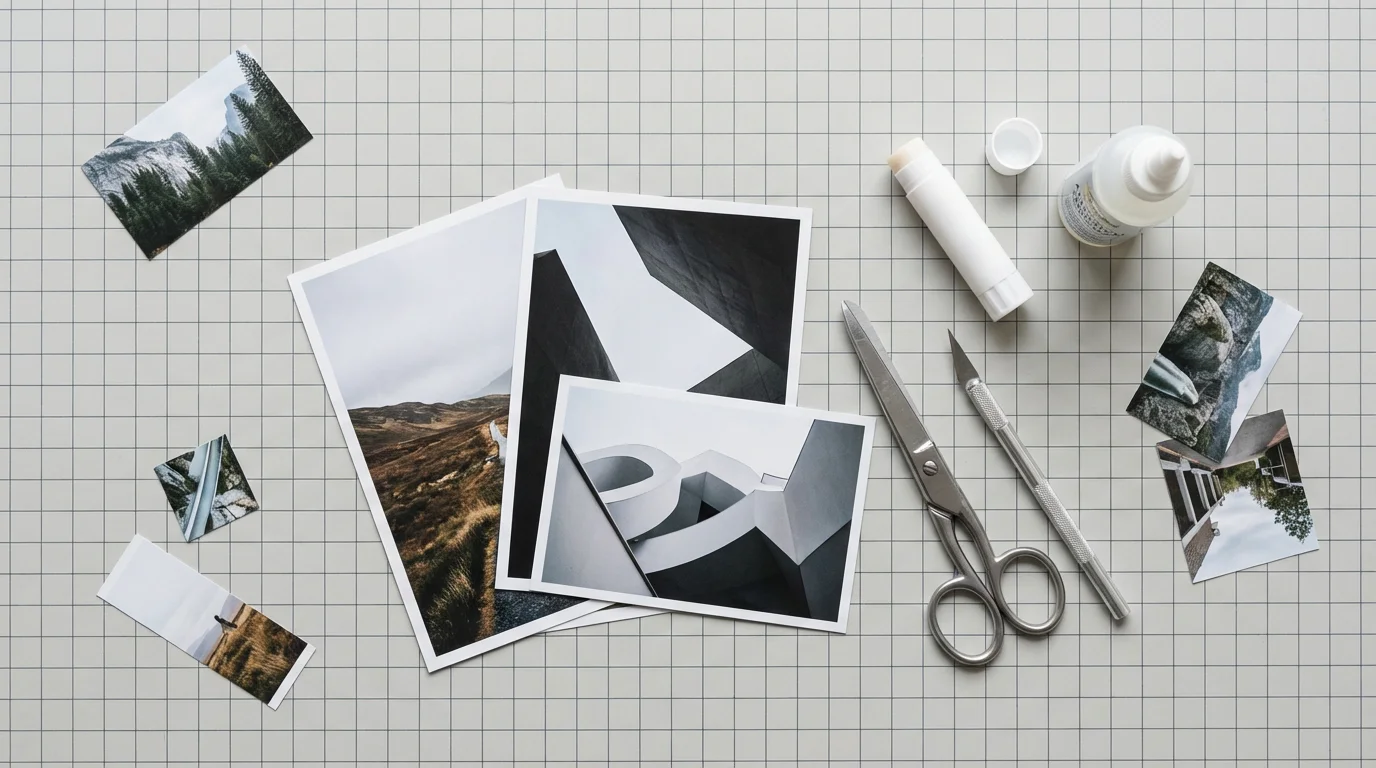
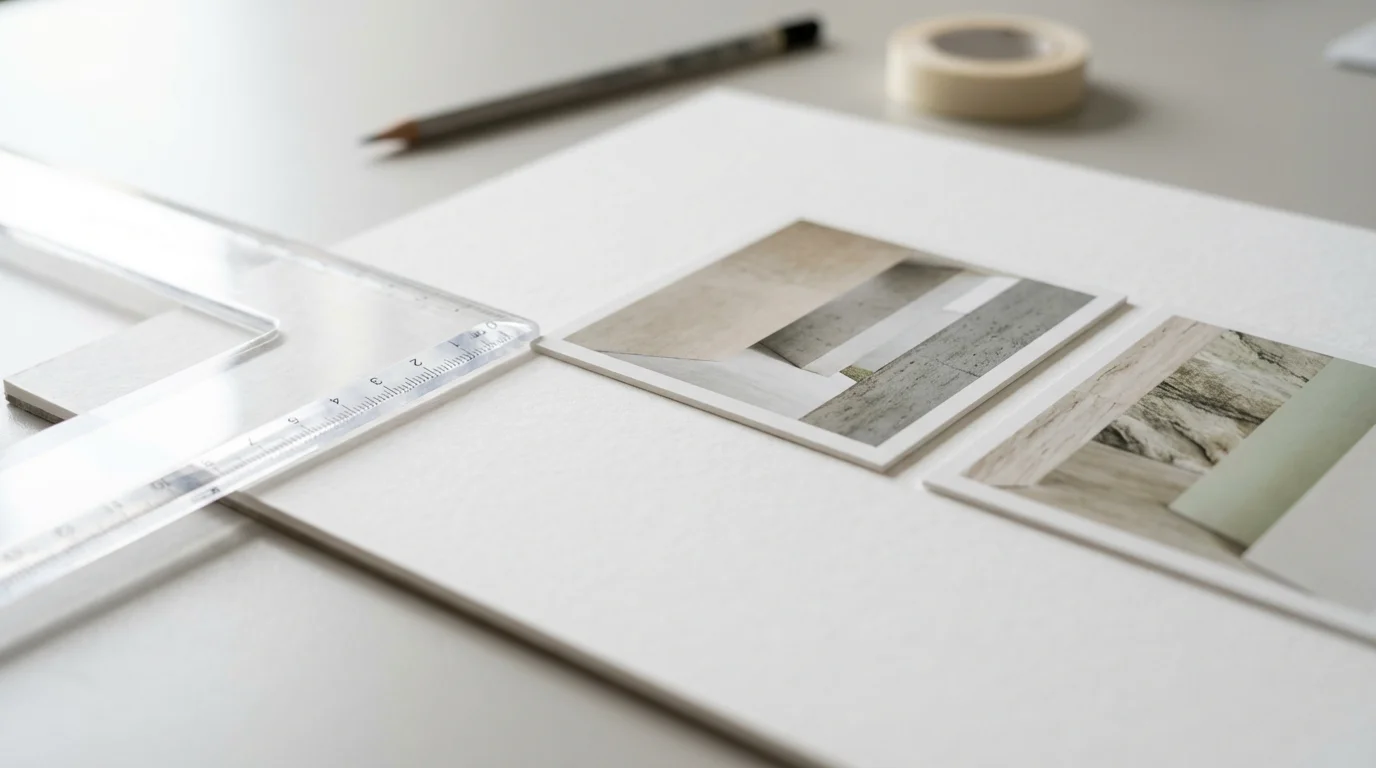
Crafting Physical Collages: Materials and Best Practices
Creating a physical collage requires careful consideration of materials to ensure longevity and prevent damage to your photos. Remember, always use copies of your original photos. You can easily print duplicates from your scanned digital files.
Selecting Archival-Quality Materials
The materials you use significantly impact your collage’s lifespan. Choose wisely to protect your work:
- Acid-Free Backing Board: Use an acid-free mat board or foam core for your base. Acidic materials can yellow and degrade photos over time.
- Archival Adhesives: Opt for photo-safe, acid-free glues or adhesive dots. PVA (Polyvinyl Acetate) glues are often recommended by conservators for their stability. Avoid rubber cement, regular craft glue sticks, or tapes, which can stain or damage photos irreversibly. The American Institute for Conservation provides extensive resources on appropriate archival materials.
- UV-Protective Coating (Optional): For added protection, especially if your collage will hang in a bright area, consider an archival, non-yellowing UV-protective spray. Test this on a scrap photo first.
- Protective Covering: Once complete, frame your collage behind UV-filtering glass or acrylic. This protects it from dust, fingerprints, and environmental damage.
Arrangement Techniques
Before applying any adhesive, lay out your printed photos on your backing board. Experiment with different arrangements. Overlap photos strategically to create depth, or maintain consistent spacing for a clean, grid-like appearance. Use a pencil to lightly mark placement, then apply adhesive sparingly to the back of each photo, pressing firmly to secure it. Work from the background forward if you plan to layer images.

Creative Display and Sharing Ideas
Once you finish your photo collages, celebrate your creation by displaying and sharing it. Your hard work deserves an audience.
Displaying Physical Collages
Physical collages transform into beautiful home decor. Frame them for a classic look, or mount them on sturdy foam core to create a lightweight art piece. Consider creating a series of smaller collages on a single theme to display together as a gallery wall. You might also integrate a collage into a scrapbook or memory album, adding journaling to complement the visual story.
Sharing Digital Collages
Digital collages offer endless sharing possibilities. Share them directly on social media platforms, email them to family and friends, or use them as personalized digital greetings. Print your digital collages on various mediums: standard photo paper, canvas, metal prints, or even custom mugs and calendars. A digital collage can also serve as a striking screensaver for your computer or a rotating display on a digital photo frame, keeping your memories constantly visible.
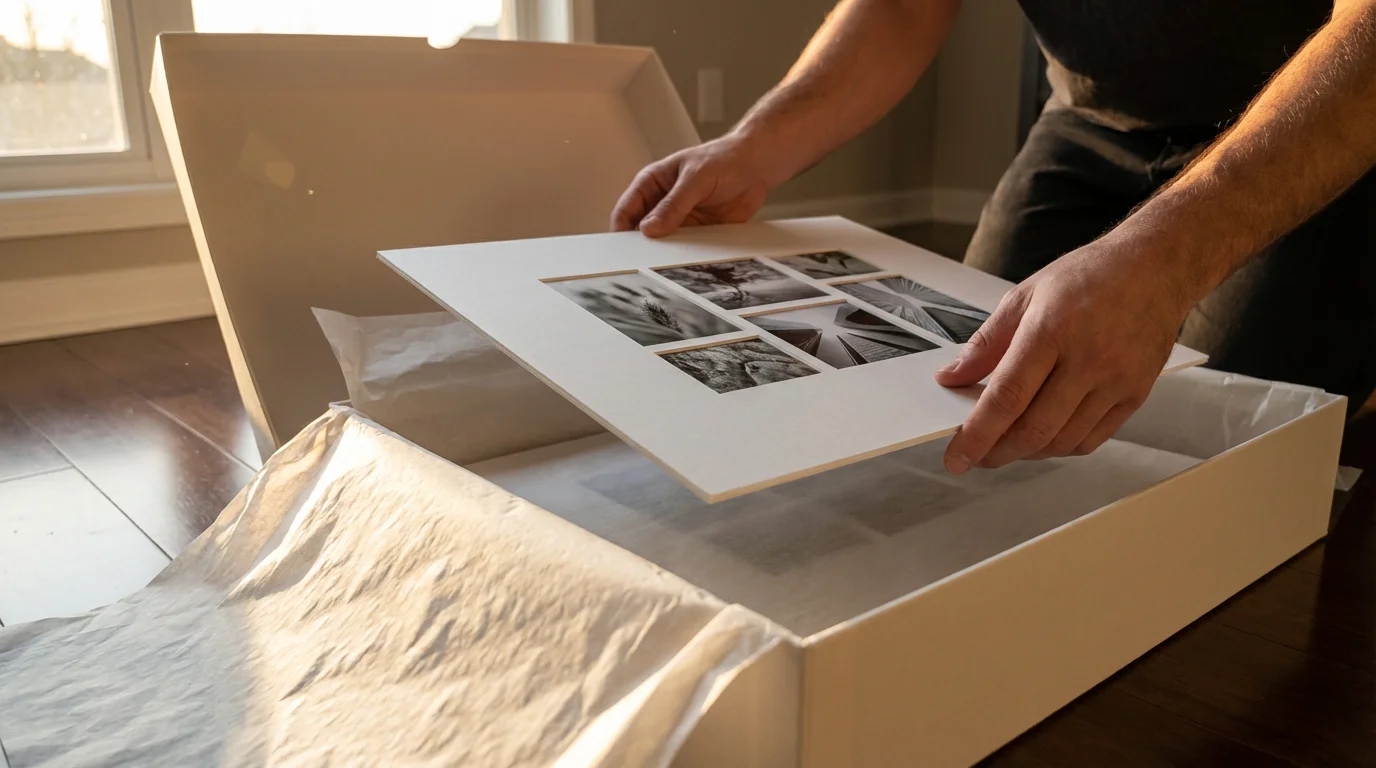
Preserving Your Collage for the Future
Your finished photo collage represents a valuable piece of your family’s history. Take steps to ensure it lasts for generations.
For Physical Collages
Store physical collages away from direct sunlight, extreme temperatures, and high humidity, as these factors accelerate degradation. Frame them with UV-filtering glass and archival mats to create a protective barrier. If you must store a physical collage, place it flat in an acid-free box with tissue paper between layers to prevent sticking or damage.
For Digital Collages
The beauty of digital photo collages lies in their ease of preservation. Always save multiple copies of your final digital file. Store one copy on your computer, another on an external hard drive, and a third in a cloud storage service. This redundancy protects against data loss due to hardware failure or accidental deletion. Periodically check your digital files to ensure they remain accessible and uncorrupted, transferring them to new storage media as technology evolves. This proactive approach ensures your carefully crafted photo collages remain accessible and vibrant for decades to come.
Frequently Asked Questions
Can I use original physical photos in a collage?
You can use original physical photos in a collage, but we strongly advise scanning and printing copies for this purpose. Scanning preserves your original images from potential damage or degradation, such as adhesive marks or exposure to light. If you must use originals, select less valuable or duplicate prints, and use reversible, archival-safe adhesives to minimize harm.
What is the best free online collage maker?
Many excellent free online collage makers exist, each with unique features. Canva, PicMonkey, and Fotor are popular choices offering intuitive interfaces, a wide range of design templates, and robust editing tools. Evaluate a few options to find one that best suits your design needs and comfort level, as the “best” often depends on your personal preference.
How can I make sure my digital photo collage looks high quality when printed?
To ensure a high-quality print, start with high-resolution original images. When creating your digital collage, set the project’s dimensions and resolution appropriately for your intended print size. Aim for at least 300 pixels per inch at the final print size. Many collage makers allow you to export in high-resolution formats like PNG or JPG. Always review the collage at 100% zoom before printing to check for blurriness or pixelation.
Are there specific design templates I should look for?
Design templates offer a fantastic starting point for any collage project. Look for templates that align with your theme or story. For a clean, modern look, choose grid-based templates. If you prefer a more whimsical or scrapbook style, explore overlapping or free-form layouts. Many collage makers categorize templates by event, style, or number of photos, making selection easy. Experiment with different templates to see how they impact your overall design.
Disclaimer: This article is for informational purposes only. When handling valuable or irreplaceable photographs, consider consulting a professional conservator. Always test preservation methods on non-valuable items first.


Leave a Reply