Moving to a new home represents a fresh start, yet it also presents a significant risk to the physical history of your family. When you pack your kitchen or your wardrobe, a broken plate or a lost shirt is a minor inconvenience; when you pack your photo archive, you are handling irreplaceable artifacts of your heritage. A single afternoon in a hot moving truck or one improperly packed box can cause more damage to a photograph than fifty years of sitting on a shelf. To protect these treasures, you must approach the move with the mindset of a museum registrar. By following professional preservation standards, you ensure that your wedding albums, childhood snapshots, and digital hard drives arrive at your new destination in the same condition they left.

The Strategic Inventory: Assessing Your Archive Before the Move
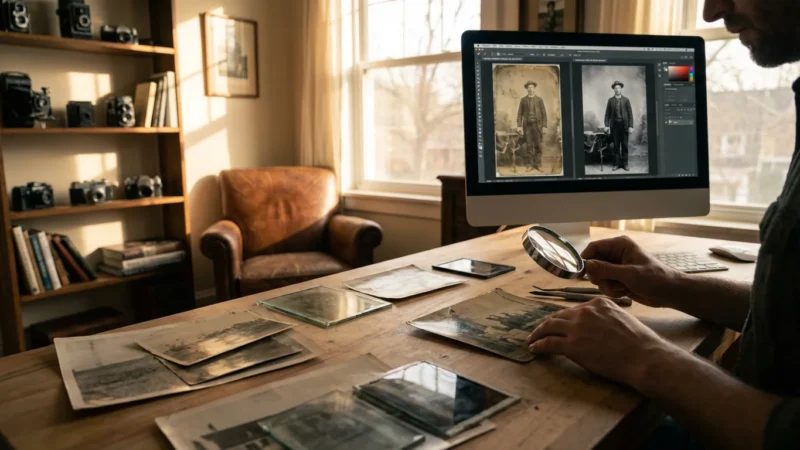
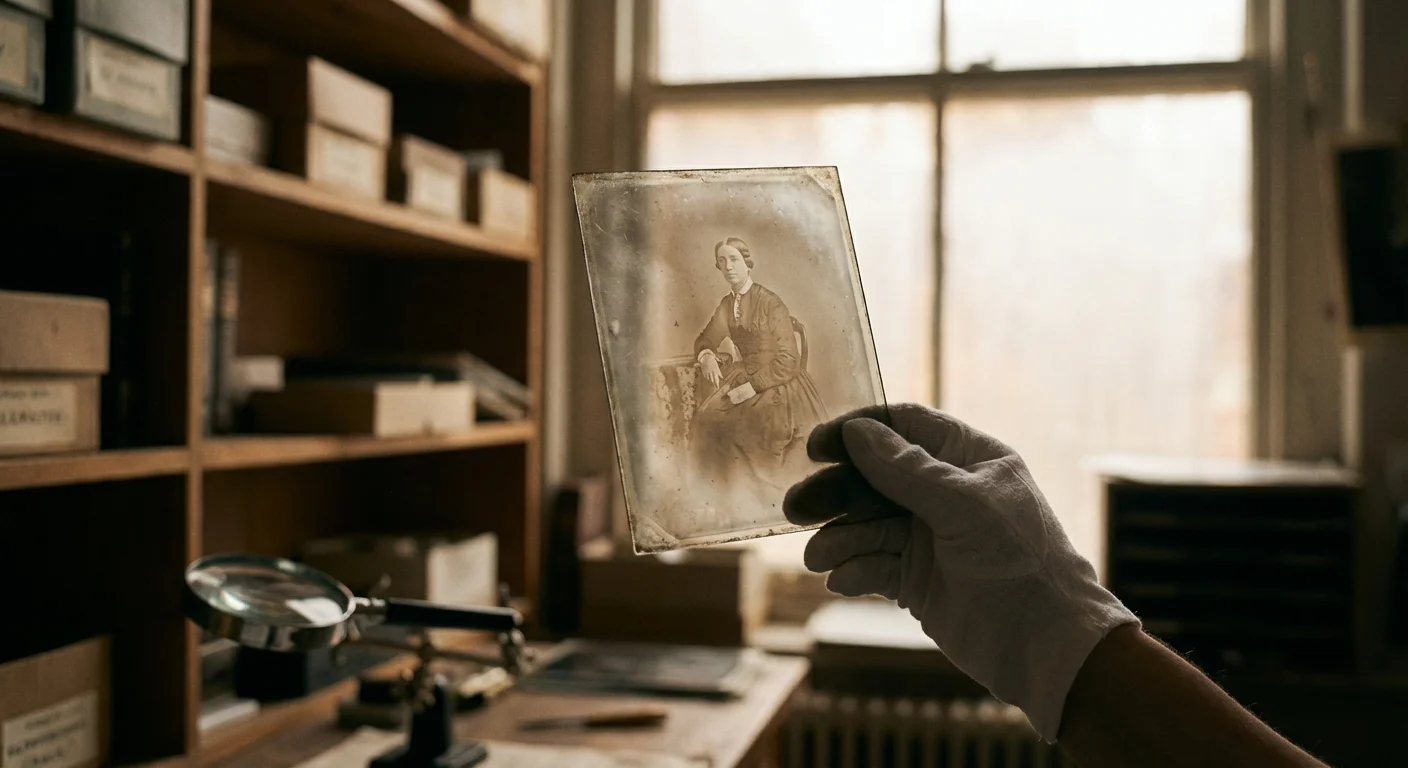
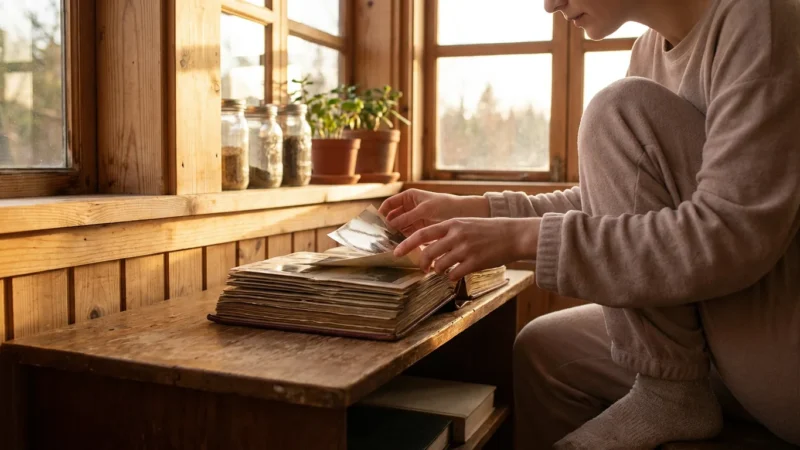
Before you purchase a single roll of tape, you must understand exactly what you are moving. Most people possess a mix of media: silver gelatin prints from the mid-20th century, modern inkjet prints, color slides, 35mm negatives, and perhaps even fragile 19th-century tintypes or glass plate negatives. Each of these materials reacts differently to environmental stress. Take this opportunity to perform a high-level inventory. Create a spreadsheet or a simple list that categorizes your collection by format and fragility. This list serves two purposes: it helps you estimate the number of archival boxes you need, and it provides a manifest for insurance purposes if you are hiring professional movers.
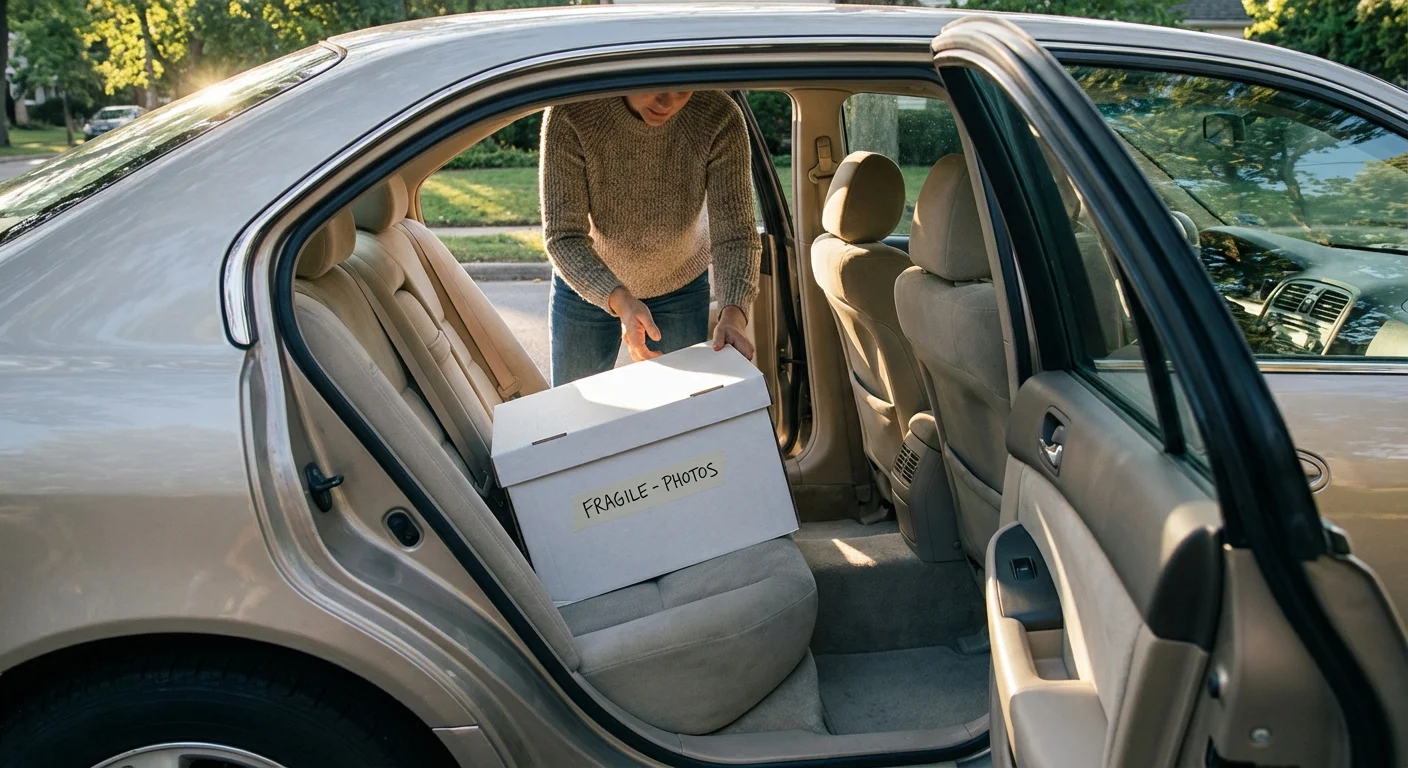
You should prioritize items based on their vulnerability. For example, color photographs from the 1970s and 1980s are notoriously unstable; they use dyes that are highly sensitive to heat and light. Conversely, black-and-white prints are generally more robust but remain susceptible to physical tearing and silver mirroring if they rub against acidic materials. During your inventory, identify “high-priority” boxes—those containing your most precious or fragile memories—and label them for transport in your personal vehicle rather than the moving truck. If you have boxes that have been sitting in an attic or basement, check them for signs of mold or insect activity now. You do not want to introduce pests or mold spores into your new home by packing them alongside healthy collections.
The Professional Toolkit: Essential Archival Packing Materials
Standard moving supplies are designed for durability and cost, not for chemical neutrality. Typical brown cardboard boxes contain lignin, a natural component of wood that breaks down over time and releases acidic gases. This process causes the “yellowing” and brittleness you see in old newspapers. To protect your photos during a move, you must use materials that meet the Library of Congress preservation standards. Look specifically for products that have passed the Photographic Activity Test (PAT), an international standard (ISO 18916) that ensures a material will not chemically react with photographic images.
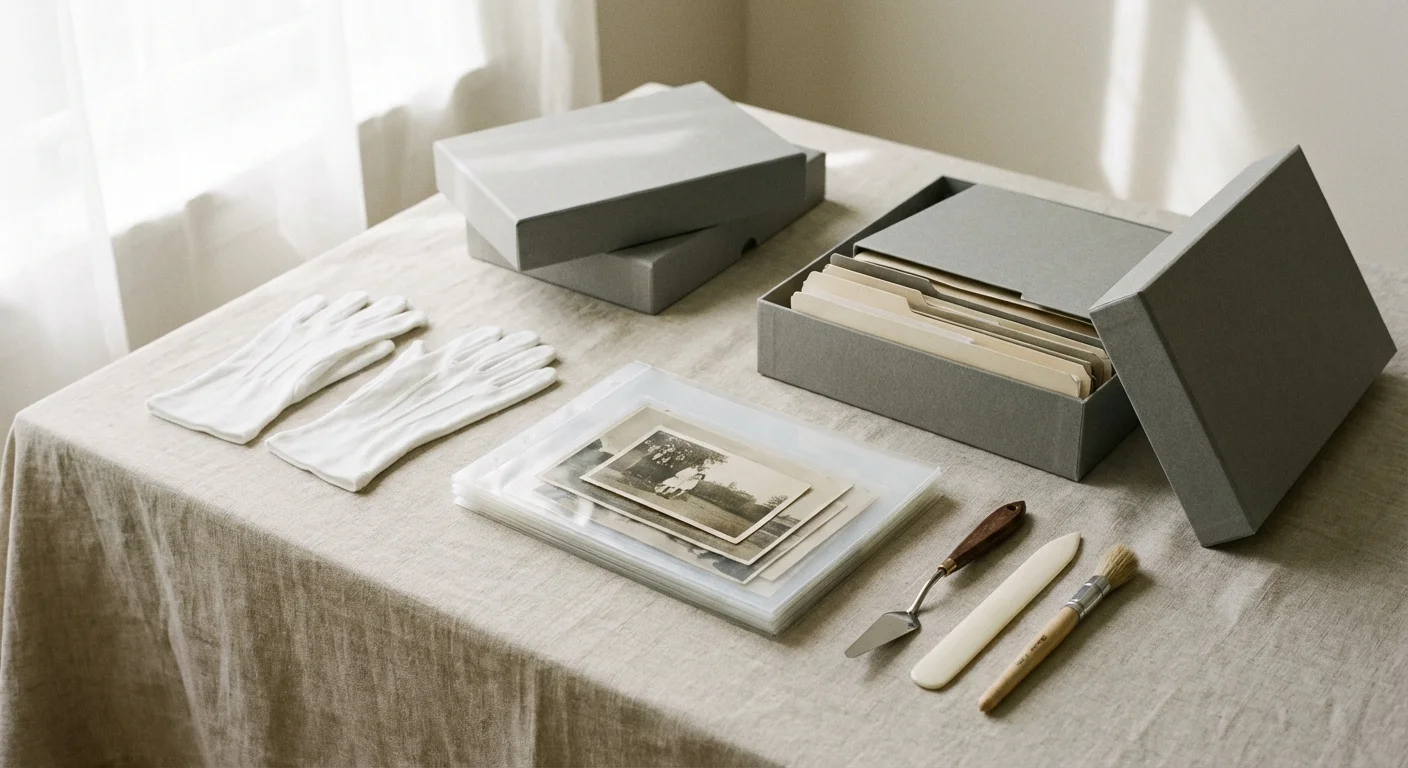
Your shopping list should include acid-free, lignin-free boxes with reinforced corners. For loose prints, purchase archival-grade polyester (Mylar), polypropylene, or polyethylene sleeves. Avoid any plastics that smell like a new shower curtain; this scent indicates Polyvinyl Chloride (PVC), which releases hydrochloric acid as it degrades, literally melting the image off your photos. For cushioning, use unbuffered acid-free tissue paper rather than newsprint or standard bubble wrap. While bubble wrap is excellent for shock absorption, it should never touch the surface of a photograph directly because the plasticizers can leach into the emulsion. Always wrap the photo or album in acid-free paper first before applying protective plastic layers.
Mastering the Pack: Loose Prints and Negatives
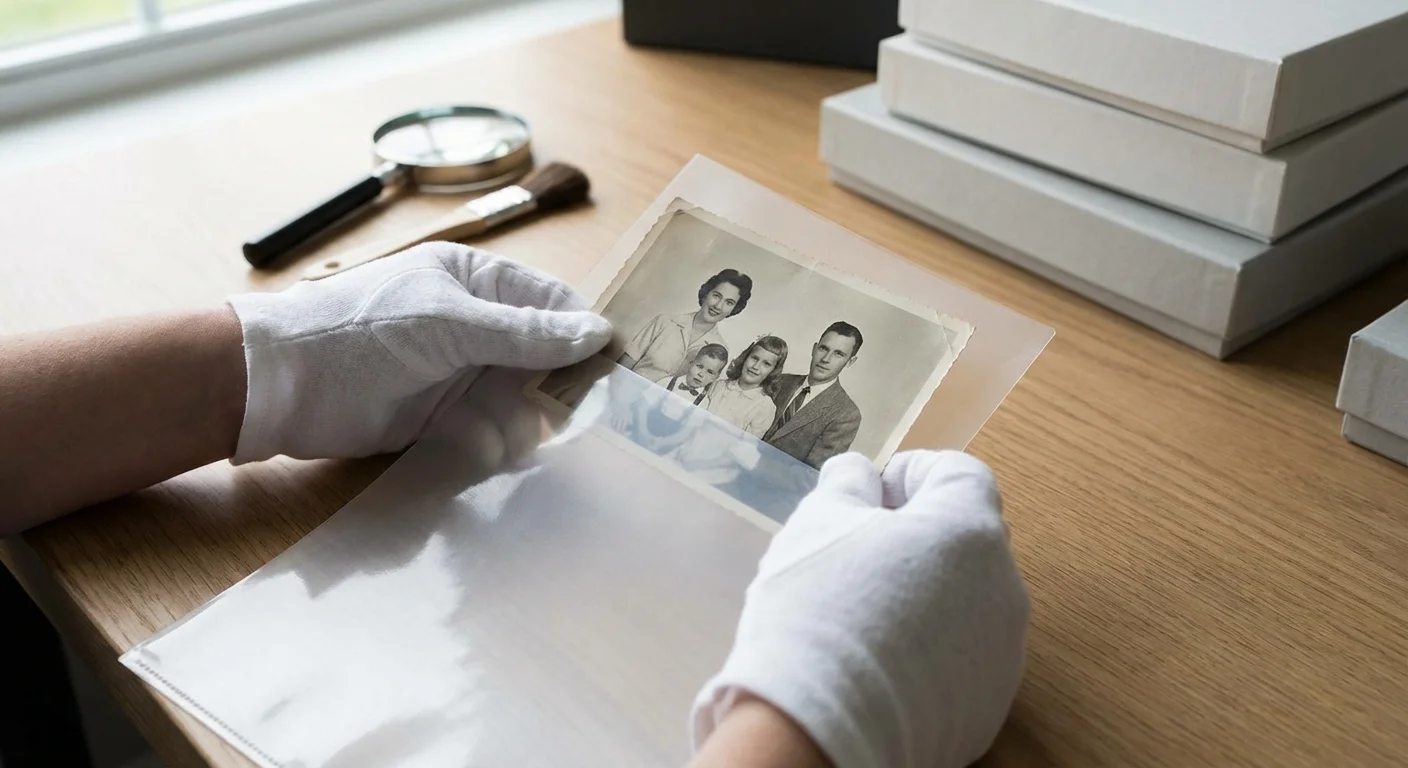
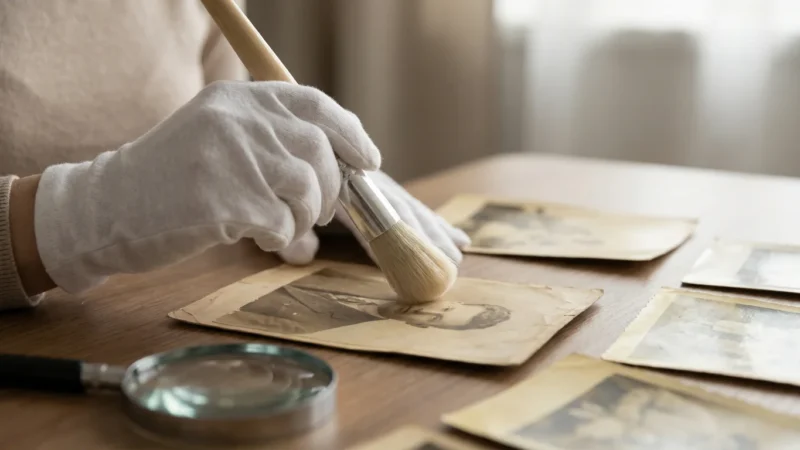
Packing loose photographs requires a balance between density and protection. If you pack them too loosely, they will shift and suffer edge damage; if you pack them too tightly, you risk sticking them together or cracking the delicate emulsion layers. The most effective method involves “housing” the prints before “boxing” them. Place individual prints or small groups of similar-sized photos into archival sleeves. This prevents fingerprints and provides a secondary layer of protection against moisture. If you are moving thousands of prints, you can use archival envelopes or sub-folders to group them by year or event.
When placing these sleeved photos into a box, stand them vertically on their edges, similar to files in a filing cabinet. This vertical orientation prevents the weight of the stack from crushing the photos at the bottom. Use acid-free cardstock dividers to provide internal support and prevent the photos from curling. If a box is not full, fill the empty space with crumpled acid-free tissue paper to prevent the contents from sliding. For negatives, use specialized pocket pages made of polypropylene. Never store negatives in the same sleeves as prints; negatives are often more chemically volatile and should be housed in their own dedicated archival boxes to prevent cross-contamination.
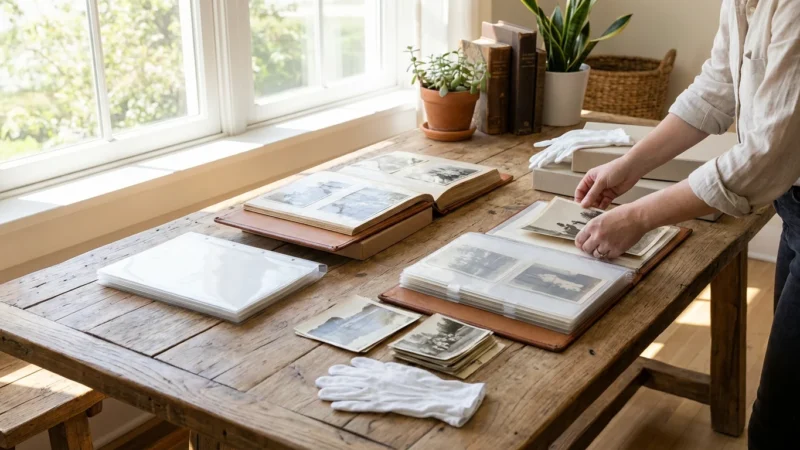
Safeguarding Heavyweight History: Albums and Scrapbooks
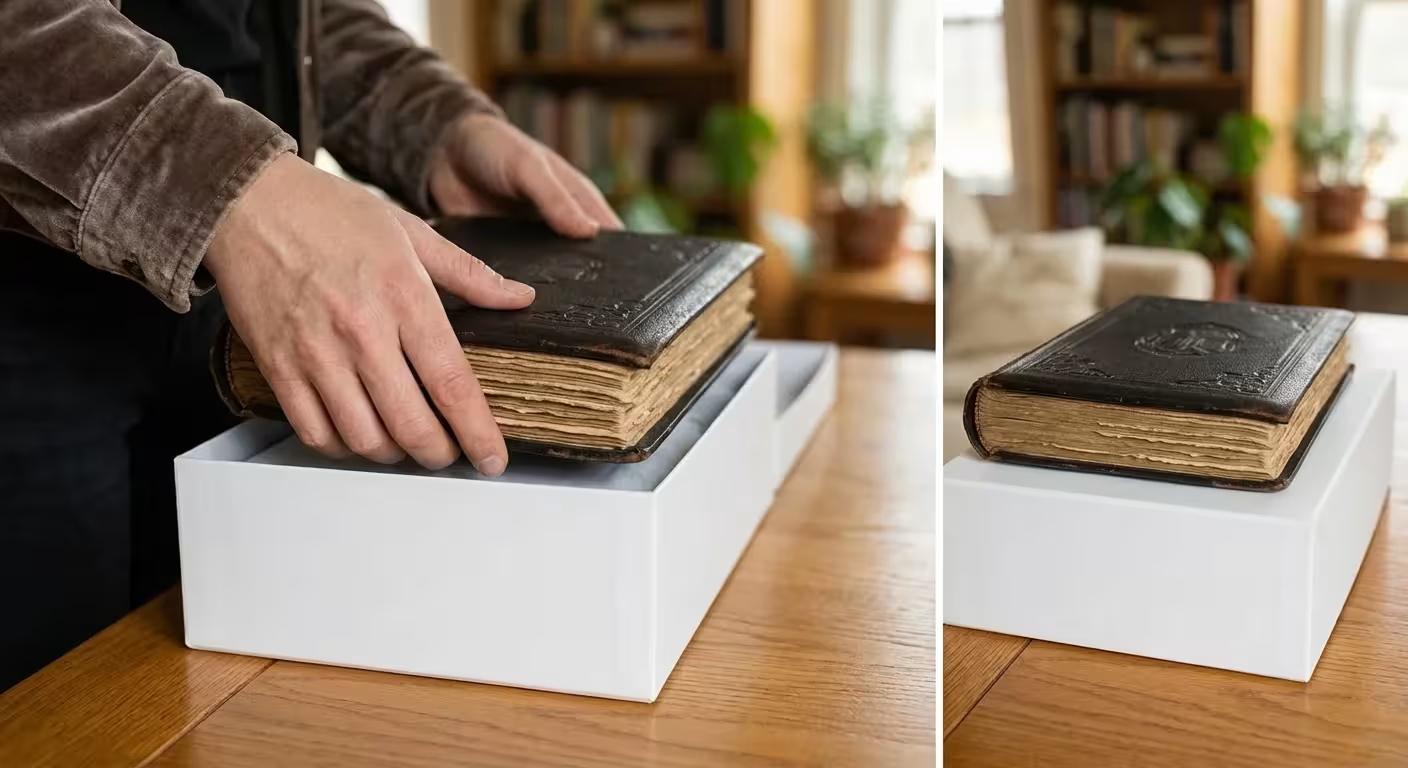
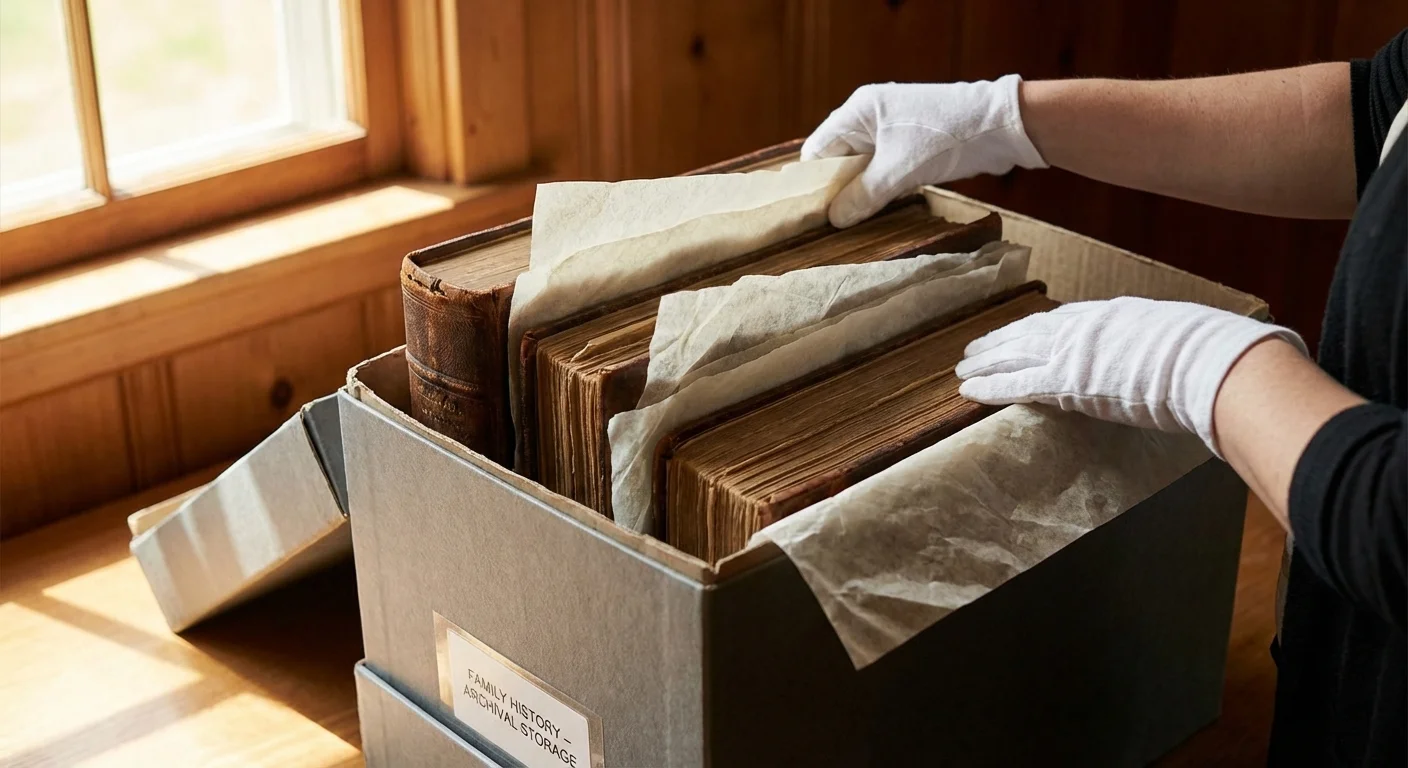
Photo albums are often the heaviest items in a collection, yet they are structurally fragile. The “magnetic” or “sticky-page” albums popular in the 1970s are particularly problematic during a move. The adhesive in these albums is highly acidic and becomes more brittle with vibration. If you have these albums, do not attempt to strip the photos out during the stress of a move; instead, wrap the entire album in acid-free tissue paper and then a layer of polyethylene wrap to keep it dry. For high-quality archival albums or scrapbooks with loose elements, place a sheet of unbuffered acid-free tissue paper between every single page. This interleaving prevents photos on facing pages from rubbing against each other or sticking.
Always pack albums flat (horizontally), never vertically like books on a shelf. The weight of the pages in a vertical album can pull against the binding during the vibrations of transport, causing the “text block” to tear away from the cover. Limit your stacks to no more than three or four albums per box to prevent the bottom album from being crushed. Place a layer of bubble wrap at the bottom and top of the box for shock absorption, ensuring that only the acid-free tissue paper touches the albums themselves. Label these boxes clearly with “This Side Up” arrows to ensure they remain flat throughout the journey.
Managing Large Formats: Framed Photos and Oversized Prints
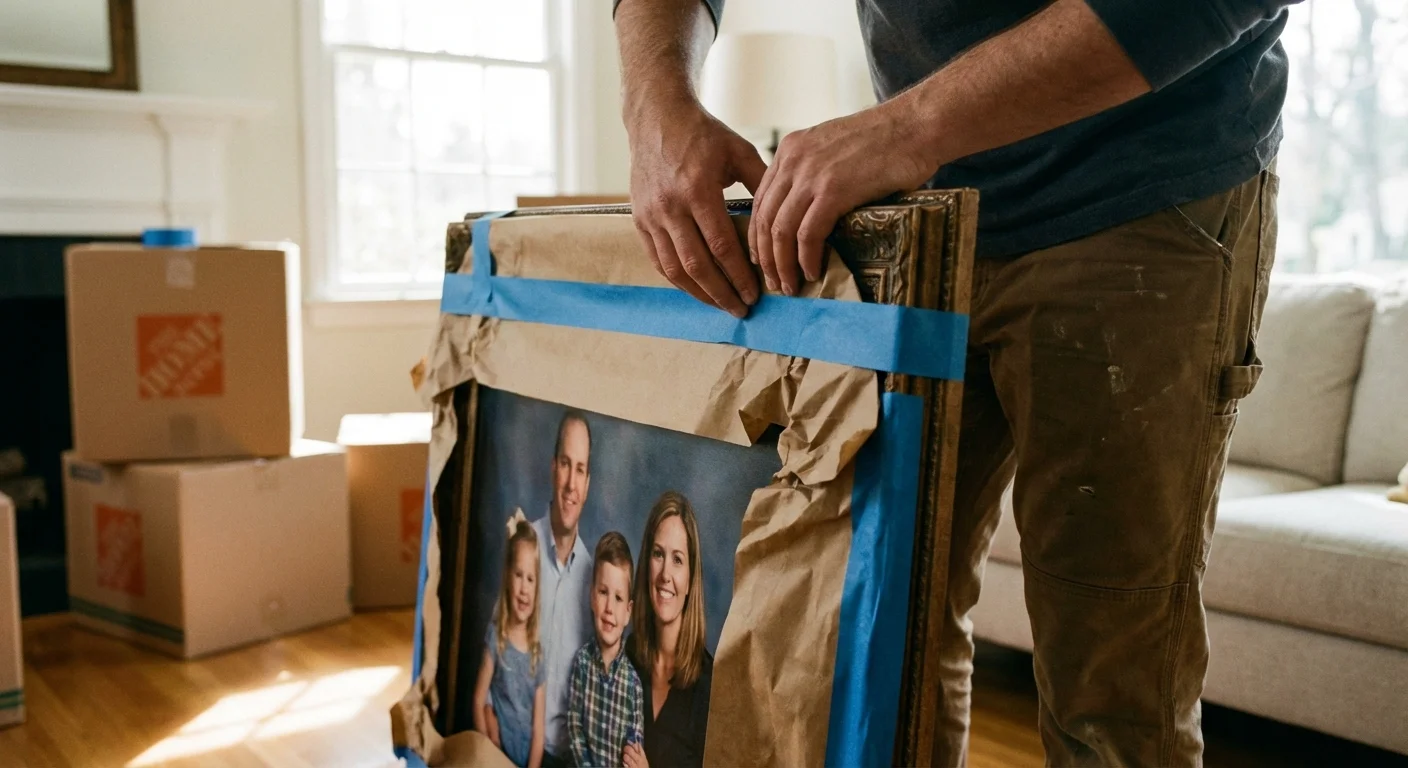
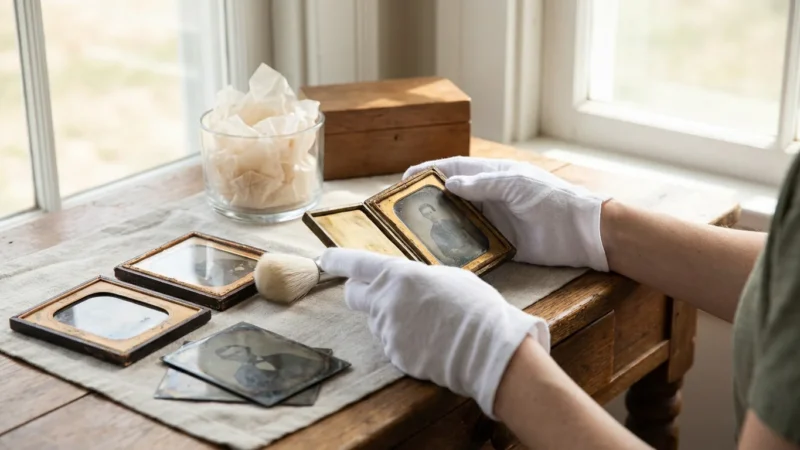
Framed photographs present a dual challenge: the fragility of the glass and the vulnerability of the print inside. If the glass (glazing) shatters, it can act like a series of scalpels, shredding the image. To mitigate this risk, apply a “starburst” pattern of low-tack painter’s tape across the glass. If the glass breaks, the tape holds the shards in place, preventing them from moving and gouging the photo. However, ensure the tape does not touch the frame’s finish, as it might strip the gilding or paint. For particularly valuable items, consider replacing the glass with acrylic (Plexiglass) before the move, as acrylic is shatter-resistant.
Wrap framed photos individually in acid-free paper, then in a thick layer of bubble wrap. Use specialized “picture boxes” or “telescope boxes” that allow you to customize the size of the container. Store framed items on their edges, never flat. When framed items are flat, a sudden bump can cause the glass to flex and shatter under its own weight; on their edges, they are structurally much stronger. If you have oversized prints that are not framed, do not roll them. Rolling creates mechanical stress that can cause the emulsion to crack. Instead, sandwich them between two sheets of acid-free foam core board, tape the boards together at the edges, and pack the entire “sandwich” flat in a large, shallow box.
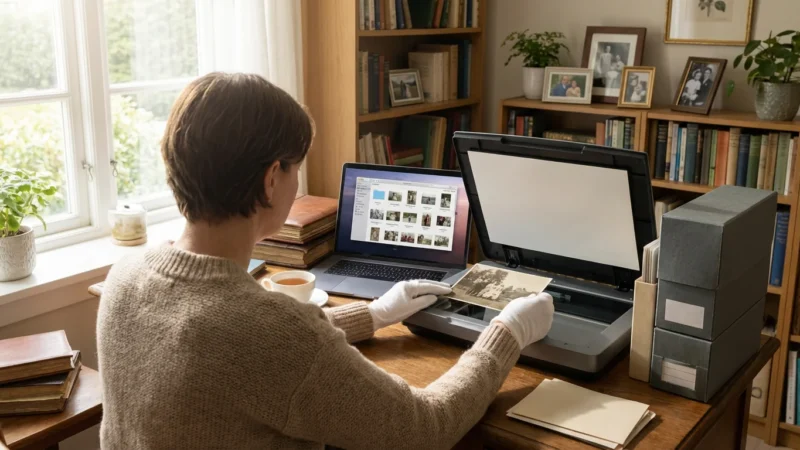
Digital Redundancy: Protecting Your Hard Drives and Scanners
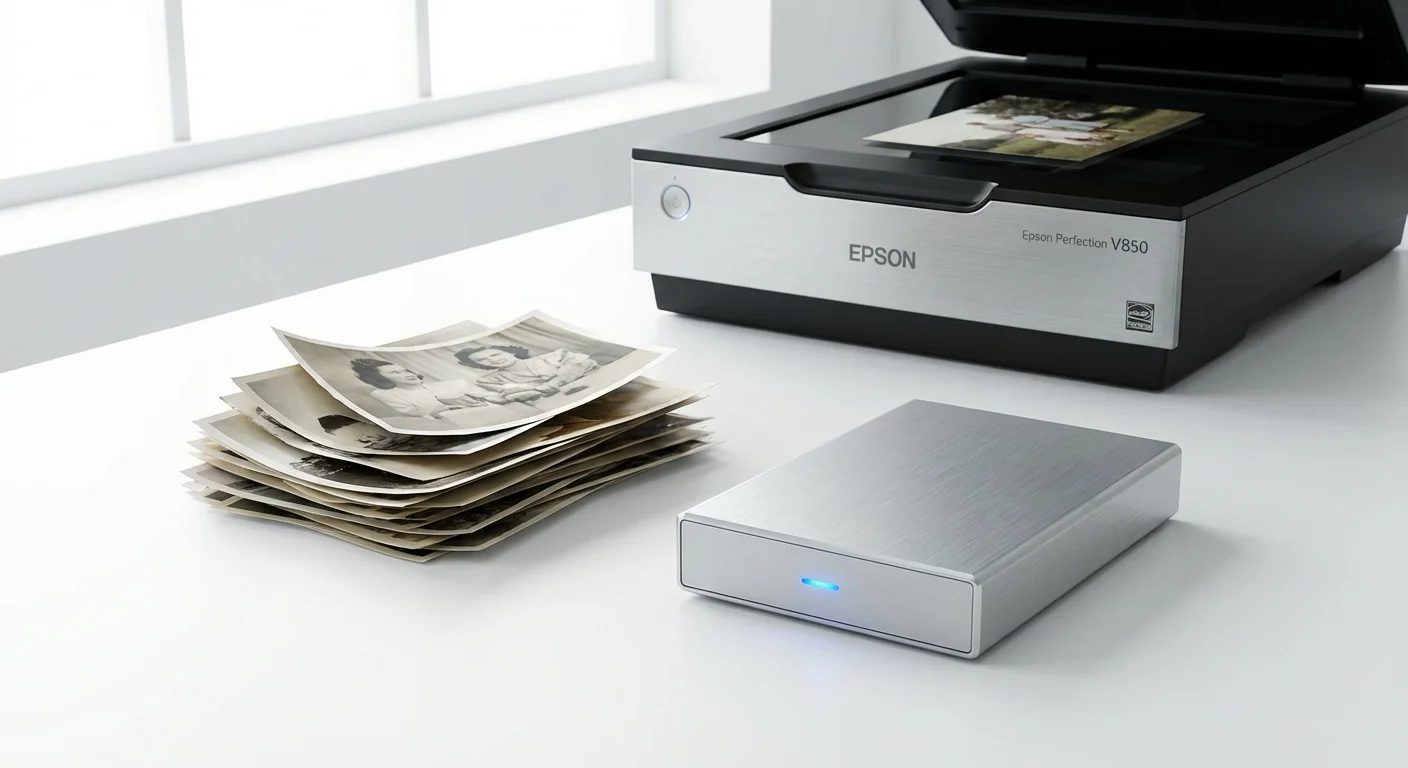
Your digital memories require a different kind of protection. While physical photos fear humidity, digital assets fear magnetism and physical shock. Before you pack your computer or external hard drives, execute a full backup to a cloud-based service. The National Archives recommends the 3-2-1 rule for digital preservation: three copies of your data, on two different media types, with one copy stored off-site. In the context of a move, the “off-site” copy is your cloud backup, which ensures your photos are safe even if your physical drives are lost or damaged in transit.
When packing external hard drives, use anti-static bubble wrap to prevent electrostatic discharge. Do not pack your primary backup drives in the moving truck. The vibrations of a heavy truck and the lack of climate control can lead to mechanical failure in Traditional Hard Disk Drives (HDDs). Keep your drives in your personal vehicle, ideally in a padded laptop bag or a dedicated hard-shell case. If you are moving a flatbed scanner, remember to lock the “carriage” or scanning head using the small switch usually located on the bottom or side of the unit. This prevents the sensitive optical components from bouncing around and losing alignment during the move.
The Physics of Transport: Climate Control and Vehicle Logistics
Temperature and humidity are the primary enemies of photographic stability. According to the Image Permanence Institute, every 10-degree Fahrenheit increase in temperature can roughly double the rate of chemical decay in color photographs. Standard moving trucks are essentially metal ovens; in the summer, internal temperatures can easily exceed 120°F. If you must use a moving company, insist on climate-controlled shipping for your photo archive. If that is not an option, you must transport the photos in your own climate-controlled vehicle.
When transporting photos in your car, do not place them in the trunk. The trunk lacks the air circulation of the cabin and can reach extreme temperatures. Instead, place the boxes on the floorboards or the back seat. Avoid leaving your car parked in the sun during lunch breaks or overnight stays. If you must leave the vehicle, try to find a shaded parking garage or bring the most critical “high-priority” boxes into your hotel room. If you are moving during the winter, be aware of “thermal shock.” Moving a cold box of photos into a warm, humid house can cause condensation to form directly on the surface of the prints, leading to mold or sticking.
| Material Type | Ideal Temperature | Relative Humidity (RH) | Risk of Deviation |
|---|---|---|---|
| Black & White Prints | 65°F (18°C) or lower | 30% – 50% | High RH causes silver mirroring; heat accelerates yellowing. |
| Color Prints/Slides | 40°F (4°C) or lower (Cold Storage) | 30% – 40% | Heat causes rapid dye fading (cyan, magenta, yellow shift). |
| Negatives (Acetate/Nitrate) | 32°F (0°C) (Freezer Storage) | 20% – 30% | Acetate “Vinegar Syndrome” is irreversible once triggered by heat. |
| Digital Media (HDD/SSD) | 50°F – 80°F (10°C – 27°C) | 20% – 50% | Extreme heat causes component expansion and data loss. |
Acclimatization and Setup: The First 48 Hours in Your New Home
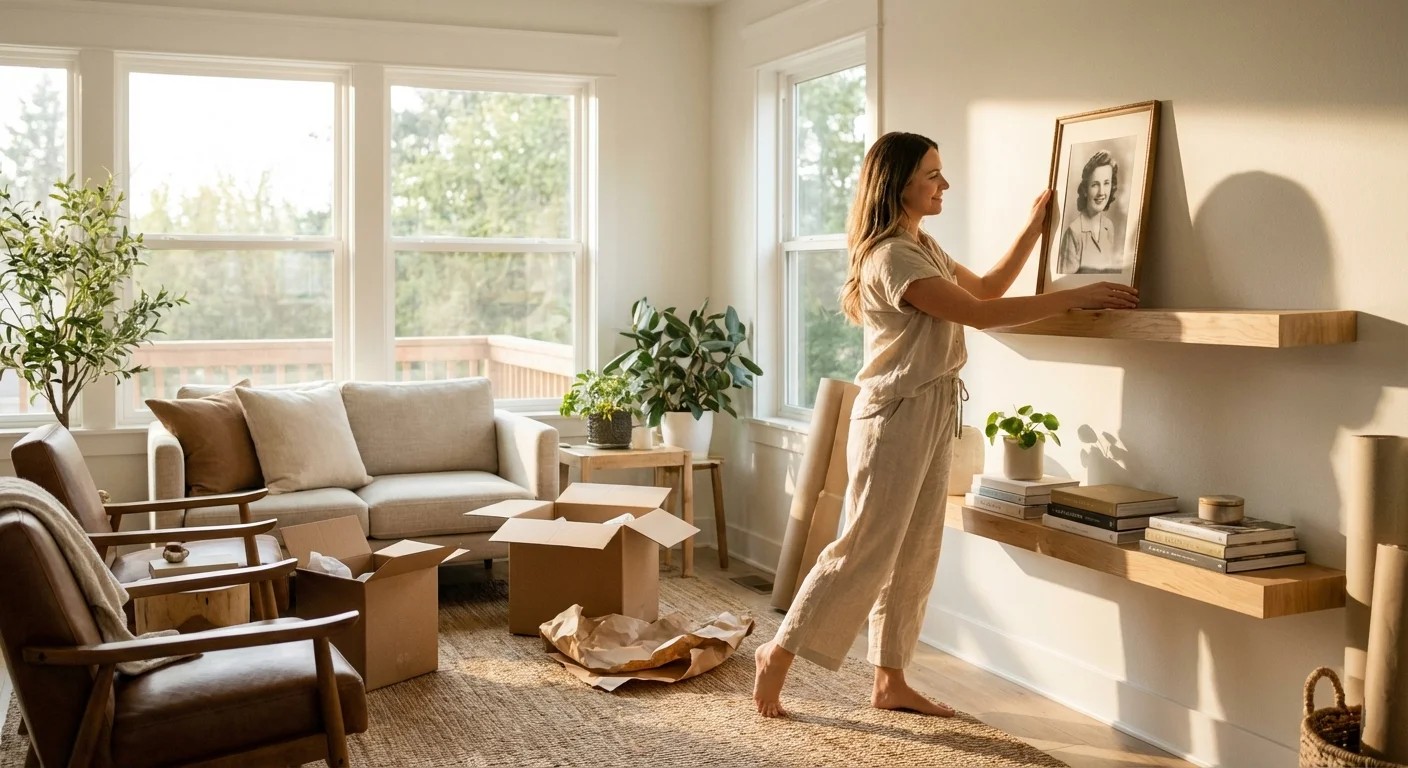
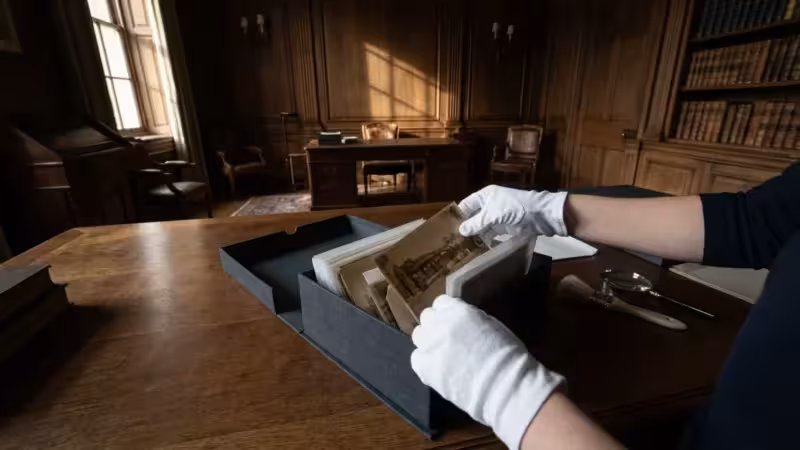
Your responsibility does not end when you arrive at your new home. In fact, the first 48 hours are critical. Do not immediately open all your photo boxes. If the outdoor temperature was significantly different from your new indoor environment, let the boxes sit, unopened, for several hours. This allows the contents to reach “equilibrium moisture content” slowly, preventing the stress of rapid expansion or contraction. Once the boxes have acclimated, perform a quick spot-check of your most fragile items to ensure no damage occurred during the journey.
When choosing a permanent home for your archive in the new house, avoid the “danger zones”: the attic, the basement, and the garage. These areas suffer from the greatest temperature fluctuations and are the most likely spots for leaks or floods. Instead, find an interior closet or a room on the main floor where the temperature and humidity remain consistent year-round. Place your boxes on shelves at least six inches off the floor to protect against minor plumbing leaks or spills. By taking these final steps, you ensure that the effort you put into packing and transporting your memories translates into long-term preservation for the next generation.
“The most dangerous part of a photograph’s life is the transition between environments. A move is not just a change of address; it is a chemical and mechanical challenge to the very structure of your family’s history.”
Frequently Asked Questions
Can I use standard cardboard moving boxes for my photographs?
Standard cardboard boxes often contain acidic adhesives and recycled materials that off-gas harmful chemicals. While you can use them for short-term transport if you seal the photos in archival inner containers first, you should never use them for long-term storage. For the safest move, invest in acid-free, lignin-free archival boxes that pass the Photographic Activity Test (PAT).
Should I take photos out of their frames before moving?
For most moves, you can leave photos in their frames if you take specific precautions. Apply painter’s tape in a starburst pattern across the glass to prevent shards from scratching the photo if it breaks. However, if the photograph is stuck to the glass (glazing), do not attempt to remove it yourself. For high-value or extremely fragile items, removing them and packing them flat between archival boards is safer.
How do I protect my digital photo collection on hard drives during a move?
Follow the 3-2-1 rule: maintain three copies of your data, on two different media types, with one copy off-site. Before moving, ensure your photos are backed up to the cloud. Carry physical hard drives with you in your personal vehicle rather than packing them in a moving truck to avoid extreme temperature fluctuations and physical shocks that can cause drive failure.
Is it safe to put photo albums in a storage unit during a transition?
Only use climate-controlled storage units that maintain a consistent temperature (below 70°F) and relative humidity (between 30% and 50%). Fluctuating environments in standard storage units can cause rapid deterioration, mold growth, and physical warping of photographic emulsions and paper supports.
Disclaimer: This article is for informational purposes only. When handling valuable or irreplaceable photographs, consider consulting a professional conservator. Always test preservation methods on non-valuable items first.

Leave a Reply