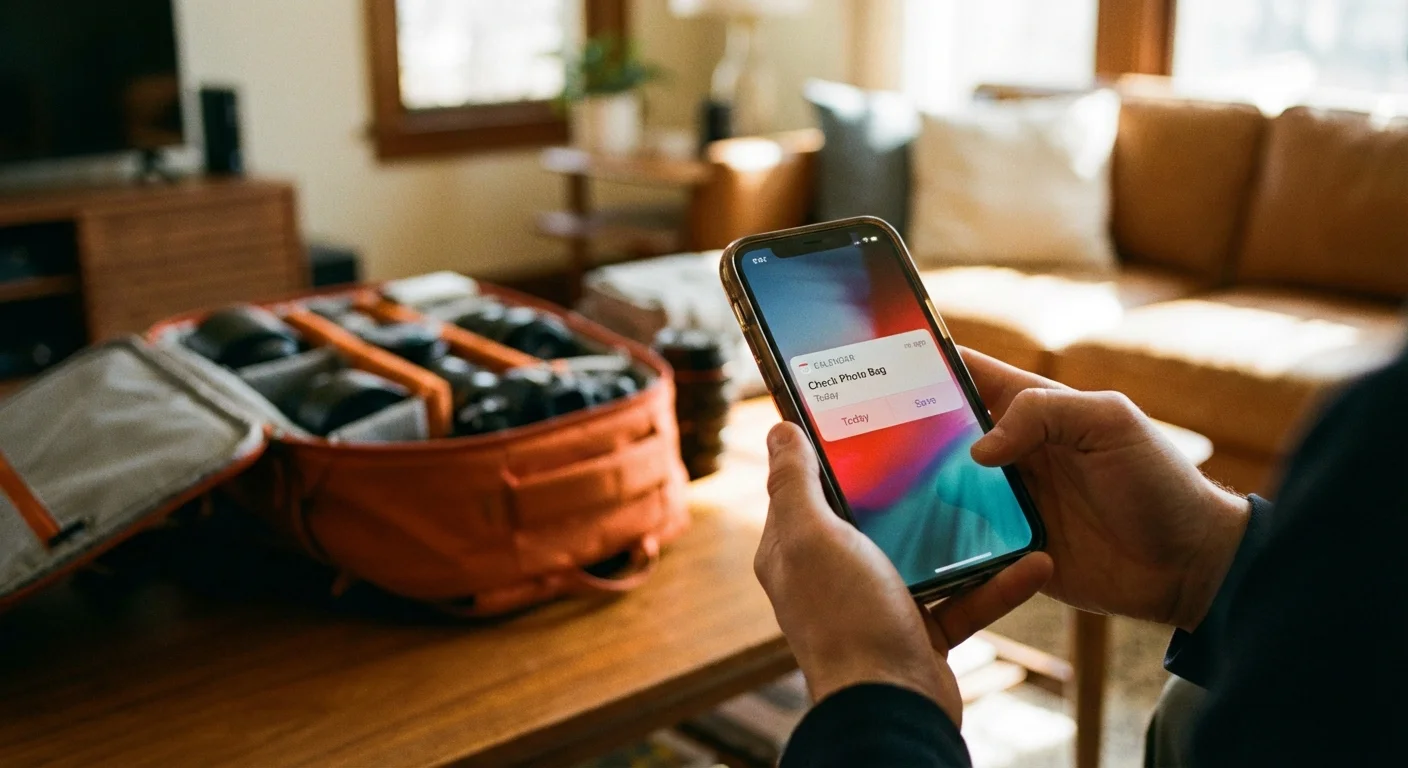
Natural disasters rarely provide the luxury of time. Whether it is a wildfire cresting a ridge or floodwaters rising in your basement, the window to act often narrows to minutes. While you likely have a plan for your family’s physical safety and perhaps a bag packed with flashlights and first-aid kits, your photographic heritage requires its own specialized evacuation strategy. Photographs represent the visual soul of your family history; they are the one thing most people regret losing above all other material possessions. Creating a photo emergency go-bag moves your preservation efforts from a vague hope to a concrete, actionable defense system. By organizing your most precious images into a portable, protected kit, you ensure that even if your home is lost, your legacy remains intact.

Identifying Irreplaceable Assets
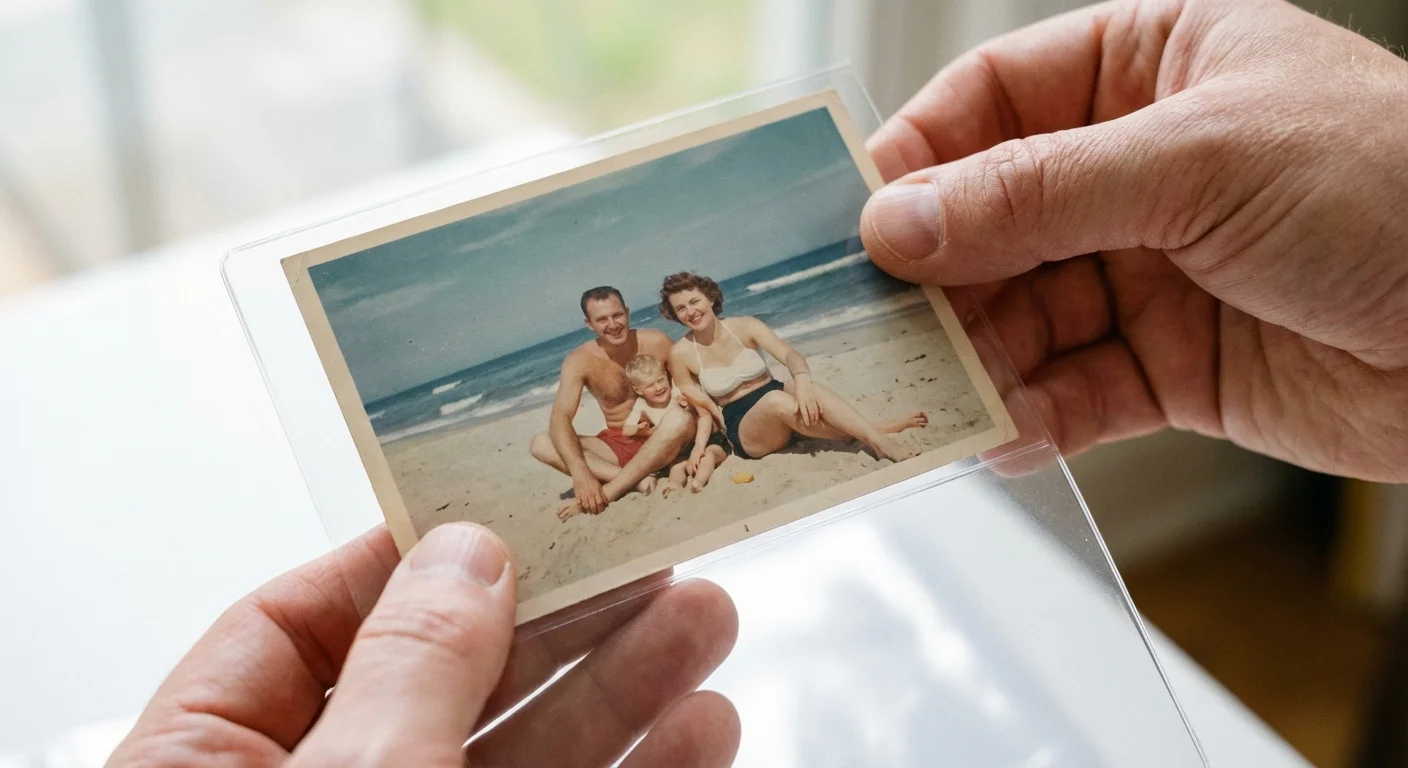
You cannot save every single snapshot in an emergency. If you attempt to carry three generations of heavy photo albums down a flight of stairs during a flood, you risk your physical safety. Effective disaster prep for photos begins with curation. You must decide today which images are the non-negotiable pillars of your family story. Most archivists suggest the 10 percent rule: identify the top 10 percent of your collection that captures the essence of your history. This might include your grandparents’ wedding portraits, the only existing photo of a great-great-grandparent, or the baby albums of your children.
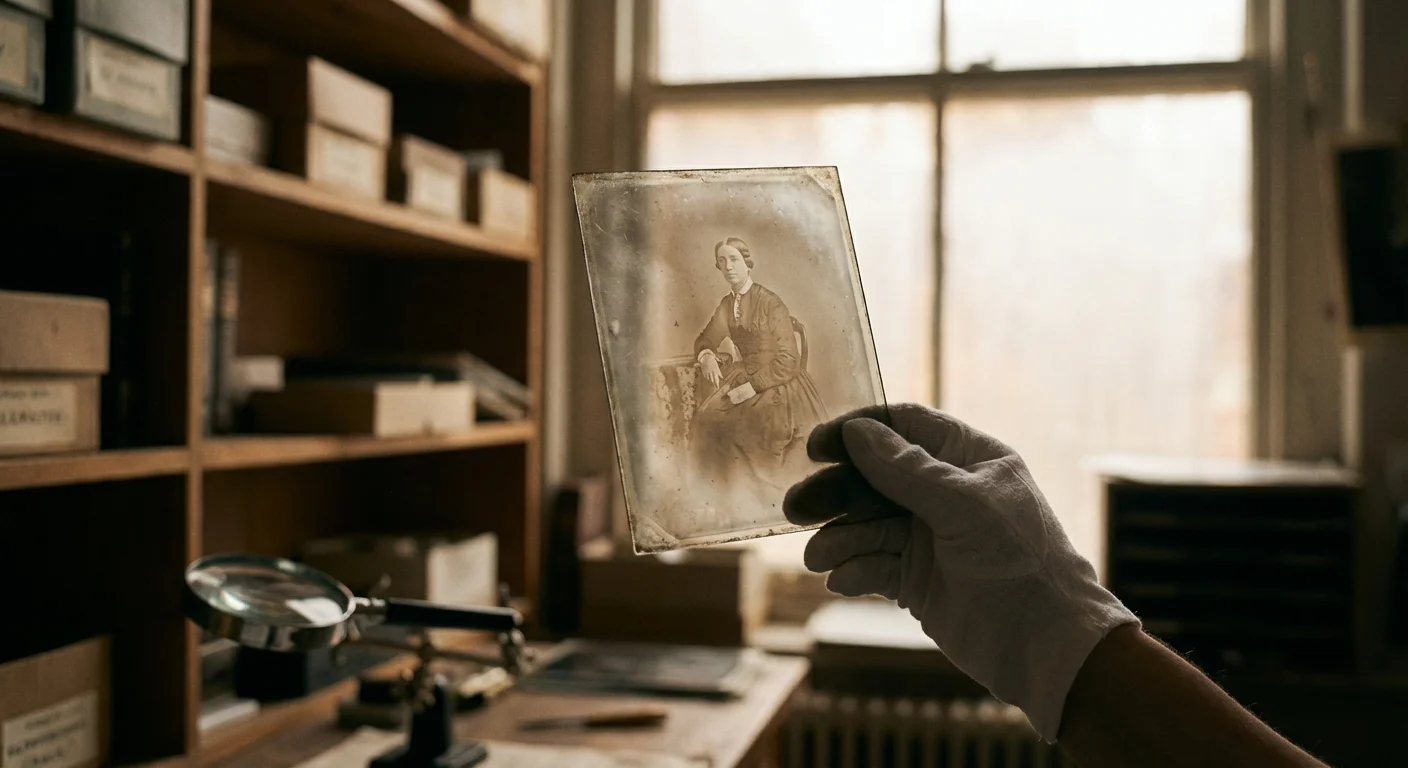
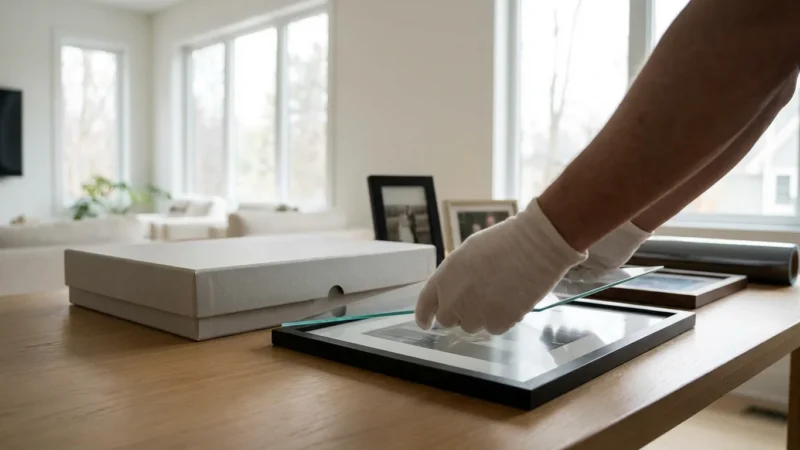
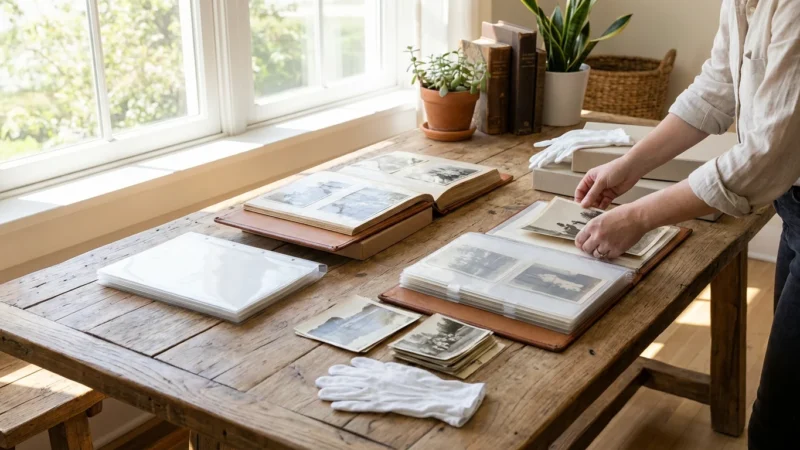
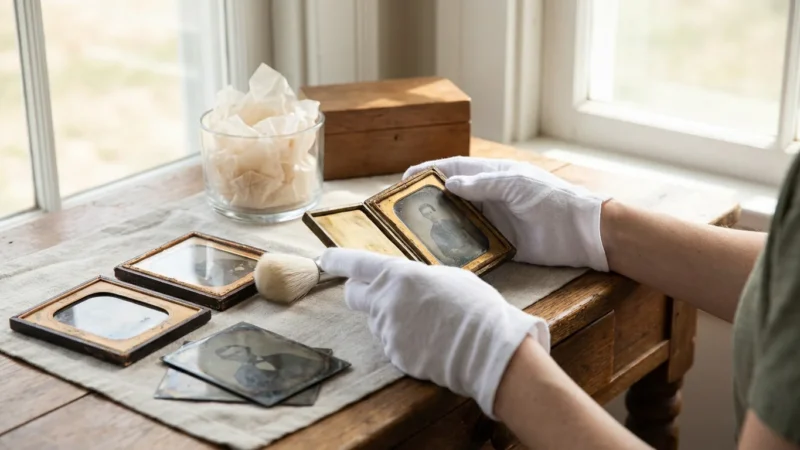
Take an inventory of your physical collection. Look for unique items that cannot be easily replaced or found elsewhere. Tintypes, daguerreotypes, and color slides from the 1960s are high-priority items because they are physically fragile and often exist as single copies. Modern digital prints are often easier to recreate if you have the digital negative, but older chemical-based prints are one-of-a-kind artifacts. Once you identify these core memories, separate them from the bulk of your collection. Placing these “Tier 1” photos into a single, manageable container is the first step toward building your go-bag.
Consider the emotional weight versus the quantity. It is better to have one small, high-quality box containing 200 essential photos than a dozen disorganized bins that you have to leave behind. Focus on milestones, ancestral connections, and high-quality candids that show the personality of your loved ones. This curated selection will form the heart of your emergency kit.
Physical Hazards and Fireproof Photo Storage Specs
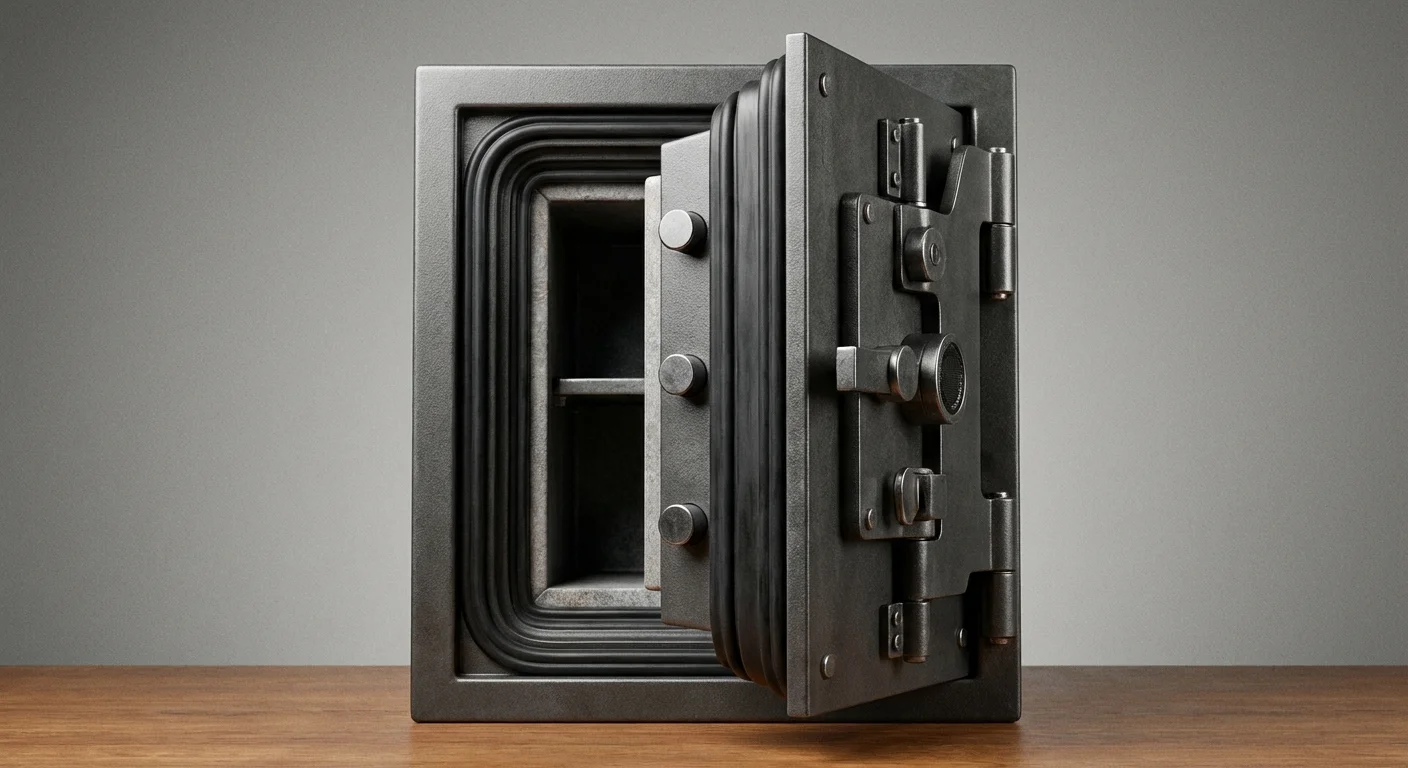
When you prepare for disasters, you are fighting two primary enemies: heat and moisture. Many people assume a standard home safe provides adequate protection, but this is a dangerous misconception. Most standard document safes are designed to keep the internal temperature below 350 degrees Fahrenheit. While paper charring begins around 450 degrees, photographic emulsions and digital media (like USB drives and DVDs) start to warp, melt, or suffer permanent chemical shifts at much lower temperatures—often as low as 125 degrees Fahrenheit.
To achieve true fireproof photo storage, you must look for a safe or container with a “Class 125” rating. This rating indicates that the interior temperature will stay below 125 degrees and the humidity will stay below 80 percent during a fire for a specified duration. These units are specifically engineered for magnetic and digital media. They are heavier and more expensive than document safes, but they are the only reliable way to protect chemical photographs from the intense heat of a house fire.
Water resistance is equally critical. In many cases, the fire department’s hoses or a burst pipe cause more damage to photos than the heat itself. Your go-bag should ideally be a waterproof, airtight case—such as a Pelican-style hard case or a high-denier dry bag. Look for containers with an IP67 rating, which signifies they can be submerged in one meter of water for 30 minutes without leaking. This level of protection is your best defense against flash floods or heavy storm surges.

Building Your Digital Redundancy Layer
Digital files are your greatest asset in an emergency because they allow for perfect copies to exist in multiple locations. For robust emergency photo protection, you should follow the 3-2-1 rule of backups: have three copies of your data, on two different media types, with one copy stored off-site. Your go-bag should contain one of your local physical copies. In the context of a portable kit, a ruggedized external Solid State Drive (SSD) is vastly superior to a traditional Hard Disk Drive (HDD). SSDs have no moving parts, making them far more resilient to the drops, vibrations, and temperature swings that occur during an evacuation.
Load this drive with high-resolution scans of your physical photos and a complete backup of your digital library. Do not rely solely on the cloud. During a natural disaster, cell towers often go down and internet service can be non-existent for weeks. Having a physical drive in your hand ensures you have your memories regardless of the state of the infrastructure. Encrypt this drive so that if your go-bag is lost or stolen during the chaos, your private family information and photos remain secure.
Include a small, laminated instruction sheet inside your bag that lists where your other digital copies are stored. For example, if you use a service like Backblaze or Google Photos, write down the account email and a hint for the password. In the stress of a disaster, you might forget which cloud service holds your primary archive. Providing these clues to your future self or your family members is a vital part of the recovery process.
“The best time to digitize your family history was ten years ago; the second best time is today, before the storm hits your zip code.”
Choosing Archival-Safe Materials for Portability
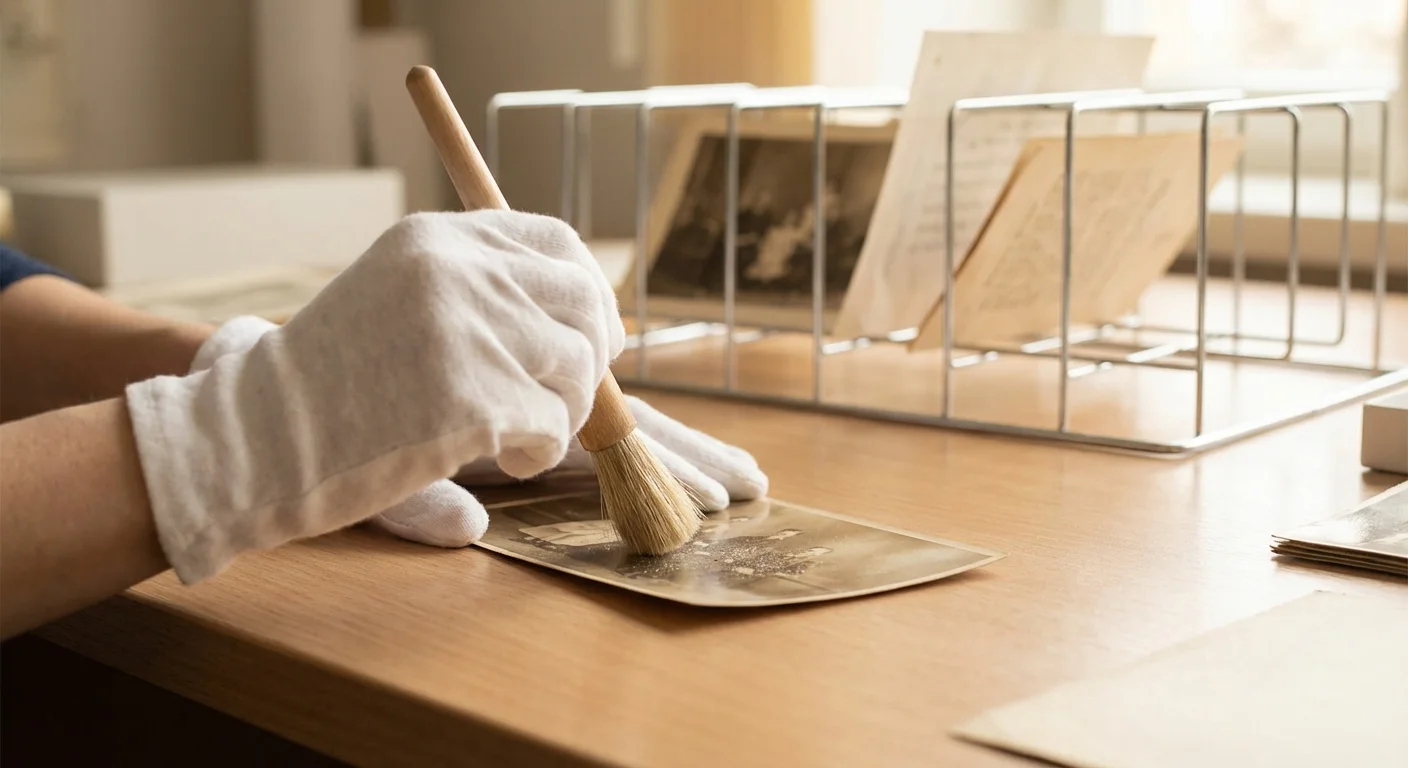
The internal environment of your go-bag matters just as much as the external shell. If you pack your photos into cheap plastic baggies or acidic envelopes, the materials themselves will slowly degrade your images through a process called “outgassing.” Over several years of storage in a go-bag, these low-quality plastics can cause photos to stick together or yellow. You must use materials that meet the ISO 18916 Photographic Activity Test (PAT) standards.
For the physical photos in your kit, use archival-safe polyester (Mylar), polypropylene, or polyethylene sleeves. These plastics are chemically inert and will not react with the photographic emulsion. Avoid anything containing PVC (polyvinyl chloride), which smells like a new shower curtain; this material releases hydrochloric acid as it ages, which will destroy your photos. Group your sleeved photos into archival-grade envelopes or small boxes made from acid-free, lignin-free cardstock.
| Material Type | Safety Rating | Best For |
|---|---|---|
| Polyester (Mylar) | Highest / Archival | Fragile or very old prints |
| Polypropylene | High / Archival | General photo storage and sleeves |
| PVC (Vinyl) | Dangerous | Avoid entirely; causes chemical burns |
| Acid-Free Paper | High / Archival | Envelopes and dividers |
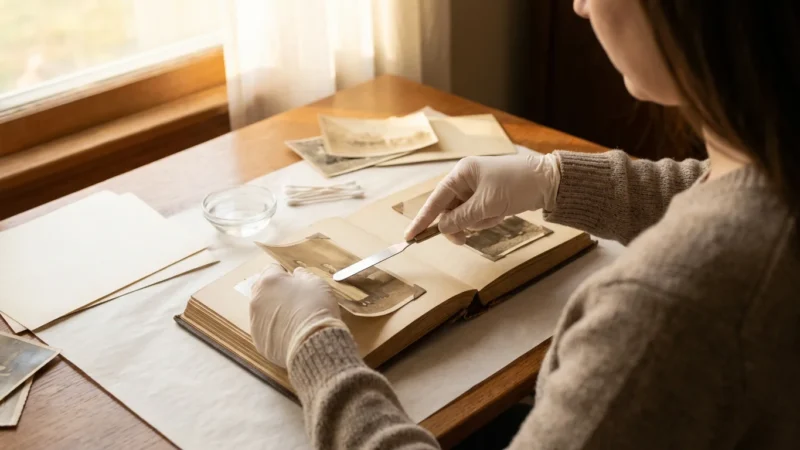
When labeling your photos, never use ballpoint pens or markers that bleed. The pressure of a ballpoint pen can indent the emulsion, and many inks are acidic. Instead, use a soft lead pencil (like a 2B or 4B) to write lightly on the back of the photo, or write on the archival sleeve itself using a specialized archival marker. This ensures that even if the kit gets damp, the identification of the people in the photos remains legible and the photos themselves aren’t stained by running ink.
Assembling and Placing the Go-Bag
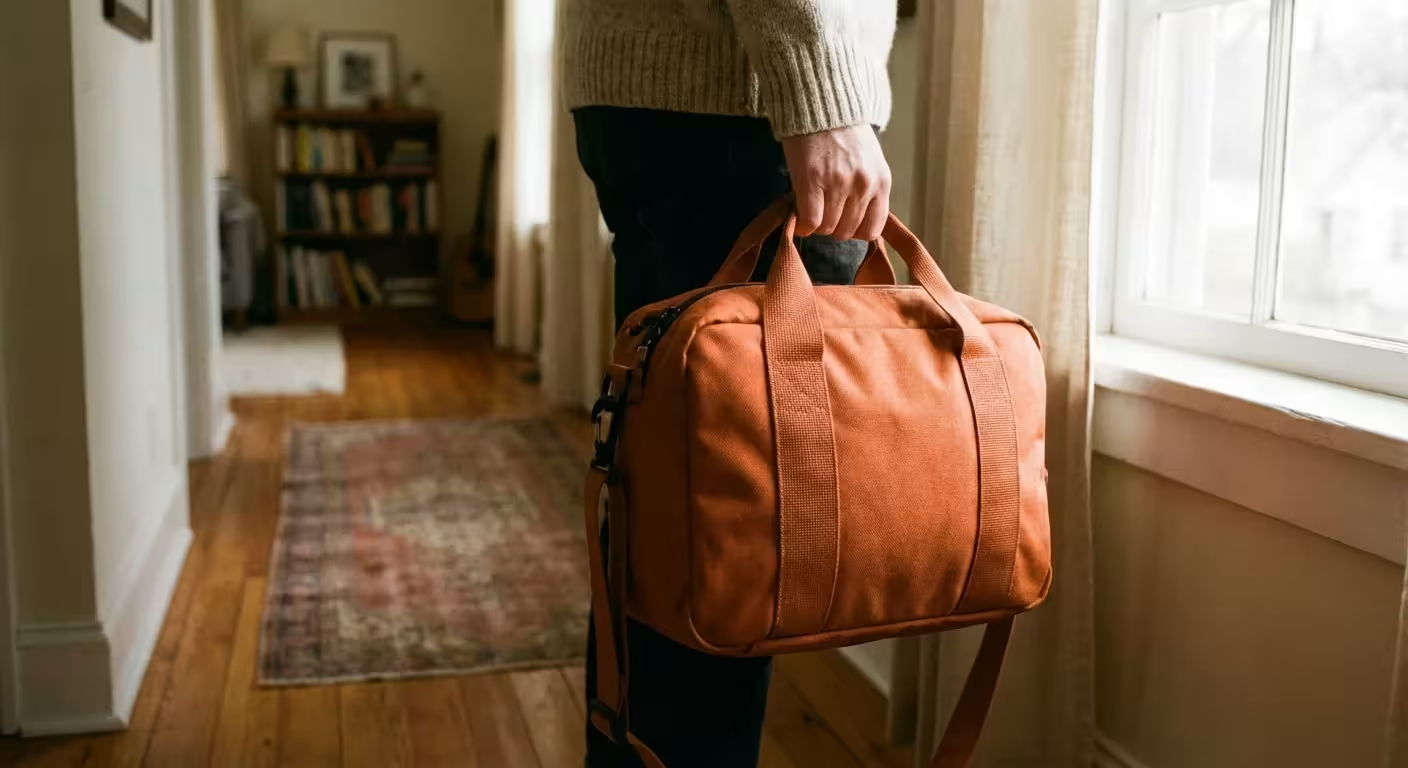
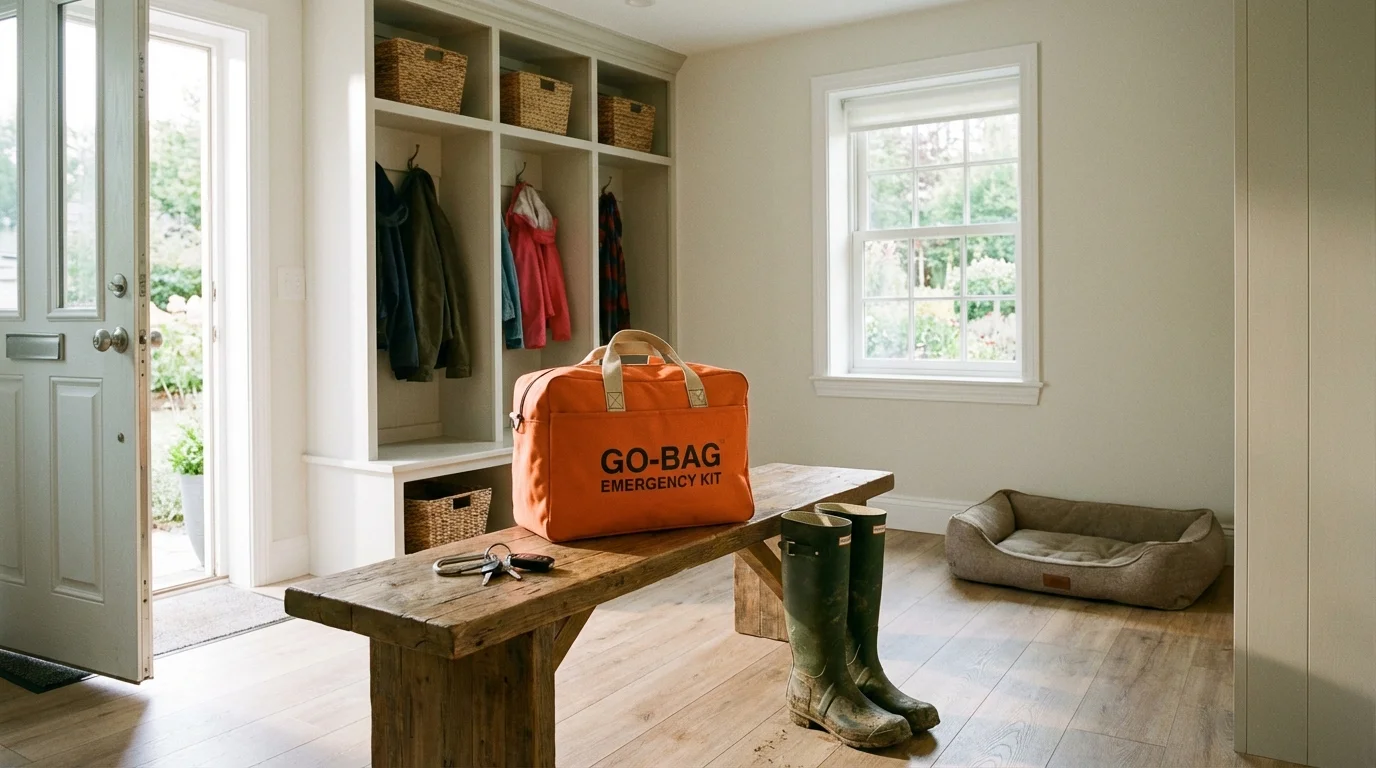
Efficiency is the goal of a go-bag. You want a kit that is light enough to carry in one hand while you are moving quickly. A medium-sized waterproof hard case (about the size of a briefcase) is often the perfect balance. Inside, place your curated archival envelopes, your ruggedized SSD, and a set of backup cables. Include a small, hand-crank or battery-powered flashlight so you can see your photos and gear if the power is out. It is also wise to include a high-capacity power bank to ensure you can charge a laptop or phone to access your digital files.
Placement of the bag is critical. It should not be buried in the back of a closet or tucked deep under a bed. Store your photo go-bag near an exit or alongside your family’s primary emergency kit. Many disaster experts recommend a “grab-and-go” hierarchy. If you have 60 seconds, you grab your family and pets. If you have three minutes, you grab your primary go-bag and your photo kit. Make sure every member of the family knows where the bag is and what it looks like. Label the outside of the bag with your name and contact information using a permanent, waterproof tag.
Consider the height of your storage. If you live in a flood-prone area, store the bag on a high shelf rather than on the floor. However, ensure it is still reachable without a ladder, as you may be moving in the dark or under duress. The National Archives emphasizes that proper storage height can be the difference between a total loss and a successful salvage during rising water events.
Annual Maintenance and Updating Your Collection
An emergency go-bag is not a “set it and forget it” project. It is a living archive that requires regular maintenance to remain effective. Set a recurring date—perhaps during National Preparedness Month in September or when you change your smoke detector batteries—to open your bag and inspect its contents. Check the seals on your waterproof case to ensure they haven’t become brittle or cracked. If you use a dry bag, check for punctures.
Update your digital drive during this annual review. You likely took hundreds or thousands of new photos over the past year. Export the best of these to your emergency SSD. This is also the time to test the drive itself. Plug it into your computer, ensure the files open correctly, and run a quick disk health check. Hardware fails, and you do not want to discover a dead drive while sitting in an evacuation center. If the drive is more than five years old, consider migrating the data to a new, modern drive as part of a proactive replacement cycle.
Finally, review your physical photo selection. As your family grows or your perspectives shift, you might find that a different set of photos feels more “essential” than the ones you picked five years ago. Swap out prints as needed, ensuring all new additions are placed in archival sleeves. This annual ritual keeps your memories fresh and ensures that your preservation strategy evolves alongside your life.
Salvage Protocols for Damaged Photographs
Even with the best preparation, accidents happen. If your go-bag is breached and your photos are exposed to water or smoke, your immediate actions will determine if they can be saved. The most important rule for wet photos is: do not let them dry in a pile. As photos dry, the gelatin in the emulsion acts like a powerful adhesive. Once they are stuck together, separating them without destroying the image is nearly impossible for anyone but a professional conservator.
If photos are wet, keep them wet in a container of clean, cold water until you can properly treat them. The Library of Congress recommends air-drying as the safest home method for most modern prints. Lay them out face-up in a single layer on clean paper towels or unprinted blotting paper. Avoid touching the image surface, as the wet emulsion is incredibly soft and easy to scratch. Change the paper towels frequently to speed up the drying process and prevent mold growth.
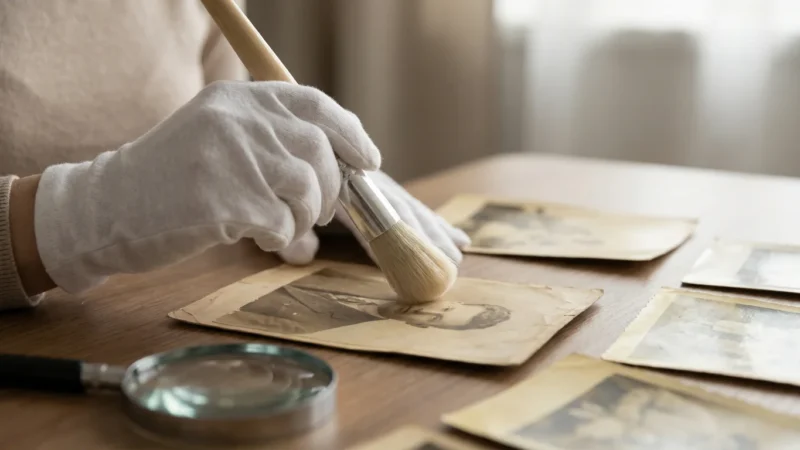
For photos damaged by smoke or soot, do not try to wipe them clean with a cloth, as this will ground the abrasive soot particles into the image. Use a soft, natural-hair brush or a specialized “smoke sponge” to gently lift the soot away. If the damage is extensive, or if you are dealing with historic items like daguerreotypes or hand-colored prints, stop immediately and contact a professional. Your go-bag should include a list of local conservators or the contact information for the American Institute for Conservation to help you find an expert quickly.
“Preservation is a race against time, but in a disaster, it is a race against chemistry. Quick, informed action is your best tool for recovery.”
Frequently Asked Questions
Can I use a standard fireproof safe for my photos?
Most standard fireproof safes are designed for paper documents and can reach internal temperatures of 350 degrees Fahrenheit. While paper survives this, photographic emulsions and digital media begin to melt or warp at much lower temperatures. You need a safe rated specifically for media or a ‘Class 125’ rating to protect photos and hard drives effectively.
How often should I update the digital drive in my go-bag?
You should update your emergency drive at least once a year. This ensures that new memories are captured and allows you to check the health of the drive. Digital hardware can fail over time, so an annual ‘plug-and-check’ session prevents you from carrying a dead drive during an evacuation.
What should I do if my go-bag gets submerged in water?
If your photos get wet, do not let them dry in a stack, as they will stick together and become inseparable. Keep them wet in clean, cold water and contact a professional conservator immediately. If you cannot get professional help, carefully separate them and air-dry them face-up on clean blotting paper or paper towels.
Is cloud storage enough for disaster prep?
Cloud storage is a vital part of the 3-2-1 backup rule, but it is not a complete solution. In a widespread natural disaster, internet infrastructure often fails. Having a physical, local copy of your digital library in your go-bag ensures you have access to your memories even when the grid is down.
Disclaimer: This article is for informational purposes only. When handling valuable or irreplaceable photographs, consider consulting a professional conservator. Always test preservation methods on non-valuable items first.


Leave a Reply