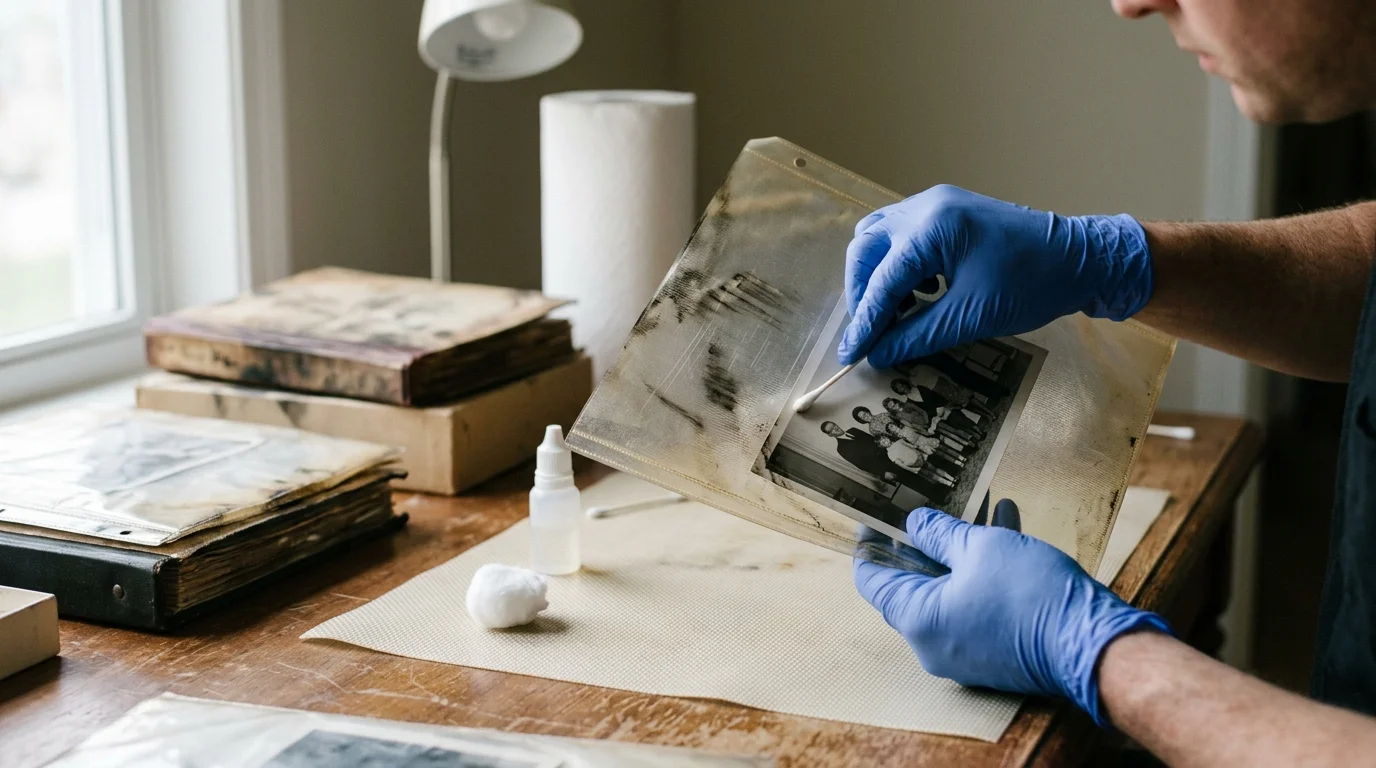
You face a demanding inventory as an estate executor after an electrical house fire: cartons of 1970s family albums coated in greasy, acidic soot. Commercial disaster restoration vendors routinely charge thousands of dollars to remediate photo collections, frequently ruining fragile prints with wet wash systems.
Dry cleaning polyethylene sleeves with vulcanized rubber soot sponges lifts stubborn combustion residue without driving oily carbon into emulsion layers. This estate-proven method protects vulnerable family heirlooms while reducing remediation costs from $3.50 per print to under $0.20.
Use this technical guide to fulfill your fiduciary duties, stabilize smoke-damaged albums, and preserve irreplaceable historical prints safely.
The Chemistry of 1970s Polyethylene and Electrical Fire Soot
During the 1970s, photo album manufacturers widely adopted low-density polyethylene (LDPE) for transparent pocket pages. These early commercial plastics contain slip additives, antioxidants, and plasticizers that gradually exude toward the surface as the polymer ages over decades.
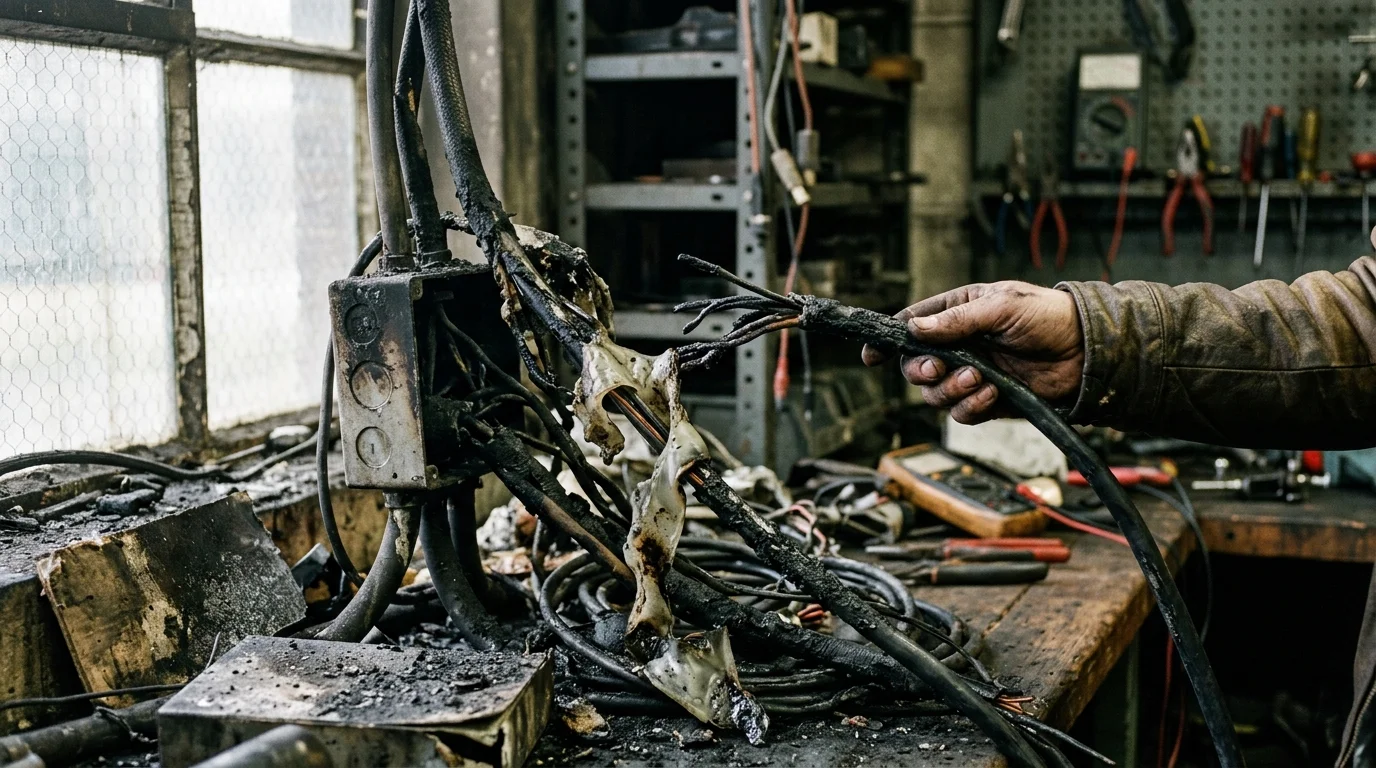
Electrical fires generate a destructive, chemically aggressive contaminant known as synthetic soot. When copper wiring insulation overheats and burns, decomposing polyvinyl chloride (PVC) releases chlorinated hydrocarbons, hydrogen chloride gas, and oily carbon black.
These airborne carbon particulates measure between 0.1 and 1.0 micrometers in diameter. Their microscopic volume gives them an exceptionally high surface area and a persistent electrostatic charge.
When hot electrical smoke cools across an estate storage area, this charged, acidic soot binds tenaciously to the tacky plasticizers on LDPE sleeve exteriors. The resulting surface film feels greasy and emits an acrid, pungent odor of hydrochloric acid.
Left untreated, acidic soot accelerates polymer chain scission within vintage polyethylene. Research from the Image Permanence Institute confirms that degrading polymers release volatile peroxides that directly attack underlying photographic print layers.
The temperature differentials during an electrical fire create thermal drive, pulling microscopic soot particles through album page edges. Even when binder covers remain closed, fine soot deposits along sleeve openings and heat-sealed perimeter seams.
As an estate executor, you must neutralize this surface threat immediately. Prompt physical decontamination halts chemical deterioration before acidic compounds penetrate the enclosure pockets and destroy original 1970s chromogenic color prints.
Why Wet Cleaning Destroys Vintage Polyethylene Sleeves
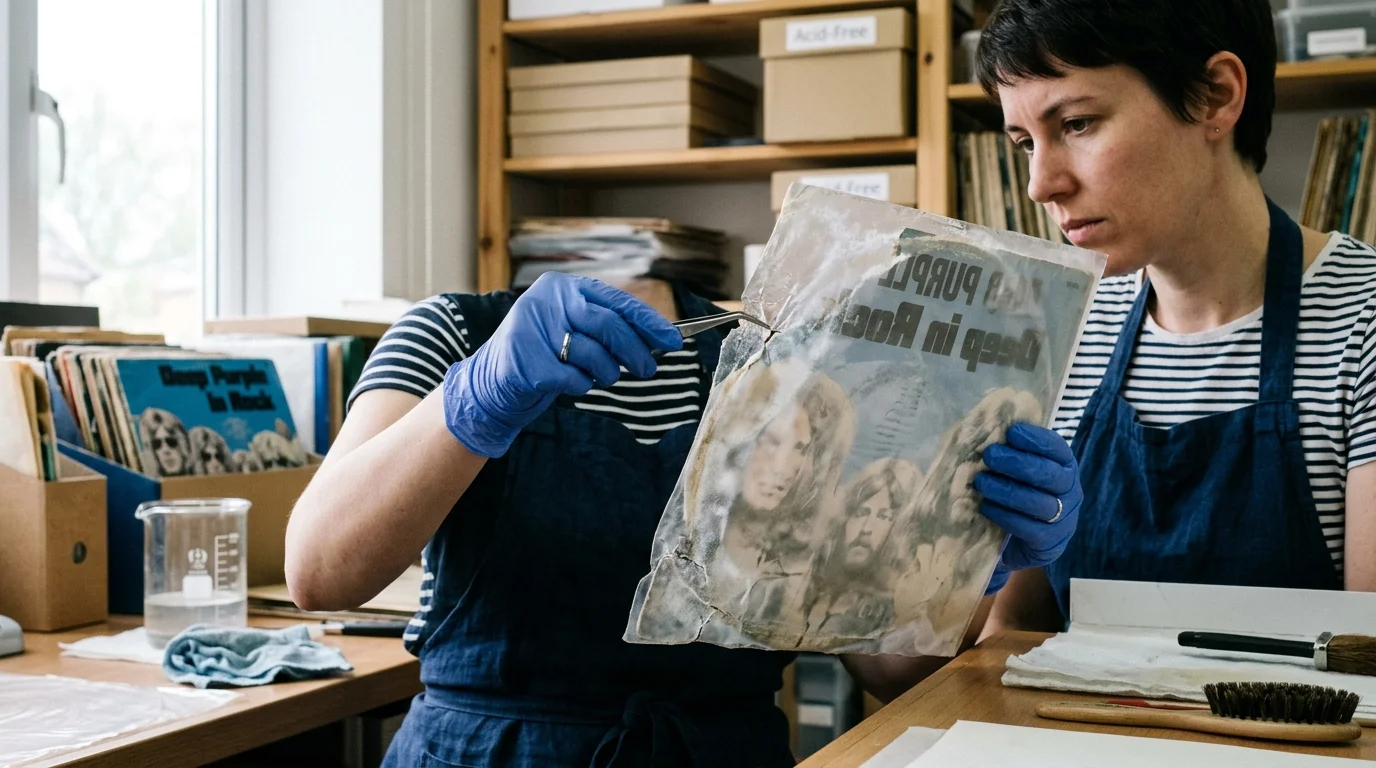
When executors attempt smoke damage photo restoration DIY measures, they frequently turn to damp cloths, multi-surface glass cleaners, or isopropyl alcohol wipes. Applying liquid solutions to soot-encrusted polyethylene sleeves triggers irreversible photographic destruction.
Water functions as an aggressive capillary carrier for acidic carbon particles. When moisture reaches the edges of a sleeve pocket, capillary draw sucks dissolved soot inside, depositing oily residue directly across the print emulsion.
Most family snapshots from the 1970s are chromogenic prints produced on resin-coated paper bases, such as Kodak Ektacolor 37 RC and Kodacolor II papers. These prints rely on a delicate gelatin emulsion layer to suspend dye couplers.
Gelatin softens and swells within seconds of moisture exposure. When soot-contaminated water contacts softened gelatin, the microscopic carbon particles become permanently locked into the gelatin molecular binder.
Aqueous treatments on soot-contaminated modern photographic enclosures risk capillary draw, driving acidic particulates into emulsion layers where they cause permanent staining.
Once carbon particulates embed inside a swollen emulsion, mechanical removal is impossible without stripping the image layer itself. The print permanently retains gray mottling and dark oily rings.
Chemical solvents introduce equal peril to aged enclosures. Isopropyl alcohol and organic solvent sprays solubilize the fragile plasticizers within 1970s LDPE films, causing instant clouding and micro-crazing across the plastic.
Solvents also penetrate the edge welds of vintage sleeves, dissolving print dyes and causing chromatic dye bleeding. You must avoid all wet cleaning agents until you have mechanically removed the dry soot residue entirely.
The Vulcanized Rubber Soot Sponge Protocol
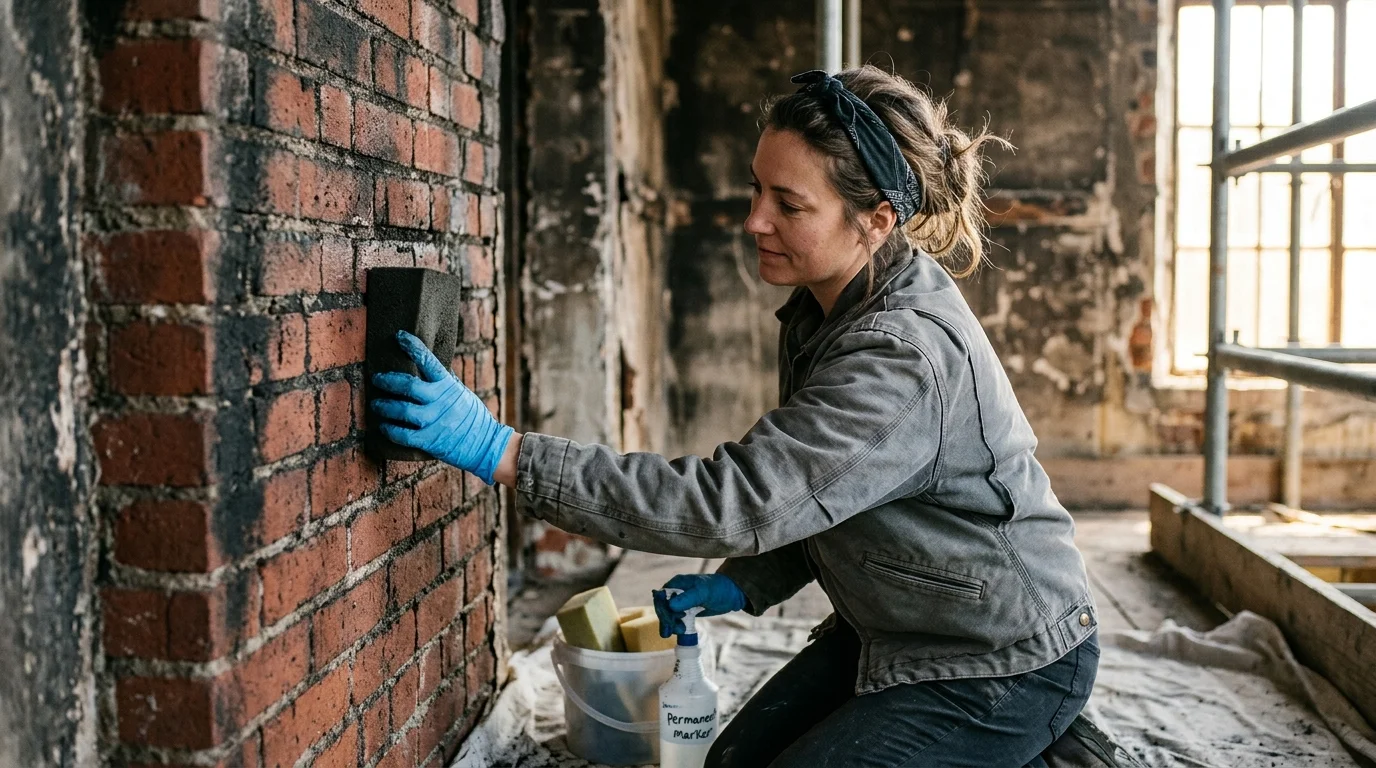
Preservation professionals rely on vulcanized natural rubber sponges—historically termed chemical sponges or dry cleaning sponges—to decontaminate fragile paper and plastic. These dense, porous cleaning blocks consist of vulcanized cis-1,4-polyisoprene rubber processed with natural fatty acid surfactants.
Unlike standard cellulose kitchen sponges, a soot sponge old photos tool contains millions of open, microscopic vulcanized cells. These micro-cells lift and capture soot particulates through gentle friction and electrostatic shear without scratching soft polyethylene.
The dry rubber functions as a mechanical trap for combustion debris. As you draw the sponge across the sleeve surface, soot particles bond to the rubber matrix rather than smearing outward across the plastic.
Disaster response standards published in the National Archives preservation guidelines mandate dry mechanical soot removal prior to any liquid application. This critical dry-first sequence prevents carbon compounds from dissolving into underlying substrates.
As the sponge absorbs soot, its exterior cell matrix becomes saturated with black oily residue. You must shave away the dirty surface layer with sharp utility shears to expose fresh, unsoiled rubber cells underneath.
A standard 3-by-6-by-1.5-inch Absorbene or dry vulcanized rubber sponge provides dozens of clean cellular faces when trimmed periodically. This high capacity allows you to process hundreds of album pages using only a few sponge blocks.
Vulcanized rubber sponges remain completely dry and leave zero chemical film on vintage plastics. They deliver an ideal, conservation-approved balance of mechanical traction and gentle surface contact for delicate 1970s photo sleeves.

Step-by-Step Estate Album Decontamination Workflow
Executing an organized decontamination sequence ensures you remediate soot-damaged estate albums without cross-contaminating pristine archival materials. Establish your staging station in a well-ventilated garage, workshop, or spare room isolated from central air intakes.
Cover an 8-foot utility folding table with clean 4-mil virgin polyethylene sheeting, taping the edges securely beneath the table perimeter. Establish a strict directional workflow, placing contaminated albums on your left and clean intake containers on your right.
Equip yourself with disposable powder-free 4-mil nitrile gloves, wrap-around safety glasses, and a snug-fitting N95 or P100 particulate respirator. Electrical fire soot contains polycyclic aromatic hydrocarbons and acidic metal salts that generate health hazards during dry manipulation.
Begin by cleaning the exterior album binding using a variable-speed HEPA canister vacuum fitted with a soft horsehair circular micro-brush attachment. Set the motor suction to low to prevent tugging on fragile binder spine hinges.
Hover the HEPA brush roughly one-half inch above the exterior covers, moving steadily along the spine grooves and page edges. Capture airborne soot particulates directly into the HEPA stream without pressing the brush hairs hard against the cover material.
Transfer the vacuumed album to your central cleaning zone. Slice an Absorbene vulcanized rubber sponge into four handheld blocks measuring roughly 1.5 by 3 inches using a fresh utility razor blade.
Support the target album leaf from underneath with a clean sheet of acid-free 40-pound barrier paper. This rigid backing prevents the flexible polyethylene sleeve from stretching or bending under hand pressure.
Place the clean face of your rubber sponge block at the top margin of the sleeve. Pull the sponge downward toward yourself in a single, straight, unidirectional pass using light, uniform pressure.
Never wipe back and forth, and never use circular buffing motions. Circular strokes grind abrasive carbon grit into the soft 1970s polyethylene, creating permanent micro-scratches and driving soot into heat-sealed seam crevices.
Overlap each downward pass by one-quarter inch until you cover the entire width of the page. Inspect the sponge face after every four strokes; as soon as it exhibits dark discoloration, slice off a 1/8-inch layer with shears.
Turn the album leaf over onto a fresh barrier sheet and repeat the unidirectional wiping pattern across the reverse side. Clean the heat-sealed pocket borders and album page punch holes carefully, lifting trapped soot without snagging seam edges.
Wipe down your polyethylene table liner with an anti-static cloth after cleaning every five album leaves. Change your nitrile gloves whenever carbon marks appear on your fingertips to avoid transferring oily residue onto decontaminated plastic.
Cost Analysis: DIY Remediation Versus Professional Vendors
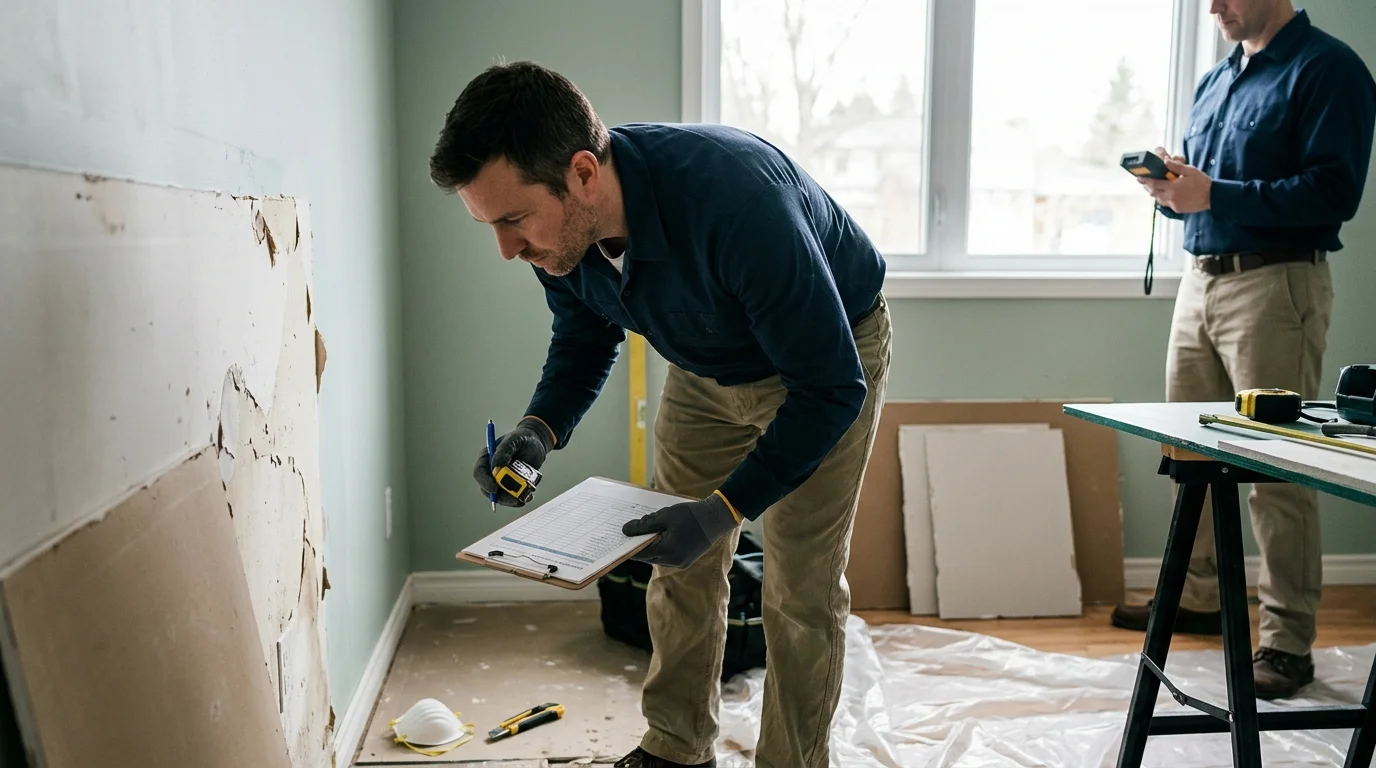
As an estate executor, you must safeguard inherited assets while curbing unnecessary probate expenses. Retaining a commercial disaster restoration franchise to clean soot off photo albums quickly consumes thousands of estate dollars.
Consider a documented estate scenario: six smoke-damaged three-ring albums holding 1,200 total 3.5×5-inch and 4×6-inch Kodacolor prints from 1974 through 1979. An electrical basement panel fire sent dense synthetic soot through the estate home via central heating ducts.
A regional disaster mitigation vendor submitted an insurance estimate charging $3.50 per individual photograph, plus an estate intake assessment fee of $450.00. The commercial restoration invoice totaled $4,650.00, accompanied by a liability waiver disclaiming responsibility for print fading or enclosure distortion.
Handling the dry remediation directly using vulcanized soot sponges dramatically lowers total estate expenditure. Your necessary supplies include four Absorbene vulcanized rubber sponges ($34.00), a HEPA vacuum micro-attachment kit ($22.00), and 100 powder-free 4-mil nitrile gloves ($16.00).
Purchasing professional replacement enclosures—specifically five 100-packs of Print File 46-4P archival polypropylene pocket pages ($138.00) and six archival binder slipcase boxes ($144.00)—totals $354.00 in high-grade materials. Your total direct cost equals $0.30 per print, or just $0.06 per print for cleaning consumables alone.
The DIY process requires approximately 24 labor hours across two weekends. Taking control of this process preserves over $4,200.00 in liquid estate assets for estate beneficiaries while ensuring each precious family photograph receives personalized, non-destructive care.
The comparison table below outlines how dry vulcanized rubber mechanical cleaning compares against common commercial and domestic alternatives across measurable preservation standards.
| Remediation Method | Chemical or Physical Action | Removal Efficacy on Oily Soot | Risk to 1970s Polyethylene & Emulsion | Direct Material Cost per Print |
|---|---|---|---|---|
| Dry Vulcanized Rubber Soot Sponge | Mechanical shear and open-cell particulate adsorption | 92% to 98% surface removal without solvents | Extremely low; preserves plastic clarity and dry emulsion | $0.06 (consumables only) |
| Aqueous Detergent Bath (Water + Surfactant) | Surfactant emulsification and liquid dilution | 60% to 75% soot removal; creates greasy slurry | Catastrophic; induces capillary draw and locks soot into gelatin | $0.08 |
| Isopropyl Alcohol Solvent Wipes | Solvent dissolution of organic compounds | 80% to 85% surface removal; redeposits thin film | Severe; strips LDPE plasticizers and dissolves print dye layers | $0.14 |
| Commercial Vendor Aqueous Wash & Ozone | Pressurized wet wash followed by gas-phase ozone chamber | 85% to 90% soot removal; bleaches odors | High; ozone accelerates color print fading and embrittles vintage film | $3.50 to $4.25 |
Extracting Prints and Archival Rehousing Guidelines
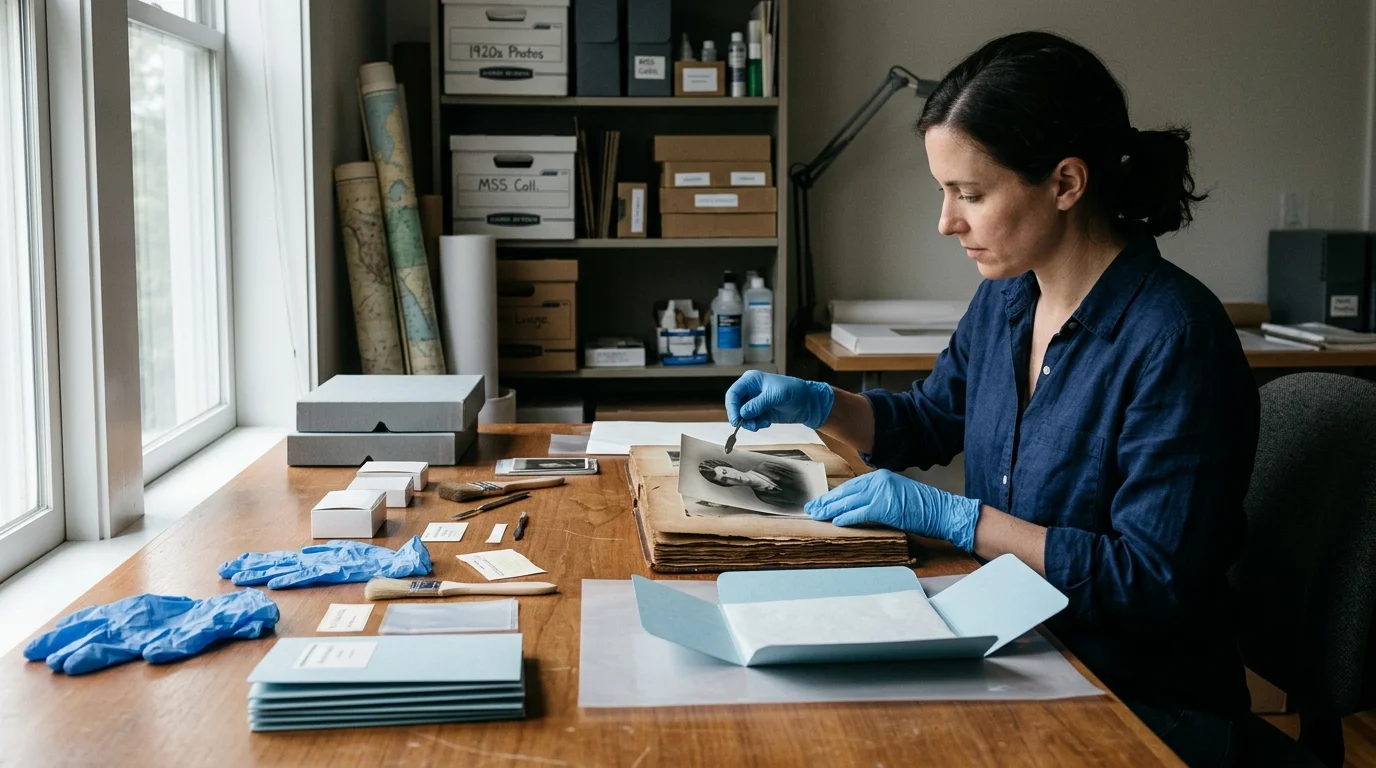
After decontaminating the exterior sleeve surfaces, inspect each individual pocket opening under bright, raking light. If combustion smoke infiltrated the pocket interiors, you must extract the prints rather than leaving them inside contaminated enclosures.
Never yank or slide a photograph upward through a soot-soiled sleeve opening. Pulling the print causes the soiled plastic lip to scrape abrasive soot across the image, producing deep gouges across the emulsion.
Instead, use curved surgical micro-scissors or an archival Teflon bone folder to slit the outer heat-welded seam of the pocket. Peel the top polyethylene sheet backward, exposing the print without generating surface friction.
Lift the photograph vertically by its white outer margins using clean gloved hands. If you detect loose soot dust on the print margins, gently clear it using a soft camel-hair drafting brush directed toward a HEPA vacuum intake nozzle.
Discard the original 1970s polyethylene sleeves into heavy disposal bags. These vintage plastics retain volatile smoke odor molecules and continue to exude acidic plasticizer breakdown products that jeopardize long-term stability.
Rehouse your salvaged photographs into modern archival enclosures verified to pass the Photographic Activity Test (ISO 18916). Select virgin polypropylene pocket pages or biaxially oriented polyester enclosures, such as DuPont Mylar D or Melinex 516 sleeves.
Consult the preservation standards established by the American Institute for Conservation when sourcing archival housings. Virgin polyester and polypropylene contain no harmful plasticizers, slip coatings, or surface oils that could attract soot or degrade print emulsions.
Historic prints compromised by environmental contaminants require inert polyester or polypropylene housings to eliminate further chemical degradation from legacy plasticizers.
Transfer the sleeved prints into heavy-duty, metal-edge archival binder boxes manufactured from acid-free, lignin-free board. Ensure the board incorporates a 2% to 3% calcium carbonate alkaline reserve to neutralize residual ambient odors and atmospheric acids.
Document each album step within your estate probate inventory files. Recording your decontamination materials, workflow dates, and rehousing specifications creates an auditable record of prudent estate fiduciary management.
Frequently Asked Questions
Can I wash soot-covered photo sleeves with warm soapy water?
No, never wash soot-covered photo sleeves with water or detergents. Liquid promotes capillary draw, dragging oily carbon into sleeve interiors where moisture permanently bonds soot particles to photographic gelatin emulsions.
How do I remove lingering fire smoke odor from salvaged albums?
Place dry, decontaminated albums inside an enclosed container alongside activated charcoal pellets or archival microchamber paper for two weeks. Keep the odor-absorbing media completely separated from direct contact with the album pages.
What makes a soot sponge different from a regular household sponge?
Soot sponges consist of natural vulcanized rubber manufactured with open micro-cells. Unlike standard cellulose kitchen sponges, these vulcanized micro-cells mechanically attract and trap dry soot particles without liquid or abrasive scouring.
Should an estate executor preserve the original 1970s photo albums?
You should discard degraded 1970s polyethylene sleeves after safely extracting the photographs. These vintage plastics retain volatile fire odors and emit acidic degradation byproducts that harm prints over time.
Disclaimer: This article provides informational preservation guidance; when handling valuable estate photographs, consult a certified conservator. Always test soot cleaning methods on non-valuable reference materials first.