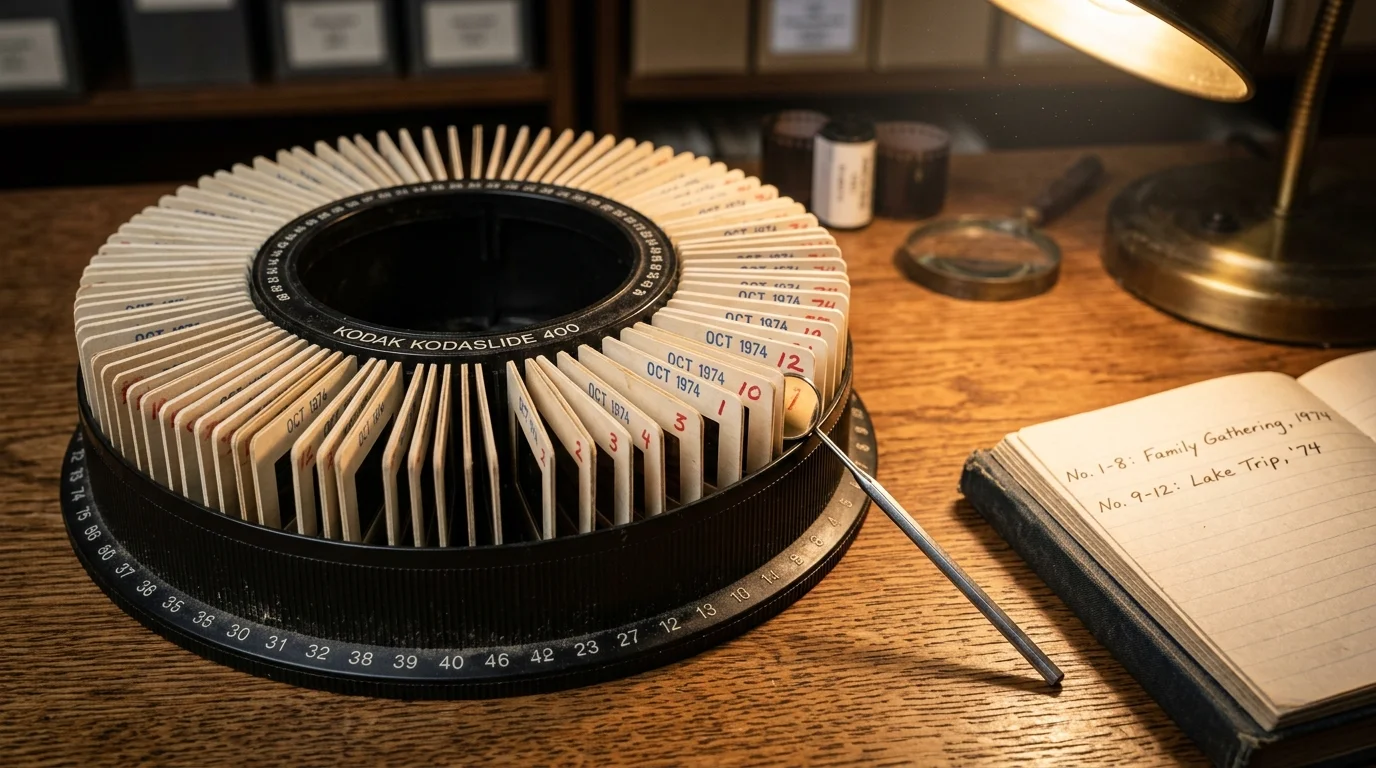
Facing 15 inherited Kodak carousel trays with cryptic labels like “YNP ’78” feels daunting; you can catalog every single slide without pulling a single mount from its tray. This non-destructive protocol preserves family presentation order while preventing unnecessary physical wear.
Most guides advise dumping slides directly into archival sleeves, which destroys irreplaceable editorial context and risks mount damage. Leaving mounts seated in their factory slots keeps chronological cues intact while you create a complete written index.
By spending fifteen minutes per tray at a backlit workstation, you will establish full archival control before starting any digitizing project.
The Peril of the Empty-Tray Impulse
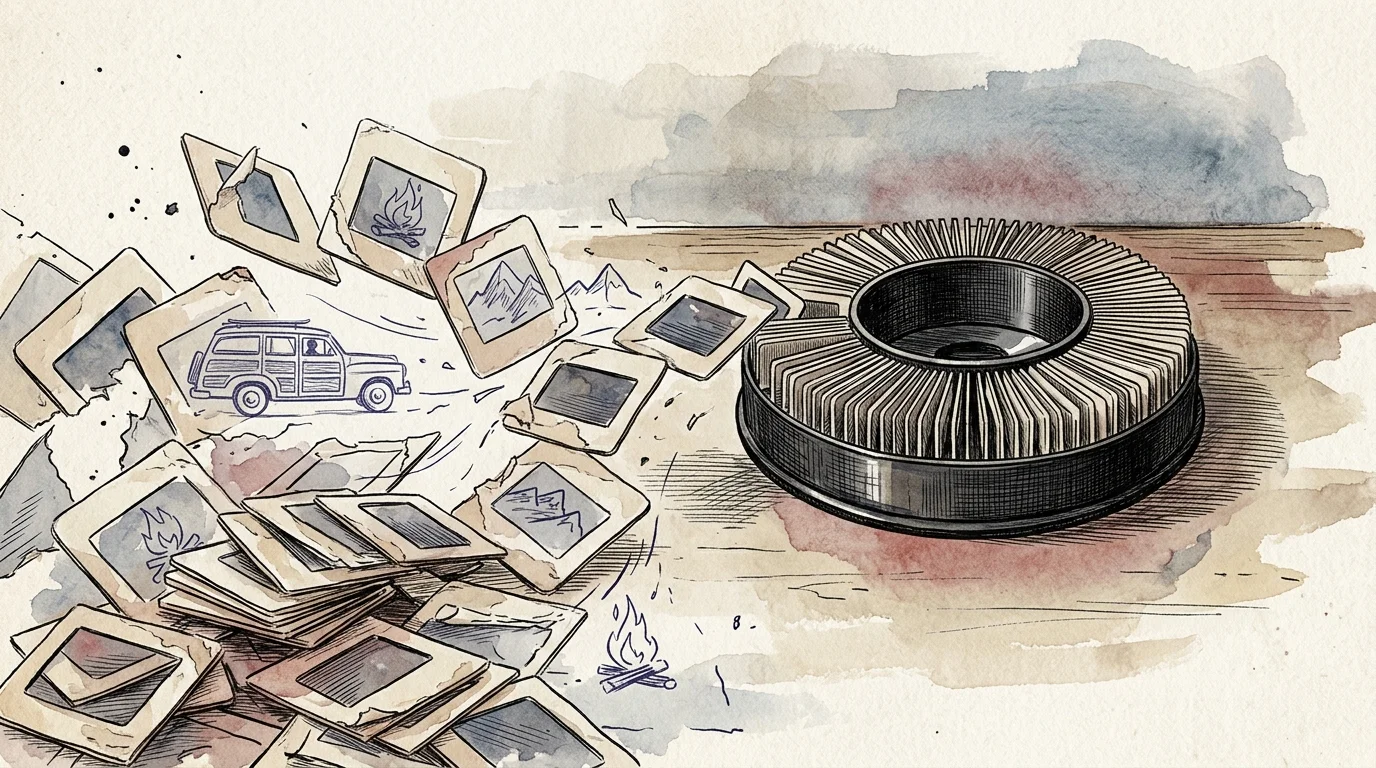
When you inherit stacks of round slide carousels, your immediate impulse is often to empty every tray into binder sleeves.
Resist that urge. Dumping a carousel destroys the intentional sequence your parents or family historians spent hours curating.
A carousel tray functions as a curated visual essay rather than a random container. The original sequence reveals chronological progression, geographic context, and specific family narratives.
Furthermore, slides inside carousels sit upside down and backward for correct projection. Removing them haphazardly causes instant orientation confusion, making future scanning far more tedious.
Physical extraction also accelerates mount wear. Decades-old cardboard often delaminates along its edges, catching against narrow slot dividers and peeling when pulled.
Preserving the original sequence of a photograph collection is vital for understanding its historical context. Once that arrangement is broken, reconstructing the original narrative becomes nearly impossible.
Zero-removal cataloging keeps every mount resting safely inside its protective channel while you transcribe essential dates, lab stamps, and titles.
You eliminate handling risks entirely during your preliminary inventory. Your slides remain safe, upright, and perfectly ordered until you begin scanning.
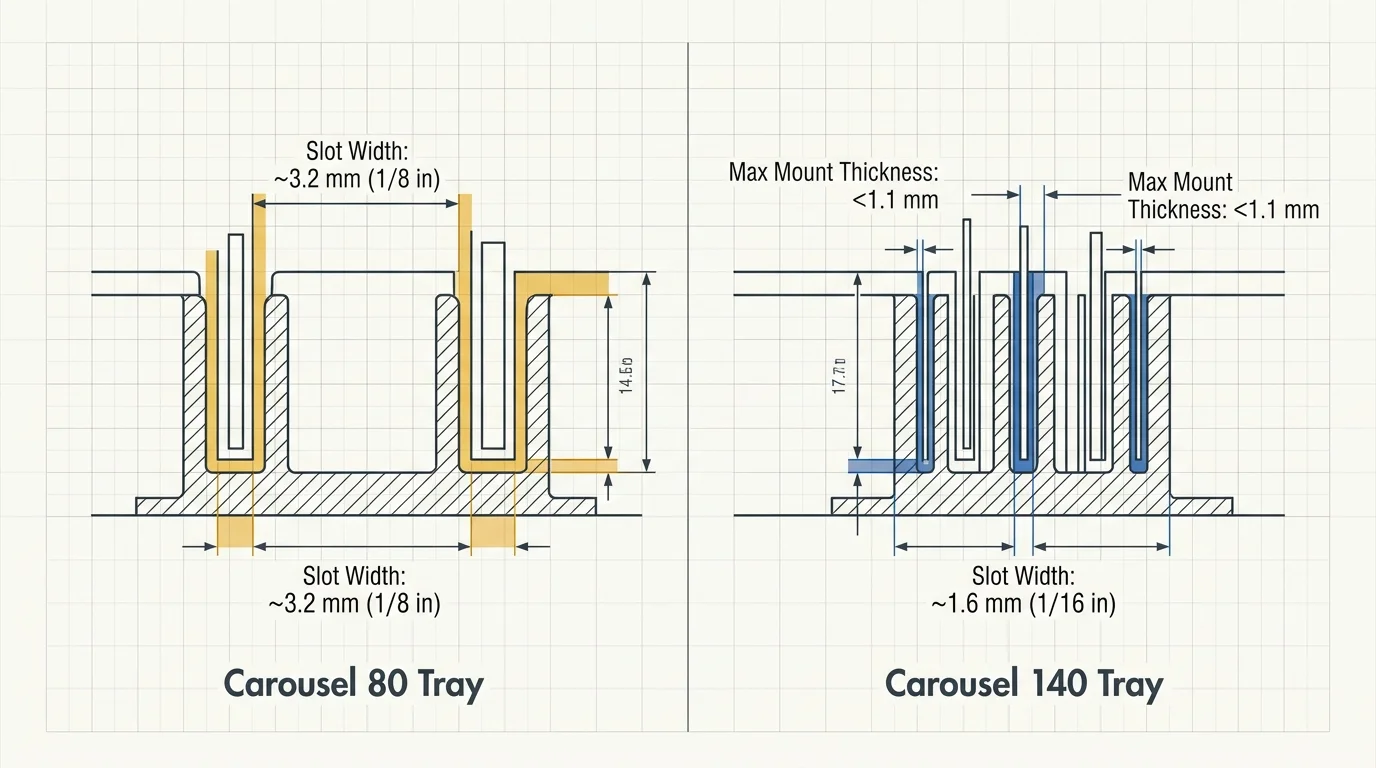
Kodak Carousel Anatomy: 80-Slot vs. 140-Slot Trays
Kodak manufactured two primary consumer carousel tray formats between 1961 and the early 2000s: 80-slot trays and 140-slot trays.
Identifying which tray models sit in your collection dictates your cataloging speed and handling care. Each model features different slot dimensions and tolerances.
Kodak Carousel 80 trays feature wide slots measuring approximately 3.2 millimeters (1/8 inch) across. These spacious channels easily accommodate thick cardboard mounts, plastic frames, and glass-mounted slides.
In contrast, Kodak Carousel 140 trays compress slots down to roughly 1.6 millimeters (1/16 inch). They accept only standard cardboard mounts measuring under 1.1 millimeters thick.
Jamming occurs frequently in 140 trays when cardboard mounts swell from humidity. Forcing a stuck slide out of a dense 140 tray will bend film and tear mount edges.
| Tray Model | Capacity | Slot Width | Max Mount Thickness | Jam Vulnerability | Supported Mount Materials |
|---|---|---|---|---|---|
| Kodak Carousel Transvue 80 | 80 slides | 3.2 mm (0.125 in) | Up to 3.0 mm | Very Low (rarely jams) | Cardboard, plastic, metal-jacket glass |
| Kodak Carousel Transvue 140 | 140 slides | 1.6 mm (0.063 in) | Up to 1.1 mm | High (humidity-swollen mounts bind) | Standard thin cardboard only |
| Kodak Ektagraphic Universal 80 | 80 slides | 3.2 mm (0.125 in) | Up to 3.2 mm | Lowest (heavy-duty industrial spec) | All commercial and heavy glass mounts |
Both tray types feature raised slot numbers stamped along the outer plastic circumference. These molded numerals provide your baseline spatial coordinates for indexing.
The black metal or plastic locking ring fastens onto the center hub. Keep this locking ring secured until your initial visual survey is finished.
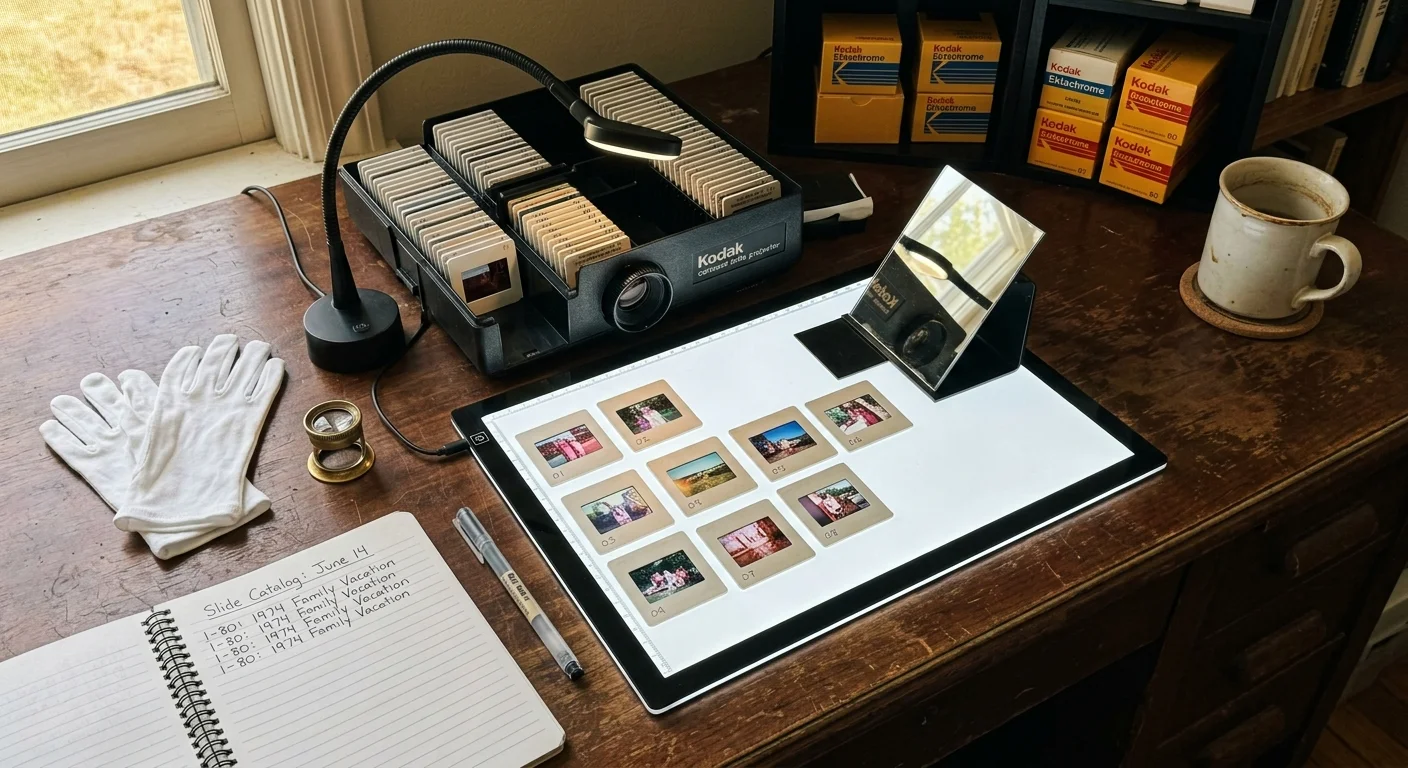
The Zero-Removal Cataloging Workspace
Setting up an ergonomic cataloging station prevents physical fatigue and avoids disastrous tray drops. Choose a stable, flat table with enough clearance to turn trays freely.
Position an ultra-thin A4 LED light pad directly in the center of your table. Select a unit providing a 5000K daylight color temperature and a Color Rendering Index of 95 or higher.
This LED pad transmits clear, balanced illumination through the bottom slot apertures of the carousel without generating destructive heat.
Equip your workstation with an 8x or 10x optical loupe or linen tester. Magnification allows you to read microscopic laboratory date codes stamped along mount borders.
Adhere to photographic handling guidelines established by National Archives Preservation specialists. Wash your hands thoroughly with grease-cutting soap and warm water, avoiding hand creams that leave oily residues.
Bare, clean hands give you the dexterity needed to rotate plastic trays smoothly. However, keep a pair of lint-free cotton or nitrile gloves ready for handling unseated mounts.
Use a soft 2B graphite pencil when recording your handwritten notes. Never bring ballpoint pens, felt markers, or correction fluid near your slide trays.
Solvents from permanent inks outgas volatile organic compounds that can slowly degrade cellulose acetate and polyester film bases over time.
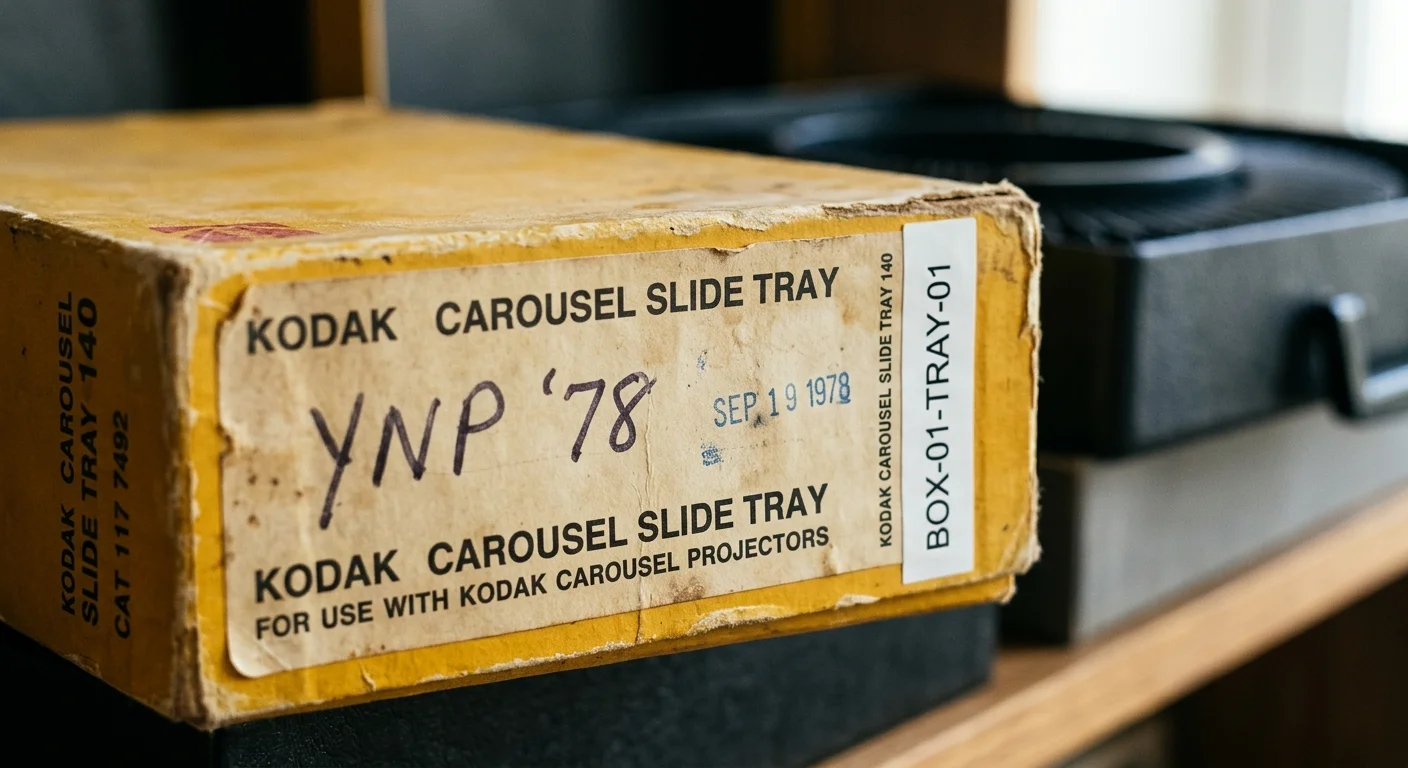
Deciphering Labels and Creating Unique Tray Codes
Inherited carousels almost always arrive with cryptic box notations. You might see scribbles like “YNP ’78,” “Dad Ret. #3,” or “E & M Anniv 1972.”
These informal titles represent crucial historical breadcrumbs. “YNP” typically refers to Yellowstone National Park, while numbers usually indicate chronological presentation chapters.
Before touching a slide, translate these fragmented notes into a structured Unique Tray Identifier Code (UTIC). A standardized code prevents confusion across multiple boxes.
Construct your UTIC using four standardized segments: Family Prefix, Tray Number, Estimated Year, and Original Shorthand. This structure establishes a durable digital and physical connection.
For example, a tray labeled “YNP ’78” in the Miller archive becomes MIL-T01-1978-YNP. A tray marked “Dad Ret. #3” becomes MIL-T02-1981-DADRET.
Write this code onto an acid-free, removable foil-backed label. Apply the label to the outer vertical rim of the carousel tray, directly above slot 1.
Never paste labels across molded slot numerals or over bottom drive teeth. Blocking drive teeth impairs tray mechanics and obstructs rotation gears during inspection.
Transcribe all original box lid annotations word for word into your notes. Even minor notes like dates or processing lab names help date unmarked slides later.

Designing the Master Inventory Sheet
A standardized transcription sheet keeps your cataloging orderly and repeatable across dozens of trays. You can print templates on acid-free paper or use a digital spreadsheet.
Organize your transcription form around seven mandatory columns to capture total physical context. Each row corresponds directly to a single numbered slot in the carousel.
Include the following core fields on your template:
- Slot Number: The exact numerical slot (1 through 80 or 140) molded into the tray plastic.
- Unique Slide ID: The combined tray code and slot number (such as
MIL-T01-001). - Stamped Date / Code: The factory processing stamp found on the cardboard or plastic rim (for example, “JUN 75”).
- Film & Lab Type: Processing markings, such as “Kodachrome,” “Ektachrome,” or independent lab brand names.
- Handwritten Caption: Any pencil or pen notations written directly on the mount margins.
- Subject Description: A concise visual summary of people, landmarks, or events visible through the aperture.
- Condition & Mount Notes: Mount construction (cardboard, Gepe plastic) and flags for tears, mold, or warping.
Recording empty slots is just as critical as documenting mounted slides. Mark vacant positions explicitly as [EMPTY] on your sheet.
Logging empty slots maintains exact 1:1 mathematical alignment between physical tray numbers and your digital scanning filenames later.
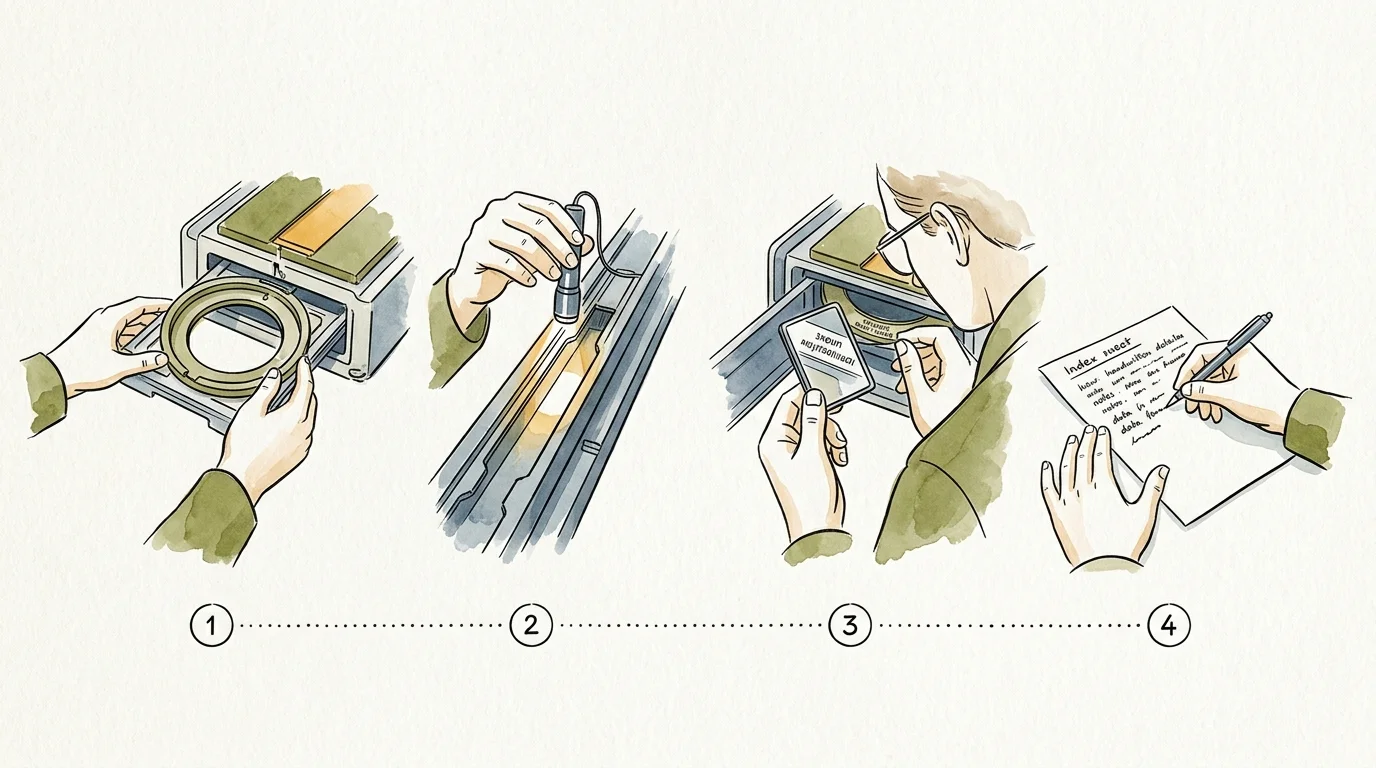
Step-by-Step Zero-Removal Transcription Protocol
Once your workstation is ready and your sheet prepared, you can transcribe the entire carousel without pulling a single mount. Follow this six-step procedure systematically.
- Step 1: Seat the Tray on the Light Pad: Rest the carousel flat atop your illuminated LED panel with the bottom drive ring facing downward. Illumination will beam upward through the bottom slots.
- Step 2: Align to the Zero Gate and Slot 1: Locate the zero indexing notch between the final slot and slot 1. Rotate the tray until slot 1 faces directly toward your primary seating position.
- Step 3: Inspect the Upper Mount Border: Look downward into slot 1 using your 10x optical loupe. Read the processing date, laboratory name, and handwritten notes stamped across the mount margin.
- Step 4: Transcribe Mount Metadata: Record the stamped date, lab branding, and handwritten text into your inventory sheet. Note whether the mount is paper, plastic, or glass.
- Step 5: Verify Image Subject and Orientation: Look through the illuminated transparency. Record the visual subject, horizontal or vertical orientation, and the position of the manufacturer’s red orientation dot.
- Step 6: Advance Clockwise by One Slot: Grasp the outer tray ring and turn it clockwise until slot 2 clicks into alignment. Repeat this inspection routine for every consecutive slot.
Kodak cardboard mounts feature factory date stamps along the margin, such as “OCT 72.” This date reflects when the film was processed, not necessarily when it was shot.
Family photographers often loaded carousels with slides oriented for projection: upside down and laterally reversed. Make sure you record visual orientation so your scanner operator flips images correctly.
By cataloging mounts while seated inside their slots, you prevent dust transfer, fingerprint damage, and edge chipping. Your original collection remains structurally intact while your master index takes shape.
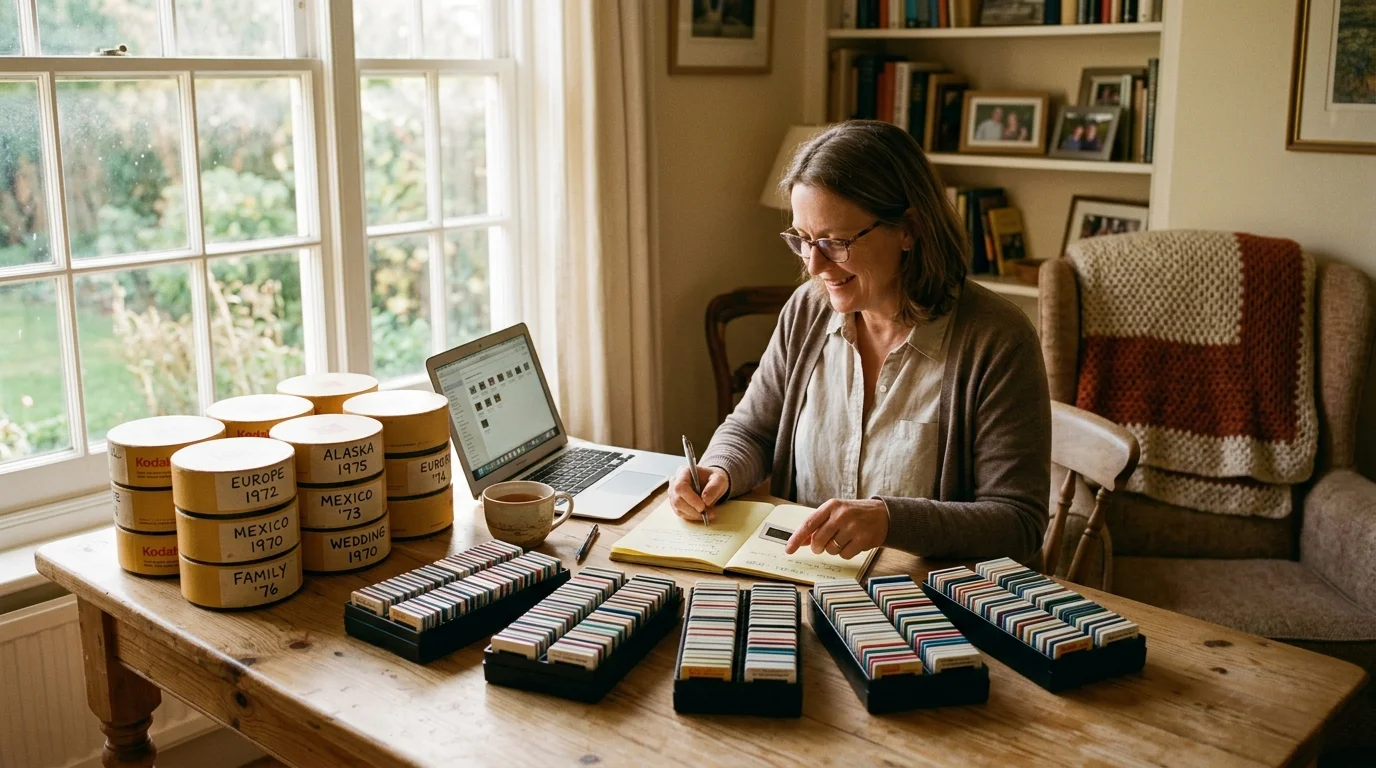
Worked Scenario: Auditing a 15-Tray Family Archive
To understand how this system operates in practice, consider an adult child auditing 15 inherited family carousels. This worked example illustrates exact timings, supply costs, and catalog results.
In this project, the collection comprises 10 Transvue 140 trays and 5 Transvue 80 trays dating from 1968 to 1984. Total possible capacity equals 1,800 slide positions.
A complete inventory reveals that the 15 trays contain exactly 1,540 mounted 35mm slides. The remaining 260 slots sit empty, acting as visual pauses or chapter breaks.
Setting up the zero-removal cataloging workstation required purchasing four specific items:
- One LitEnergy A4 ultra-thin LED light pad (5000K daylight, 8W USB power): $23.99
- One Carson LumiLoupe 10x stand magnifier with pre-focused acrylic lenses: $12.50
- One pack of 100 acid-free 65 lb inventory transcription forms: $14.25
- One box of Staedtler Mars Lumograph 2B graphite pencils: $4.50
Total supply expenses equaled $55.24. This minimal setup provided professional-grade optical inspection without risking delicate photographic emulsions.
Time tracking showed that transcribing an 80-slot tray averaged 14 minutes. Transcribing a tightly packed 140-slot tray averaged 21 minutes per unit.
Auditing all 15 trays required 280 minutes of bench work. Entering the transcription sheets into a master digital spreadsheet added 45 minutes, yielding a total project time of 325 minutes.
Establishing intellectual control over a collection before physical intervention saves countless hours of remediation later. A thorough inventory prevents cataloging drift and safeguards fragile materials during high-volume digitization projects.
Consult archival preservation directives from the Library of Congress Preservation website to ensure long-term document stability. Following archival protocols guarantees your family index endures for future generations.
Safe Triage for Damaged Mounts and Trapped Slides
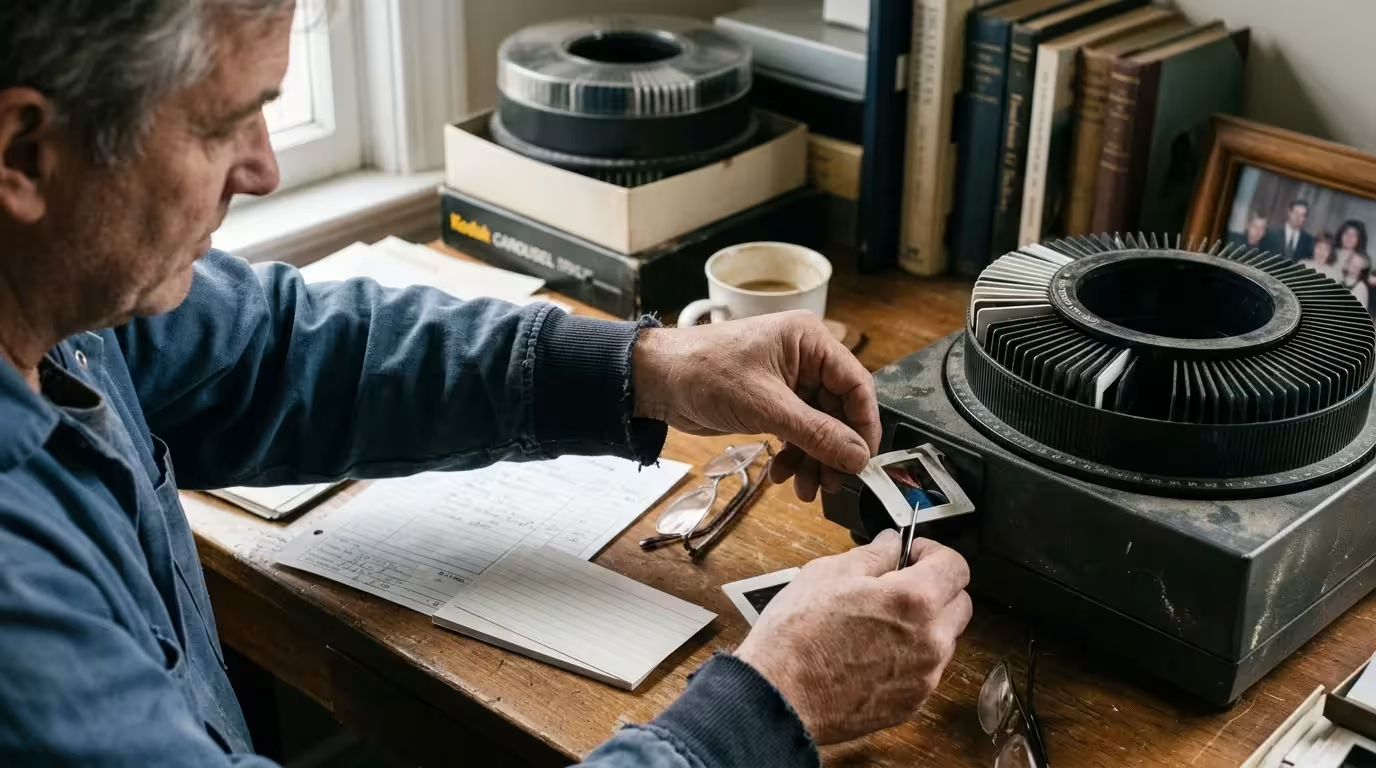
Occasionally, you will find a slide that has swollen, warped, or bound tightly inside its plastic channel. Never attempt to yank a stuck slide free with excessive force.
To inspect a bound slide safely, you must release the carousel locking ring. Turn the center latch counter-clockwise until its alignment notches release, then lift the ring away vertically.
Examine the binding point under direct illumination. Frequently, one corner of an aging cardboard mount has separated and splayed outward, catching against the slot divider.
Use blunt-ended, anti-static plastic tweezers to gently ease the splayed paper corner back inward. Press only against the cardboard frame, keeping metal and plastic tools far away from the film.
Once the corner clears the channel guide, allow the mount to drop back into its seated slot. Do not remove the slide unless severe physical damage threatens emulsion safety.
Mark the affected slot on your transcription sheet using an anomaly code like ERR-JAM. This alert warns you to exercise special caution during subsequent digitization.
Reinstall the locking ring immediately after resolving the jam. Rotate the center latch clockwise until it snaps into place, securing slides against accidental dumping.
Frequently Asked Questions
Can I safely project my slides after cataloging them in their original trays?
You should avoid projecting vintage slides whenever possible. High-wattage projector lamps generate extreme heat that accelerates dye fading and causes delicate cardboard mounts to warp.
How do I identify Kodachrome versus Ektachrome without removing mounts?
Look at the printed text along the cardboard mount borders using your loupe. Kodachrome mounts usually display red or black factory lettering, whereas Ektachrome mounts feature blue lettering or distinct lab markings.
What should I do if cardboard slide mounts show signs of mold?
Isolate the affected carousel tray immediately from the rest of your collection. Never wipe active mold spores with dry cloths, as this disperses spores across adjacent film emulsions.
Why should I avoid using standard masking tape on carousel trays?
Standard household tapes feature acidic adhesives that deteriorate into gummy, damaging residues over time. These sticky residues transfer onto plastic slots, attracting abrasive grit and jamming rotation gears.
Disclaimer: This article is for informational purposes only; when handling valuable photographs, consider consulting a professional conservator. Always test preservation methods on non-valuable items first.