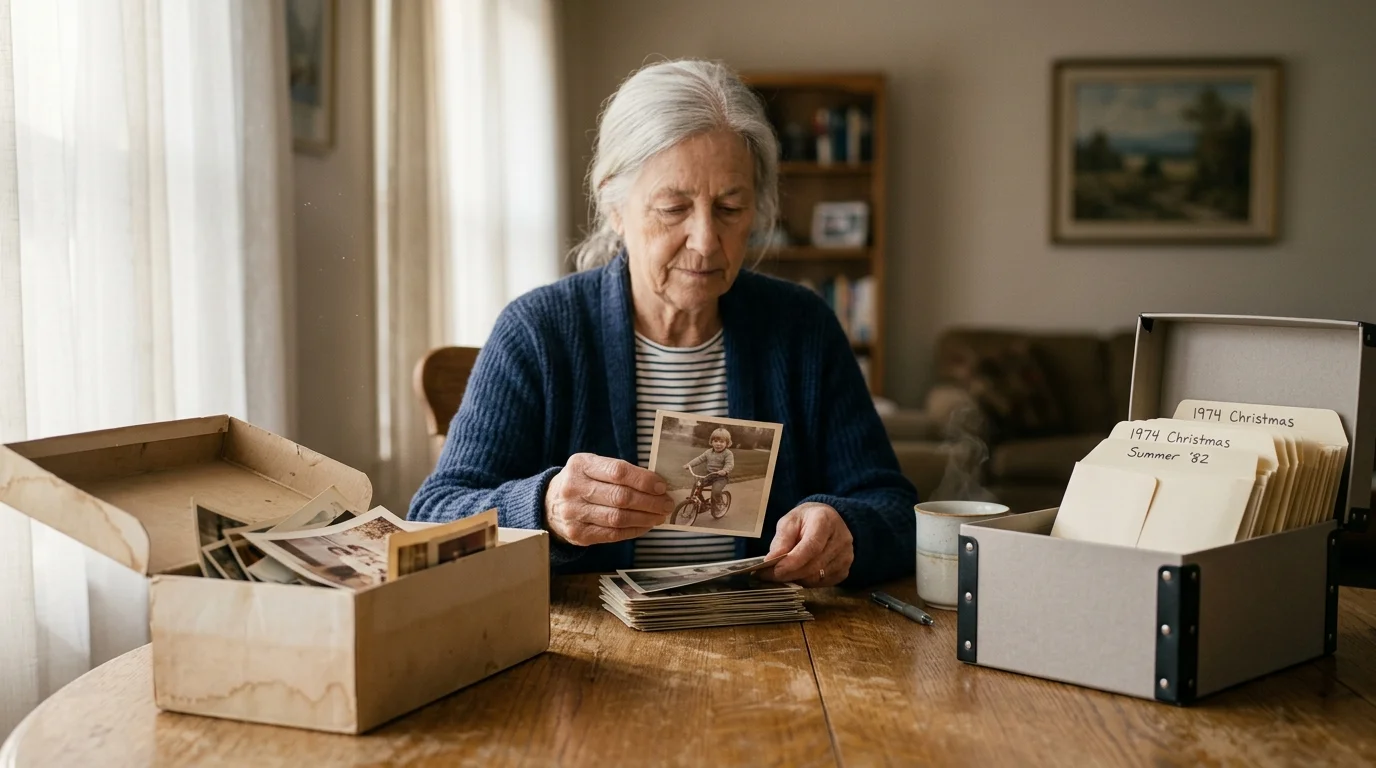
Moving from a four-bedroom family home into an assisted living studio requires cutting your possessions down to the essentials. You can quickly downsize 18 heavy shoeboxes of loose prints without scanning thousands of images first.
Traditional organizing advice tells you to evaluate every print individually, which triggers emotional fatigue and stalls moves. The 3-Box Constraint Method solves this by establishing rigid physical capacity limits before you start sorting.
By presetting physical boundaries, you rescue the best family memories into three curated archival containers while responsibly discarding faded duplicates.
Senior Living Space Realities: The 18-Shoebox Dilemma
Downsizing from a large family home to a 350-square-foot senior living apartment forces tough spatial trade-offs. Closets in assisted living suites measure a fraction of suburban storage spaces.
Eighteen standard cardboard shoeboxes hold roughly 14,400 prints, occupy 4.5 cubic feet of volume, and weigh nearly 70 pounds. That bulk consumes an entire wardrobe shelf needed for medical supplies, bedding, and daily clothing.
Cardboard shoeboxes also off-gas acidic fumes that turn black-and-white silver prints yellow and cause color dyes to shift. The adhesive seams on commercial shoe packaging attract pests like silverfish that devour photographic gelatin.
Attempting to scan 14,400 prints before moving day creates an impossible bottleneck. Commercial flatbed scanning services charge between $0.20 and $0.45 per print, pushing total vendor costs beyond $3,000.
Doing it yourself on a home flatbed scanner at one minute per scan requires 240 hours of tedious physical labor. You need an immediate, tangible curation method that works within the physical boundaries of your new floor plan.
The 3-Box Constraint System Defined
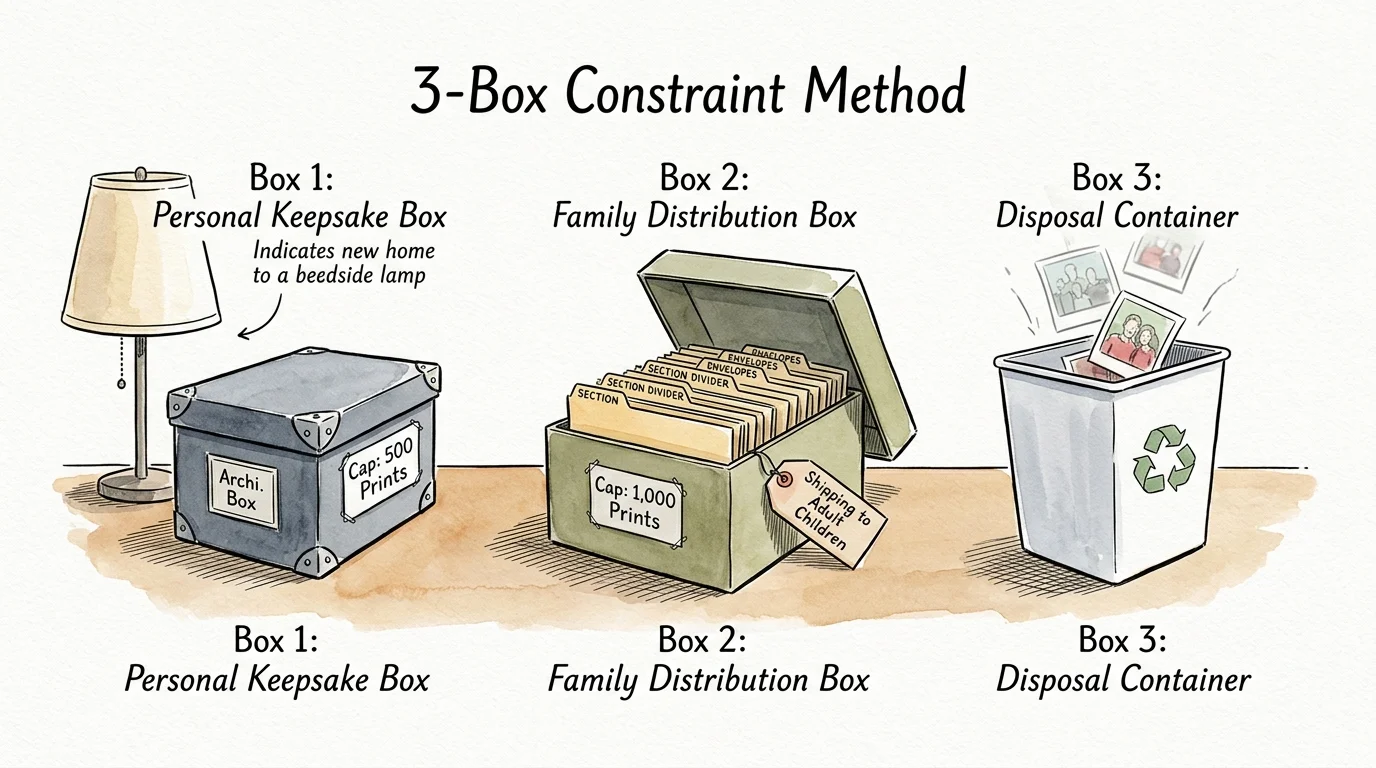
The 3-Box Constraint Method eliminates decision paralysis by setting strict physical volume caps before you touch a single snapshot. You do not ask whether a photograph holds value; you ask whether it earns scarce box space.
Much like applying a strict retention quota when downsizing for compact spaces, setting rigid spatial boundaries upfront eliminates emotional fatigue.
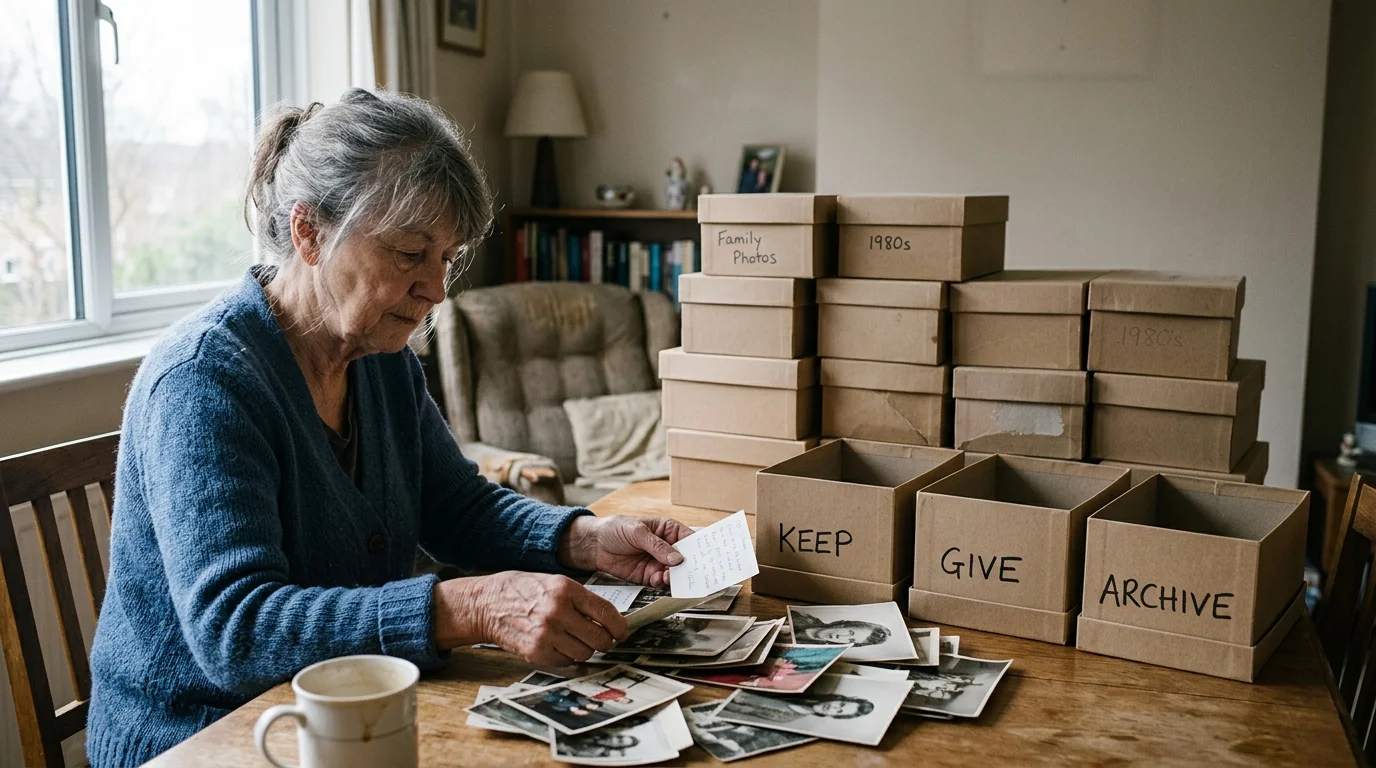
You will assemble exactly three physical destination containers on your work table before opening your legacy storage boxes. Once a destination container fills to its physical brim, its curation process closes permanently.
Box 1 serves as your Personal Keepsake Box, capped at 500 total prints. This compact archival container moves directly into your assisted living suite to sit on a nightstand or open bookcase.
Box 2 serves as the Family Distribution Box, capped at 1,000 prints organized into labeled interior envelopes. This box goes directly to your adult children or designated family historian for long-term preservation.
Box 3 serves as the Disposal Container for defective, unidentifiable, and duplicate images. You will discard these prints at the end of each work session without guilt or hesitation.
Restricting physical container volume transforms an ambiguous emotional chore into an objective spatial exercise, protecting seniors from archival burnout.
Equipment Setup: The Decade Tray Sorting Method
Set up a stable workspace at a kitchen table or sturdy card table with a comfortable, supportive chair. Working in 45-minute intervals prevents eye strain and physical fatigue during photo assessments.
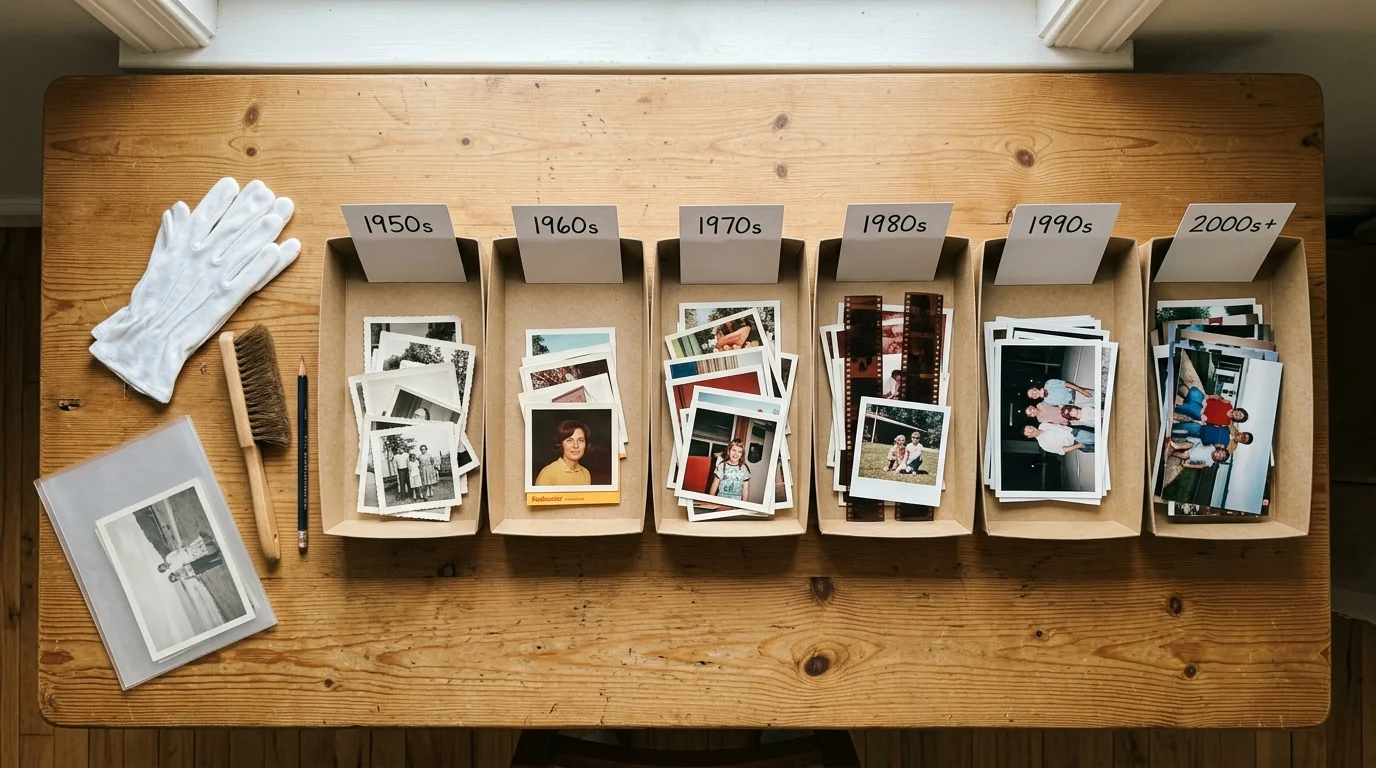
Line up six stackable plastic letter trays or rimmed aluminum baking sheets across your sorting table. Label each tray with a decade marker: Pre-1960s, 1960s, 1970s, 1980s, 1990s, and 2000s.
Keep a soft 2B graphite pencil nearby to record dates and names on reverse margins. For preservation guidelines on identifying photographic media safely, consult the American Institute for Conservation resources on print stability.
Wear clean, lint-free cotton inspection gloves when handling early black-and-white prints or delicate color prints. Natural hand oils transfer instantly to photographic emulsions, leaving permanent fingerprints that attract mold and particulate grime.
Open exactly one original shoebox per session, leaving the remaining seventeen sealed and stacked out of view. Isolating one box at a time keeps your visual field tidy and prevents emotional overwhelm.
Worked Example: Sorting 14,400 Prints in 18 Daily Sessions
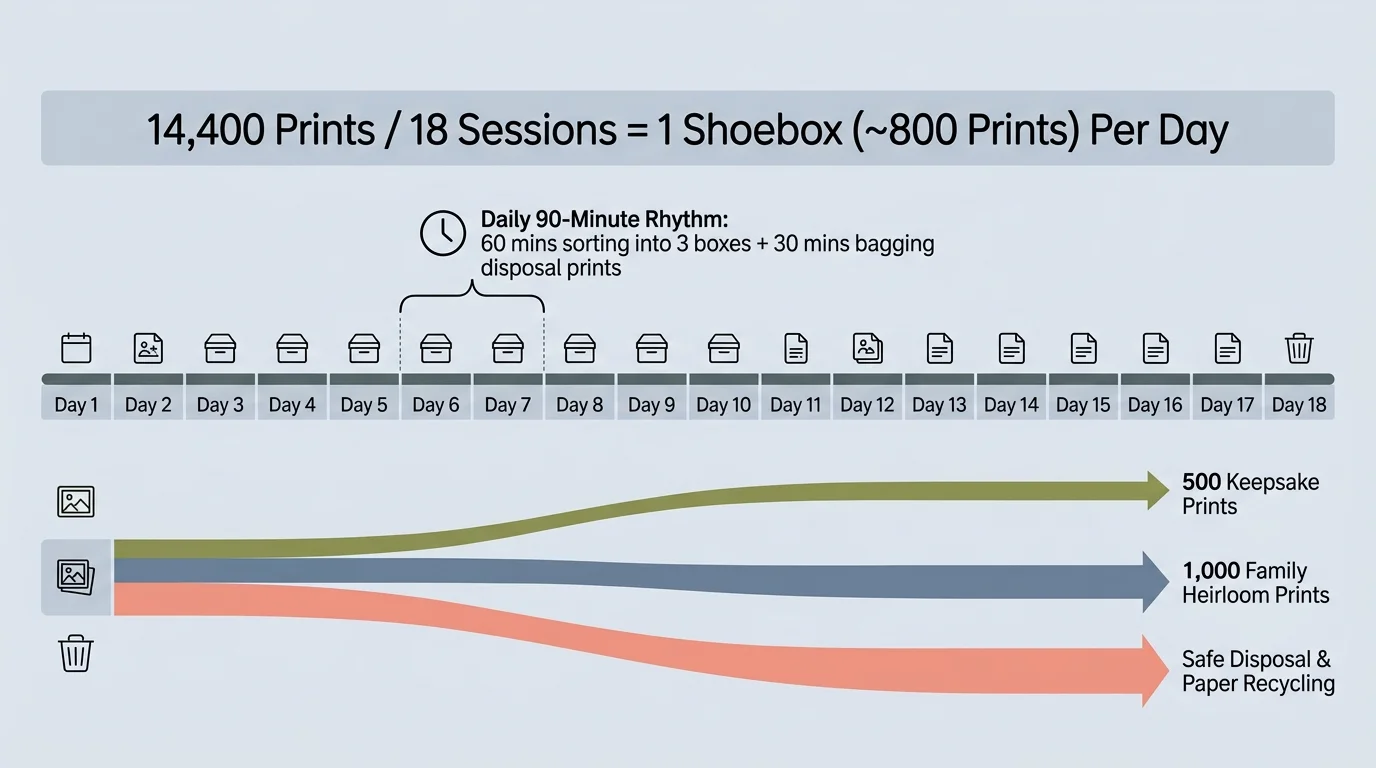
Consider a practical downsizing project involving 18 full shoeboxes containing approximately 14,400 loose prints. Working one shoebox per day establishes a predictable 18-day schedule requiring only 45 minutes each morning.
During the initial pass, sort the 800 prints in the daily box into the six decade trays. Process prints rapidly at roughly three seconds each, sorting by clothing styles, print sizes, and paper borders.
Once you distribute the daily shoebox into decade trays, evaluate each tray against your three destination boxes. Select an average of 28 prime prints for Box 1 and 55 milestone prints for Box 2.
The remaining 717 prints from that daily batch drop directly into Box 3 for disposal or family distribution. Repeating this process daily over 18 days yields the exact numbers shown below:
- Starting total volume: 18 shoeboxes containing 14,400 unsorted prints (68 pounds).
- Box 1 final yield: 504 pristine, highly curated personal prints for your assisted living suite.
- Box 2 final yield: 990 essential heritage prints divided for adult children.
- Box 3 total eliminated: 12,906 duplicates, blurry exposures, and anonymous snapshots discarded.
- Total active time invested: 13.5 hours spread across 18 consecutive mornings.
You reduce physical photo bulk by 89.6 percent while safeguarding every critical family milestone. The remaining prints fit comfortably inside two compact archival cases that occupy under one linear foot of shelf space.
Archival Storage Specifications for Assisted Living Shelves
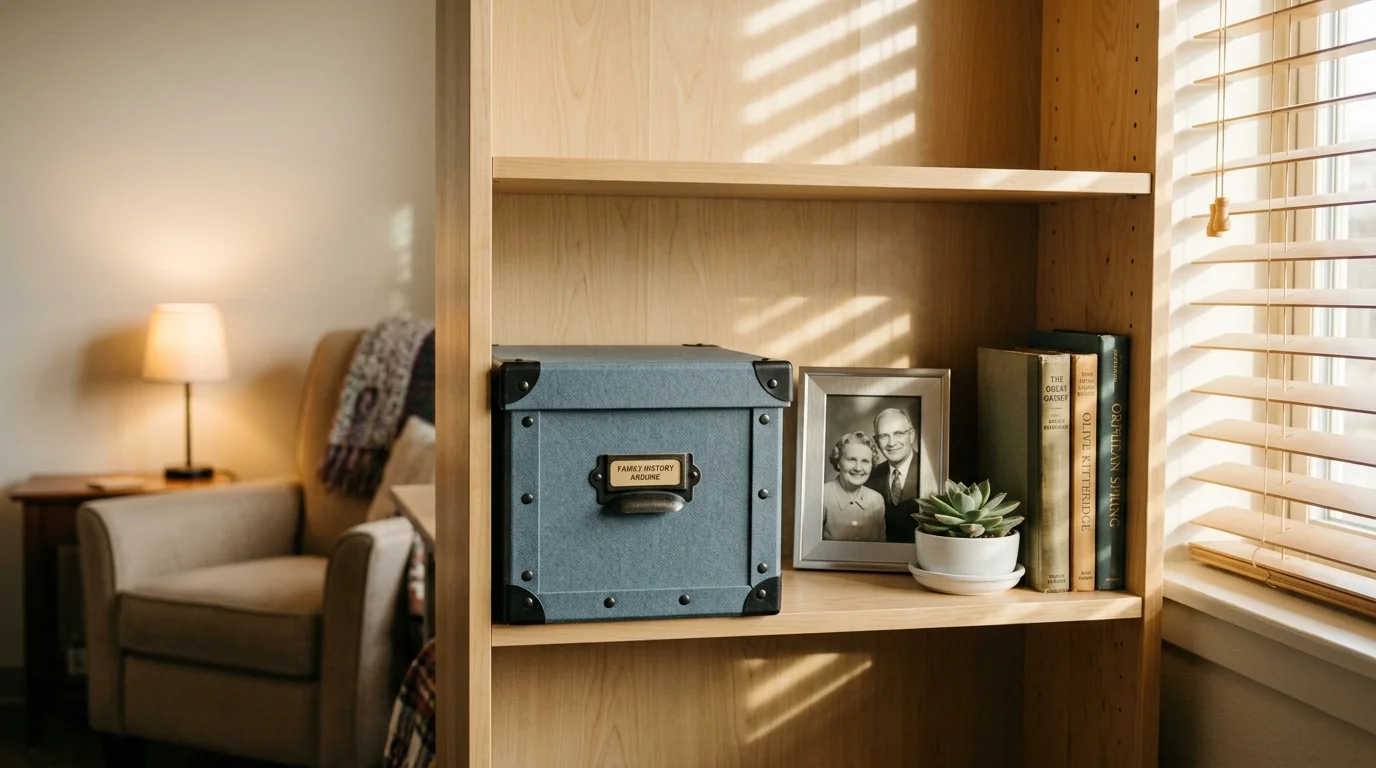
Standard assisted living wardrobes feature 12-inch-deep shelves that cannot accommodate oversized archival albums or sprawling scrapbook cases. You need sturdy, modular storage boxes that shield prints from indoor light and airborne dust.
Always verify that chosen boxes pass the Photographic Activity Test (ISO 18916) to ensure chemical neutrality over decades. The Library of Congress Preservation division details why acid-free, lignin-free enclosures are vital for photographic longevity.
| Container Model | External Dimensions (Inches) | Storage Capacity | Enclosure Material | Shelf Footprint |
|---|---|---|---|---|
| Gaylord Archival Barrier-Board 4×6 Box (Item #P127-46) | 12.25 x 5.50 x 4.25 | 600 prints (4×6) | 60 pt. barrier board, PAT certified | 67.4 sq. inches |
| University Products Drop-Front Metal-Edge (Item #651-4612) | 12.50 x 6.50 x 4.50 | 700 prints (4×6) | Acid-free buffered board, metal corners | 81.2 sq. inches |
| Lineco Fluted Polypropylene Photo Case (Item #782-1004) | 11.50 x 5.25 x 4.25 | 500 prints (4×6) | Inert extruded polypropylene | 60.3 sq. inches |
The Gaylord Archival and Lineco boxes fit alongside books on a studio bedside shelf without protruding past the edge. Their rigid lids prevent crushing while keeping out ambient dust and pet dander.
Store your archival boxes away from heating vents, sunny window sills, and studio kitchenettes. Stable temperatures between 65°F and 70°F and relative humidity between 30% and 50% maximize photo preservation.
Curation Rules: Eliminating Blurs, Landscapes, and Duplicates
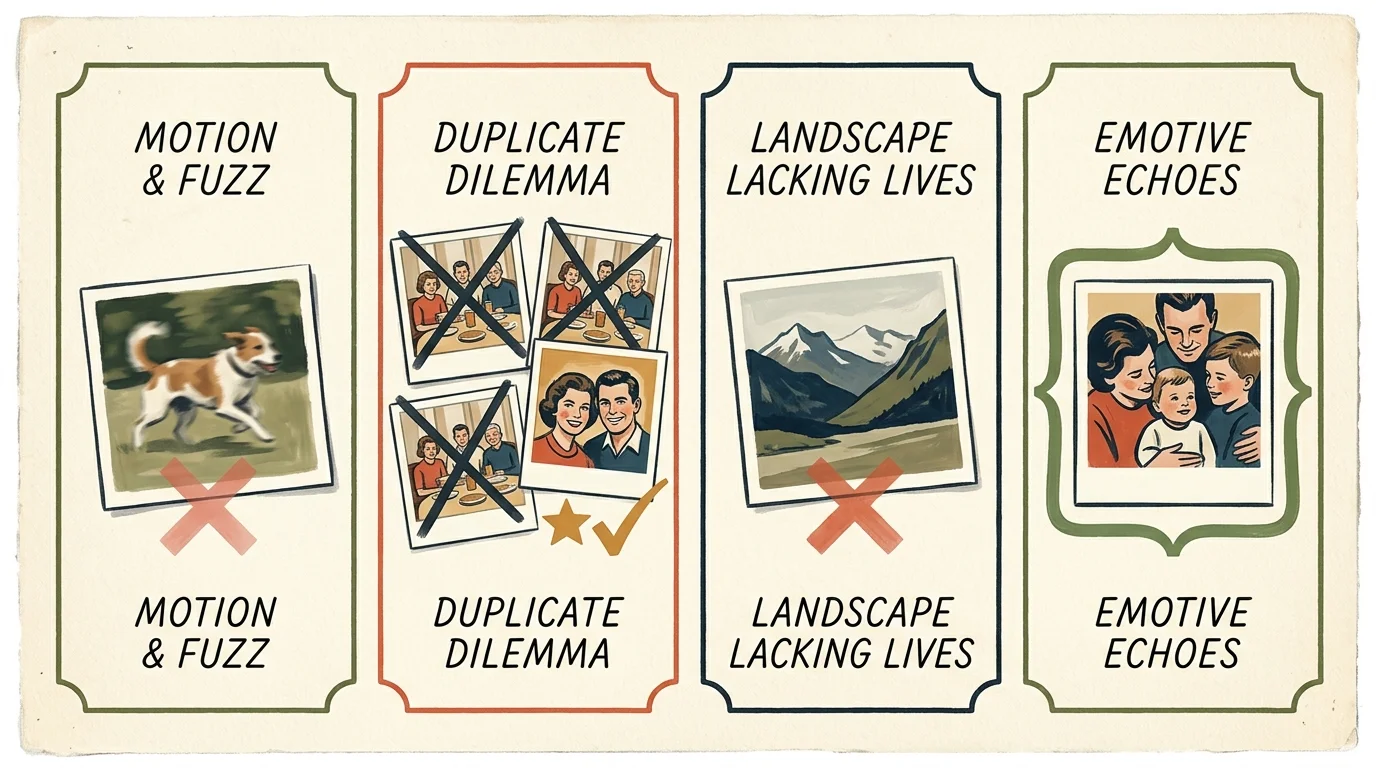
Film cameras encouraged photographers to shoot multiple identical poses to ensure everyone kept their eyes open. Commercial photo developers in the 1980s and 1990s routinely returned double prints with every processed roll.
If you find it difficult to let go of sentimental prints, using a structured checklist to decide which photos to cull can help streamline your sorting sessions.
Apply the Rule of Best Expression across every photo burst or sequence. Pick the sharpest, best-lit print where faces look natural, and immediately place the secondary duplicates into Box 3.
Discard scenery photos devoid of family members, including distant mountain ranges, empty hotel pools, and blurry cruise sunsets. Commercial travel postcards and online archives depict those landmarks with superior technical clarity.
Discard damaged prints exhibiting severe silver mirroring, peeling emulsion, water damage, or dark mildew stains. Mold spores spread inside enclosed containers and can cross-contaminate healthy historic prints.
If you encounter pictures of completely unidentified people, set them aside in a separate envelope for family review. If nobody can identify the subject within two weeks, discard the print without guilt.
Distributing Remaining Prints to Family Members
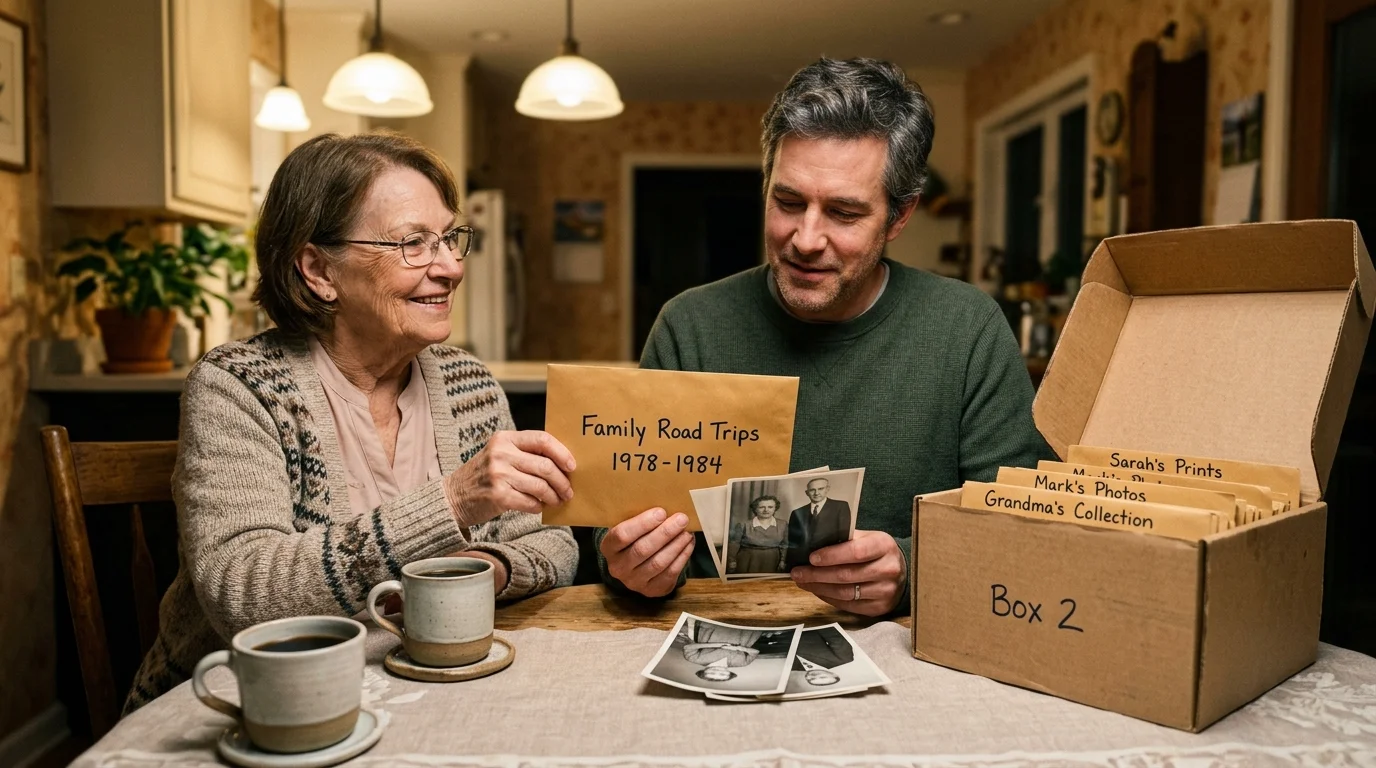
Organize Box 2 into separate archival envelopes marked with the names of your adult children or grandchildren. Divide school portraits, childhood sports events, and family vacations by person to simplify handoffs.
When relocation day arrives, follow established techniques for safely packing and transporting your photo archive so your downsized collection arrives protected.
Schedule a single two-hour review session with your children before move-in day. Give them physical custody of their designated envelopes and invite them to claim unassigned prints from Box 2.
Establish a firm boundary: any unclaimed prints from Box 2 must be taken home by relatives that day or recycled. Do not allow unclaimed photos to return to your studio apartment.
When relatives want duplicate copies of irreplaceable vintage prints, photograph the originals using a smartphone under diffuse window light. Modern phone cameras capture 12-to-48-megapixel raw files suitable for sharing instantly via text or email.
Your studio apartment remains uncluttered, serene, and functional, holding only the photographs that bring you daily joy. Your family legacy remains intact, organized, and properly preserved for generations to come.
Frequently Asked Questions
How do I safely throw away damaged or unwanted family photographs?
Place discarded photographic prints directly into standard municipal household waste. Most vintage color prints contain polyethylene coatings and synthetic emulsions that municipal paper recycling facilities cannot process.
Can I store my curated photo boxes in a basement or self-storage unit?
Avoid unconditioned spaces like basements, attics, and outdoor lockers. Photo emulsions deteriorate rapidly under fluctuating humidity; keep your preserved containers on an interior shelf between 65°F and 70°F.
What pencil should I use to label old photographs safely?
Use a soft 2B graphite pencil along the outer white margin on the back of the print. Never use ballpoint pens or permanent felt-tip markers because their solvents bleed through the paper core.
What should I do if prints are stuck together inside an old shoebox?
Never force stuck prints apart with your fingers, as dry separation tears the photographic emulsion. Place the stuck prints in a dry, room-temperature area and consult a professional conservator before attempting mechanical separation.
Disclaimer: This article is for informational purposes only. When handling valuable or irreplaceable photographs, consider consulting a professional conservator. Always test preservation methods on non-valuable items first.