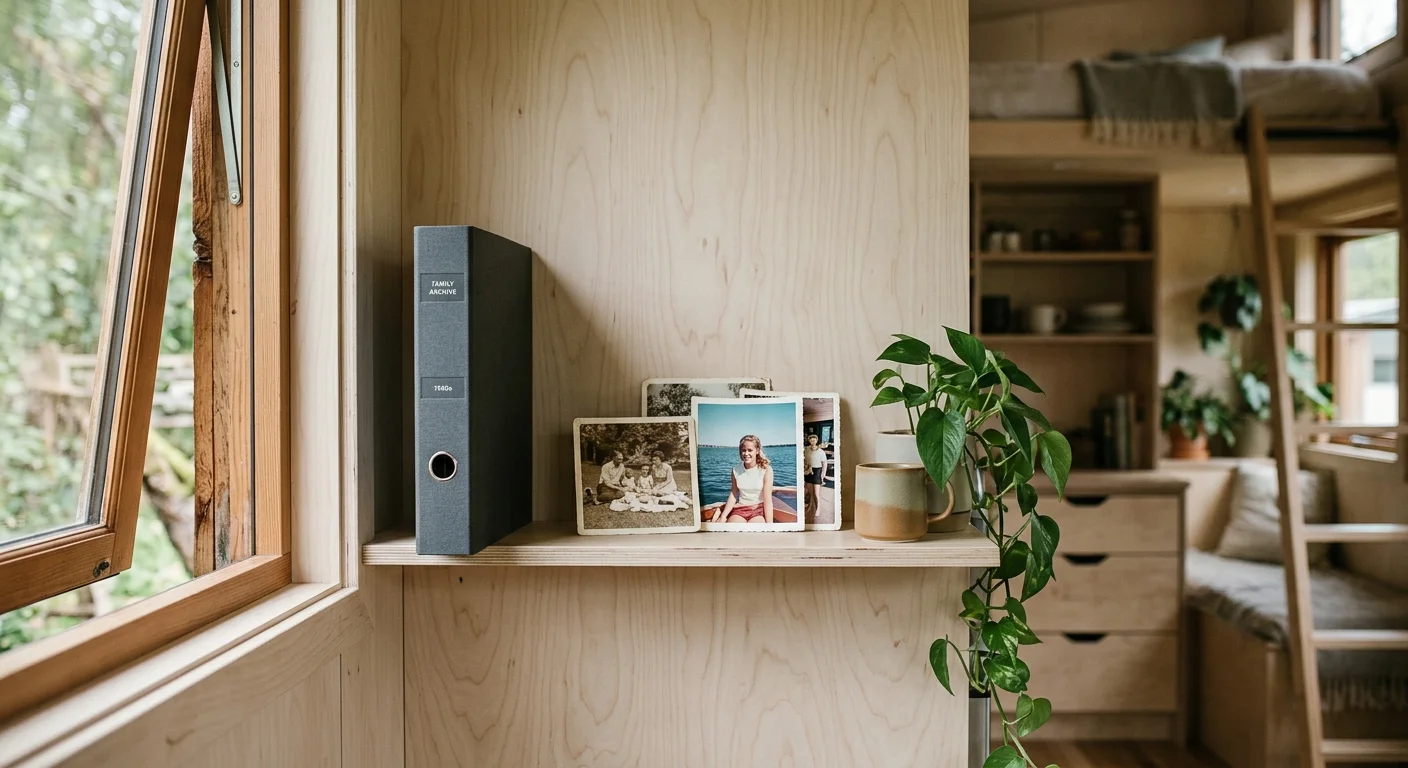
Living in a 300-square-foot tiny house leaves zero margin for heirlooms that consume linear shelf space. Storing ten vintage photo albums robs you of critical living area while threatening your prints with indoor microclimate swings.
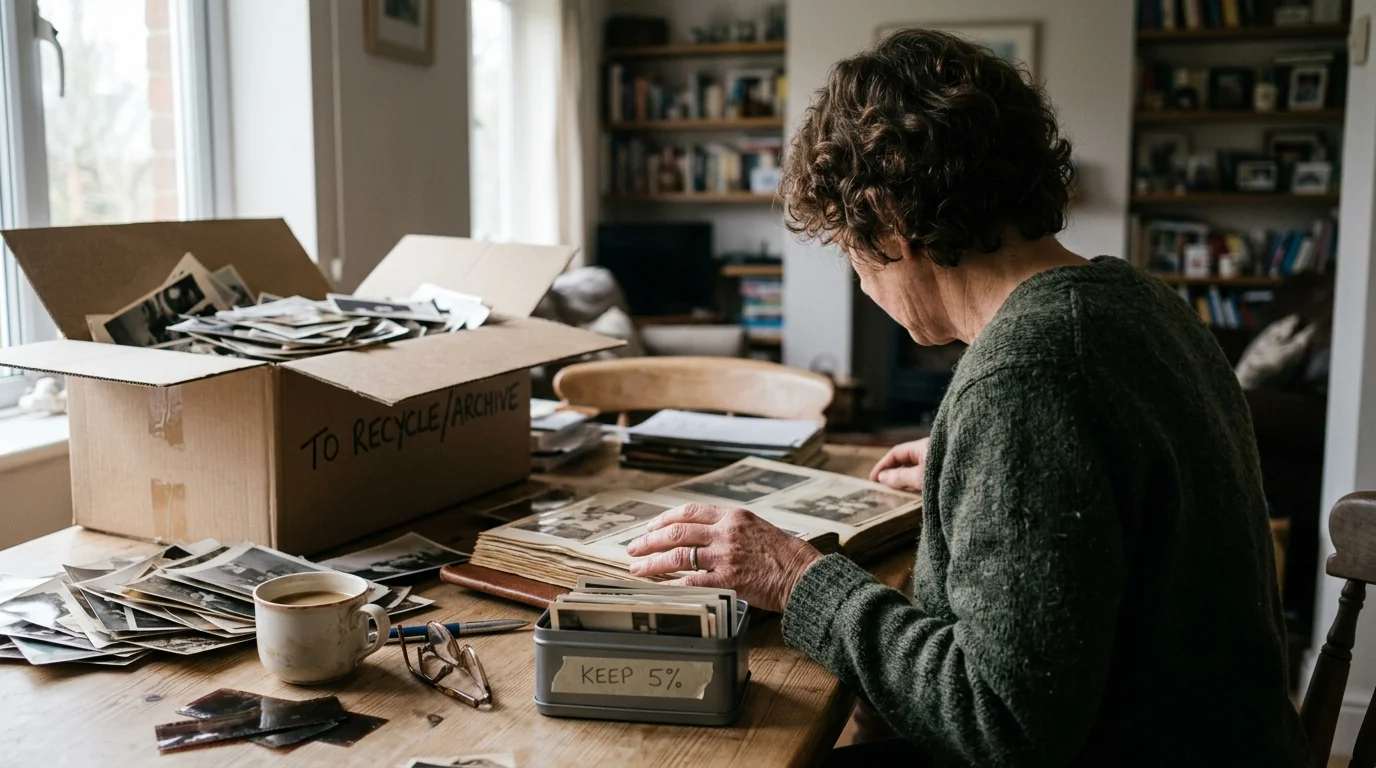
You do not need to save every snapshot to protect your family lineage. By applying a strict 5% curation quota using the “Rule of 3 per Event,” you can condense thousands of inherited prints into a single archival binder without discarding any vital genealogical data.
This systematic downsizing strategy eliminates chronological bloat, preserves contextual captions, and ensures your family heritage survives inside a minimal footprint.
The Spatial Reality: Why Tiny Houses Cannot Host Inherited Archives
Tiny house living forces ruthless prioritization of physical possessions. Every cubic inch must justify its presence through immediate daily utility or profound personal meaning.
Under the International Residential Code Appendix AQ, a legal tiny house encompasses 400 square feet or less. When downsizing photo albums tiny house owners quickly realize their built-in storage cannot accommodate massive heirloom volumes.
A standard 12×12-inch vintage album weighs between four and six pounds. Stacking ten to fifteen inherited albums introduces 50 to 90 pounds of deadweight onto lightweight cabinetry.
These massive collections displace three to four linear feet of vital shelf space. In a compact interior, that volume represents half of your primary clothing or pantry storage.
Beyond spatial displacement, tiny houses present extreme environmental hazards for antique emulsions. The small air volume causes dramatic shifts in indoor relative humidity and temperature.
Cooking dinner or taking a hot shower produces rapid moisture spikes in compact spaces. Mini-split heat pumps cycle aggressively, swinging temperatures throughout the day.
According to storage standards documented by the Library of Congress Preservation directorate, photographic prints require stable temperatures below 68°F and relative humidity between 30% and 50%.
Placing albums in loft peaks exposes them to trapped heat that accelerates chemical decay. Conversely, unconditioned perimeter benches create cold, damp micro-pockets that cultivate destructive mold blooms.
The Mathematics of Downsizing: The 5% Quota and the Rule of 3
Overcoming sentimental paralysis requires objective, non-negotiable boundaries. Unchecked emotional sorting leads to retaining 80% of an estate archive, which fails completely in small-space living.
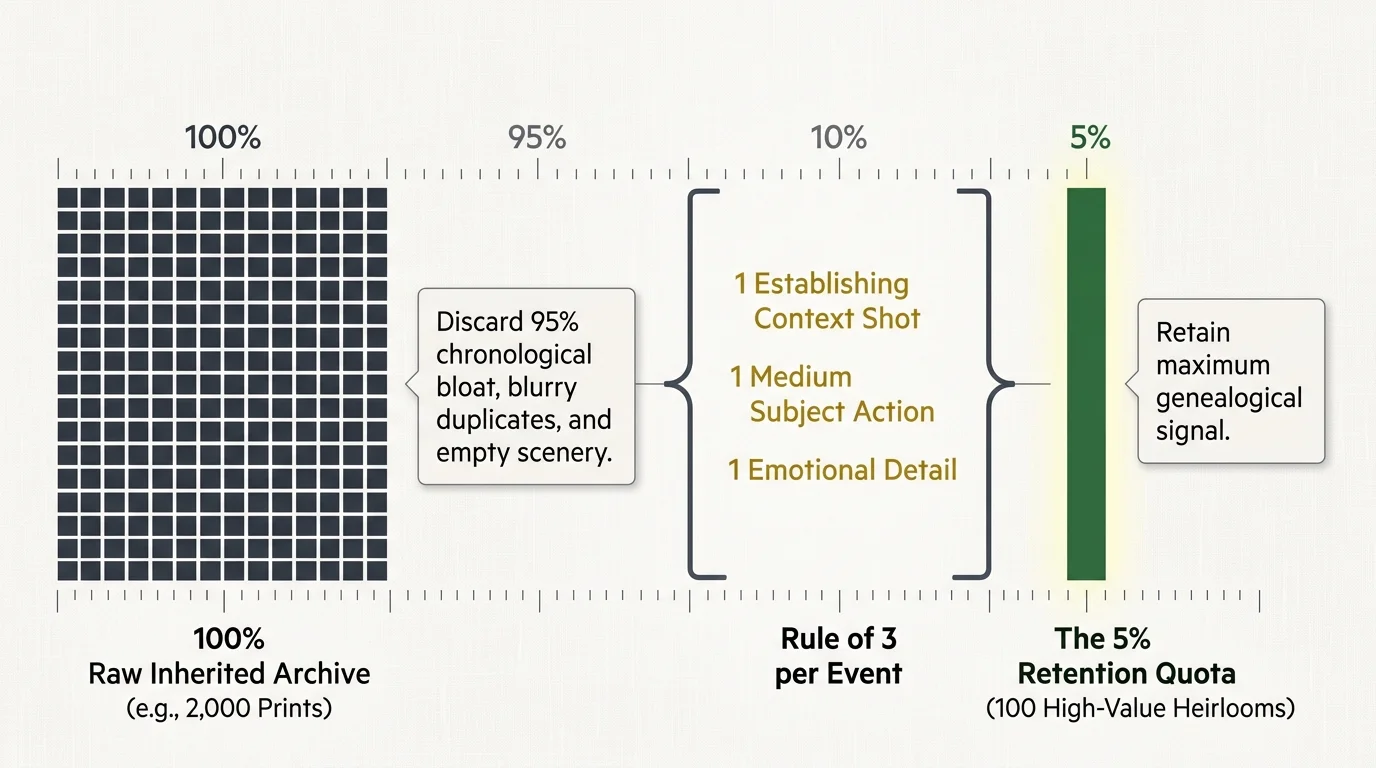
A strict 5% mathematical quota shifts your mindset from passive hoarding to intentional curating. Out of 2,000 vintage prints, your goal is keeping exactly 100 exceptional physical artifacts.
To execute this purge consistently, implement the “Rule of 3 per Event” across your albums. This formula establishes rigid photo curation rules that stop repetitive snapshots from diluting important milestones.
For any distinct occasion—a wedding, holiday gathering, or family vacation—you may keep a maximum of three prints. Every selected print must serve a distinct storytelling function.
Print one captures the establishing scene, showing the physical environment, architecture, and temporal atmosphere. This image provides the historical stage for future generations.
Print two captures genuine interpersonal connection, prioritizing candid human interactions over stiff group lineups. Look for shared laughter, unscripted gestures, or generational engagement.
Print three captures a character-defining portrait of the primary subject. Select an image with sharp facial focus, natural lighting, and expressive individuality.
Understanding how to cull vintage photo prints requires instant elimination of technical failures. Discard blurry exposures, underexposed compositions, duplicate poses, and generic landscapes devoid of people.
By enforcing this rule, thirty-three distinct family events fit into a single curated collection. The resulting 100 prints deliver far deeper narrative impact than twenty pounds of unedited clutter.
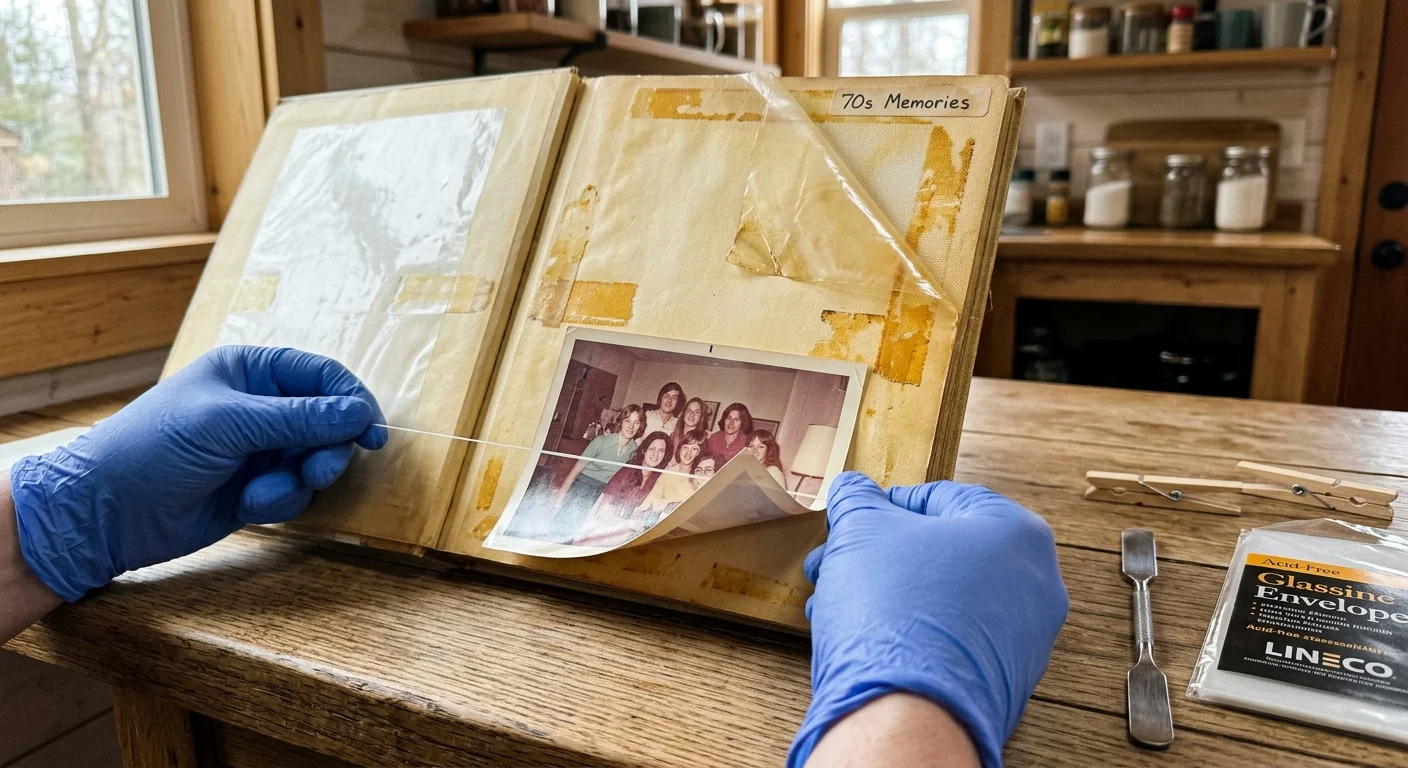
Deconstructing Destructive Magnetic Albums Safely
Most mid-century photo collections reside in self-adhesive “magnetic” albums popular from the late 1960s onward. These products are active preservation hazards that slowly destroy photographic chemistry.
The cardboard pages contain acidic wood pulp coated with aged, yellowing contact adhesives. The clear plastic cover sheets frequently contain plasticized polyvinyl chloride (PVC), which offgases destructive hydrochloric acid.
Magnetic albums represent the single greatest chemical threat to twentieth-century family photographs; their adhesive strips actively degrade paper fibers and silver emulsions every day they remain bound together.
Dismantling these albums is both a spatial necessity and an act of urgent physical conservation. However, prying stuck prints loose with your fingernails will rip brittle paper fibers.
To safely liberate stuck photographs, gather unflavored, unwaxed dental floss and a flexible micro-spatula. Never use sharp metal kitchen knives or force a stuck corner upward.
Cut an 18-inch length of unwaxed floss and wrap the ends securely around your index fingers. Work on a clean, hard surface under bright, indirect task lighting.
Gently work the floss beneath an unglued corner of the photograph. Maintain constant downward pressure against the album page, keeping the floss flush with the cardboard.
Draw the floss beneath the print using a slow, steady back-and-forth sawing motion. The string shears through brittle adhesive strips without pulling upward on the delicate paper base.
If an emulsion adheres stubbornly to the plastic overlay rather than the backing, stop immediately. Work your spatula along the outer plastic edges to release perimeter tension before re-engaging.
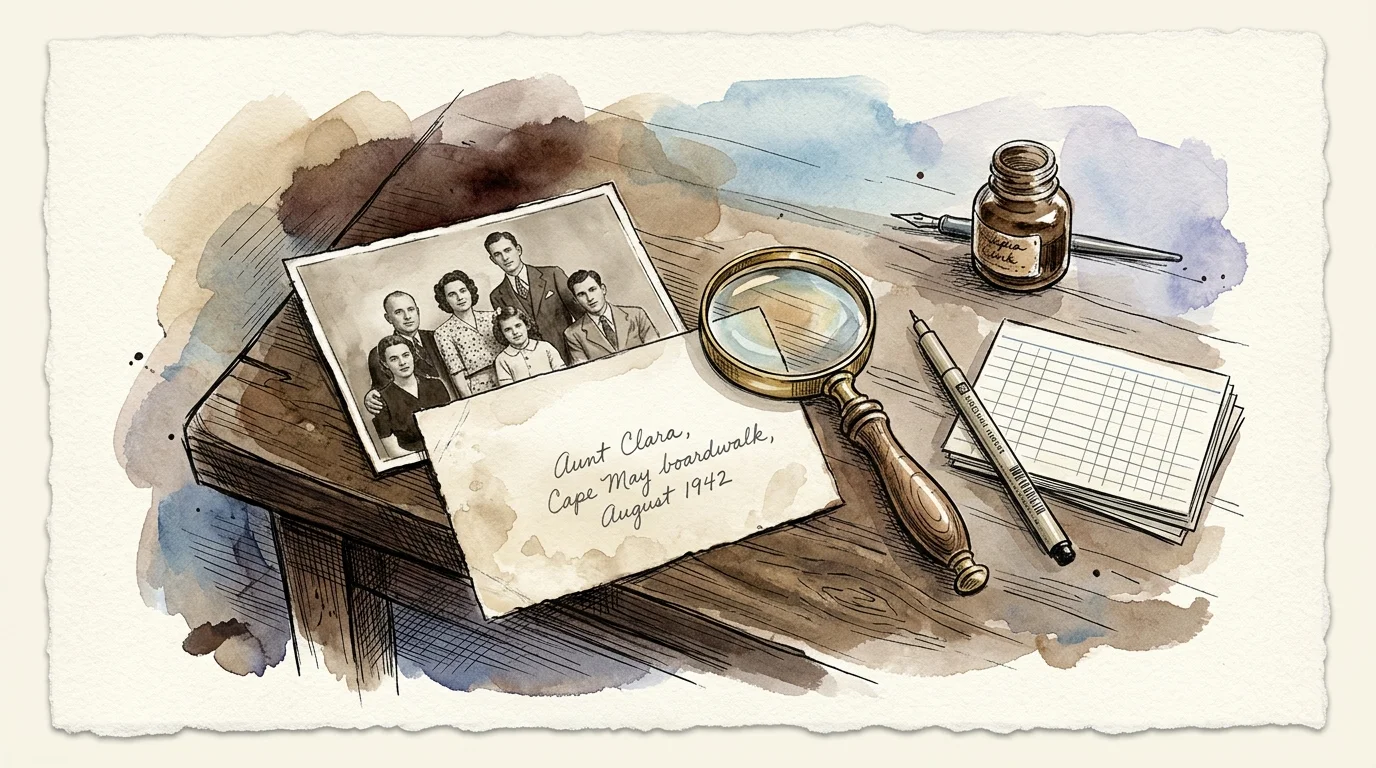
Preserving High-Genealogy Value: Extracting Captions and Context
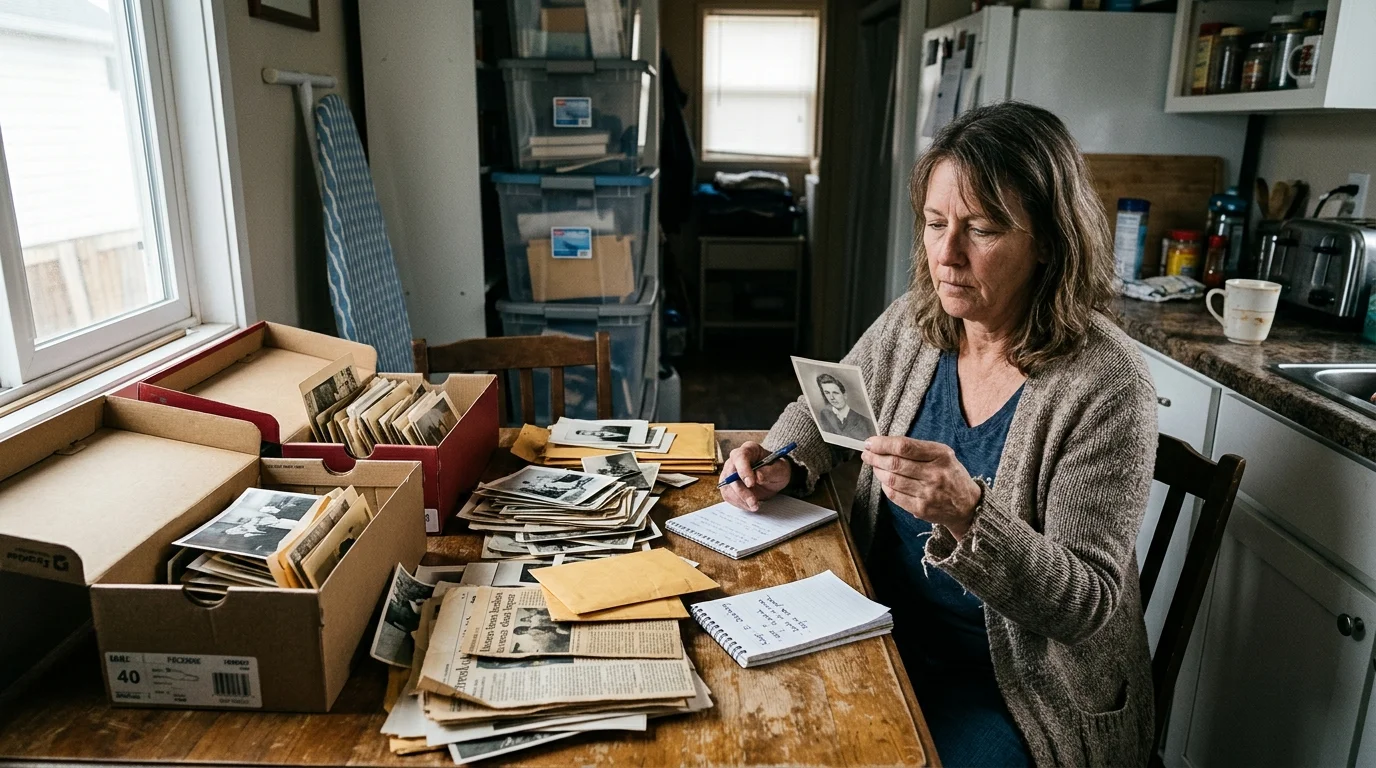
The greatest risk of album downsizing is the accidental destruction of irreplaceable family metadata. Discarding album pages without capturing handwritten dates, names, and locations permanently erases genealogical history.
Vintage albums frequently feature handwritten notations scribbled across margins, backing paper, or photo margins. You must extract this context systematically before removing any physical print from its original sequence.
Begin each session by photographing the full album page using your smartphone mounted on a tabletop stand. This creates a contextual reference map linking every individual snapshot to its original album placement.
As you extract each candidate print for your 5% physical retention, inspect the reverse side. If notes exist in ink or pencil, transcribe them immediately into an archival metadata spreadsheet.
Assign every physical survivor a simple reference code, such as “ALB01-P04-A.” This code ties the physical print directly to your digital spreadsheet and scanned master files.
When annotating the backs of preserved physical prints, follow strict archival protocols. Never use ballpoint pens, felt-tip markers, or adhesive labels, which bleed chemical solvents into paper.
Use an archival soft graphite pencil, specifically grade 2B or 4B. Apply extremely light pressure along the outer perimeter edge of the reverse side while resting the print on a clean glass plate.
Record only essential core data: full names, exact or estimated dates, and geographical locations. Precise indexing ensures future family historians retain complete context without needing the original bulky page.

Worked Example: Culling a 2,000-Print Family Estate
Consider a concrete downsizing scenario reflecting a standard family archive inherited by a tiny home dweller. In this case, you inherit ten vinyl magnetic albums spanning 1968 to 1995.
Initial physical assessment reveals 2,000 total prints, weighing 68 pounds across 3.5 linear shelf feet. In a 300-square-foot home, this footprint represents an unacceptable storage penalty.
Phase one executes rapid physical triage, spending 45 minutes per album across two weekends. During this phase, you separate loose prints, discard empty yellowed sheets, and flag technically defective images.
Phase two applies the Rule of 3 per Event across roughly 150 identified family milestones. This triage reduces 2,000 candidate prints down to your mathematical 5% quota: exactly 100 core physical prints.
The remaining 1,900 secondary prints are removed from their heavy albums and boxed for batch digitization. Professional loose-print scanning services charge approximately $0.24 per print at 600 DPI, totaling $456.
Attempting to scan those same 1,900 prints while still stuck inside original albums requires specialized flatbed labor. That approach costs roughly $2.50 per image, ballooning your digitization invoice to $4,750.
By extracting and curating the collection yourself, you save over $4,200 in preservation costs. You also condense the physical archive from 68 pounds down to 2.4 pounds inside a single compact binder.
The resulting 100 physical prints occupy less than 0.02 cubic feet of interior cabinet space. You retain an exquisite physical heirloom while freeing up 95% of your available shelf volume.
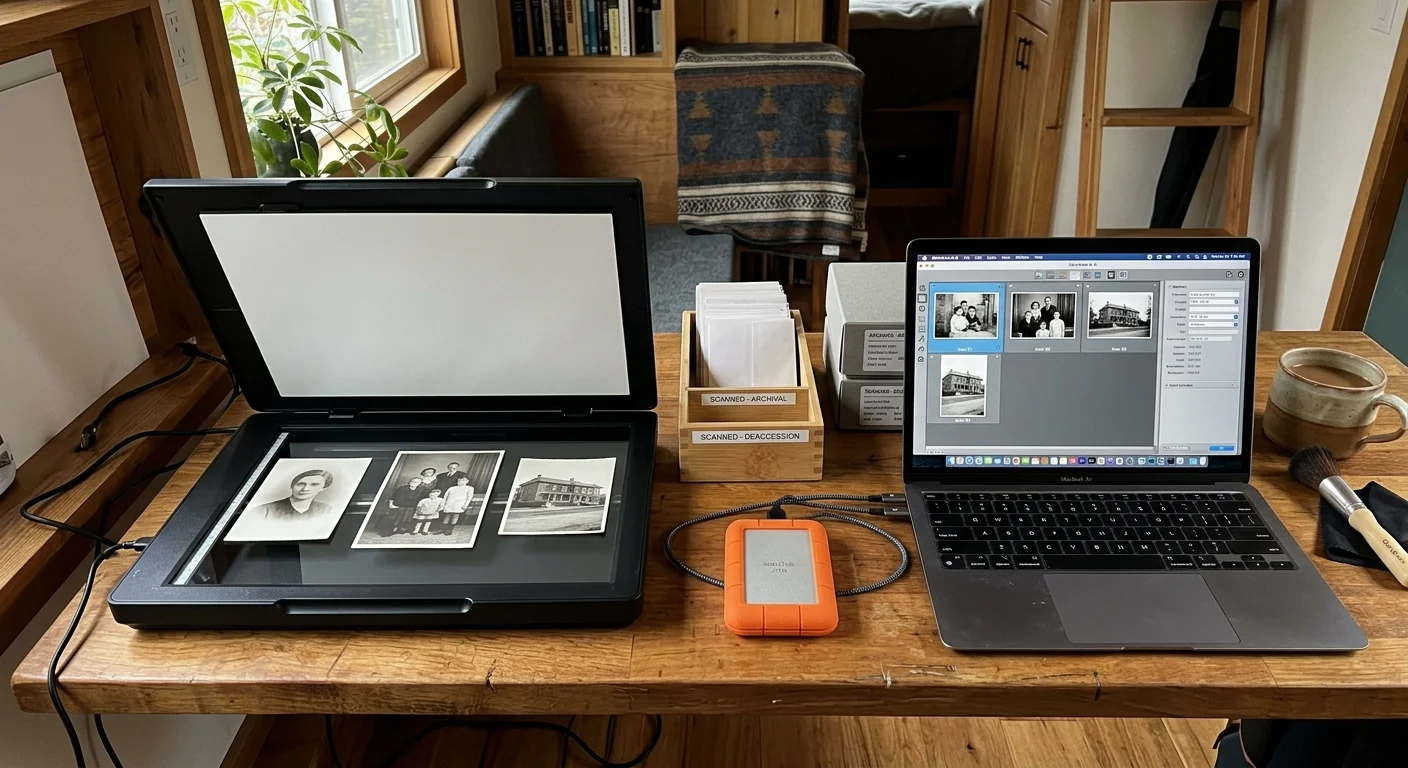
Scanning Workflow and Digital Storage Specifications
Curating 95% of your physical prints out of your home requires a dependable, permanent digital counterpart. Scanning must balance visual fidelity with manageable file sizes suited for mobile devices.
Scan all loose paper prints at 600 DPI (dots per inch) in 24-bit color. Scanning at 300 DPI is adequate for screens, but 600 DPI allows high-quality reprints of cropped faces.
Save your primary master files as uncompressed TIFF formats for long-term preservation. Export a mirrored working collection of lightweight sRGB JPEGs at quality setting 85 for daily viewing and sharing.
If you scan prints at home, select a flatbed scanner like the Epson Perfection V600 for delicate items. For large stacks of sturdy loose prints, a sheet-fed scanner like the Epson FastFoto FF-680W processes dozens of images per minute.
Store your scanned collection following the gold-standard 3-2-1 backup strategy. This methodology protects against tiny home hardware theft, mechanical drive failure, and catastrophic water damage.
Maintain three total copies of the digitized archive across two distinct storage media types. Keep one copy on your laptop drive and a secondary copy on an external 2 TB solid-state drive (SSD).
Place your third copy in secure cloud storage. Mainstream tier-1 cloud storage providers, such as Google One or Apple iCloud+, cost approximately $9.99 monthly for 2 TB of redundant offsite capacity.
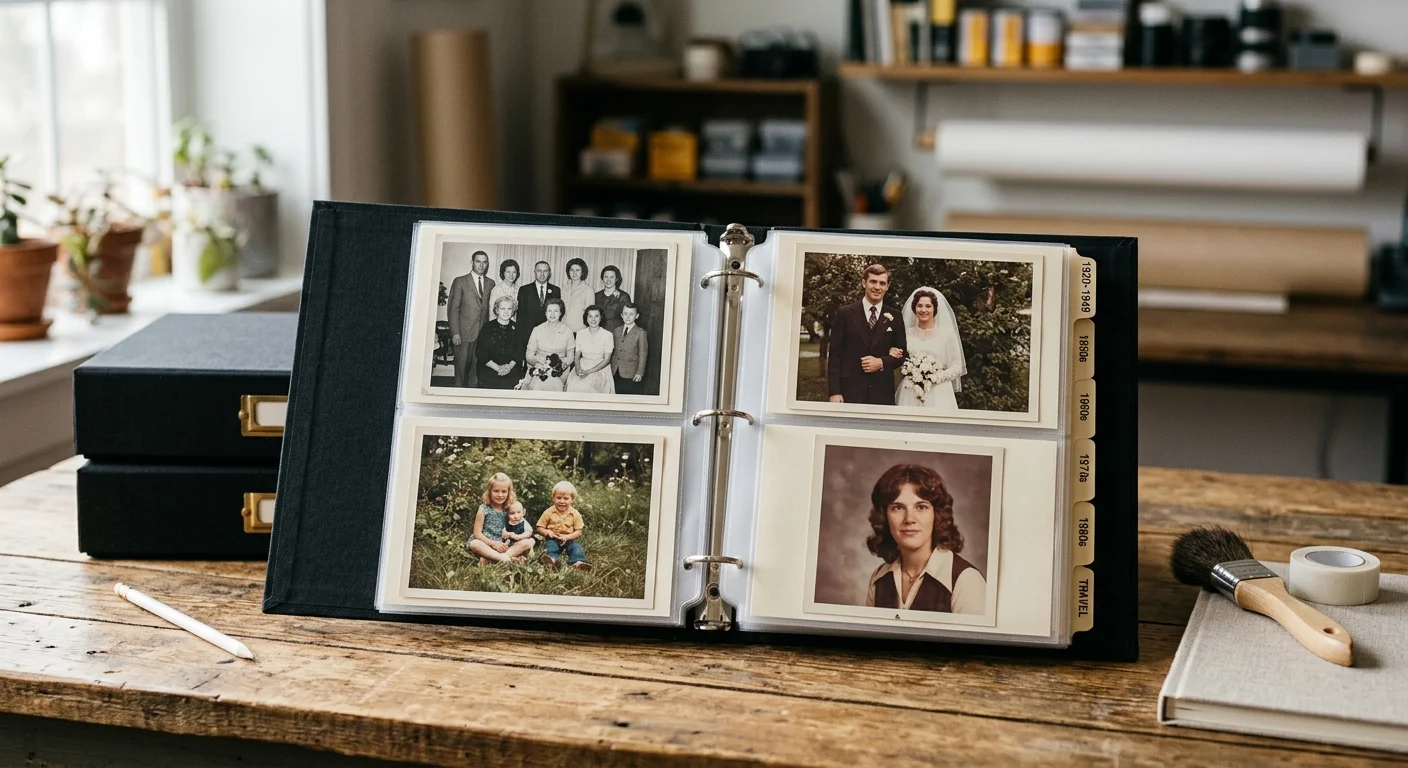
Physical Storage Specs for Compact Spaces: Archival Binders and Enclosures
The 100 prints selected for your 5% retention quota require premium preservation enclosures. Substandard plastics will ruin your remaining heritage prints within a few short years.
Any plastic sleeve or storage enclosure you purchase must pass the Photographic Activity Test (PAT). This international standard, codified as ISO 18916, guarantees the enclosure will not chemically tarnish photographic silver or accelerate yellowing.
The Image Permanence Institute conducts extensive research on materials safety to ensure storage components do not interact destructively with delicate emulsions.
Look specifically for enclosures manufactured from uncoated polyester (Mylar D or Melinex 516), polypropylene, or high-density polyethylene. Avoid any product containing polyvinyl chloride (PVC) or scented plasticizers.
House your curated prints in a single archival 1.5-inch D-ring album binder fitted with PAT-certified polypropylene pocket pages. High-end binders featuring an enclosed slipcase provide an extra layer of defense against ambient dust.
Position this curated binder intentionally within your tiny home floor plan. Never place the binder along an exterior wall where seasonal condensation forms behind paneling.
Avoid under-bed storage boxes positioned over trailer wheel wells, which radiate dramatic road temperatures. Store the binder upright in a low, interior cabinet near the center of the structure.
Place a reusable 40-gram indicating silica gel desiccant canister inside the storage cabinet. The desiccant regulates localized humidity swings, maintaining an optimal microclimate below 50% relative humidity year-round.
Comparing Preservation Solutions for Tiny Living
Choosing an archival strategy requires evaluating real-world space displacement, financial investment, and preservation security. Minimalist living leaves no room for half-measures or disorganized boxes.
The following comparison table demonstrates how the 5% curation model dramatically outperforms uncurated physical storage and unmanaged digital alternatives across critical tiny house metrics.
| Archival Preservation Strategy | Physical Volume (Cubic Feet) | Total Weight (Pounds) | Estimated Direct Cost ($) | Genealogical Context Retention (%) | Microclimate Vulnerability |
|---|---|---|---|---|---|
| 10 Unmodified Vintage Magnetic Albums | 3.50 cu ft | 68.0 lbs | $0 upfront (high degradation risk) | 35% (fading notes, lost names) | Extreme (mold, sticky adhesive breakdown) |
| 100% Flatbed Scanning + Complete Discard | 0.00 cu ft | 0.0 lbs | $4,750 (professional rate) | 90% (digital metadata capture) | Zero physical risk (requires digital maintenance) |
| The 5% Quota Binder + Loose Bulk Scanning | 0.02 cu ft | 2.4 lbs | $495 (scanning + archival binder) | 100% (physical survivor links to digital master) | Minimal (enclosed PAT-tested interior housing) |
Retaining unmodified magnetic albums is an unacceptable hazard inside compact spaces. The excessive weight robs storage utility while the decaying pages destroy the prints you hope to protect.
Total physical disposal paired with exhaustive scanning eliminates physical clutter entirely. However, professional flatbed scanning for thousands of mounted prints remains financially prohibitive for most households.
The 5% quota combines maximum spatial efficiency with responsible material conservation. You retain irreplaceable tactile heirlooms in a 2.4-pound binder while safeguarding your entire family history digitally.
Frequently Asked Questions
What should I do with the 95% of photos I cull from inherited albums?
Digitize them using high-speed batch scanning at 600 DPI, back them up using the 3-2-1 strategy, and offer physical prints to extended family members. If no relatives claim the remaining snapshots after 60 days, safely recycle or dispose of them without guilt.
Can I store purged photo albums in a tiny house exterior shed or storage bench?
No, you should never store original photo prints in unconditioned spaces like exterior sheds or perimeter storage benches. These micro-environments suffer severe temperature spikes and high relative humidity that trigger mold growth and chemical emulsion decay.
How do I safely remove photos stuck to sticky magnetic album pages?
Slide a thin length of unwaxed, unflavored dental floss or a thin micro-spatula beneath the print parallel to the page surface. Work slowly with gentle back-and-forth sawing motions, and never pull the print upward to avoid tearing the paper base.
Why is the 5% retention quota better than keeping entire physical albums?
A strict 5% quota eliminates redundant chronological clutter while forcing you to identify high-value genealogical milestones. This preserves your family story in a single archival binder that fits into small spaces while dramatically lowering preservation costs.
Disclaimer: This article is for informational purposes only. When handling valuable or irreplaceable photographs, consider consulting a professional conservator. Always test preservation methods on non-valuable items first.