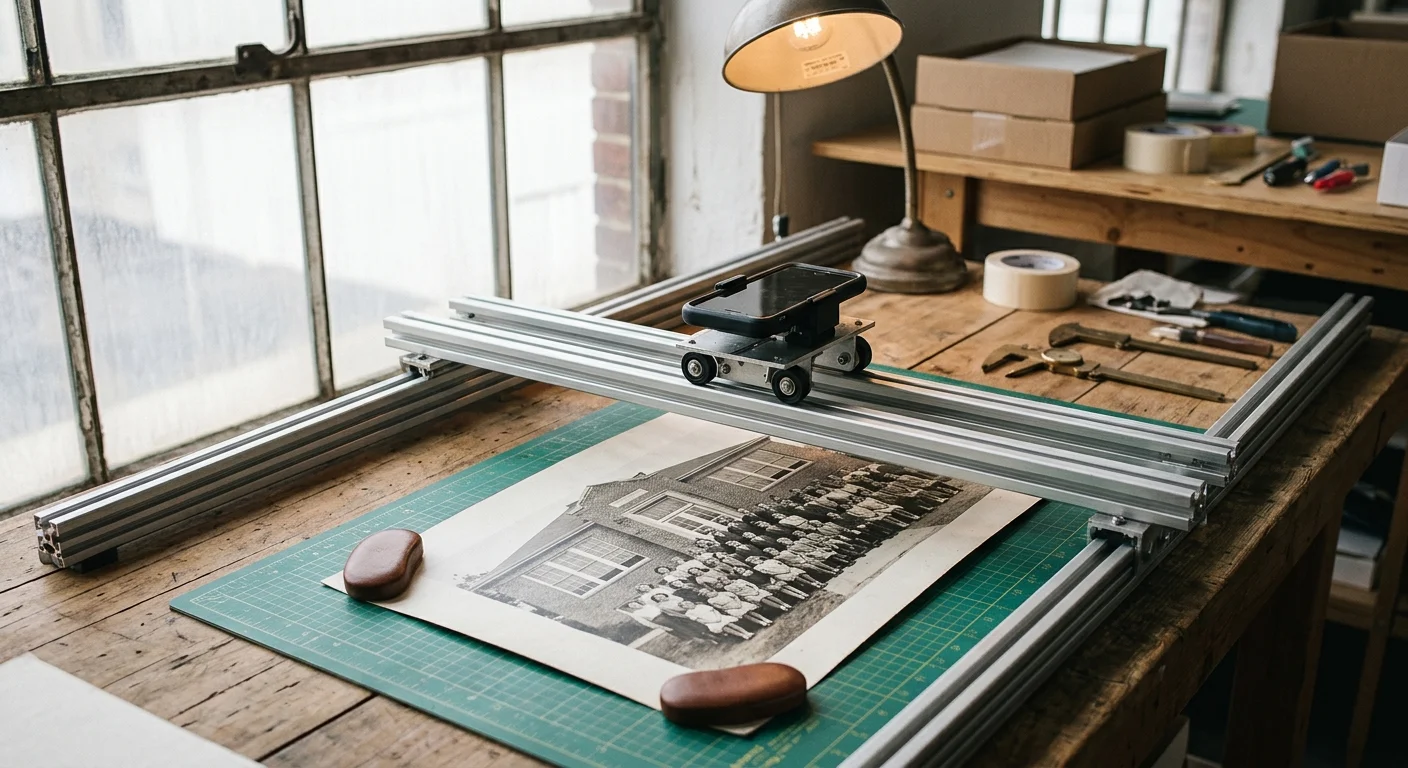
You can preserve an 8×36-inch vintage class photograph without spending thousands of dollars on specialized wide-format scanning equipment. A DIY hardware store rail system lets you roll your smartphone along a flat plane to capture perfect, high-resolution tiles.
Most commercial flatbed scanners crop these long yardstick prints, while rotational smartphone panoramas introduce heavy optical distortion across historical bleachers. Building a manual linear track eliminates lens curvature and yields archival files for under $40.
This guide provides rural school historians and archivists with exact hardware cuts, camera settings, and open-source alignment workflows. You will capture every student face in razor-sharp detail before deterioration claims your district’s visual heritage.
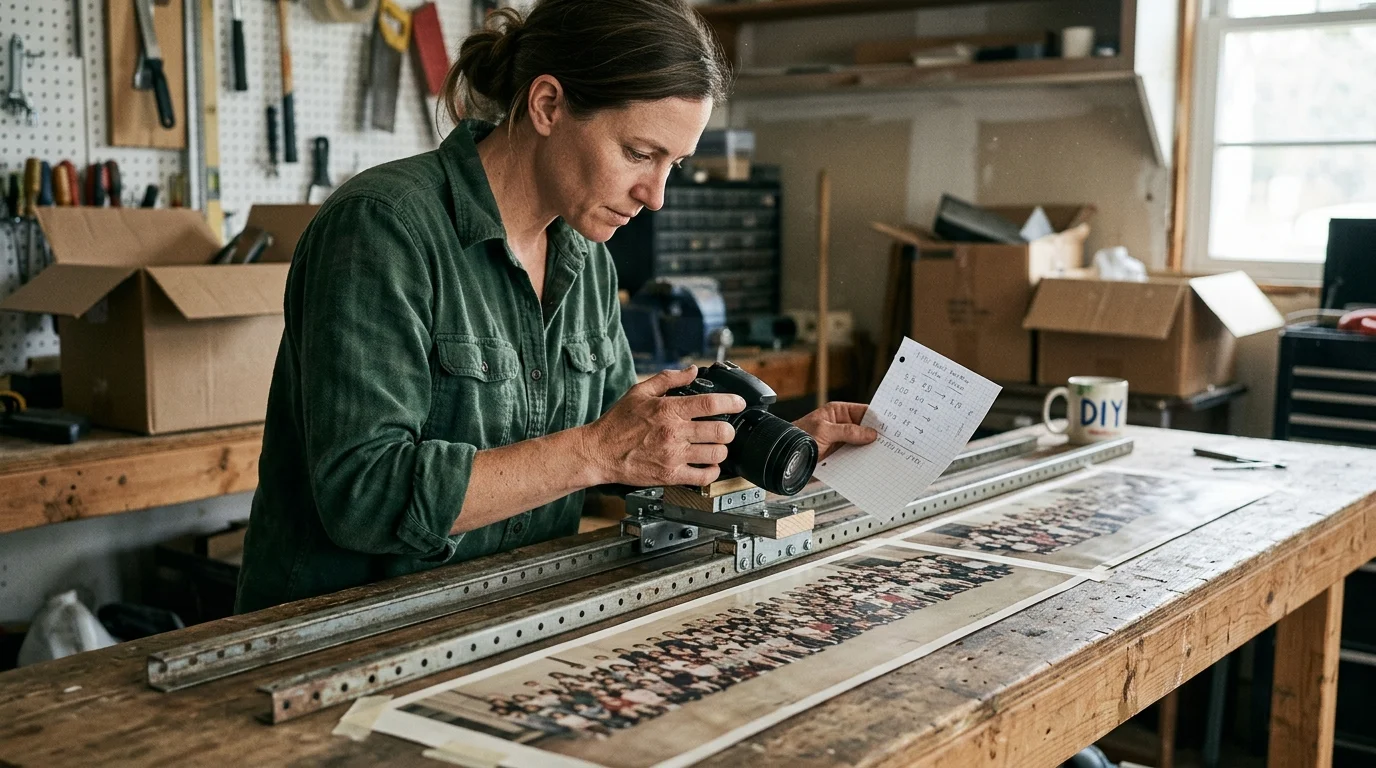
Why Yardstick Class Photos Defeat Traditional Scanners
Rural American schools from the 1920s through the 1950s frequently commissioned panoramic yardstick photos. Photographers captured these eight-to-ten-inch-tall prints using specialized rotating Cirkut cameras that rolled film across a clockwork mechanism.
These historic prints often exceed 36 inches in length, making them impossible to digitize on standard desktop flatbed scanners. Forcing an eighty-year-old print face-down onto an eleven-inch glass platen risks cracking the brittle gelatin emulsion.
Scanning in multiple passes on a consumer flatbed requires overlapping glass compressions. Each repositioning increases the likelihood of edge tears and creates uneven mechanical stitching errors across face lines.
Many well-meaning educators attempt to digitize yardstick school photos by holding a smartphone and sweeping across the print using panoramic video mode. Unfortunately, smartphone panorama modes assume a fixed rotational pivot point.
When you rotate a camera body in an arc over a flat subject, straight bleachers warp into curves. The faces in the center appear enlarged, while students on the margins stretch unnaturally.
Rotational panoramic scanning distorts planar geometry and compromises facial recognition in historical school archives. True digital preservation requires moving the optical sensor on an axis perfectly parallel to the photographic print.
Preservation guidelines from the Library of Congress Preservation directorate emphasize planar capture to preserve exact dimensional scale. A rolling linear rail ensures your sensor moves parallel to the print surface at an unchanging distance.
This physical consistency allows open-source alignment algorithms to merge sequential photographic tiles without synthetic pixel warping. You maintain archival accuracy while protecting delicate classroom memories from mechanical damage.
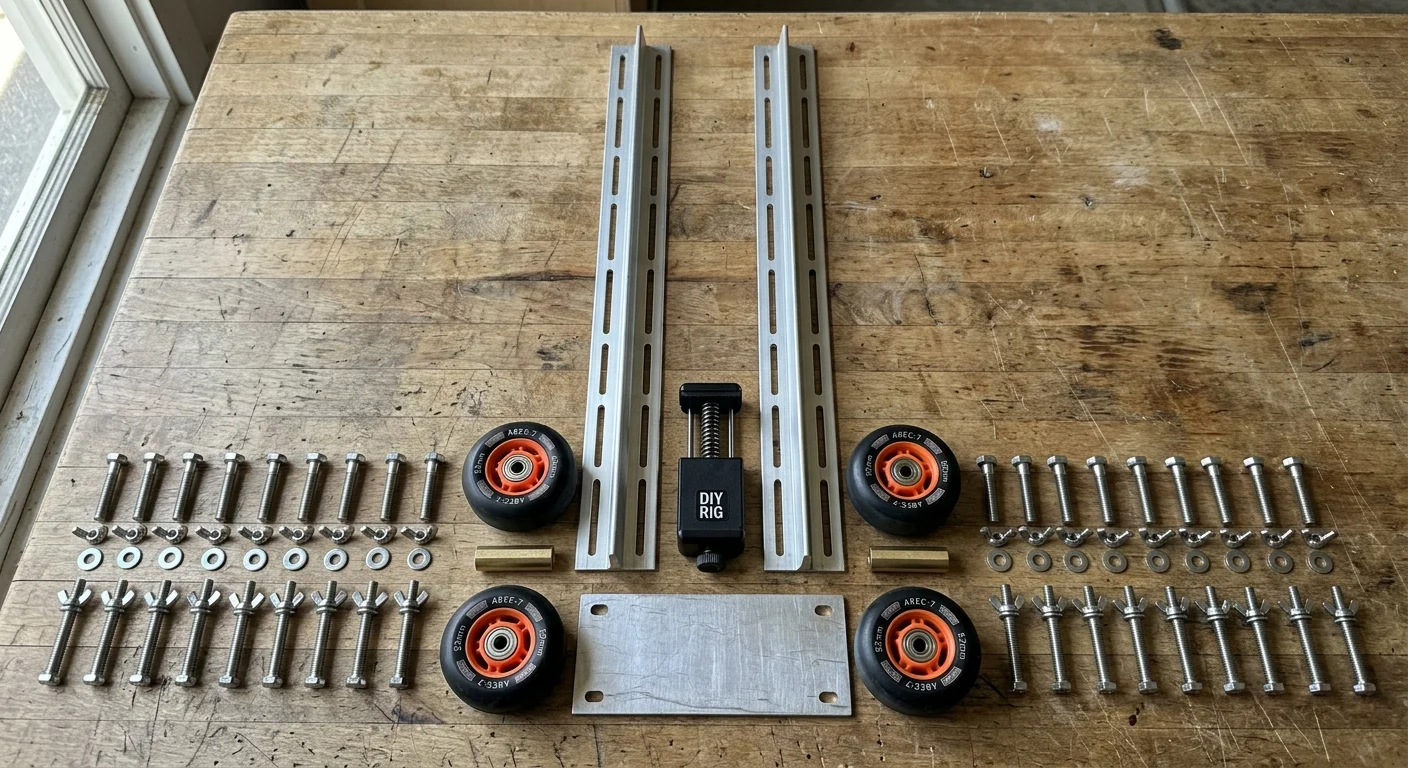
Hardware Store Parts List and $40 Budget Breakdown
You do not need industrial machining tools or high-end motion control hardware to scan panoramic class portraits. A trip to your local hardware store provides every structural component required for a smooth linear scanning bed.
The rig relies on two parallel aluminum tracks and a lightweight rolling carriage board that suspends your smartphone downward. The rigid metal rails guarantee that your camera moves strictly along a single horizontal axis.
Collect the following materials from the hardware aisle before beginning assembly:
- Two 48-inch aluminum equal angles: 1 inch by 1 inch dimensions with 1/16-inch wall thickness ($14.50 total).
- Four non-swiveling rigid rubber casters: 1-1/4-inch wheel diameter with flat top mounting plates ($7.80 total).
- One carriage board: 1/4-inch thick birch plywood or medium-density fiberboard cut to 6 inches by 8 inches ($4.00 scrap).
- Universal smartphone clamp: Tripod adapter with a 1/4-inch-20 threaded brass mounting socket ($5.50).
- Fasteners: One package of 1/4-inch-20 by 3/4-inch machine bolts with flat washers and wing nuts ($3.20).
- Torpedo level: 9-inch magnetic level with both horizontal and cross-check vials ($4.50).
The total cost for these brand-new components sits at $39.50 before local sales taxes. You likely already own several basic tools needed for construction: a tape measure, a drill, and blue painter’s tape.
The 48-inch track length provides ample runway to scan 36 inch panoramic print items without running the rolling carriage off the ends. It also accommodates smaller twenty-four-inch composites from elementary classes.
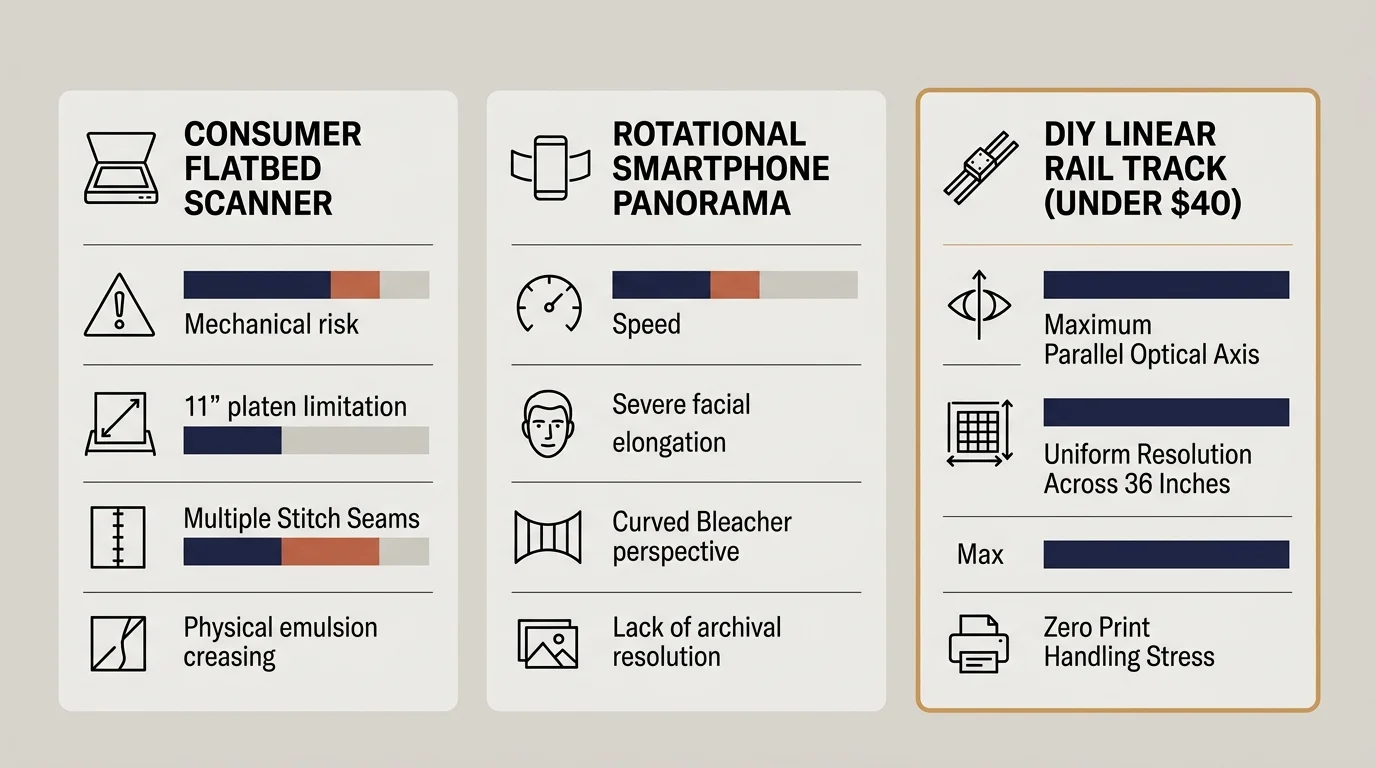
Rig Comparison: Linear DIY vs. Flatbed vs. Rotational Panorama
Digitizing historical class photos requires balancing equipment budgets, labor time, and archival image quality. Understanding the performance tradeoffs of available scanning methods ensures you select the correct approach for your school district collection.
Choosing to camera scan panoramic print DIY rigs gives you the best balance between optical quality and low equipment expense. The following table contrasts your scanning options based on real performance measurements.
| Scanning Method | Hardware Cost | Optical Resolution | Geometric Distortion | Time per 36-Inch Print |
|---|---|---|---|---|
| DIY Linear Rail Rig | $39.50 | 500–600 True DPI | Under 0.2% linear deviation | 4 to 6 minutes |
| Consumer Flatbed Multi-Pass | $250.00 | 600–1200 Optical DPI | None (sensor) / High (seams) | 18 to 25 minutes |
| Handheld Smartphone Panorama | $0.00 | 150–250 Interpolated DPI | Severe barrel and arc warp | 1 minute |
| Commercial Overhead Planetary | $3,500.00+ | 600–800 True DPI | Calibrated planar zero | 2 minutes |
Handheld panoramic sweeps capture images quickly, but their uneven linear velocity introduces severe motion blur. Furthermore, automated smartphone stitching creates seams that cut directly through historical faces.
Multiple passes on a consumer flatbed yield high optical resolution, yet alignment software struggles with flatbed lens distortion. Repositioning brittle paper four times per print also increases the risk of physical creasing.
The DIY linear rail matches the planar geometric accuracy of commercial planetary archival scanners costing thousands of dollars. It delivers exceptional pixel fidelity while working within a rural school budget.
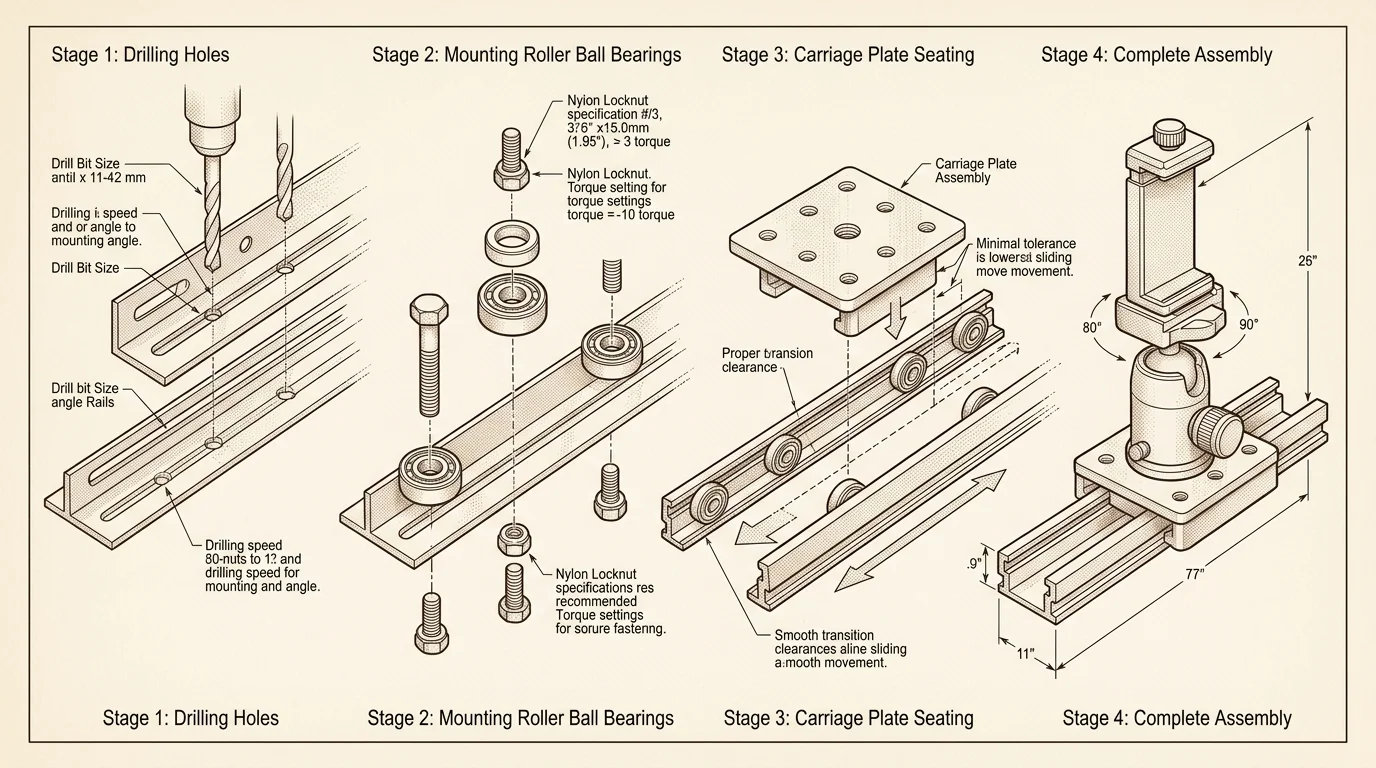
Building the Linear Rail Rig Step by Step
Constructing the linear rail rig requires approximately forty-five minutes of workspace preparation and assembly. You will need a standard power drill with a 1/4-inch bit, a pencil, and an adjustable wrench.
Begin by securing your two 48-inch aluminum angles to a flat work table using blue painter’s tape or C-clamps. Position the angles parallel to each other, exactly six inches apart, with the vertical flanges pointing upward.
These vertical flanges act as guide rails that keep the rolling carriage moving in a straight, unyielding line. Verify that the inner width remains exactly six inches across the entire four-foot span using your tape measure.
Next, assemble the rolling carriage from your 6-inch by 8-inch plywood plate. Flip the board over and place the four non-swiveling casters near each corner, aligning the wheels strictly parallel to the board’s long edge.
Mark the caster plate screw holes with a pencil and drill pilot holes into the wood. Secure the casters using short wood screws, ensuring the wheels spin freely without rubbing against the mounting board.
Drill a single 1/4-inch hole directly through the center of the carriage plate. Insert a 1/4-inch-20 machine bolt from the underside, securing it on top with a washer and nut to create a rigid camera stud.
Thread your universal smartphone clamp onto this center bolt, facing the phone camera downward through an adjacent two-inch lens hole. Place the assembled carriage onto the aluminum rails to confirm effortless, wobble-free rolling motion.
Finally, apply a strip of white masking tape along the exterior edge of one rail. Use a permanent marker to draw index marks spaced every six inches to guide your capture stops during the scanning process.
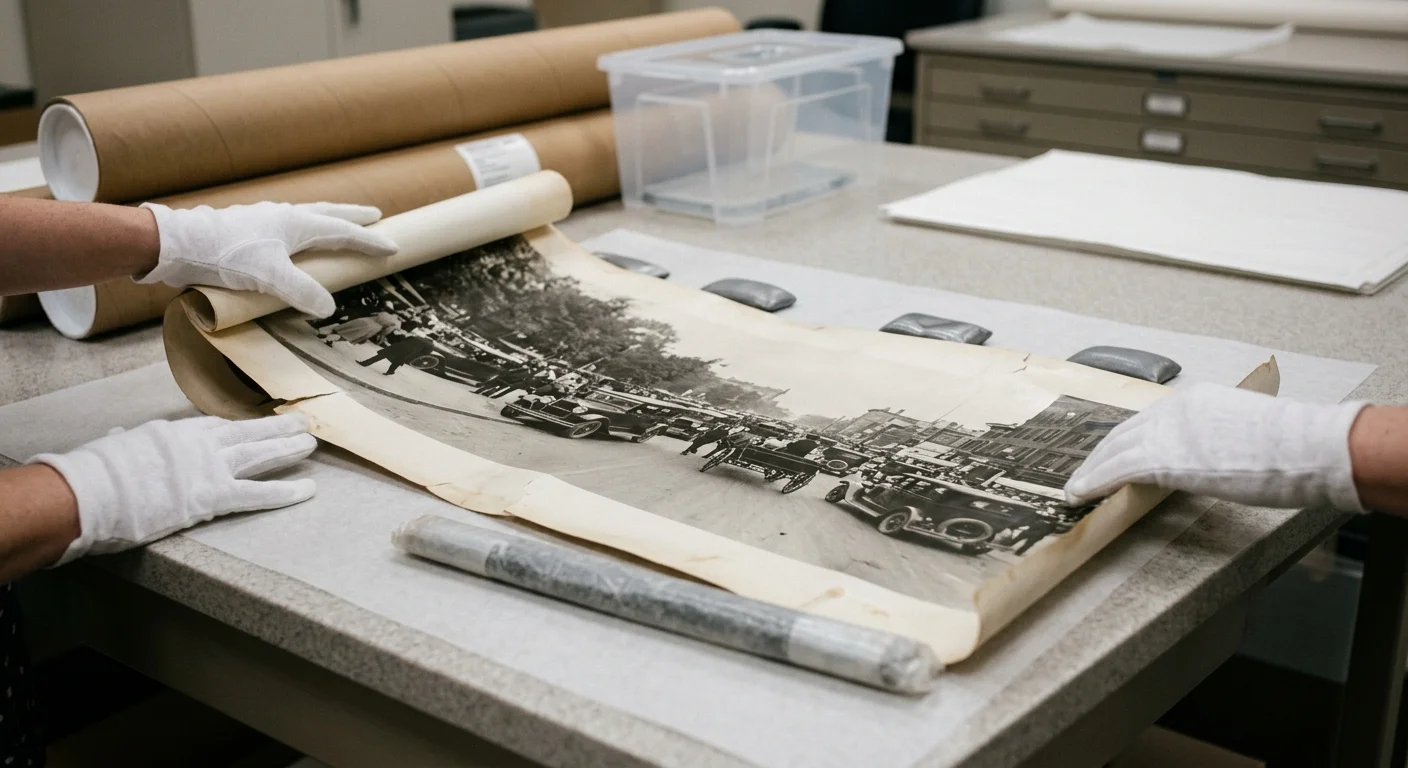
Safe Flattening and Archival Photo Handling
Panoramic yardstick school photographs usually spent decades rolled tightly inside cardboard mailing tubes in school attics. Gelatin silver and albumen emulsions dry out over time, turning brittle and prone to structural cracking when unrolled.
Never force a stiff historical photograph flat against a table with your bare hands. Forcing cold, dry paper flat can fracture the image emulsion and cause permanent loss of photographic silver.
Guidelines from the American Institute for Conservation stress that fragile historical documents require slow humidification before flattening. If a print resists gentle unrolling, consult an archival professional or construct an indirect humidity chamber using damp blotter paper.
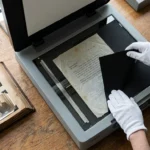
Once the photograph relaxes, place it face-up on a clean sheet of acid-free archival barrier board. Wear clean, powder-free nitrile gloves to prevent finger oils from staining the delicate emulsion surface.
Hold the curl down by placing smooth, inert weights along the outer white borders of the panoramic print. Covered metal shot bags or polished glass bars hold the margins flat without obscuring facial details or abrading delicate silver.
Never apply tape, adhesive putty, or metal paper clips directly to the historical print. Every holding method you use must remain fully reversible and physically non-destructive to the original artifact.
Camera Alignment, Leveling, and Exposure Settings
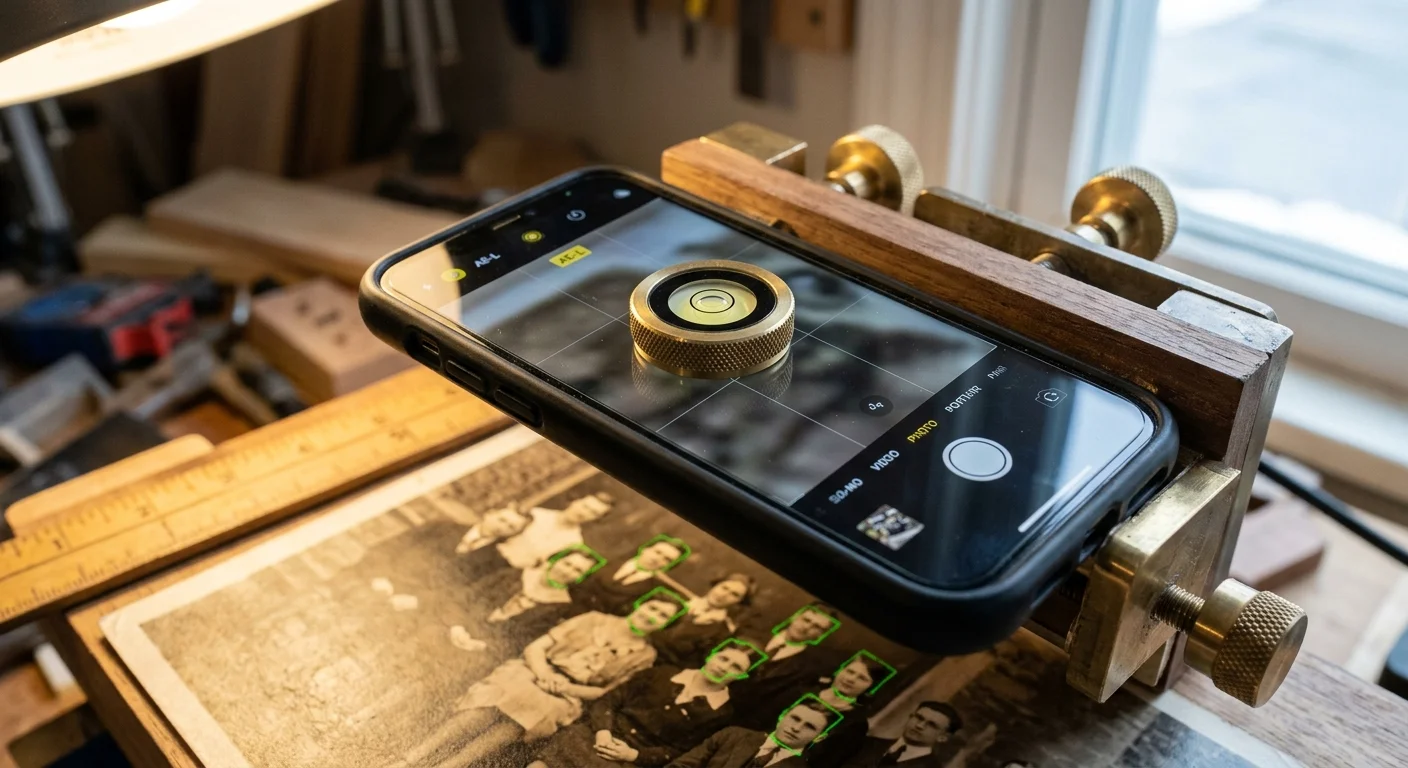
Proper optical alignment prevents keystoning, which occurs when the camera sensor tilts at an angle to the print surface. If your camera tilts even two degrees, stitched faces will distort and focal sharpness will degrade unevenly.
Place your 9-inch torpedo level across the aluminum guide rails to verify that your track sits dead level on the work table. Adjust your table legs or place cardboard shims under the rails until the vial bubble centers perfectly.
Place a small pocket mirror flat on the scanning bed directly beneath the smartphone lens. Look at your phone screen and adjust the clamp until the reflection of your phone camera lens sits dead center in the viewfinder.
When the reflected lens centers on the display, your sensor plane is exactly parallel to the scanning surface. The digital imaging guides at Cambridge in Colour emphasize that eliminating perspective tilt before capture preserves uniform resolution across stitched frames.
Open your smartphone camera settings and switch to professional or manual mode. Disable autofocus and auto-exposure locks, as changing brightness or focus between frames ruins panoramic tile blending.
Set your camera sensitivity to its lowest native setting, typically ISO 50 or ISO 100, to eliminate electronic noise. Adjust your shutter speed to achieve balanced brightness under your lights, usually around 1/125th of a second.
Position two daylight-balanced (5000K) LED lamps at forty-five-degree angles relative to the photographic surface. This cross-angled lighting illuminates the print evenly while bouncing glossy specular reflections away from the camera lens.
Capture Workflow and Overlap Strategy (Worked Example)
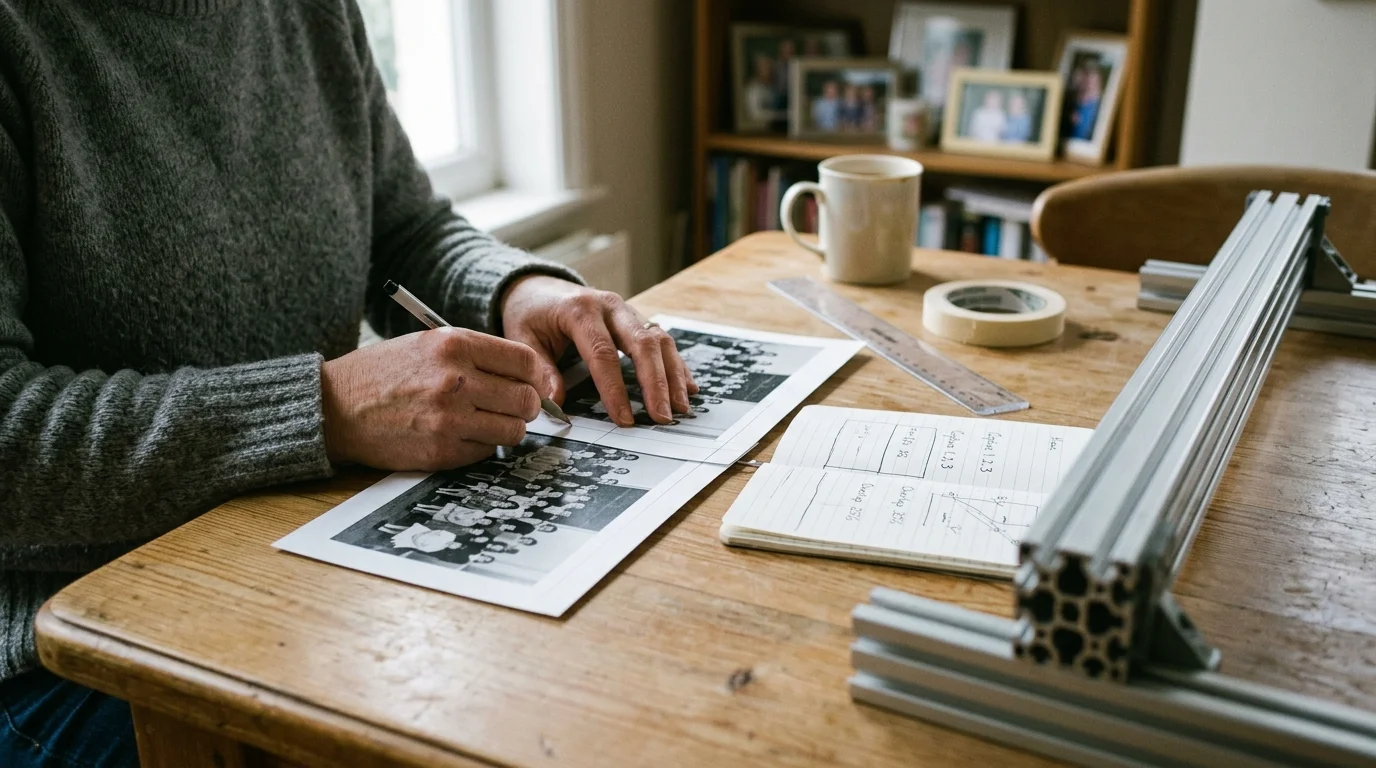
A methodical capture routine guarantees sufficient visual overlap for your stitching software. To illustrate the exact mathematics, review this worked example digitizing a real historical artifact from a rural school repository.
Consider a 1938 Oakhaven Rural Consolidated School panoramic print measuring exactly 8 inches tall by 36 inches long. The class contains seventy-two students arranged in three rows across outdoor wooden bleachers.
We mount a smartphone equipped with a 12-megapixel main sensor (4032 by 3024 pixels) at a height of 14.5 inches. At this elevation, the camera field of view covers 12.0 inches horizontally by 9.0 inches vertically.
Archival stitching algorithms require a minimum of thirty to forty percent overlap between successive frames to identify identical control points. A 40 percent overlap across a 12-inch horizontal frame equals 4.8 inches of shared image area.
Subtracting 4.8 inches from the 12-inch frame width leaves an advance step of 7.2 inches along the rail between shots. You will stop the carriage and trigger the camera shutter at marked increments along the rail.
The capture sequence requires exactly six discrete camera positions along the aluminum track:
- Stop 1: Carriage index at 0.0 inches (captures student bleachers from 0 to 12 inches).
- Stop 2: Carriage index at 7.2 inches (captures student bleachers from 7.2 to 19.2 inches).
- Stop 3: Carriage index at 14.4 inches (captures student bleachers from 14.4 to 26.4 inches).
- Stop 4: Carriage index at 21.6 inches (captures student bleachers from 21.6 to 33.6 inches).
- Stop 5: Carriage index at 28.8 inches (captures student bleachers from 28.8 to 36.0 inches plus edge margin).
- Stop 6: Carriage index at 36.0 inches (redundant border capture ensuring complete edge focus).
Use a two-second shutter delay or a Bluetooth remote shutter button to trigger each exposure. This prevents your finger tap from transferring mechanical vibration to the lightweight wooden carriage.
The entire six-shot sequence takes less than four minutes to photograph carefully. The resulting image set yields a final composite measuring approximately 18,650 by 4,200 pixels, producing an optical resolution of 518 DPI.
At 518 DPI, individual faces measuring three-quarters of an inch tall contain over 380 pixels of vertical resolution. You can clearly read school emblems on lapel pins and identify family facial features across generations.
Stitching Tiles with Open-Source Software
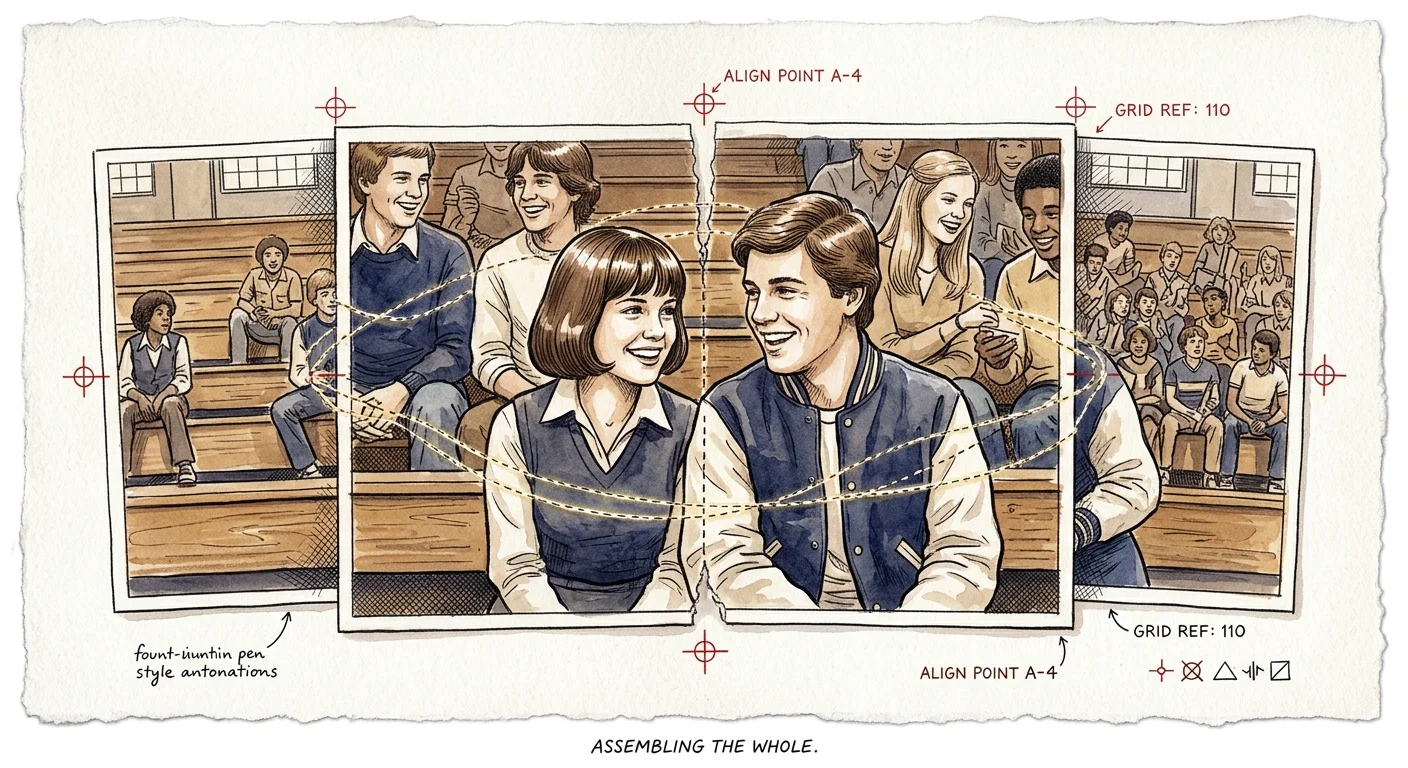
Once you capture your raw sequential image tiles, you must merge them into a single seamless digital master file. Standard panoramic stitching software often fails because it assumes the camera rotated on an axis rather than sliding linearly.
Download Hugin, a robust, free, open-source panoramic stitching program compatible with Windows, macOS, and Linux systems. Hugin includes advanced geometric control point engines capable of calculating flat translational camera motion.
Open Hugin and import your six photographic tiles into the project interface. Under the Camera and Lens tab, ensure the lens projection option is set to Normal Rectilinear rather than Equirectangular or Fisheye.
Navigate to the Stitching tab and select the Flat or Planar projection mode. This prevents the software from bending your schoolyard horizon into a spherical curve during the automated optimization pass.
Click the Create Control Points button to allow Hugin to match distinctive image details across overlapping frames. The algorithm identifies facial contours, lapel creases, and bleacher wood grain to align the images with sub-pixel precision.
Open the Fast Preview window to review your aligned panoramic composite. If any seam appears misaligned, manually adjust control points along that specific image boundary before running the final render.
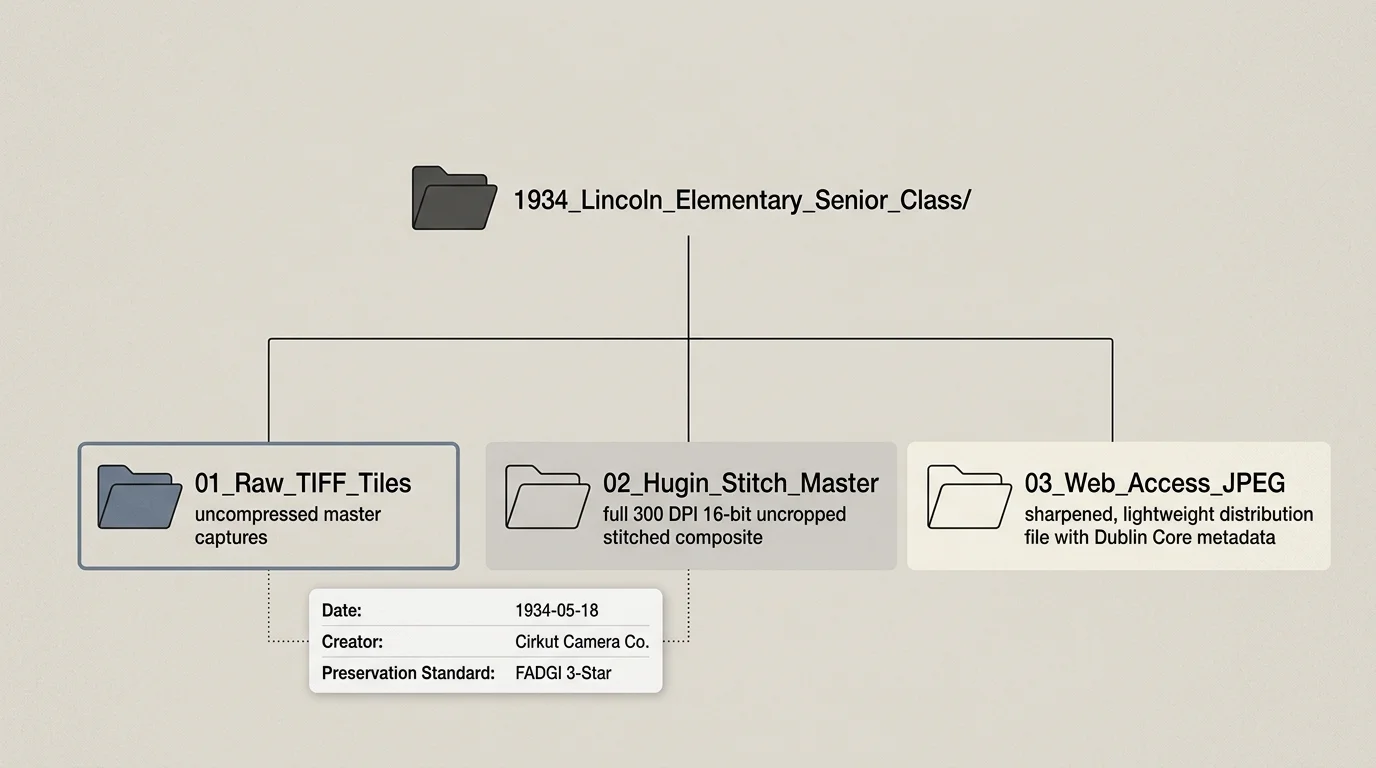
Export the completed composite as an uncompressed 16-bit TIFF image file. This master file preserves full optical dynamic range and color bit-depth for long-term historical preservation.
Archival Digital Preservation and File Organization
Digitizing your district’s historical class photos is only the first step in protecting your community heritage. You must organize, describe, and back up the resulting digital master files to prevent permanent data loss.
Preserve your original uncompressed TIFF stitches as pristine archival masters and never overwrite them during daily editing tasks. Generate compressed JPEG or WebP derivative copies for school district websites, yearbooks, and alumni newsletters.
Embed critical metadata directly into the image file headers using open-source tools like ExifTool. Include the graduation class year, school building name, town, photographer studio imprint, and all identified student names.
Follow the established 3-2-1 backup strategy trusted by professional archivists. Maintain three separate copies of your digital photo collection across two different storage media, keeping at least one backup offsite or in cloud storage.
Return the original panoramic prints to acid-free, buffered archival storage boxes after scanning completes. Store prints flat between sheets of archival unbuffered tissue paper in a climate-controlled room away from attic heat.
Frequently Asked Questions
Why can I not simply use the panorama mode on my smartphone?
Smartphone panorama modes assume your camera rotates around a single central pivot point. Sweeping across a long flat print causes severe optical keystoning, bending straight school bleachers and stretching student faces near the edges.
How do I prevent overhead light glare on glossy vintage photo emulsions?
Turn off overhead fluorescent classroom lights completely. Place two daylight-balanced LED lamps at forty-five-degree angles to the print surface, directing specular reflections away from your downward-facing camera lens.
What should I do if a vintage yardstick photo is too tightly curled to unroll?
Never force a stiff photograph flat, as cold gelatin silver emulsion will crack. Relax the paper slowly inside an indirect humidity chamber using damp blotters, or consult an accredited conservator before attempting to scan.
Which lens should I use if I am scanning with a DSLR or mirrorless camera instead?
Use a 50mm or 85mm macro lens with flat-field optical correction. Flat-field lenses eliminate edge softness and chromatic aberration, ensuring uniform edge-to-edge sharpness across every overlapping scan segment.
Disclaimer: This article is for informational purposes only. When handling valuable or irreplaceable photographs, consider consulting a professional conservator. Always test preservation methods on non-valuable items first.