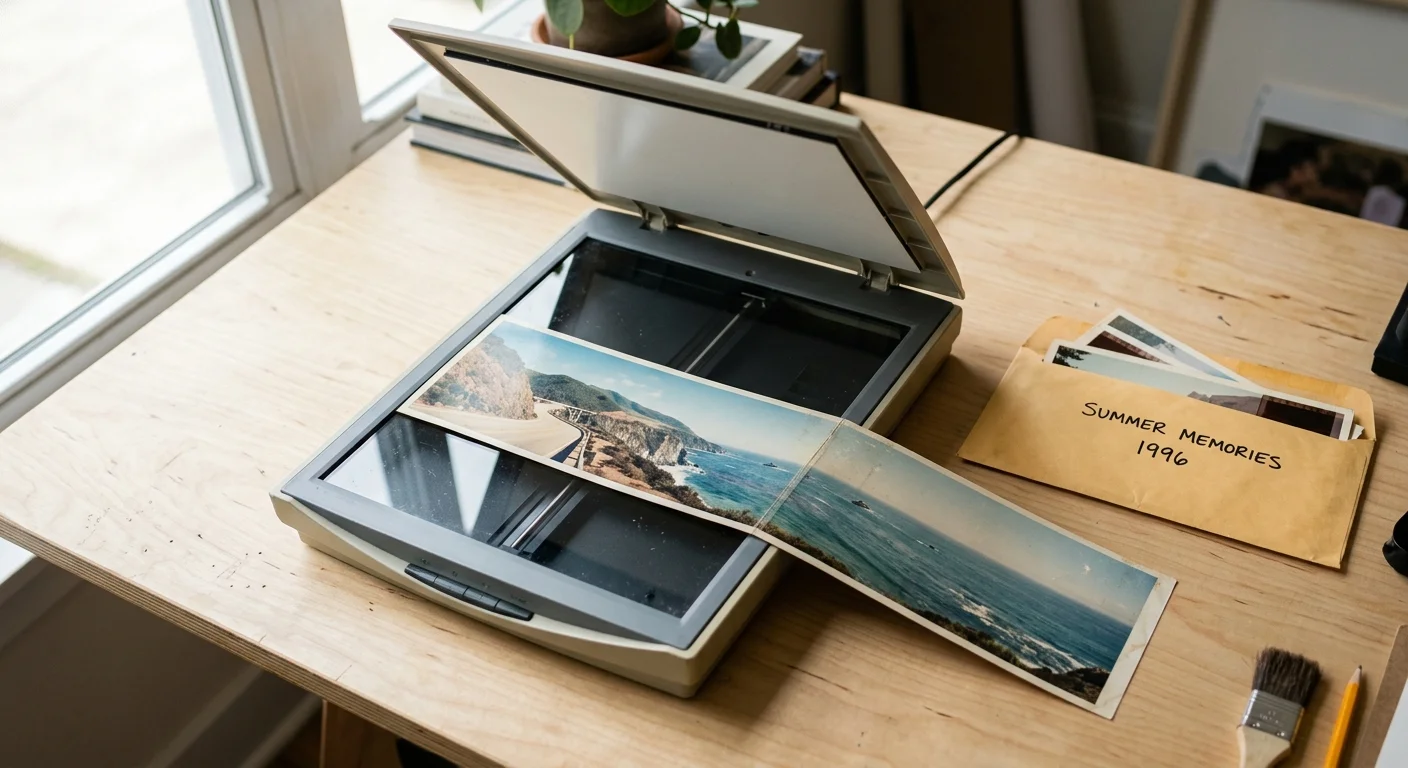
You can digitize your 40 oversized 1990s panoramic snapshots using a standard 8.5×11 flatbed scanner without buying expensive wide-format equipment. Taking two overlapping scans preserves every edge of your 3.5×10 and 4×11 inch memories in high resolution.
Most stitching software fails on flatbed scans because it applies radial perspective warping designed for rotational camera lenses. Flatbed scanners capture purely orthographic passes that require strict 2D planar translation to prevent distorted horizons and skewed edges.
This guide details the exact overlap geometry and stitch settings needed to scan long panoramic prints cleanly without optical distortion.
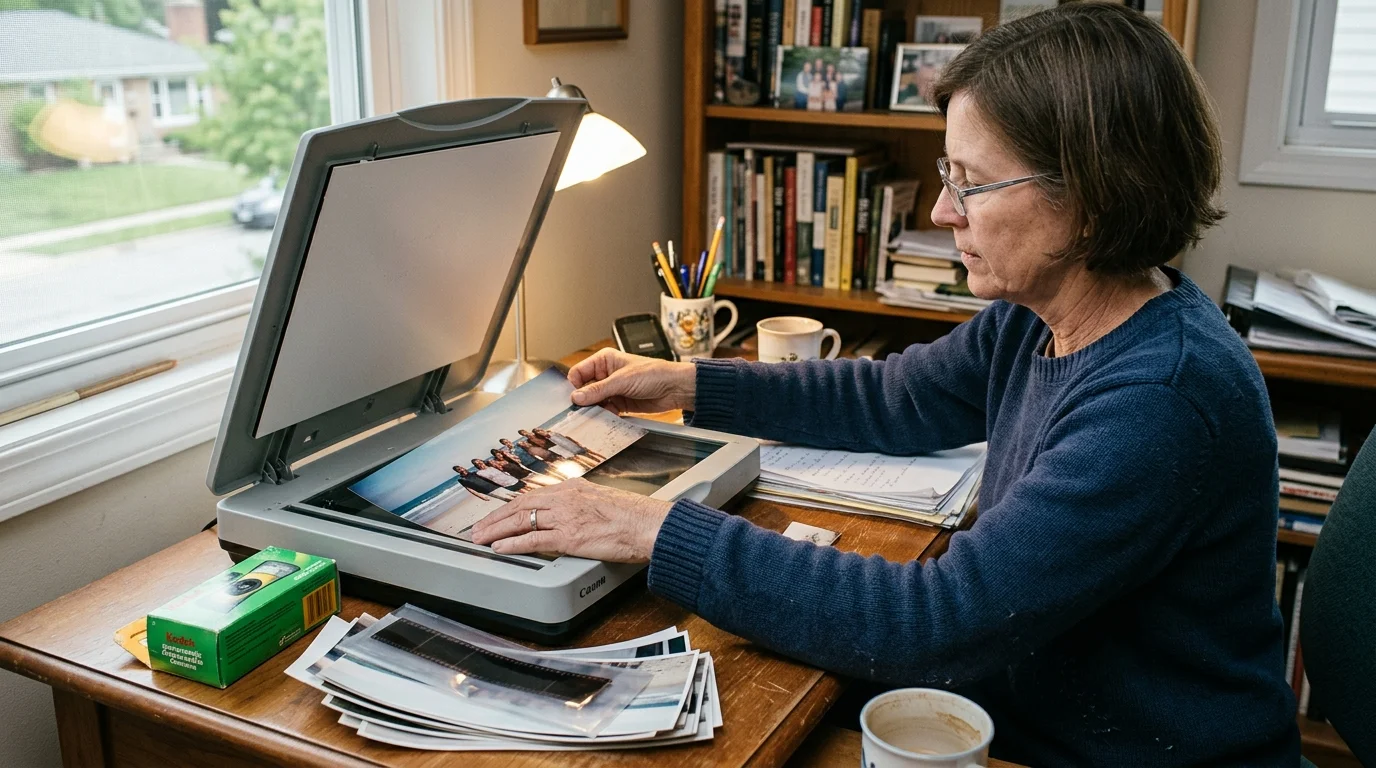
Understanding the 1990s Panoramic Disposable Camera Format
During the 1990s, single-use panoramic cameras dominated family vacations and weddings. Models like the Kodak FunSaver Panoramic 35 and Fuji QuickSnap Panorama promised sweeping landscapes at an accessible price point.
This multi-pass technique is one of several proven methods for scanning oversized photos and documents that exceed consumer platen dimensions.
These cameras did not contain true panoramic, wide-angle lenses. Instead, internal plastic baffles masked the top and bottom of standard 35mm film frames, creating a 13x36mm exposed strip.
Commercial photo labs enlarged this cropped negative strip onto long photographic paper rolls. The final prints measured either 3.5×10 inches or 4×11 inches, depending on the lab processing equipment.
Because the lab enlarged a narrow strip of 35mm negative, grain structure appears pronounced. Capturing genuine print detail requires careful optical sampling rather than excessive digital interpolation.
Cropped panoramic negatives forced photolab enlargers to magnify film grain far beyond standard 4×6 prints. High-resolution flatbed scanning preserves the print authentic texture without creating artificial digital artifacts.
Today, scrapbookers often preserve dozens of these elongated prints in shoeboxes or photo albums. Their irregular dimensions make them awkward to digitize on standard home hardware.

Scanner Glass Geometry and Overlap Threshold Calculations
A standard desktop flatbed scanner features an A4 or US Letter glass platen. The physical glass typically measures 8.5 by 11.7 inches.
Establishing a solid DIY photo scanning workflow ensures your image files stay organized before you even begin aligning multiple sections.
If your collection includes ultra-wide prints like three-foot class portraits rather than short snapshots, consider building a DIY linear scanning rig to avoid excessive multi-image stitching.
An 11-inch print seems small enough to fit onto an 11.7-inch bed in a single orientation. In practice, plastic scanner bezels and sensor travel limits clip the margins of long prints.
Furthermore, positioning an 11-inch print diagonally across the platen creates severe geometric skew. Diagonal placement also forces scan interpolation across uneven sensor lines, causing localized edge softness.
To achieve archival fidelity, you must scan long prints in two sequential, parallel passes across the narrow platen axis. Aligning the short print edge parallel to the scanner guide rail delivers sharp, uniform captures.
Automated stitching software requires sufficient visual overlap between image segments to detect matching reference points. The Scale-Invariant Feature Transform (SIFT) algorithm needs reliable feature pairs across overlapping sections to calculate registration.
For a 4×11 inch print scanned along an 8.5-inch platen window, each scan pass captures approximately 6.5 inches of print length. Positioning Pass 1 from 0 to 6.5 inches and Pass 2 from 4.5 to 11 inches creates a 2.0-inch overlap corridor.
This 2.0-inch band provides an 18.2% overlap across the entire print, or roughly 30.7% overlap relative to a single 6.5-inch scan window. That surface area contains hundreds of matching paper grain and image features for automated correlation.
For a 3.5×10 inch snapshot, capture 0 to 6 inches in Pass 1 and 4 to 10 inches in Pass 2. This placement generates a 2.0-inch overlap band, establishing a 33.3% overlap zone that guarantees seamless image registration.
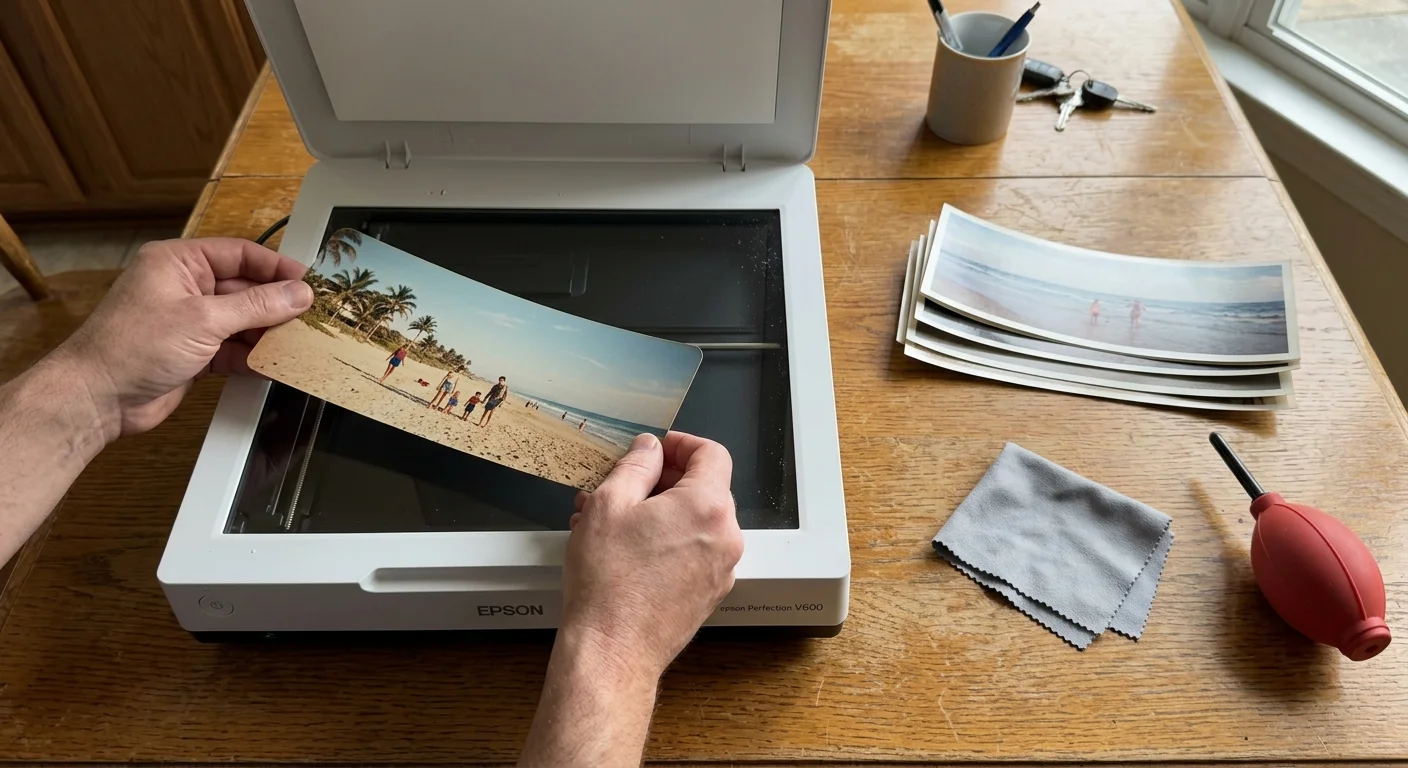
Step-by-Step Two-Pass Scanning Workflow
Before scanning, clean your flatbed platen thoroughly. Dust particles on the glass reproduce as white specks that confuse alignment algorithms during stitching.
If your scanner glass is too restrictive for bulk jobs, you can alternatively assemble a budget-friendly camera scanning rig to capture oversized items in a single frame.
Spray optical glass cleaner onto a lint-free microfiber cloth, never directly onto the platen glass. Direct spraying can force liquid beneath the scanner bezel and damage internal mirrors.
Review the scientific principles of sensor calibration at Cambridge in Colour to understand how optical sampling intervals affect print reproduction.
Place your panoramic print face down against the glass. Align the left short edge against the scanner top-left reference corner.
Lower the scanner lid gently. If the print curls, place a smooth sheet of acid-free 80-pound cardstock over the print back to distribute lid pressure evenly.
Launch your scanner software, such as Epson Scan 2, VueScan, or SilverFast. Select Professional Mode to ensure complete control over your digitizing settings.
Set your image type to 24-bit Color or 48-bit Color. 24-bit RGB produces universal compatibility, while 48-bit depth allows greater latitude for recovering faded dye layers.
Set your scanning resolution to exactly 600 DPI. Scanning at 300 DPI loses fine detail, while 1200 DPI merely records enlarged photographic paper fibers without adding image fidelity.
Disable all automated driver features. Turn off digital ICE dust removal, unsharp masking, auto-contrast, and automatic color restoration.
Disabling automated adjustments guarantees that Pass 1 and Pass 2 share identical exposure curves, white balance values, and gamma levels. Tone shifts between passes will cause visible seams across the stitched output.
Set the scan boundary to cover the first 6.5 inches of the print. Execute the scan and name the file Print01_PassA.tif.
Raise the lid without shifting the print rotation. Slide the print straight across the platen until the right short edge rests against the top reference ruler.
Execute the second scan covering the remaining 6.5 inches of print surface. Save this file as Print01_PassB.tif using uncompressed TIFF format.
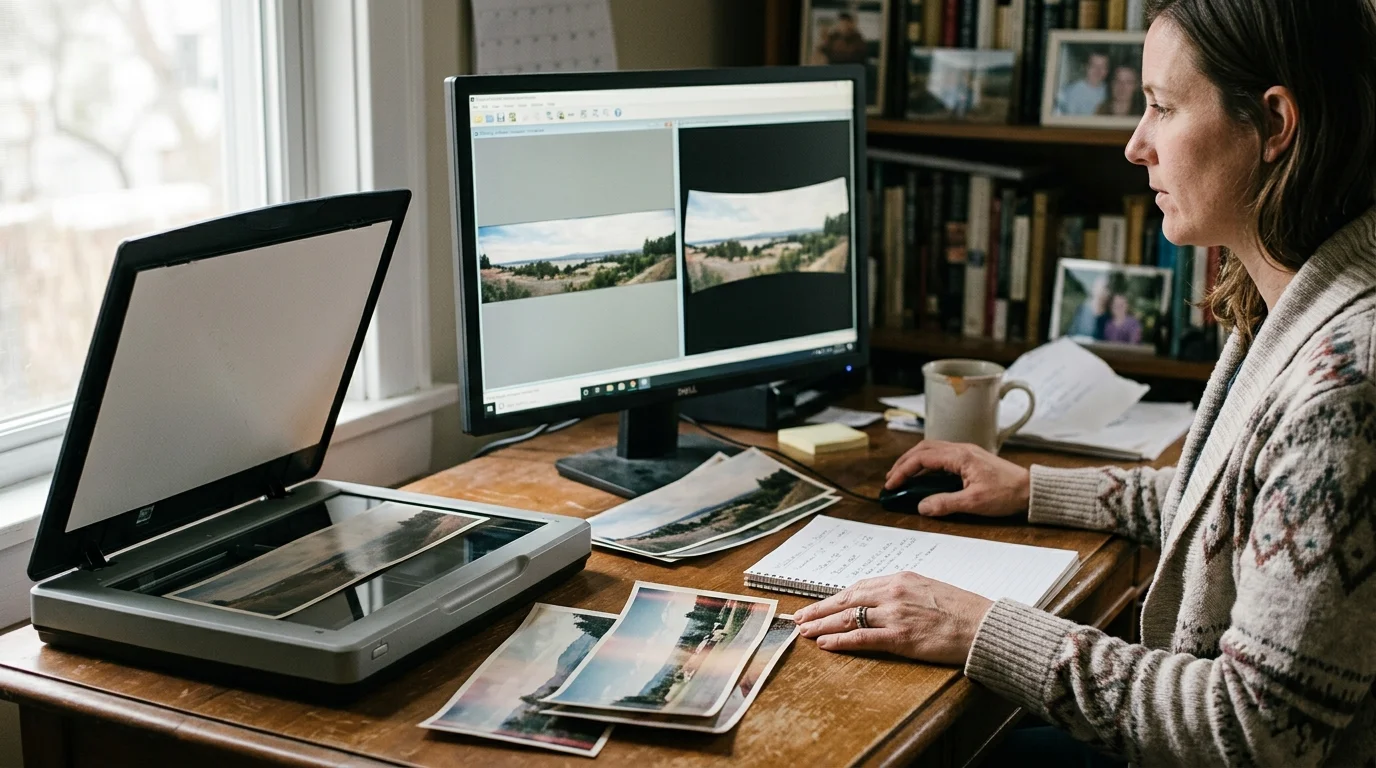
Stitching Software Compared: Planar Alignment vs. Perspective Distortion
Standard panoramic stitching tools assume you took multiple photos with a camera rotating around a single nodal point. Consequently, they apply spherical, cylindrical, or perspective projections to correct for lens curvature.
Flatbed scanners do not produce lens distortion. The scanner linear CCD moves across the glass on a straight motorized gantry, recording a true orthographic projection.
If you feed flatbed scans into a standard panorama tool using default settings, the software bends straight edges into curved arcs. The software creates a bow-tie shape because it mistakenly attempts to correct nonexistent wide-angle barrel distortion.
To avoid warped horizons, you must restrict the stitching engine to rigid 2D planar translation. Planar motion restricts adjustments to horizontal shift, vertical shift, and slight rotational skew.
| Software Application | Stitching Mode Setting | Perspective Warping Risk | Batch Speed (40 Prints) | License Cost |
|---|---|---|---|---|
| Microsoft ICE 2.0.3 | Planar Motion (Rigid) | Zero (Preserves straight geometry) | 12–15 Minutes | Free (Archived utility) |
| Adobe Photoshop 2024 | Photomerge: Reposition Only | Zero (Disables homography) | 25–30 Minutes | $22.99/month |
| Hugin 2023.0 | Line / Planar Scan Mode | Low (Requires manual setup) | 45–60 Minutes | Free (Open source) |
| Affinity Photo 2 | Automatic Panorama | High (Forces radial perspective) | 30–40 Minutes | $69.99 one-time |
Microsoft Image Composite Editor (ICE) remains an outstanding freeware solution for flat scans. Its specialized Planar Motion camera motion model handles flat scans without distortion.
Adobe Photoshop Photomerge provides professional results when you set the layout model explicitly to Reposition. The Reposition mode locks layer scale and perspective, performing only translation and rotation.
Open-source tools like Hugin offer complete mathematical control over projection math. However, Hugin steep learning curve makes it inefficient for processing dozens of family snapshots quickly.

Configuring Planar Stitching in Microsoft ICE and Photoshop
To assemble prints in Microsoft ICE, open the program and select New Panorama from Images. Drag your pairs, such as Print01_PassA.tif and Print01_PassB.tif, into the workspace.
In the Source Image Motion panel on the right sidebar, change the selection from Auto-Detect to Planar Motion. This setting forces ICE to treat scans as flat documents moving along a single plane.
Click the Stitch button at the top of the interface. ICE will correlate feature points along the 2-inch overlap strip and align the two passes within seconds.
Navigate to the Crop stage. Adjust the crop boundaries to remove scanner platen borders while preserving the full emulsion area of your print.
In the Export panel, select TIFF format with LZW compression. Export at 100% scale to retain your original 600 DPI resolution.
If you prefer Adobe Photoshop, choose File, select Automate, and click Photomerge. Uncheck the default Auto layout button on the left sidebar.
Select the Reposition radio button. This step tells Photoshop to shift and rotate layers without applying projective homography transformations.
Check the Blend Images Together box to create a smooth gradient mask across film grain variations. Leave Vignette Removal and Geometric Distortion Correction unchecked.
Click OK to execute the assembly. Photoshop aligns the two passes as separate layers and applies an automatic layer mask along the cleanest matching seam.
Inspect the overlapping junction at 100% zoom. Check sharp subject outlines, such as tree branches, building corners, or facial features, to ensure zero ghosting.
Flatten the image by selecting Layer and clicking Flatten Image. Save the master digital preservation file using uncompressed TIFF format.
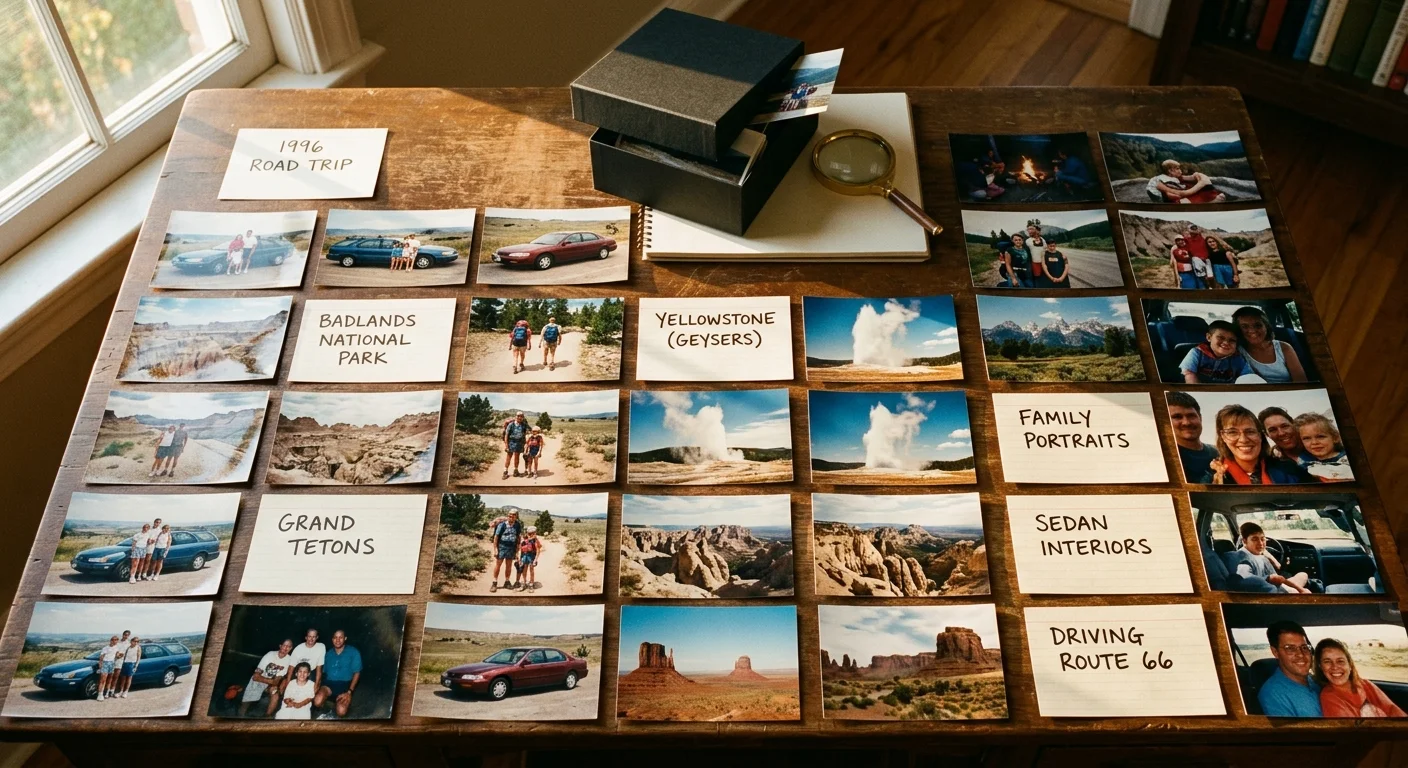
Worked Example: Digitizing a 40-Print Collection from 1996
To understand project scope, consider this worked scenario digitizing 40 panoramic snapshots from a 1996 family road trip. Each print measures exactly 4.0 by 11.0 inches on Kodak Edge resin-coated photographic paper.
The hardware used is an Epson Perfection V600 Photo flatbed scanner connected via USB 2.0 to a mid-tier desktop computer. Scanning software is configured to 600 DPI, 24-bit RGB, producing uncompressed TIFF outputs.
Each individual scan pass of a 4×6.5 inch section requires 22 seconds of sensor carriage travel. Swapping and aligning the physical print takes 10 seconds per pass.
Scanning 40 prints requires 80 total scan passes. At 32 seconds per pass including handling time, physical scanning takes exactly 42.6 minutes of continuous bench work.
Each raw pass measures 3,900 by 2,400 pixels, producing an individual file size of 27.4 MB. The 80 initial scan files consume 2.19 GB of temporary storage space.
Batch processing the 40 file pairs through Microsoft ICE in Planar Motion mode requires 18 seconds per pair. Stitching all 40 panoramic prints takes 12.0 minutes of processing time.
The final stitched dimensions measure approximately 6,600 by 2,400 pixels, yielding a 15.84-megapixel digital master. Each flattened, uncompressed TIFF file requires 47.5 MB of disk space.
The completed 40-print archive totals 1.90 GB of master preservation data. Total active workflow time from first scan to final archive folder equals 54.6 minutes.
Handling Curled Panoramic Prints and Archival Storage
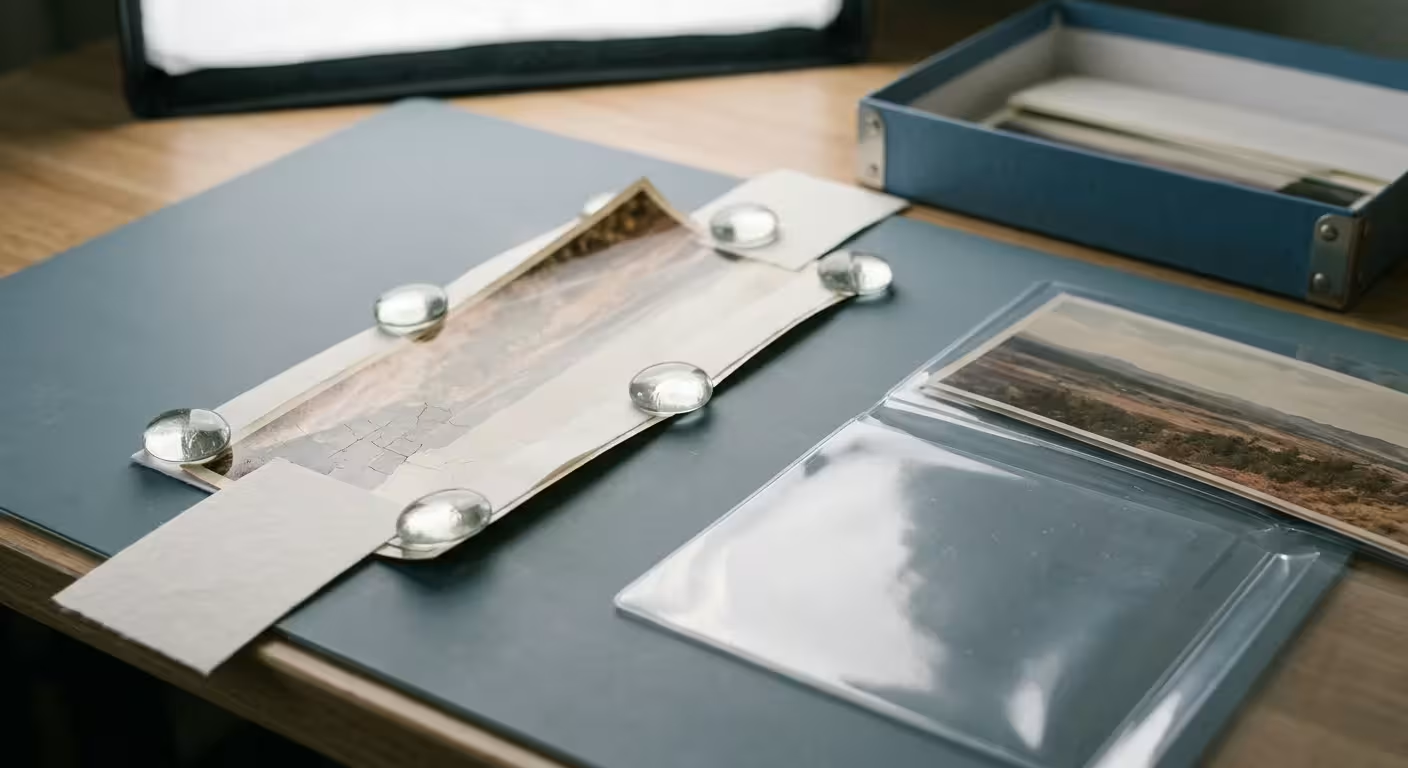
Photographic prints from the 1990s frequently exhibit severe curl along their long axis. Gelatin emulsion layers contract as relative humidity drops, pulling the resin-coated paper base into a tight roll.
Never bend curled prints backward against their curl. Forcing brittle paper backward fractures the gelatin emulsion layer, causing permanent hairline fissures across the image surface.
Consult professional handling standards through the Library of Congress Preservation website before attempting physical repairs on delicate historical prints.
Mechanical flattening requires slow moisture equilibrium rather than sudden physical force. Never iron photographic prints or subject historic emulsions to direct heat.
To flatten prints safely before scanning, place them between acid-free archival blotter boards inside a controlled room. Place a clean, smooth wooden board or heavy art book on top for five to seven days.
When handling prints during scanning, wear powder-free nitrile or clean white cotton gloves. Skin oils transfer fatty acids to the print emulsion, creating permanent fingerprints over time.
After digitizing, house your panoramic prints in archival enclosures. Standard 4×6 sleeves cannot accommodate these elongated dimensions without folding.
Use archival polypropylene or polyester (Melinex) sleeves designed for panoramic prints or currency collections. Store the sleeved prints flat inside acid-free, lignin-free storage boxes away from damp basements or hot attics.
Frequently Asked Questions
Why does stitching software bend my straight scanner images?
Software designed for digital cameras assumes photos were taken through a spherical lens rotating around a single point. It applies radial distortion corrections that warp flatbed scans, which require pure 2D planar translation instead.
Can I scan panoramic prints diagonally to capture them in a single pass?
Diagonal placement avoids a two-pass stitch, but it causes severe optical softening and edge skew. Flatbed optical arrays scan most sharply when documents run parallel to the sensor carriage path.
What scan resolution should I use for 1990s disposable camera prints?
Scan panoramic disposable prints at 600 DPI. Cropped 35mm negatives enlarged to 10 or 11 inches have soft grain, meaning higher resolutions capture paper fibers rather than photographic detail.
Should I use a smartphone scanner app instead of a flatbed scanner?
Smartphone cameras introduce lens barrel distortion, uneven room lighting, and perspective tilt across long prints. A flatbed scanner provides uniform lighting and optical geometry necessary for archival results.
Disclaimer: This article is for informational purposes only. When handling valuable or irreplaceable photographs, consider consulting a professional conservator. Always test preservation methods on non-valuable items first.