
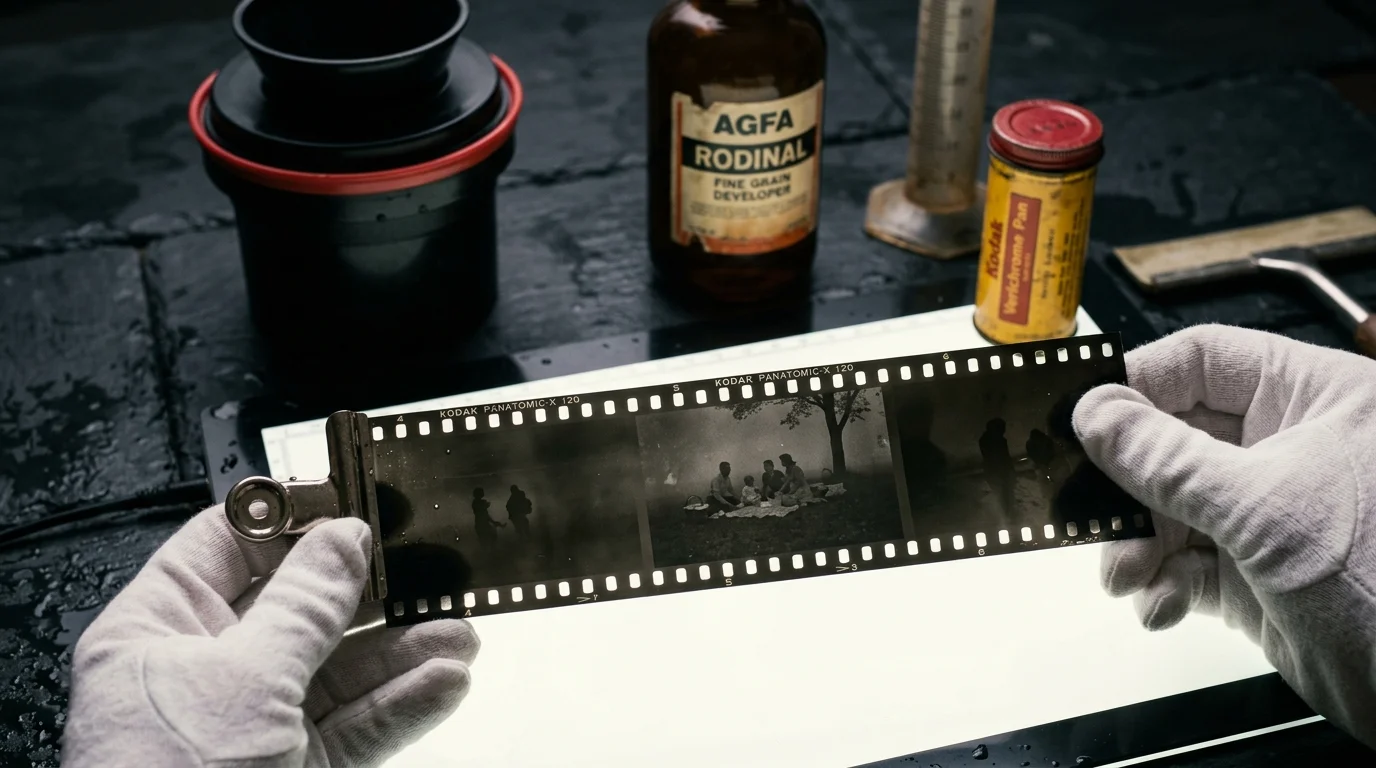
You can rescue irreplaceable family memories from 1960s film rolls even after decades in a sweltering attic sewing box. Standard commercial processing ruins heat-stressed emulsions, but cold stand development preserves faint latent images beneath heavy age fog.
Stand development in high-dilution Rodinal at 16°C (60°F) suppresses chemical base fog while allowing shadow silver to build gradually over sixty minutes. This cold-stand method prevents the highlight blowout that typically destroys vintage negatives.
Once developed, digitizing these dense, fogged frames with a mirrorless camera reveals shadow detail that standard flatbed scanners completely miss. Here is your exact darkroom blueprint to salvage all twenty rolls safely.
The Physics of Age Fog in Heat-Stressed 1960s Film
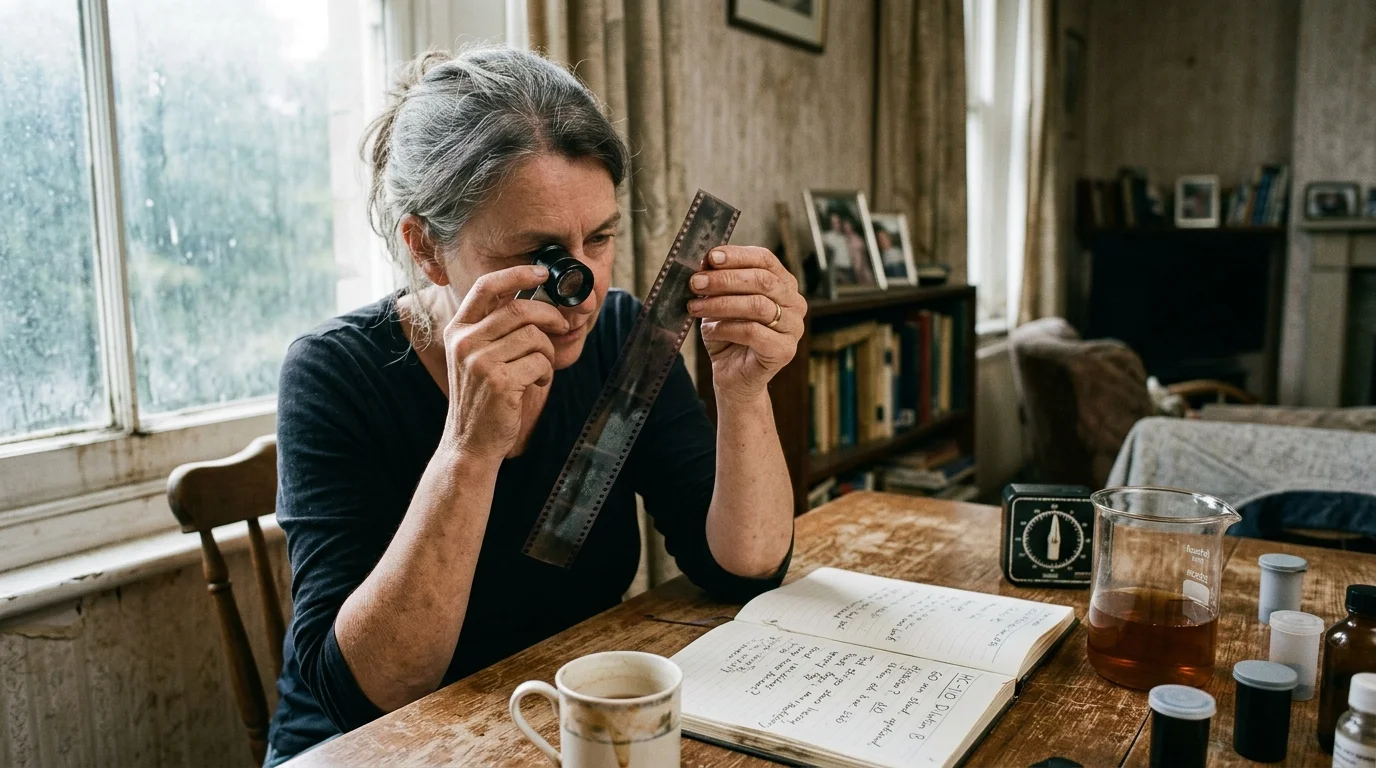
Inheriting twenty unprocessed rolls from the 1960s presents an urgent preservation challenge. Stored inside an unconditioned sewing box, these rolls survived sixty years of severe seasonal temperature swings and humidity shifts.
Even if your scans turn out low in contrast initially, digital tools can help restore faded photos and negatives by reconstructing lost tonal values.
If you recently rescued unprocessed film from extreme heat, implementing an attic photo triage routine to stabilize heat-damaged film will help prevent further degradation before you mix your chemicals.
Thermal cycling accelerates chemical decay within the gelatin binder. According to research on film decay mechanisms by the Image Permanence Institute, elevated temperatures accelerate both chemical degradation and base deterioration over extended timeframes.
Over decades, background cosmic radiation and thermal excitation liberate stray electrons inside silver halide crystals. These stray electrons clump together, forming microscopic metallic silver specks across the entire emulsion without any exposure to light.
Darkroom technicians classify this background accumulation as age fog. Age fog elevates the minimum optical density of your film base, turning clear borders into muddy, opaque gray.
Simultaneously, the original latent images suffer from severe latent image fade. Unstable sub-latent image centers break down, weakening shadow details while the unexposed base fog rises steadily around them.
When age fog density approaches the exposure density of your subjects, image contrast drops to near zero. Salvaging these frames requires an aggressive strategy to suppress chemical fog while teasing out the surviving latent image.
Identifying Chemical and Physical Film Degradation
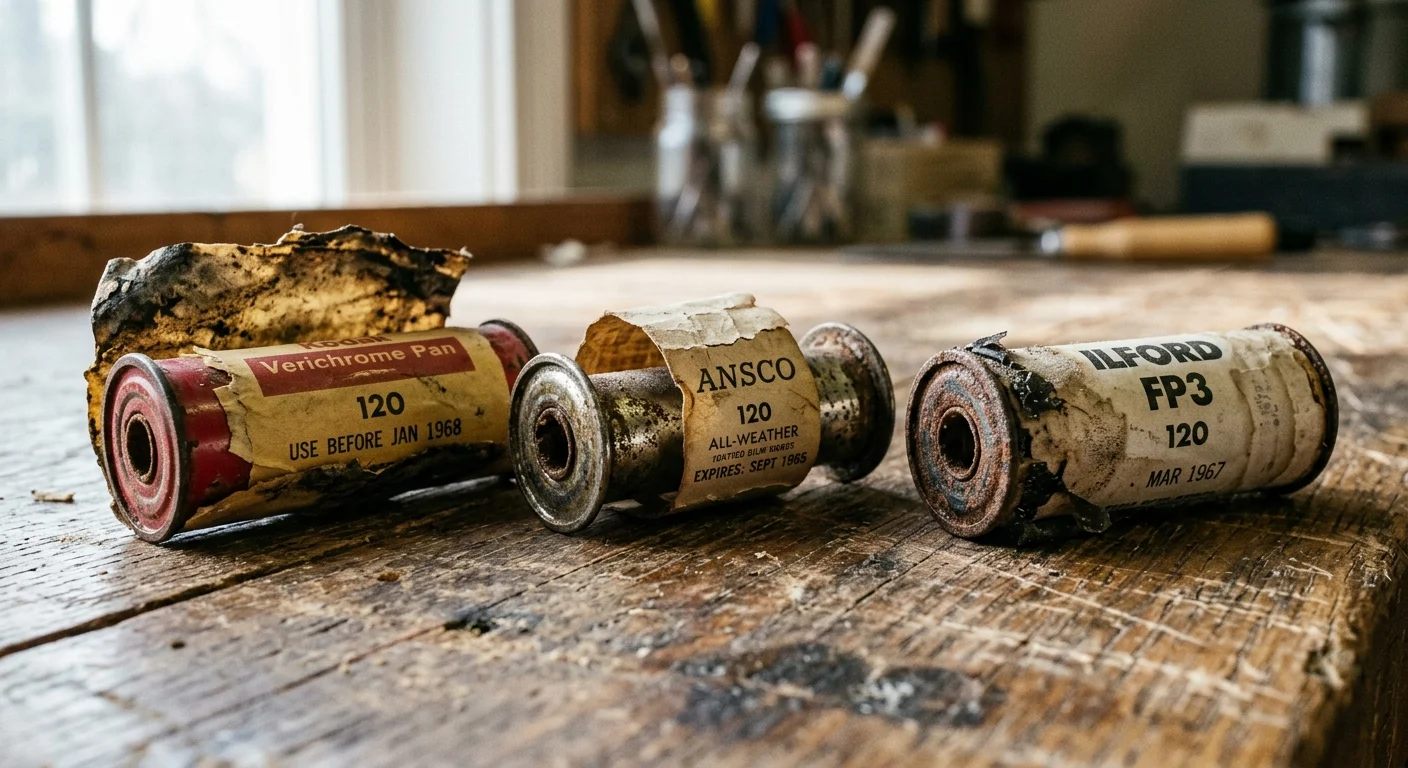
Before mixing chemistry, inspect each roll carefully under room light while leaving the film sealed. Vintage film displays distinct physical symptoms that tell you how heat and humidity affected the emulsion.
If your vintage collection also contains pre-acetate media like gelatin dry plates, refer to our specialized instructions on storing glass plate negatives safely.
For rolls that have become severely deformed over time, understanding how to handle uncurling brittle cellulose acetate film strips in a controlled humidification chamber will prevent emulsion cracking.
Sniff the rolls closely near the backing paper seams or canister openings. A sharp, pungent odor resembling table vinegar indicates cellulose acetate breakdown, commonly known as vinegar syndrome.
Look for distortion or tight curling along the edges of 120 backing paper. Heat often shrinks the paper backing faster than the film base, creating physical tension across the spool.
Examine any exposed paper tape seals for brittle adhesive or mold spots. Brittle tape flakes away easily; you must cut it cleanly with scissors rather than ripping it off.
Never unroll exposed vintage film under room light to check its physical condition. Even a brief glimpse ruins whatever fragile latent images remain preserved inside the tightly wound core.
Why Traditional Lab Processing Destroys Found Vintage Rolls
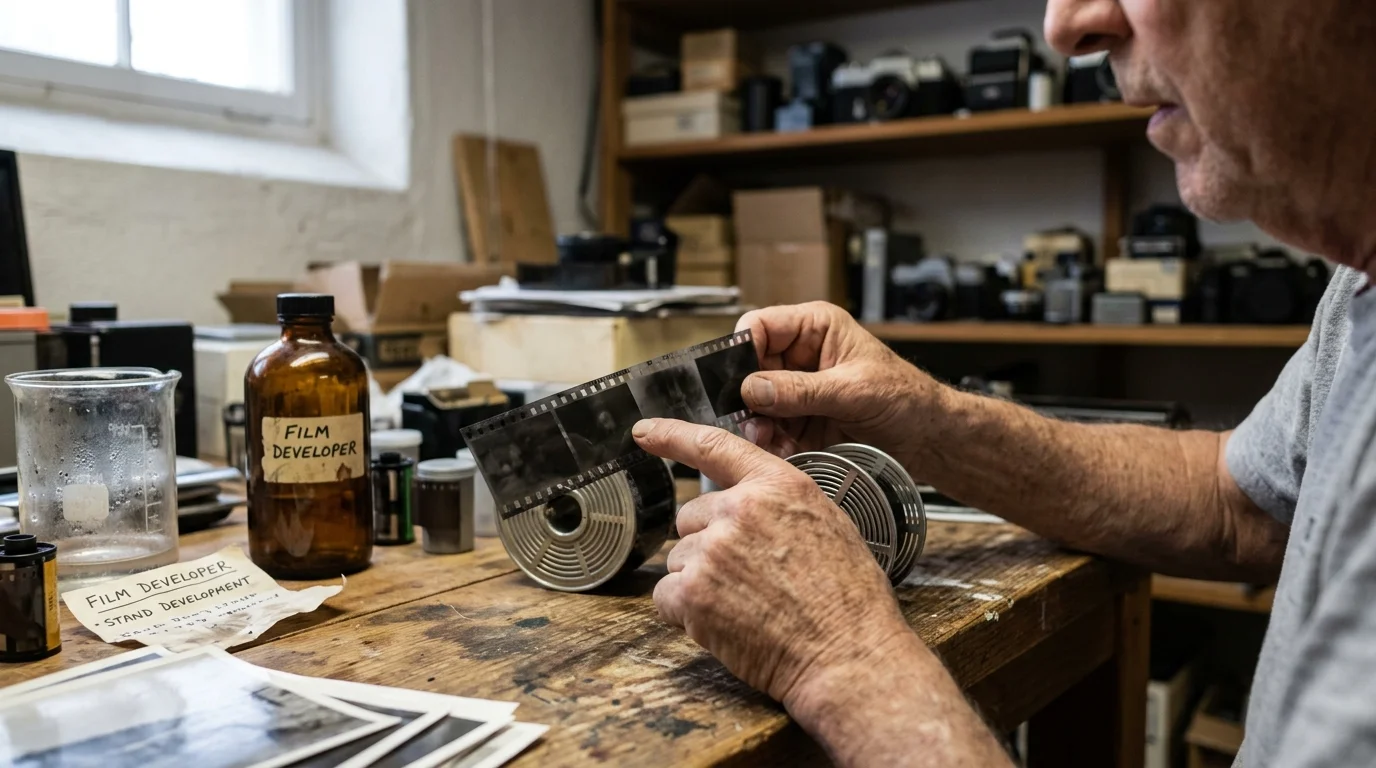
Commercial labs and standard home workflows rely on vigorous agitation and warm developer baths. When you try to develop old expired exposed film using standard rotary processing, you guarantee failure.
Commercial machinery also lacks the specialized carriers needed when handling obsolete emulsions, similar to the custom holders used to digitize 110, 126, and 127 format film negatives at home.
Standard processing protocols run at 20°C (68°F) or warmer using active developers like Kodak D-76 or HC-110 Dilution B. These vigorous formulas develop fogged silver halide crystals just as quickly as exposed image silver.
Constant agitation introduces fresh chemical developer directly to the emulsion surface every thirty to sixty seconds. This process forces the high-energy developer into every thermally activated crystal across the roll.
Within six minutes, the entire strip turns almost pitch black from edge to edge. The faint family portraits trapped in the sewing box vanish beneath an impenetrable wall of developed metallic silver.
Traditional labs then run these dense negatives through automated roller-transport processors. The brittle, sixty-year-old acetate base often snaps or scratches under the mechanical tension of commercial feed racks.
To save these irreplaceable images, you must eliminate mechanical agitation and suppress chemical development speed entirely. You need a formula that starves the fog while nurturing the fragile image.
The Science of Low-Temperature Rodinal Stand Development
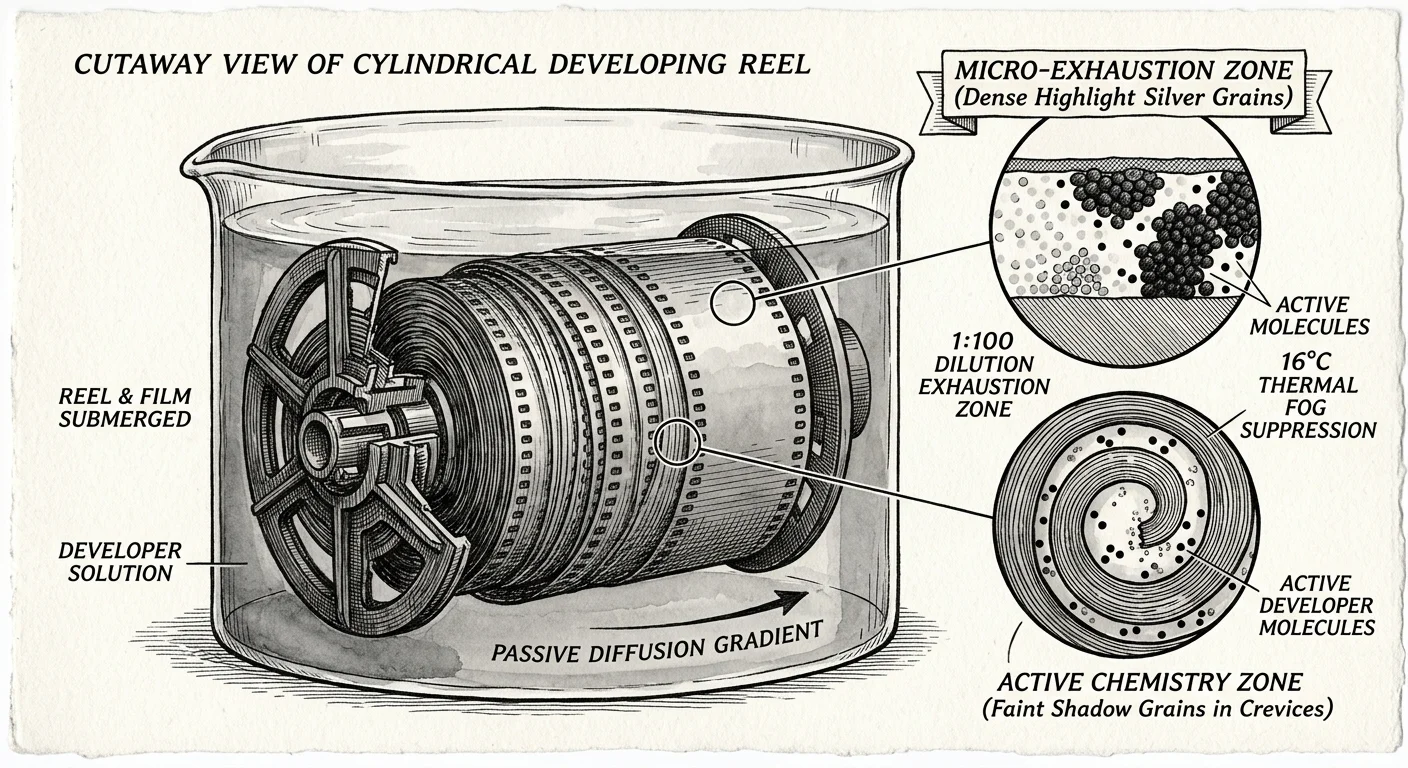
Stand development relies on placing exposed film in a highly dilute developer solution without any agitation for an extended period. When you develop found negatives Rodinal provides the ultimate chemical control.
Rodinal uses p-aminophenol as its active developing agent, which behaves predictably at extreme dilutions such as 1:100. In an unagitated tank, the thin layer of developer touching the emulsion quickly exhausts in highlight areas.
Highlights consume developer within minutes and halt development, preventing bright areas from turning into impenetrable silver clumps. Meanwhile, developer resting over thin shadow areas continues working slowly across the full sixty-minute cycle.
Lowering processing temperature suppresses chemical fog activation faster than it slows silver reduction on genuine latent image sites.
Most darkroom manuals recommend stand development at standard room temperature of 20°C (68°F). However, lowering your working chemistry to 16°C (60.8°F) provides the breakthrough needed for heat-damaged vintage film.
Chemical activity follows the Arrhenius principle, where reaction rates drop as temperature falls. Fortunately, the activation energy required to develop spurious age fog is higher than that required for real latent image centers.
Chilling your Rodinal working solution to 16°C creates a chemical barrier against fog formation. This low-temperature threshold lets latent image silver plate out cleanly while background fog remains largely undeveloped.
Chemistry Preparation and Equipment Checklist
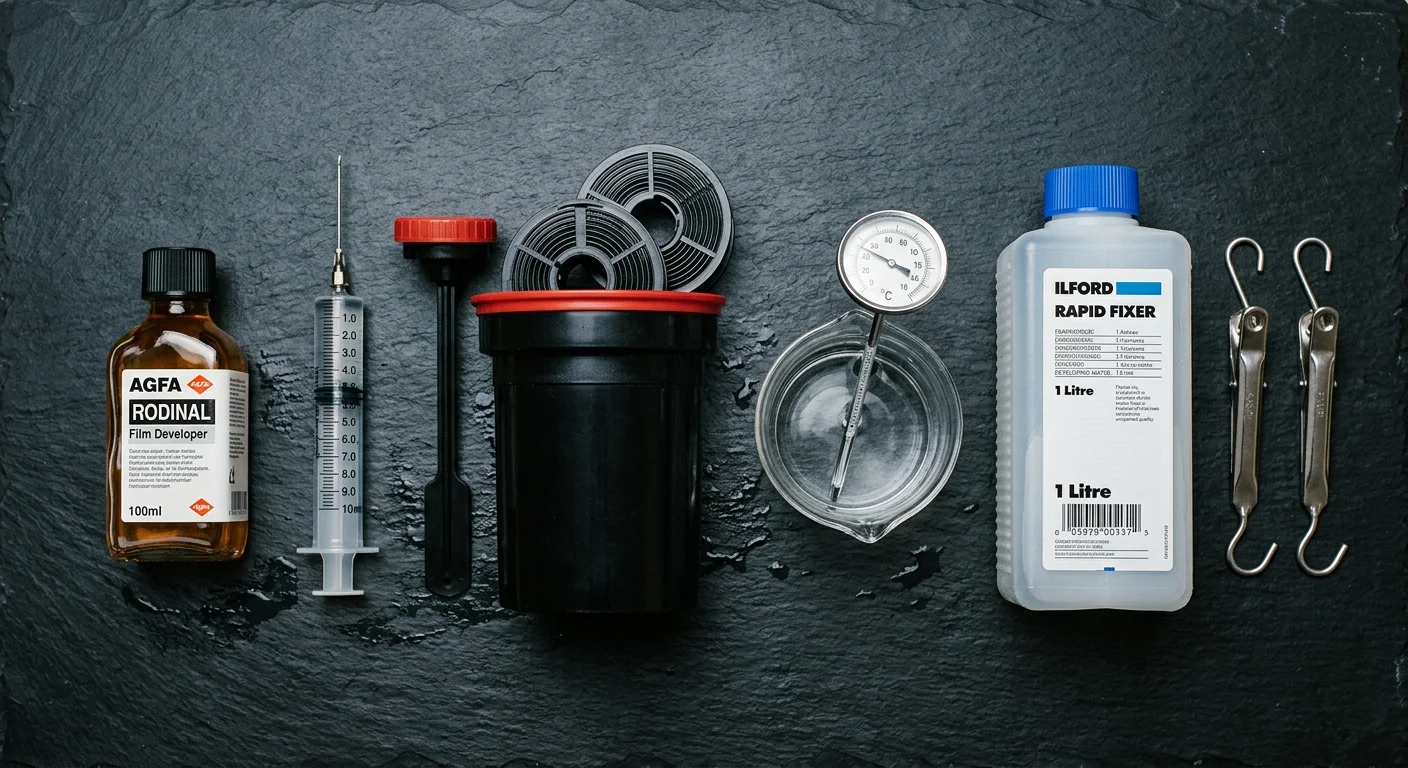
Rescuing your vintage rolls requires standard darkroom tanks and precise liquid measurement tools. Gather your supplies before opening any film canisters or backing paper.
You will need a light-tight developing tank, such as a two-reel Paterson Super System 4 tank. You also need plastic reels, an accurate digital darkroom thermometer, and a dedicated 10-milliliter measuring syringe.
Ensure your chemical shopping list contains these exact items:
- Rodinal developer (or modern formulations like Adox Rodinal / R09 One Shot)
- Distilled water chilled to 14°C to mix to a final 16°C working bath
- Potassium bromide (KBr) laboratory powder or 10% liquid solution
- Standard rapid fixer based on ammonium thiosulfate without hardener
- Archival wetting agent like Kodak Photo-Flo 200 or Ilford Ilfotol
Distilled water is mandatory for this process rather than optional tap water. Mineral ions and chloramines found in municipal tap water create microscopic nucleation points that catalyze base fog during long stand cycles.
Potassium bromide acts as an inorganic chemical restrainer. Adding small amounts of potassium bromide increases the induction period of development, suppressing base fog even further without sacrificing midtone density.
A standard non-hardening rapid fixer ensures complete clearing of the thick gelatin layers common on 1960s films. Avoid hardening fixers, which impede chemical washouts and complicate modern flat drying.
Step-by-Step Stand Development Protocol for 1960s Emulsions
Handling vintage film demands extreme physical care before chemistry ever touches the emulsion. Acetate film bases stored in warm sewing boxes become extraordinarily dry, curled, and brittle.
Once your negatives are fully washed and air-dried, you can proceed with creating digital copies of photo negatives and slides to preserve your family’s visual heritage forever.
Enter a completely dark room or use a light-tight changing bag. Carefully break the tape seal on 120 spools or pop the metal cassette cap on 35mm rolls.
Feed the film onto your plastic reel slowly without forcing it past resistance points. If the curl resists winding, gently flex the outer edges rather than buckling the center of the strip.
Prepare 500 milliliters of working chemistry per 120 roll or two 35mm rolls inside a graduated cylinder. Combine 495 milliliters of chilled distilled water with 5.0 milliliters of Rodinal drawn by syringe.
Add 2.0 milliliters of a 10% potassium bromide solution to the working bath. Stir the solution gently with your thermometer until the mixture settles precisely at 16°C (60.8°F).
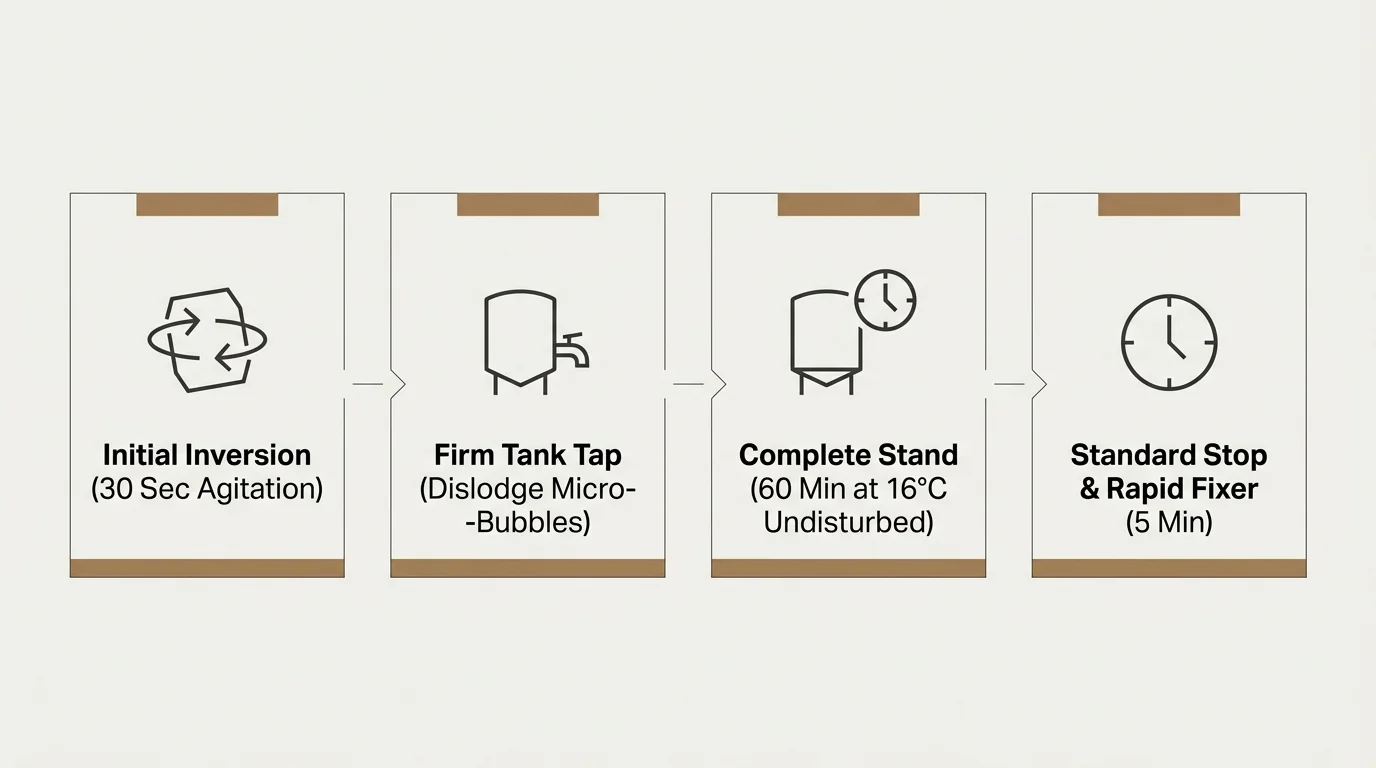
Pour the mixed chemistry into your Paterson tank swiftly and smoothly. Start your timer immediately upon filling the tank.
Invert the tank continuously and gently for the first 30 seconds. Tap the base of the tank firmly on your countertop three times to dislodge stubborn air bubbles from the emulsion.
Place the tank onto a level shelf in a room with a steady ambient temperature. Do not move, shake, swirl, or touch the tank for the next 59 minutes and 30 seconds.
After 60 minutes, pour out the exhausted Rodinal developer. Fill the tank with distilled water at 16°C to 18°C, invert five times, and dump; repeat this water stop bath twice.
Pour in your rapid fixer mixed at film strength (1:4 dilution). Agitate for 30 seconds initially, followed by 10 seconds every minute for a total fixing time of 6 minutes.
Wash the film using the Ilford archival wash method: fill the tank, invert five times, and empty. Refill and invert ten times; refill a third time and invert twenty times.
Give the film a final thirty-second soak in distilled water mixed with 1.0 milliliter of Photo-Flo. Hang the strip in a dust-free enclosure with weighted clips at the bottom to dry flat.
Worked Example: Rescuing a 1964 Kodak Verichrome Pan Roll
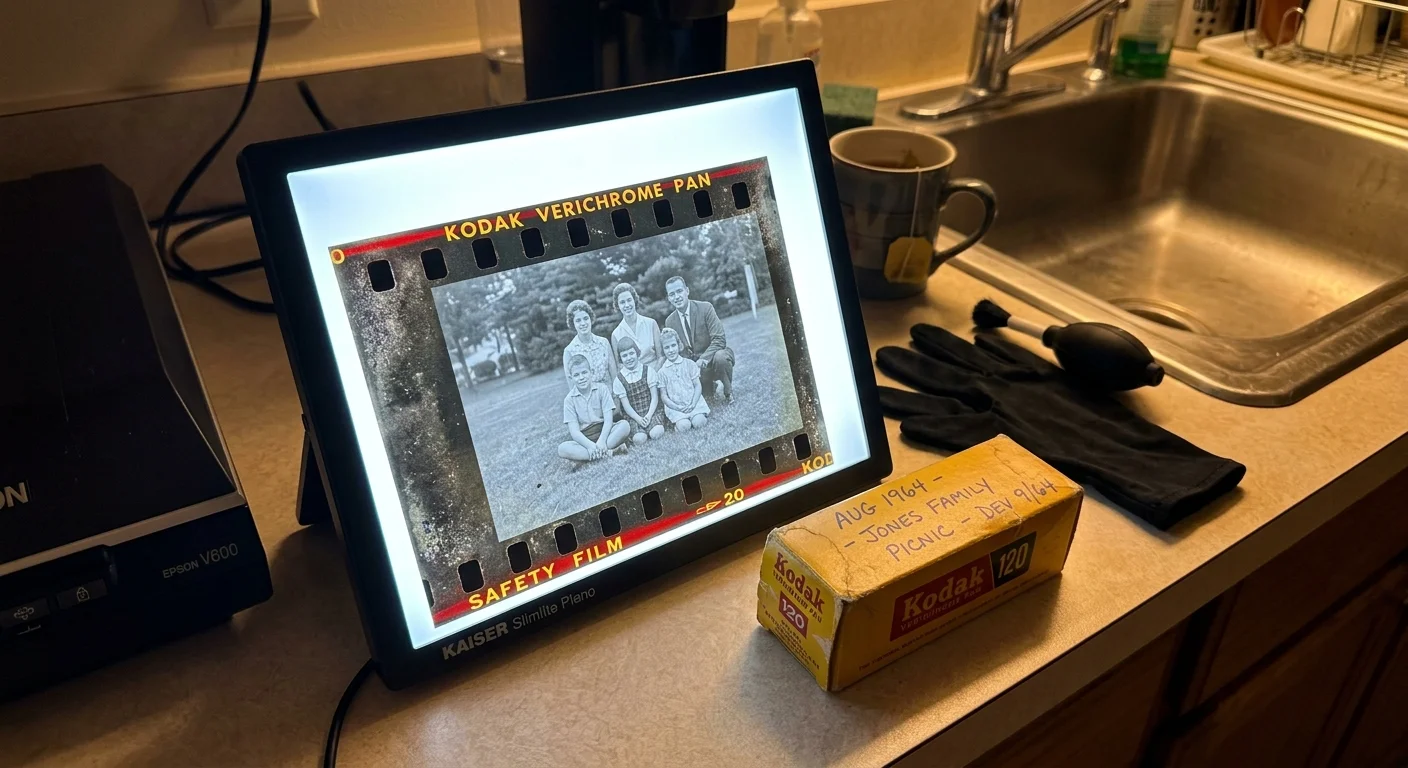
To understand how this protocol operates under real conditions, examine this rescued roll from our sewing box scenario. The roll is a Kodak Verichrome Pan 120 roll with an imprinted expiration date of October 1964.
After clearing and drying the film, follow our complete conversion guide for scanning slides and negatives to capture every subtle highlight and shadow.
The film spent six decades in an uninsulated Illinois home where summer attic temperatures reached 38°C (100°F). The cellulose acetate base exhibited substantial curl and smelled faintly of acetic acid.
We prepared 500 mL of developer using 495 mL of distilled water chilled to 15°C. We added 5.0 mL of Rodinal (1:100 ratio) and 2.0 mL of 10% potassium bromide solution, reaching a stable 16°C.
After thirty seconds of initial inversion, the tank sat undisturbed on a vibration-free work surface for 65 minutes. We fixed the roll in Ilford Rapid Fixer for 6 minutes and completed the archival water wash.
Upon unspooling, the base fog presented as a medium silver-gray rather than black. Using an optical transmission densitometer, the unexposed film edge registered a D-min of 0.68, while bright sky highlights reached a D-max of 1.42.
Out of 12 potential frames on the 120 roll, 11 frames contained recoverable family portraits. The images clearly showed an Easter gathering from April 1965 with distinct facial expressions and sharp fabric textures.
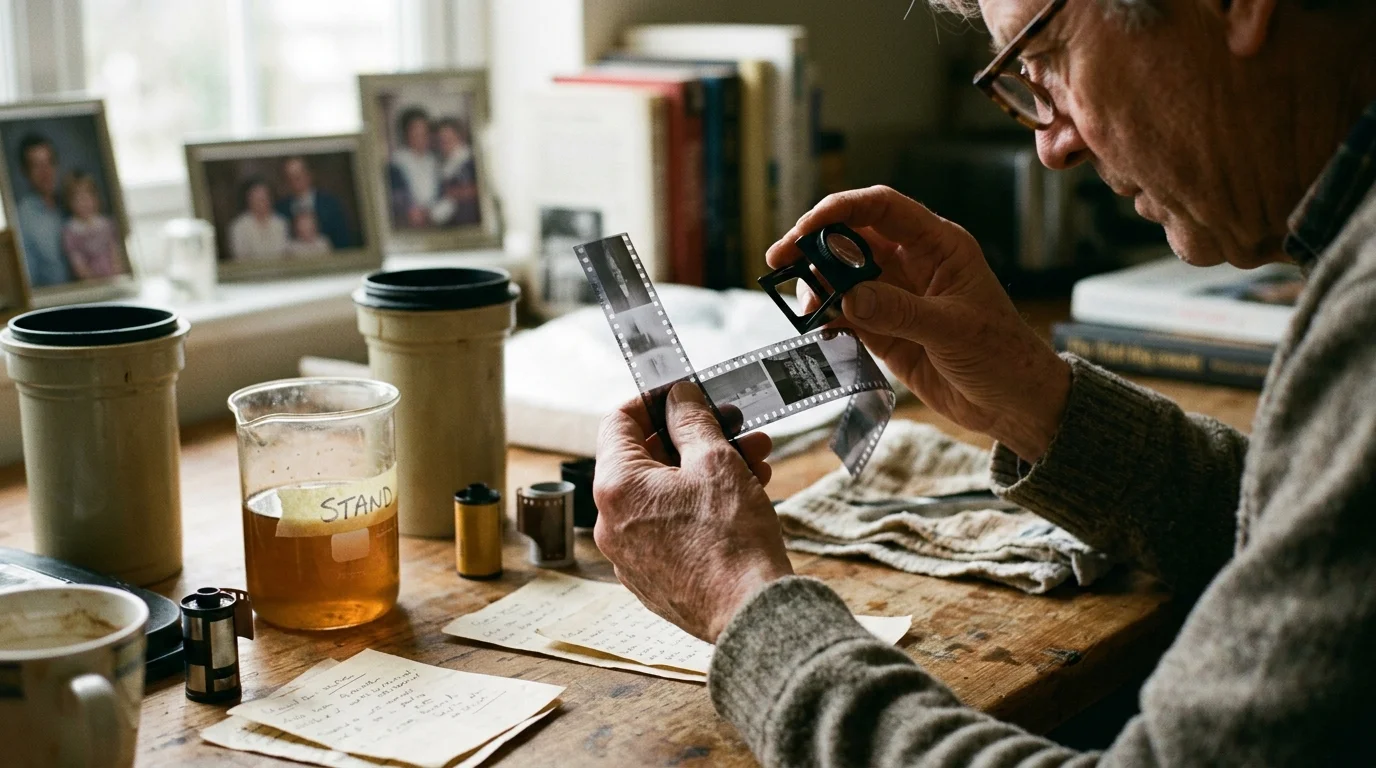
Comparing Processing Methods for Expired Black-and-White Film
Selecting the correct processing method determines whether you recover family memories or ruin irreplaceable emulsion. Review the measurable differences across standard, push, and cold-stand methods below.
Pairing gentle stand development with an organized DIY photo scanning workflow will give you professional results without expensive lab fees.
| Processing Method | Chemistry & Dilution | Temp & Time | Agitation Pattern | Base Fog Density (D-min) | Highlight Retention |
|---|---|---|---|---|---|
| Standard Lab Rotary | Kodak D-76 (1:1) | 20°C for 9 min | Continuous motorized | D-min: 1.35 (Opaque) | Clipped / Blocked |
| Conventional Inversion | Kodak HC-110 (Dil B 1:31) | 20°C for 5.5 min | 10s every 60s | D-min: 1.10 (Heavy fog) | Poor separation |
| Standard Stand Dev | Rodinal (1:100) | 20°C for 60 min | Initial 30s only | D-min: 0.88 (Moderate) | Good separation |
| Cold Restrained Stand | Rodinal (1:100) + KBr | 16°C for 65 min | Initial 30s only | D-min: 0.68 (Low fog) | Excellent tonal range |
The cold stand method yields a 0.67 reduction in D-min density compared to standard rotary processing. That density difference represents the boundary between an unreadable negative and a crisp digital restoration.
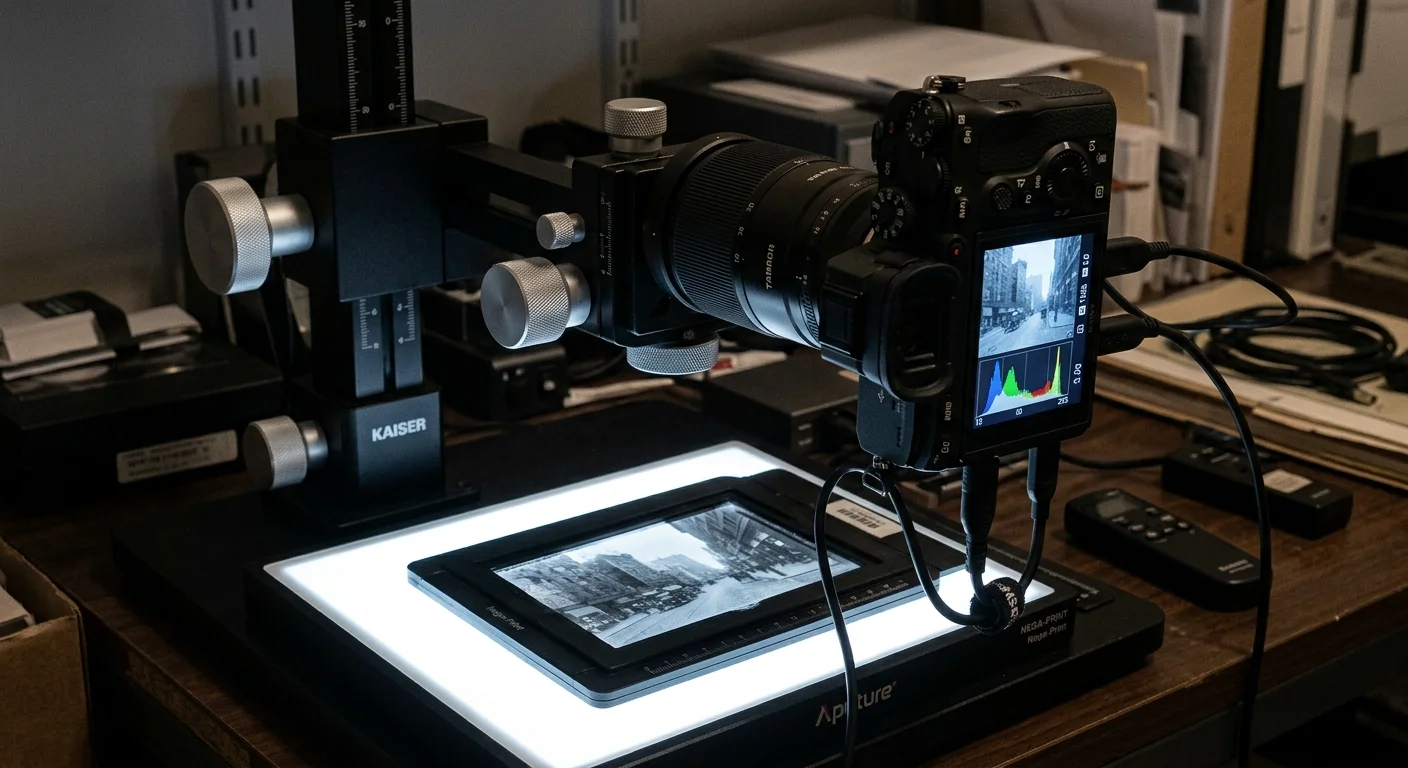
Digitizing Dense, Fogged Negatives with Camera Scanning
Rescuing the film in the darkroom is only half the battle. When you scan 60 year old film roll negatives, traditional flatbed scanners often produce noisy, muddy images.
Standard desktop units often struggle to pierce dense base fog, making it beneficial to review how to digitize 35mm film negatives at home using macro lens configurations.
Flatbed document scanners lack the localized dynamic range needed to punch through high base fog without generating severe sensor bloom. In contrast, camera scanning with a digital camera captures every nuance of thin highlight silver.
Digitizing dense vintage negatives requires maximum sensor dynamic range; camera scanning captures shadow gradients that standard flatbed units clip into digital noise.
Mount a mirrorless camera equipped with a 1:1 macro lens above a high-CRI LED backlight. Set your lens aperture to f/8 to achieve optimal edge-to-edge sharpness and depth of field.
A technical guide on digital sensor performance from Cambridge in Colour highlights how raw 14-bit files preserve shadow gradient steps that 8-bit scans permanently discard.
Expose to the right (ETTR) by evaluating the raw histogram on your camera screen. Push your shutter speed until the dense base fog peak shifts toward the middle-right tones without clipping raw highlights.
Capture all images in uncompressed 14-bit RAW format at base ISO (typically ISO 100). If the density difference between frame borders and highlights exceeds twelve stops, capture two exposures and merge them into an HDR DNG file.
Import your raw files into inversion software such as Negative Lab Pro or darktable. Set your film profile to black-and-white, pick your base balance from the unexposed film edge, and adjust gamma to restore punchy contrast.
Archival Storage for Rescued Negatives
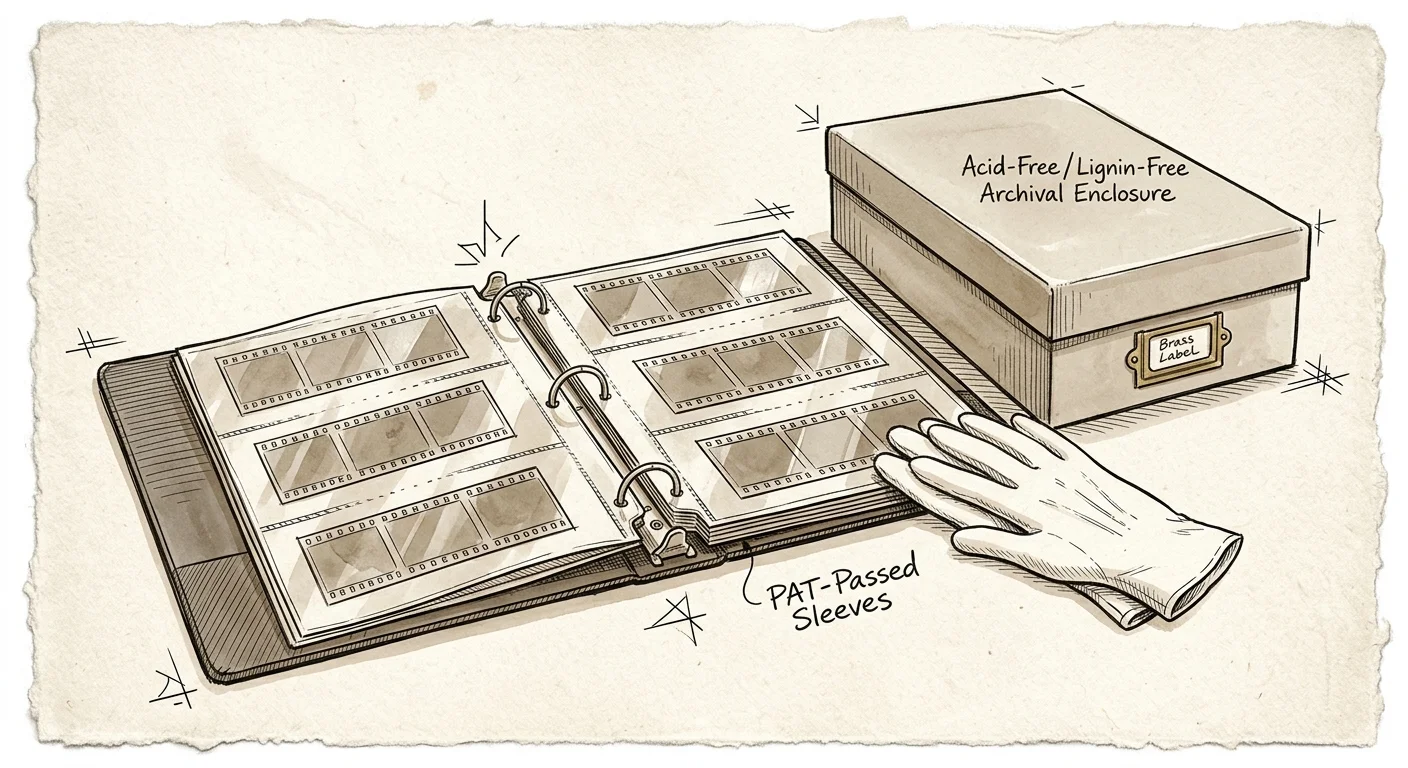
Once dried and digitized, your rescued negatives require immediate archival stabilization. Never return these sixty-year-old strips to their original cardboard boxes or acidic paper envelopes.
Once negatives are cut and sleeved, integrating them into a broader strategy for protecting your prints and photographic materials ensures your family archives remain intact for future generations.
Store your cut strips in archival negative sleeves made from inert polypropylene or polyethylene. Standards published by the Library of Congress Preservation directorate emphasize that photographic enclosures must pass the Photographic Activity Test (PAT) to prevent long-term silver tarnishing.
Place the sleeved negatives inside a heavy-duty, archival binder featuring an enclosed box design to seal out airborne dust. Avoid polyvinyl chloride (PVC) plastics, which release plasticizer gases that destroy delicate gelatin emulsions.
Store the binder in a climate-controlled room where temperatures remain consistently below 20°C (68°F). Relative humidity must hover between 30% and 40% to prevent fungal growth while stopping the film base from warping.
Frequently Asked Questions
Can I use this stand development method for color vintage film?
Stand development in Rodinal works on old color film (C-41 or E-6) only as black-and-white images. Color dye couplers will not activate, but Rodinal will successfully develop the underlying silver latent image beneath age fog.
Why is Rodinal preferred over modern developers for old film rolls?
Rodinal contains no silver-solvent agents like sodium sulfite, which prevents silver migration and grain mushiness during long standing times. Its clean p-aminophenol chemistry stays completely inactive in exhausted highlight areas while working shadows gently.
How do I load brittle 60-year-old film without snapping it?
Place your rolls in an airtight plastic container alongside a damp sponge (not touching the film) for twelve hours before loading. This controlled moisture exposure temporarily relaxes brittle acetate, preventing snapping during reel insertion.
Will stand development produce bromide drag on vintage roll film?
Extreme dilutions like 1:100 combined with low 16°C temperatures drastically slow chemical byproduct currents, minimizing visible bromide streaks. Keeping the tank perfectly level on a vibration-free surface also prevents heavy gravity streaking across the frames.
Disclaimer: This article is for informational purposes only. When handling valuable or irreplaceable photographs, consider consulting a professional conservator and test preservation methods on non-valuable items first.
1 Comment